Manage Room Items
Important
Information and features vary according to the roles to which you belong and the permissions associated with those roles. For more information, contact your module manager or your campus support team.
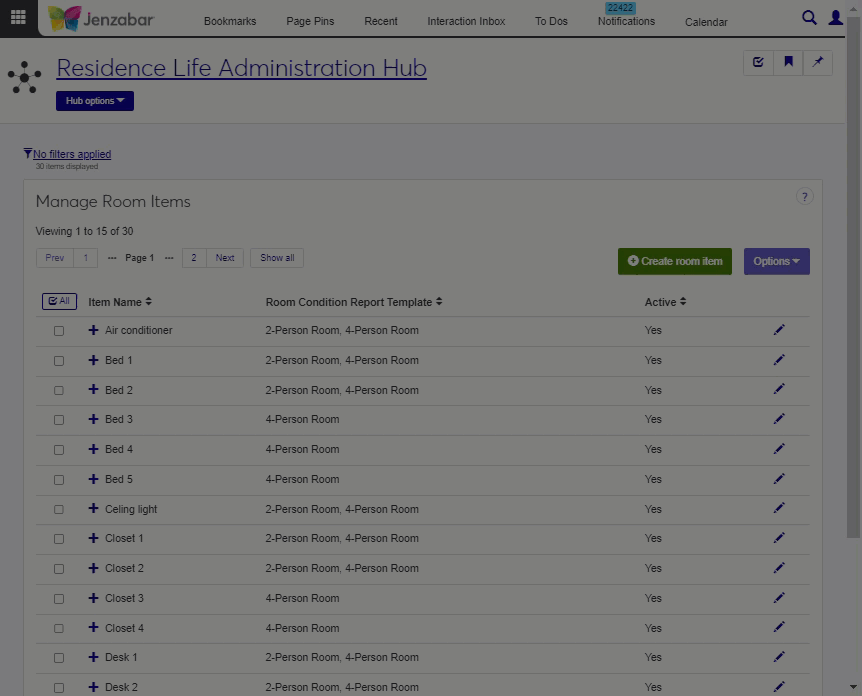
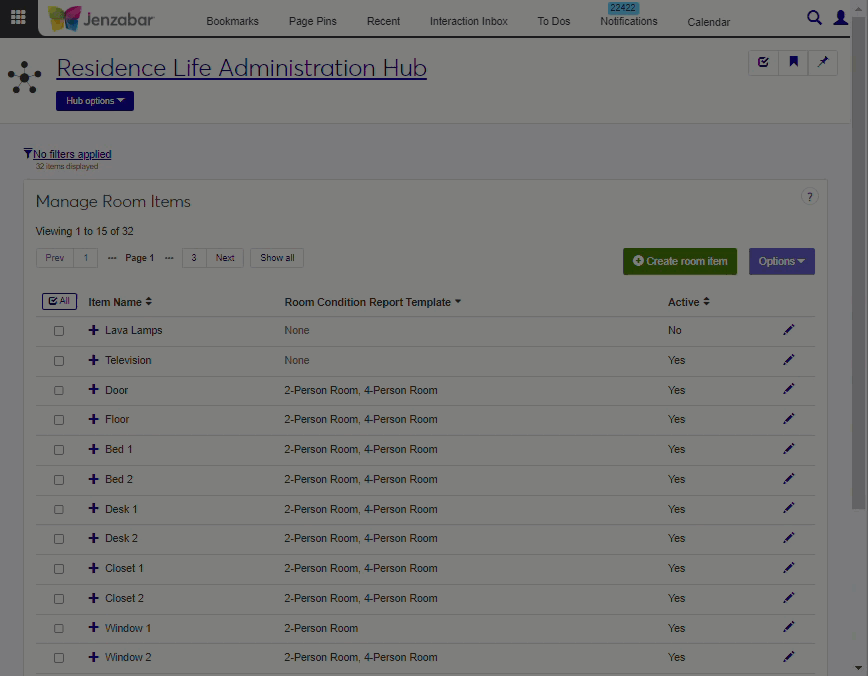
The Manage Room Items page is part of the Residence Life Administration hub; you can access it from the Hub options menu by selecting Session options > Manage room items. On this page you can set up the items that might be found in residence rooms, such as beds, chairs, lamps, etc. This allows you to track the condition of items in the room in case of damage or loss. You will associate each room item with a Room Condition Report Template, and then assign the templates to residence rooms as appropriate. Residence Life staff use the room condition report to document the condition of room items at the time of resident check-in and again at check-out. Room item definitions can also include the costs to repair or replace the item.
Tip
Create Room Condition Report Templates first, before creating room items. That way, as you create the items, you can select which templates these items will be included in.
In the Residence Life Administration hub, click the Hub options menu and select Session options > Manage room items.
Click the Create room item button. The Create Room Items pop-up window opens.
Enter a name for the item (for example, "twin bed").
Choose the Room Condition Report Template that you want to include this item in.
Tip
If you have not created your room condition report templates yet, you can come back and apply them to room items later.
If you want this item to be available in room condition report templates, leave the Active field set to Yes. If not, select No from the drop-down menu.
Add a description of the item (for example, "black desk with 4 USB outlets and drawer"). This field is optional.
Add the cost to repair the item if it is damaged. This value can be used to assess fees if a resident damages room items. This field is optional.
Add the cost to replace the item if it is damaged. This value can be used to assess fees if a resident damages room items. This field is optional.
If you want to create another room item, click Save and create another. Otherwise, click Create and close.
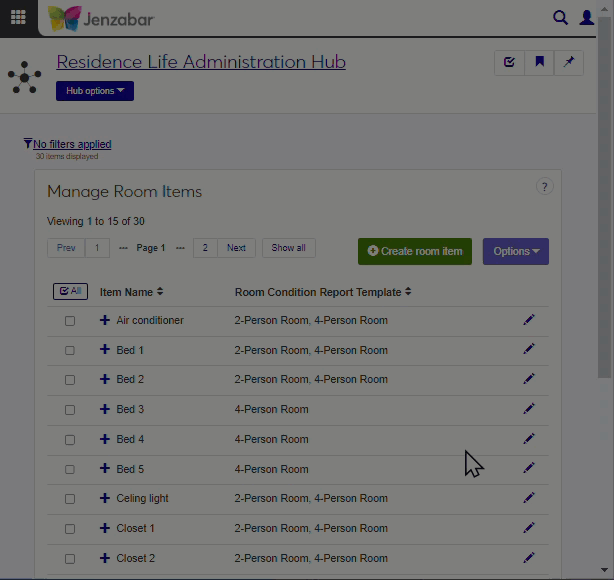
In the Residence Life Administration hub, click the Hub options drop-down menu and select Session options > Manage room items. The Manage Room Item page opens.
Click the Edit (pencil) icon for the item you want to edit. The Edit Room Item window opens.
Edit the fields as needed.
Click Update.
In the Residence Life Administration hub, click the Hub options drop-down menu and select Session options > Manage room items.
Select the checkbox for each row you want to delete.
Select Delete from the Options drop-down menu. The Delete Room Items? window appears showing the items you selected to delete.
Note
Room items cannot be deleted if they are associated with a report template or if they have been previously used on a room condition report. If any of the selected items cannot be deleted, you see a section labeled Unable to Delete. Click OK to close the window.
Select Yes, delete if you're sure you want to delete the items permanently. Click Cancel if you want to close the window without deleting any items..
In this step, you will assign each room item to a report template. Later, you will assign the report template to specific spaces, which then adds the included items to that room.
On the Manage Room Items page, select the checkbox next to the items you want to add to a report template.
Select Add a template from the Options drop-down menu. The Add a Template pop-up window opens.
Click in the Room Condition Report Template field and select the template you want these items to be included in.
Click Update.
Create the room items (for example, Bed 1, Bed 2, Bed 3, Bed 4).
Create room condition report templates (for example, 2-person room).
Assign room items to room condition report templates (for example: 2-person room template gets Beds 1 and 2).
Assign the room condition report templates to residence spaces. For example: Room 104-D is a 2-person room, so you assign the 2-person template to it. Now the Room 104-D room condition check in report includes the 2 beds.
Room items are created once. Room templates are also created once, and usually applied to residence spaces only once. After doing this setup, each session you can simply generate the room item condition report for your spaces, and they're ready for residence staff to use during check-in and check-out.