Purpose Type Definitions
Important
Information and features vary according to the roles to which you belong and the permissions associated with those roles. For more information, contact your module manager or your campus support team.
Use this page to manage purpose types for institutional reporting. For example, you might have a purpose type for each kind of state report you submit. Some definitions are provided by Jenzabar as default data and can't be deleted. You can add other definitions. Because each definition has only one field, they can't be edited.
Desktop Location
You can manage the definitions in Desktop, too, on the Purpose Type Definition window. Changes you make in Desktop apply to J1 Web, and vice versa.
Database Location
The definitions are stored on the Institutional Reporting Purpose Type Definition table (ir_purpose_type_def.purpose_type_desc).
Purpose types are used in Desktop on the Purpose Definition window. (The Purpose Definitions page is scheduled for future release in J1 Web.)
Description: This is the only field, and it's not editable. Up to 80 characters. Required.
Permission to manage purpose type definitions is available in these roles:
Registrars
Registration Module Manager
The permission required is "Can manage purpose type definitions".
From the Registration Administration hub, click Hub options.
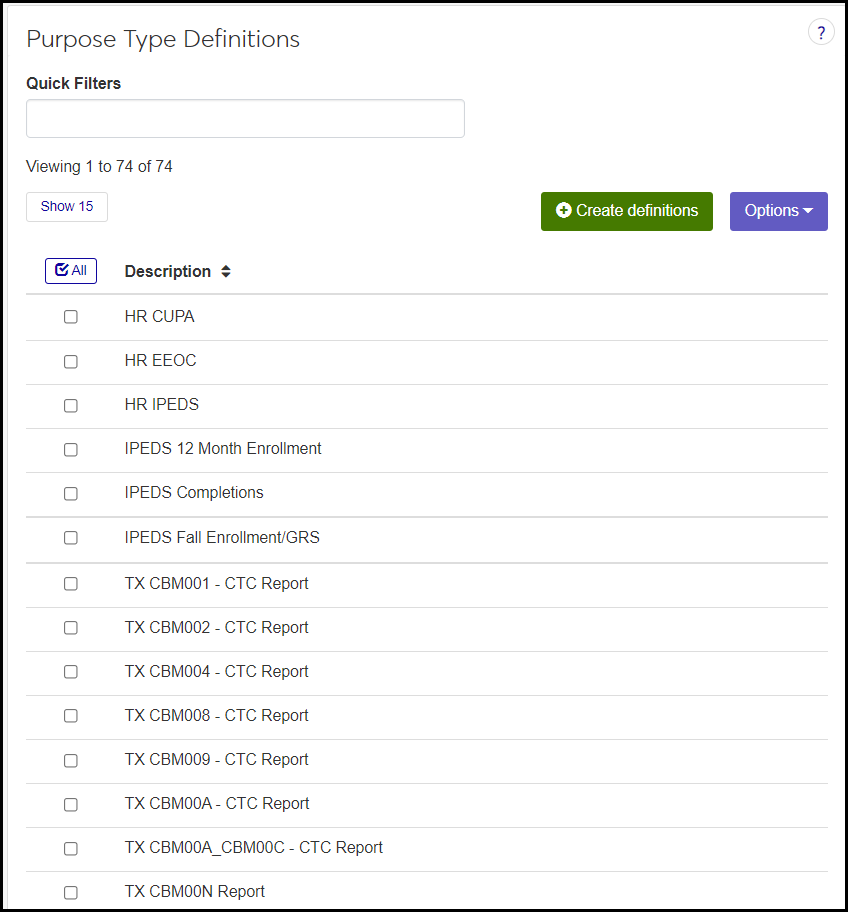
Click Manage Definitions, and select Purpose type definitions. The Purpose Type Definitions page opens.
To filter the definitions, enter a phrase in the Quick Filters field. To remove a filter, click its Remove icon
 .
.To sort the definitions, click the arrows at the head of the column you want to sort on.
Click the Create definitions button. The Create Purpose Type Definitions pop-up appears.
In Description, enter up to 80 characters. This could be the name of a type of report. Required.
Click Create and close or Save and create another.
Select the checkboxes next to the rows you want to export.
From the Options drop-down, select Download to Excel. The Download to Excel pop-up opens.
Select options for the Excel format and data columns.
Click Download. Your .xlsx or .zip file is saved in the file location that you have set in your browser settings.
If a definition is already in use, then some information or process depends on it, so it can't be deleted.