Copy Requisition to Purchase Order
Important
Information and features vary according to the roles to which you belong and the permissions associated with those roles. For more information, contact your module manager or your campus support team.
Use the copy requisitions to purchase orders (POs) process to quickly create POs for vendors. The page can be accessed from the Procurement Hub options drop-down menu and from the Purchase Orders list page.
Permissions Required
To access the page, you must be in a Procurement - Purchasing role with the "Can copy requisitions to purchase orders" permission.
Desktop Location
You can also create POs from requisitions in Desktop from the Create Purchase Orders from Requisitions window. For more information about that process, see the Desktop help: Create Purchase Orders from Requisitions window.
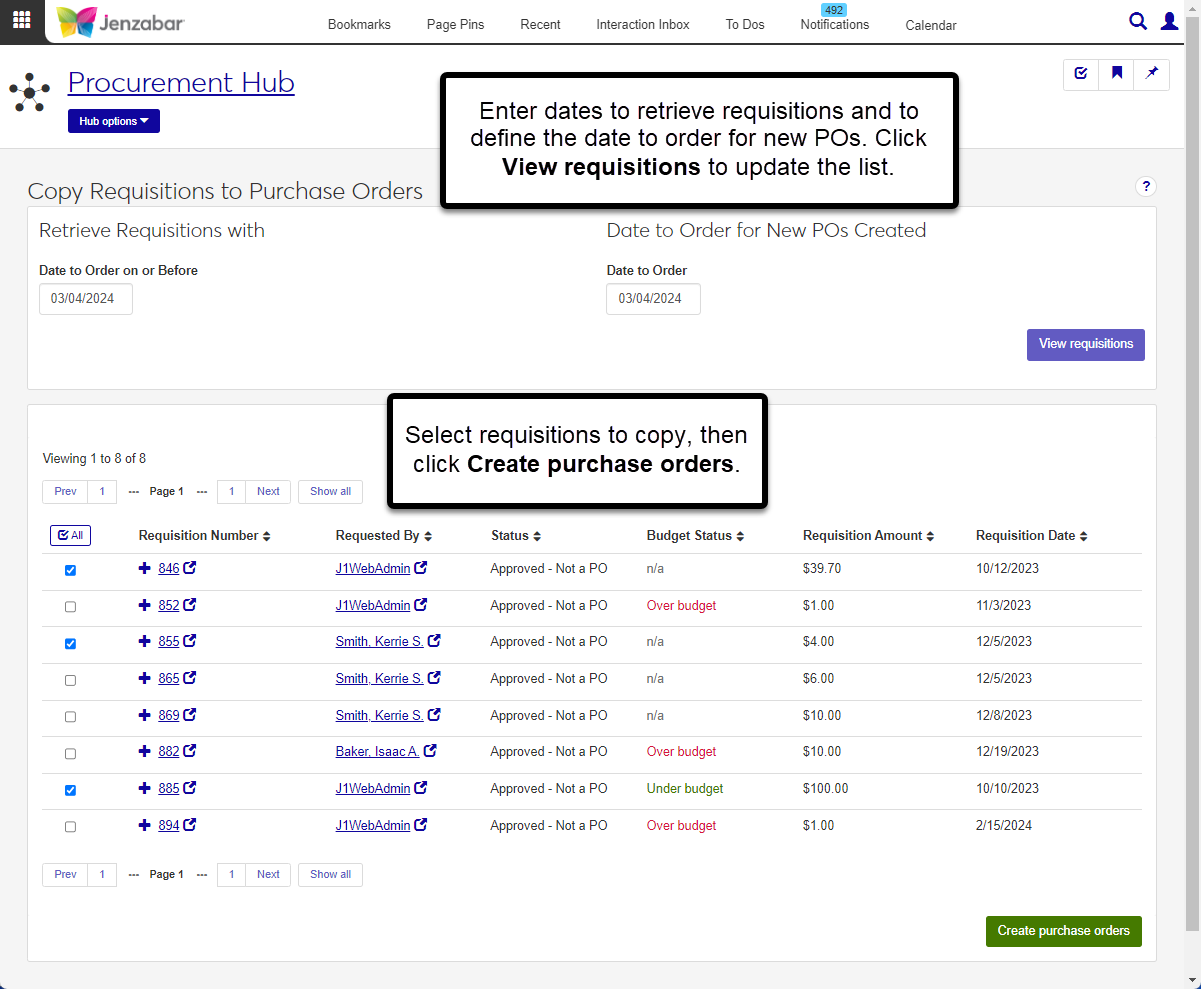
From the Procurement Hub options drop-down, select Copy requisitions to purchase orders. The Copy Requisitions to Purchase Orders page opens.
Under "Retrieve Requisitions with", select a Date to Order on or Before. Today's date is the default.
Under "Date to Order for New POs Created", select the Date to Order. Today's date is the default.
Click the View requisitions button to display results that meet the entered criteria. View requisition details by clicking the Requisition Number to open the page in a new tab.
Select one or more requisitions from the list.
Click Create purchase orders. An alert appears at the bottom of the page with a link to open the purchase order detail pages.
In the POs Created. Create Communications & Generate report pop-up, select from the following options.
Send Communication. Select this checkbox to send a copy of the PO file to the vendor. Each vendor will receive a standard email with the appropriate PO file as an attachment.
Edit Communication Before Sending. Select this checkbox if you want to send a specific message to each vendor. When this is selected, the Purchase Orders List opens after you click Continue. You'll need to click Create Communication for each purchase order that was created.
Generate Purchase Orders Report. Selected by default. When selected, the new POs open in a new browser tab or are downloaded after you click Continue.
Purchase Order Layout. Select the format for PO files. Enabled and required when Generate Purchase Orders Report is selected. The default layout is <Original>, and any customized versions of the report are available for selection.
Group Split PO Line Items. If you've split line items to different GL accounts, select this checkbox to group those line items into a single line item on the printed PO. Enabled when Generate Purchase Orders Reports is selected.
Mark as Sent to Vendor. When selected, the Sent to Vendor option is set to Yes on the Purchase Orders list page. Enabled and selected by default when Generate Purchase Orders Reports is selected.
File Format. Select the file type for the purchase order report. Default is PDF. Enabled and required when Generate Purchase Orders Report is selected.
Click Continue.
The View requisitions button is only enabled when requisitions with a status of Approved not a PO meet the entered date criteria. To enable the button, enter different dates in the Date to Order on or Before or Date to Order fields.