Monthly Adjustments
Important
Information and features vary according to the roles to which you belong and the permissions associated with those roles. For more information, contact your module manager or your campus support team.
Transactions that are repeated monthly can be created and stored as a monthly adjustment. This will allow you to immediately duplicate the transactions by using the monthly adjustments process. This page has two tabs:
Monthly Adjustments
Run Monthly Adjustment Process
Monthly Adjustments
Similar to most feature pages in the J1 Web Finance, this tab allows you to search, review, comment, and download to Excel the existing adjustments. You can also create a new adjustment.
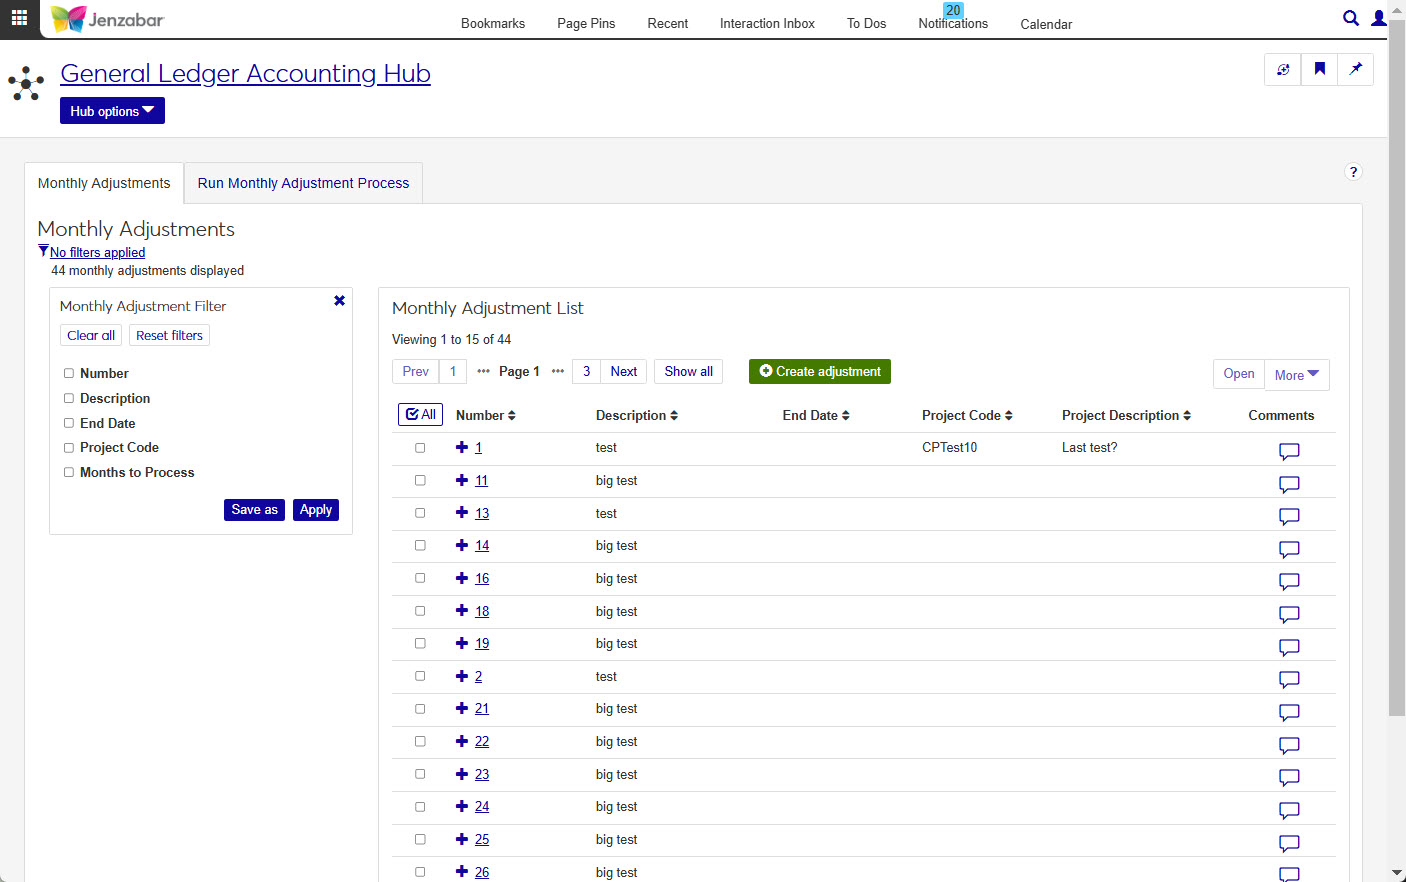
Use the filter to expand or limit the monthly adjustments displayed in the list. Filter options include:
Number
Description
End Date
Project Code
Months to Process
The Monthly Adjustment List section allows you to view an manage all the monthly adjustments you have permission to access.
Each adjustment row will display the Number, Description, End Date, Project Code, Project Description, and Comments. You can also view the Months to Process by expanding the adjustment row.
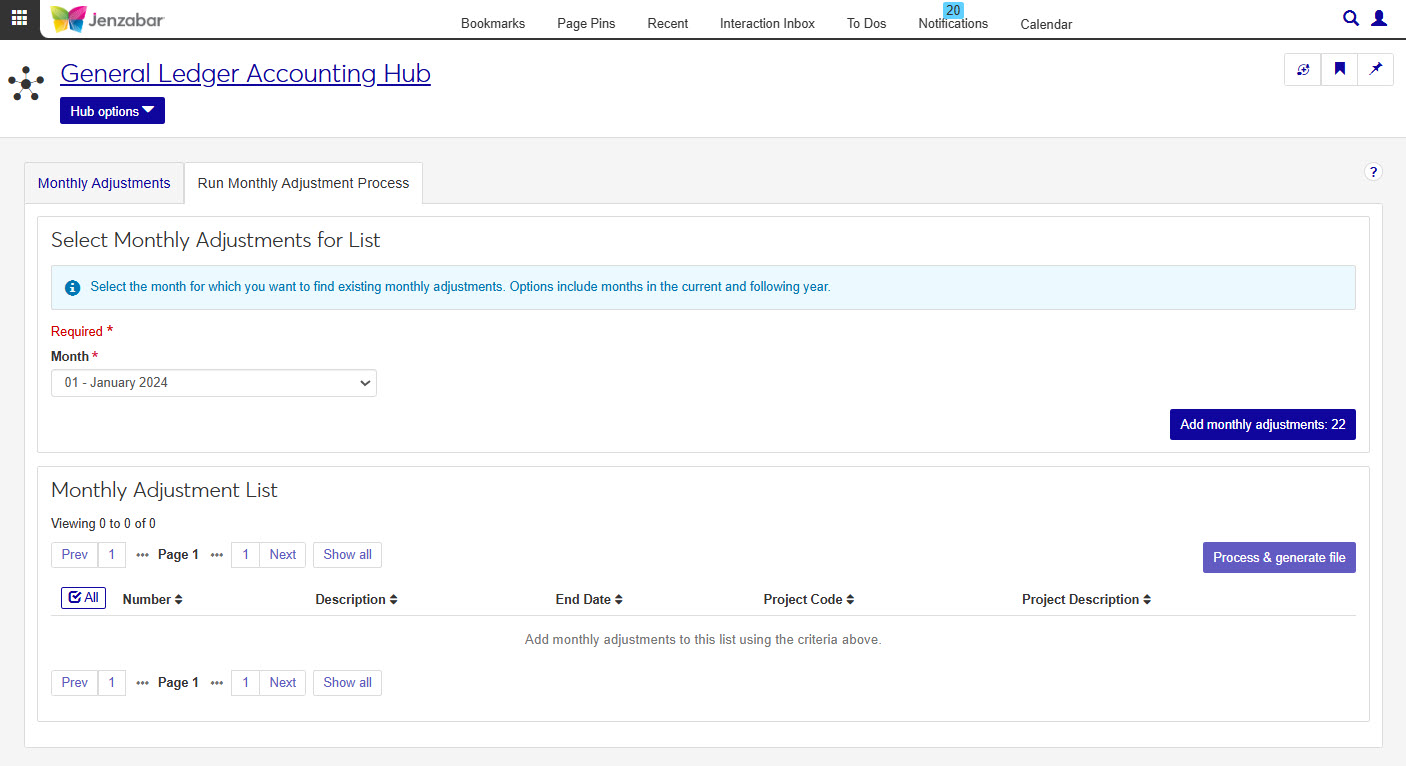
Run Monthly Adjustments
This tab allows you to run the monthly adjustments. Transactions that are repeated monthly can be created and stored allowing you to immediately duplicate the transactions by using the monthly adjustments process.
From the GL Accounting hub, select Monthly Adjustments.
Click the green Create modification button.
On the Create Monthly Adjustment page, enter details for the new adjustment. The following are required:
Number
Description
Months to Process
Use the details spreadsheet to enter or copy/paste the monthly adjustment amounts. The following fields are required:
Monthly Amount
GL Account Number
Click the Create monthly adjustment button.
Select the checkboxes next to the rows you want to export.
From the Options drop-down, select Download to Excel. The Download to Excel pop-up opens.
Select options for the Excel format and data columns.
Click Download. Your .xlsx or .zip file is saved in the file location that you have set in your browser settings.