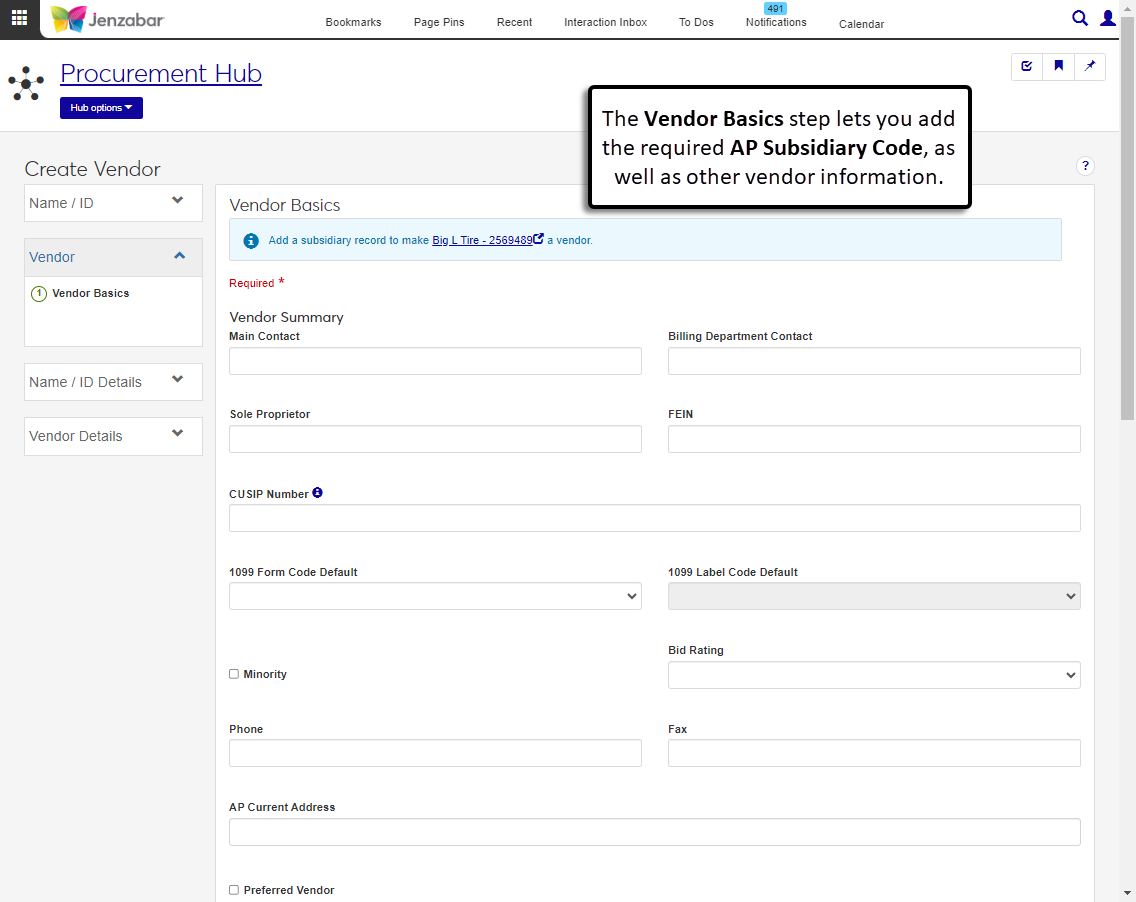
Create Vendor: Vendor Basics
Important
Information and features vary according to the roles to which you belong and the permissions associated with those roles. For more information, contact your module manager or your campus support team.
After name information has been entered, add vendor information on the Vendor Basics step. Each vendor must be associated with a subsidiary record.
Fields
There are several sections where information can be entered. At least one AP subsidiary code must be added to create a vendor record.
On the Vendor Basics step, enter or select information in the Vendor Summary section. See the Fields section above for more details about each field.
Main Contact
Billing Department Contact
Sole Proprietor
FEIN (if this was entered in the Name / ID step, this field is already filled in)
CUSIP Number
1099 Form Code Default
1099 Label Code Default (disabled until a 1099 form code is selected)
Minority
Bid Rating
Phone
Fax
AP Current Address
Preferred Vendor
Preferred Reason (visible when the Preferred Vendor checkbox is selected)
Core Pay Flag (available for schools licensed for Oklahoma state reporting)
Vendor Type (available for schools licensed for Oklahoma state reporting)
In the Websites section, click Add website to add the vendor's website details.
Enter a Website URL. Required.
If needed, add a Website Description.
To add additional website information, click Add another website and enter the required information.
In the AP Subsidiary Record section, enter or select information in the following fields. See the Fields section above for more details about each field.
Select AP Subsidiary Code (required)
Active (selected by default)
AP Current Address
1099 Form Code Default
1099 Label Code Default (disabled until a 1099 form code is selected)
Lifetime to Date Total
Prior Year's Total
Net Days
Discount Days
Discount Percentage (entered as a decimal)
To distribute invoice amounts among specific GL accounts, click Add account under Account and Percentage.
Select a GL Account Number. Required.
Enter the invoice Percentage to be distributed to the entered account. Required.
If needed, click Add another account and enter the required information.
Note
The total percentage for all the GL accounts associated with the subsidiary record must equal 100.
To add another vendor subsidiary record, click Create another subsidiary record and enter the required information.
Click Save & continue to proceed to the Name / ID Information step for person vendors or the Organization Information step for organization vendors. Click Save & close to open the vendor summary page.
If you didn't enter at least one address record on the Vendor Contact Information page when creating the name record, there won't be any options available in this field. You can add contact information later from the Contact Info tab of the Person/Organization Information Details page. The AP Current Address can then be updated from the Vendor Basics tab of the Vendor Information Details page.
The contact information added on the Name/ID step are visible on the Contact Info tab of the Person/Organization Details page. The phone and fax entered on the Vendor Basics step are visible on the Vendor Basics tab of the Vendor Information Details page. It can be helpful to list the information here so it can be accessed without navigating away from the Vendor Information Details page.