Receive Goods
Important
Information and features vary according to the roles to which you belong and the permissions associated with those roles. For more information, contact your module manager or your campus support team.
Use the Receive Goods page to review purchase orders (POs) and mark items as received. You can use the search criteria in the Display POs section to find specific POs. From the Receive Goods List, you can access the requisition and PO details, view and add comments, and update the received and Material Safety Data Sheet (MSDS) status.
Note
At this time, J1 Web does not provide functionality to search for POs based on split line items.
Permissions Required
To access and update line items on the Receive Goods page, you must be in a Procurement - Purchasing role with the following permissions.
Can view receive goods
Can edit receive goods
Desktop Location
You can also receive goods from the Desktop Receive Goods window.
From the Finance Procurement Hub options, select Receive goods. The Receive Goods page opens.
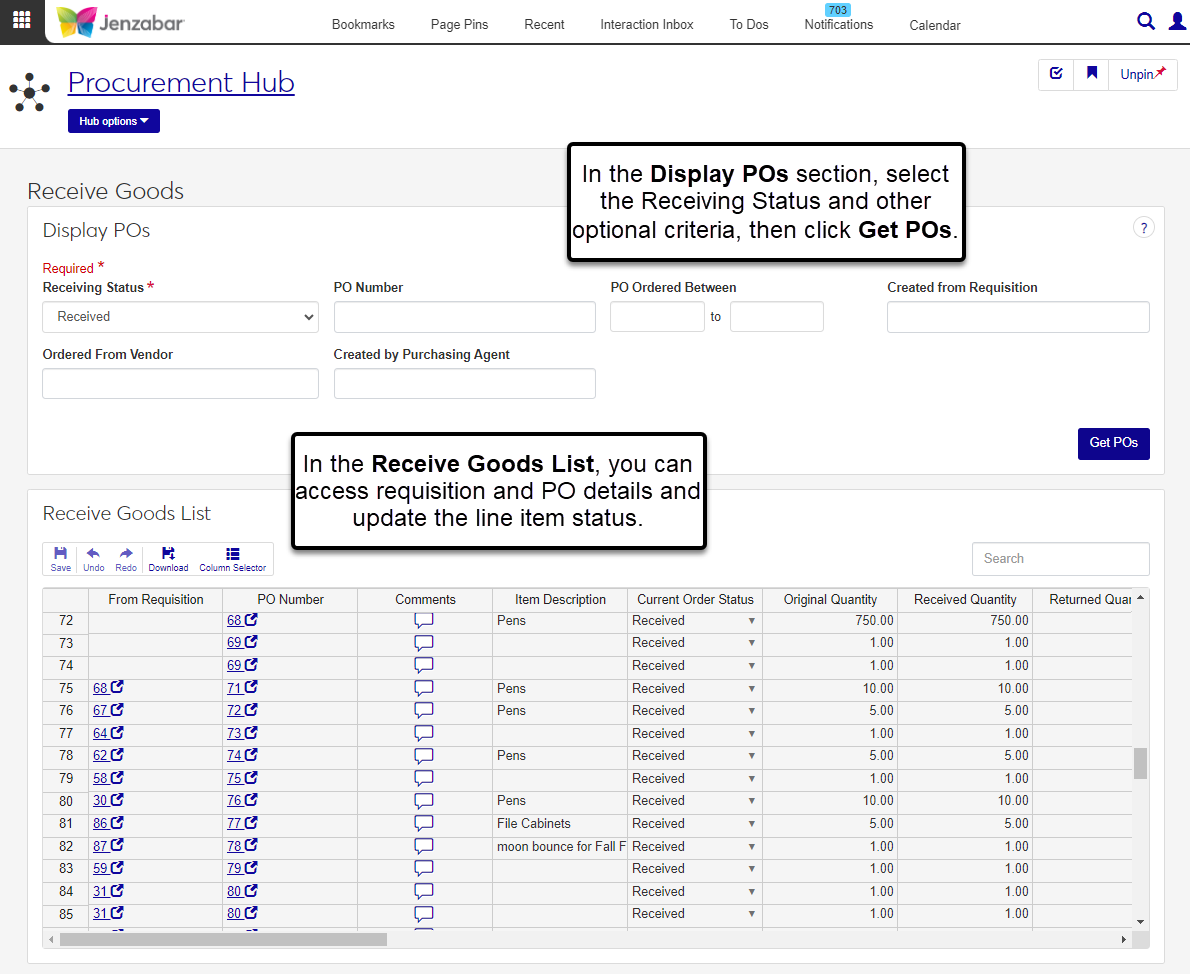
In the Display POs section:
Select the Receiving Status. Required. The options are:
Pending Receipt (default)
Received
Returned
All
Enter optional information in the following fields to refine the search.
PO Number
PO Ordered Between
Create from Requisition
Ordered From Vendor
Created by Purchasing Agent
Click Get POs to display the Receive Goods List.
In the Receive Goods List, use the Search at the top right to find POs based on certain keywords.
From the list toolbar on the left, use the Column Selector to change which columns are displayed or hidden.
Click the From Requisition or PO Number link to open requisition or PO details in a new tab.
To update a line item's received status:
Use the horizontal scroll bar to go to the New Status column and select an option for the selected item. Available options vary based on the item's current status.
Pending Receipt
Received
Returned
Receive Reordered Item
Returned - Pending Receipt
If the New Status is updated to either Returned or Pending Receipt, select an option from the Sub Status column drop-down.
Backordered
Delayed
Expecting Replacement
Not Expecting Replacement
The Quantity column is editable when the New Status is updated and required when the New Status is not Pending Receipt.
The Why Returned column is editable and required when the New Status column is set to Returned.
Enter an optional Status Changed Date. Today's date is the default when the New Status column is set to Received.
If applicable, select the MSDS Status from the drop-down. Options are "Received" or "Required".
Use the list toolbar to undo or redo changes and download line item details. You can also use the Column Selector to update which columns are displayed or hidden.
Click Save in the list toolbar.
From the Receive Goods List section of the page, click the Comments icon
 for in a line item's row.
In the Purchase Order - [Number] pop-up, you can view the PO's existing comments.
To add a comment:
Click New comment.
Enter your comment text.
Click the Attach button if you want to add an attachment.
Click Add.
You may not have permission to view requisitions or POs. To view those details, you must be in a Procurement - Purchasing role with the "Can view requisitions and generate reports" and "Can view purchase orders and generate reports" permissions. For additional assistance, contact your campus support team.
At this time, J1 Web doesn't provide options to filter by split line items. This functionality is scheduled for a future release.