Budget to Actual Worksheet Report
Important
Information and features vary according to the roles to which you belong and the permissions associated with those roles. For more information, contact your module manager or your campus support team.
The Budget to Actual Worksheet report compares the operating budget's current amounts to the expense activity. When a budget and worksheet are selected for a specified reporting period, this report can help identify when corrective action is needed to manage your budget.
Options for reporting period are based on the type of budget (e.g., annual, quarterly, monthly) for the current and future year. You can select the level of detail shown in the report based on line items, GL accounts, or transactions.
Tip
Generating the report for transaction details may take a long time, so we recommend showing details by line item or GL account to view associated transactions.
The default Budget Management Reporting role has the 'Can generate Budget to Actual Worksheet report' permission.
The default report layouts are stored in the bgwebreport.pbl (Located in the C:\Program Files\Jenzabar\J1 2022\Web\Plugin\Application.json file). Custom Budget to Actual Worksheet reports created in the Desktop are not transferred to J1 Web. To create a customized report in J1 Web, you'll need access to the bgwebreport.pbl and InfoMaker.
Report name: r_budget_to_actual_worksheet
Note
Only budgets with a status of Board Approved or Under Preparation are available for selection.
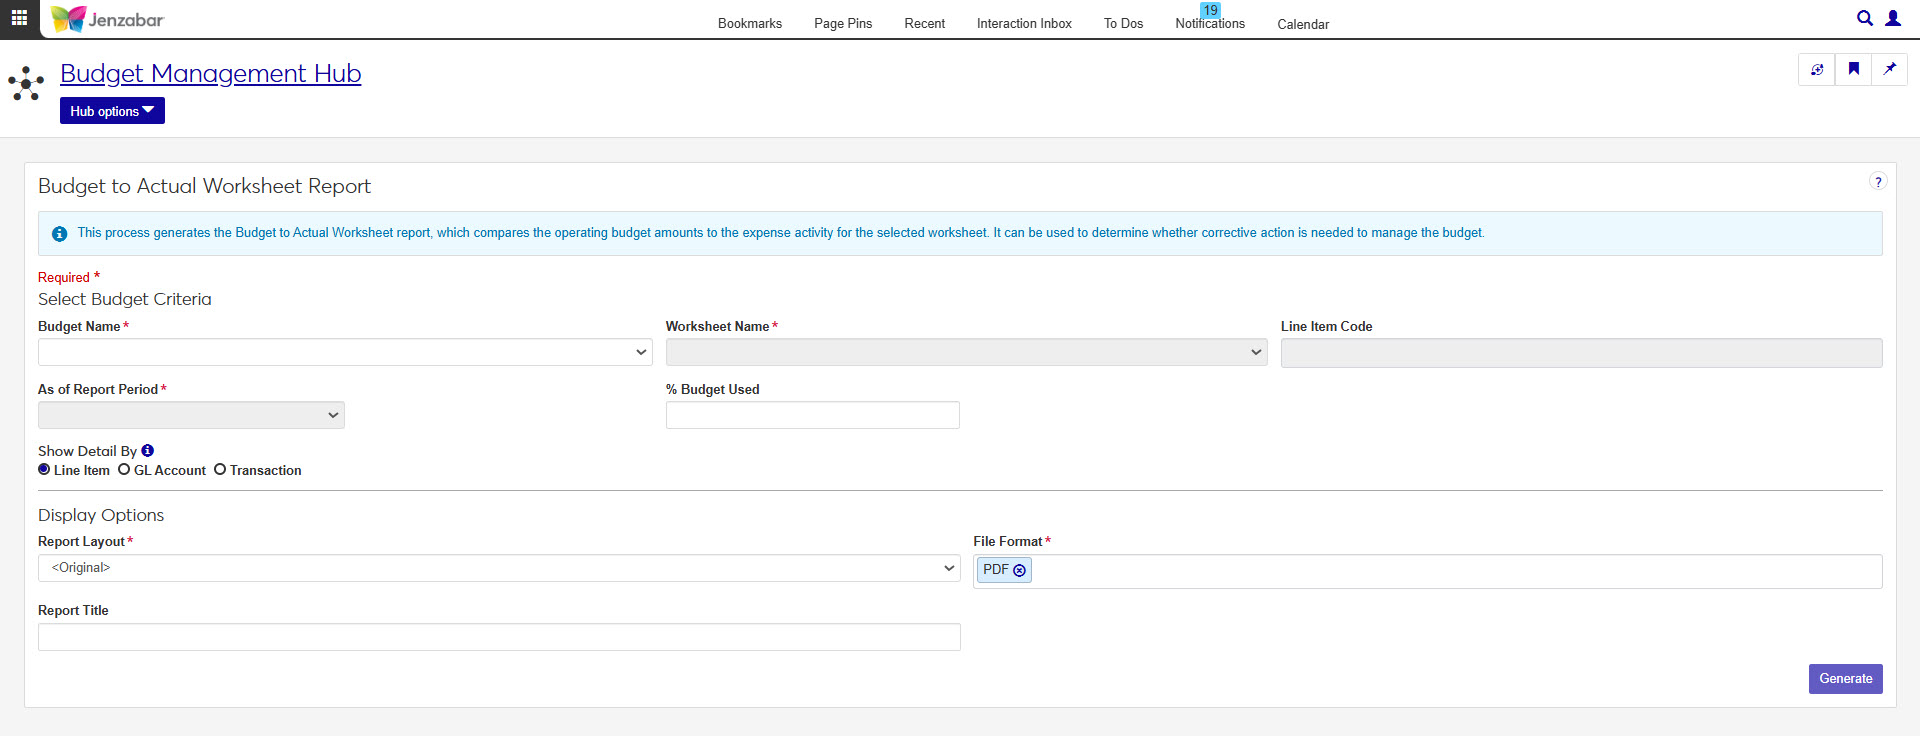
Select a Budget Name.
Select a Worksheet Name from the selected budget.
Enter a Line Item Code to further refine the report detail.
Select an As of Report Period. Options are based on how the selected budget was set up (e.g., annual, quarterly, or monthly).
Enter a value in % Budget Used to flag line items that exceed that threshold (e.g., 15 to flag line items that exceed 15% of the allotted budget).
Select a Show Detail By option to determine whether the report is organized by line item, GL account, or transaction detail.
Select a Report Layout.
Enter an optional Report Title (up to 127 characters).
Select one or more File Format options. You can select from:
PDF
CSV
DIF
HTML
PSR
SQL
TXT
XLSX
XML
Click Generate.
If you selected a single file format of PDF, your report will open in a new tab of your browser. Use the PDF browser options to save your file.
If you selected multiple file formats or a single format other than PDF, you will see the Save As window where you can name and save your ZIP file. When you extract the .zip file, your report in the selected file formats will be available.
Many finance reports are created using long running processes. This means that when you generate a report, you won't see an immediate result. However, you can continue working in J1 Web while your report generates. When it's ready, you will receive a notification that you can access in the Notification Center.