Copy Advising Roles
Important
Information and features vary according to the roles to which you belong and the permissions associated with those roles. For more information, contact your module manager or your campus support team.
The Copy Role process has four main steps:
Selecting the existing role you want to base the new role on. The role you select determines what features can be enabled. For example, the features available to be enabled for an Events Administrator will differ from those for an Events Viewer.
Update the role name and description to eliminate confusion with the original role.
Selecting the features and information users assigned to the role will be able access. Since you are copying a role, the permissions enabled for the original role are already selected. They can be disabled and others enabled. You can also enable/disable features after the role has been created.
Assigning users to the new role using the Edit role feature.
Tip
Jenzabar recommends you use a role name that most administrative users will easily understand. For example, you can base role names on your organizational hierarchy, such as Department Head or Registrar. Then tailor the new role description to briefly describe the role. This can be particularly helpful in distinguishing multiple roles with similar permissions.
Jenzabar recommends that you tailor the new role description to briefly describe the role. This can be particularly helpful in distinguishing multiple roles with similar permissions.
From the Manage Advising Roles page, find the role you want to copy.
Tip
Roles can be searched using the search filter or sorted using the top row column arrows.
From the Options drop-down, select Copy. The Copy Role page opens.
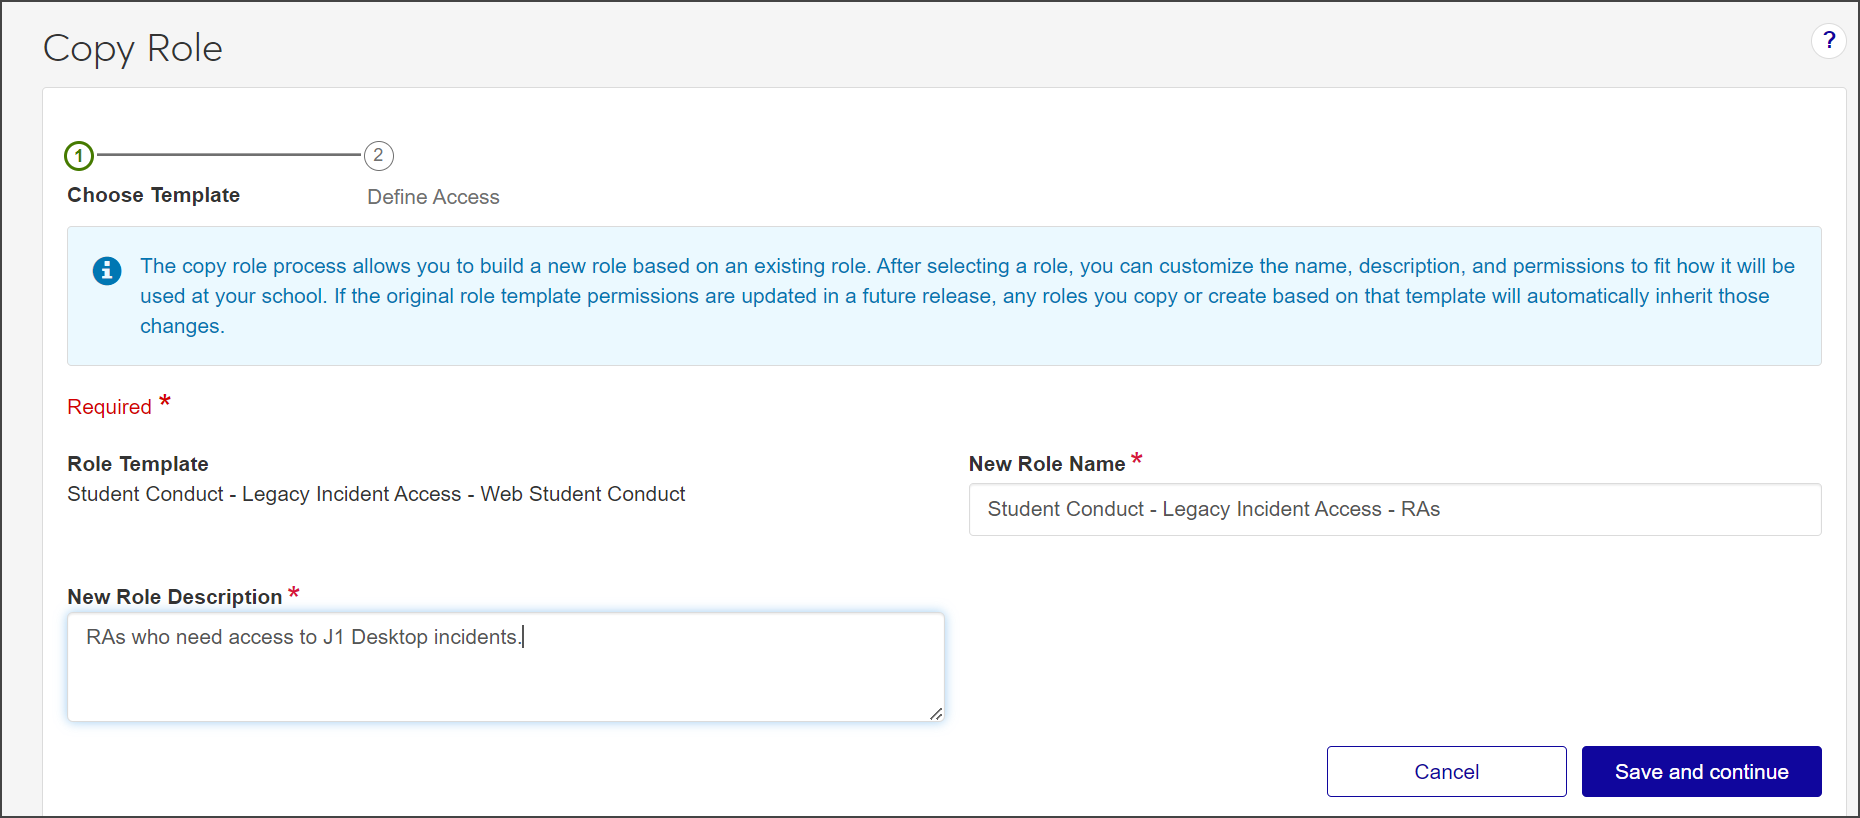
The Role Template field automatically shows the name of the default template the role being copied is based upon. This field cannot be updated.
In the New Role Name field, update the role name to an easily recognizable one. The name can be based on how roles and positions are set up at your school, and should distinguish how this role differs from the role being copied.
In the New Role Description field, update the description to highlight permissions or features available to users assigned to the role. The description can help distinguish how the new role differs from the role being copied.
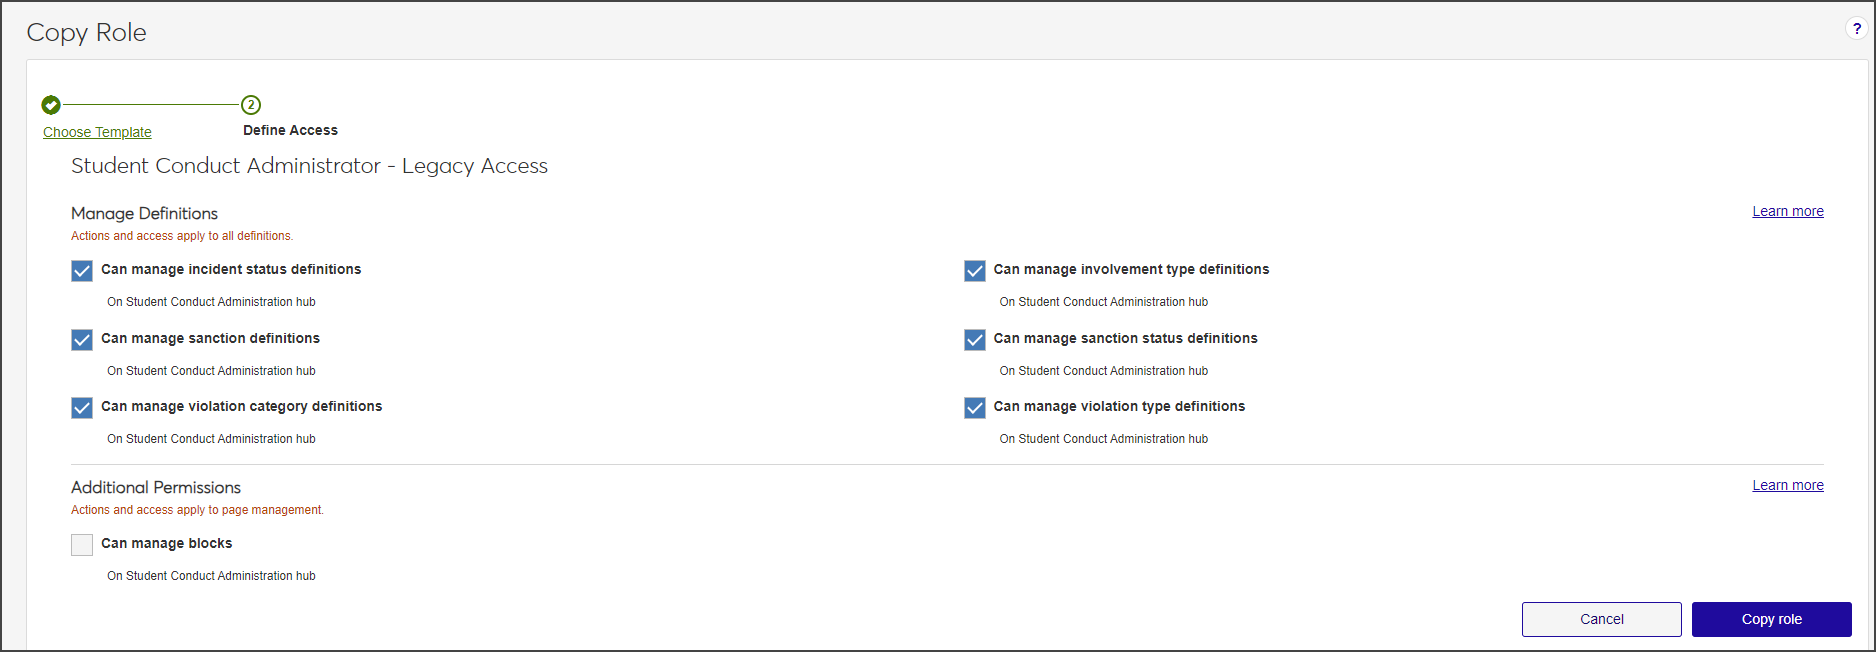
Click Save and continue. The Define Access section opens.
Select the checkboxes next to the permissions you want to enable for this role.
Click Copy role. The Copy Role page closes.
To assign users to the new role:
Select Edit from the Options drop-down. The Edit Role page opens.
Select the Users tab.
Click Add to Role. The Add to Role pop-up opens.
In the Search Users by Name field, start typing the name of the user to be added to the role and select from the names that appear.
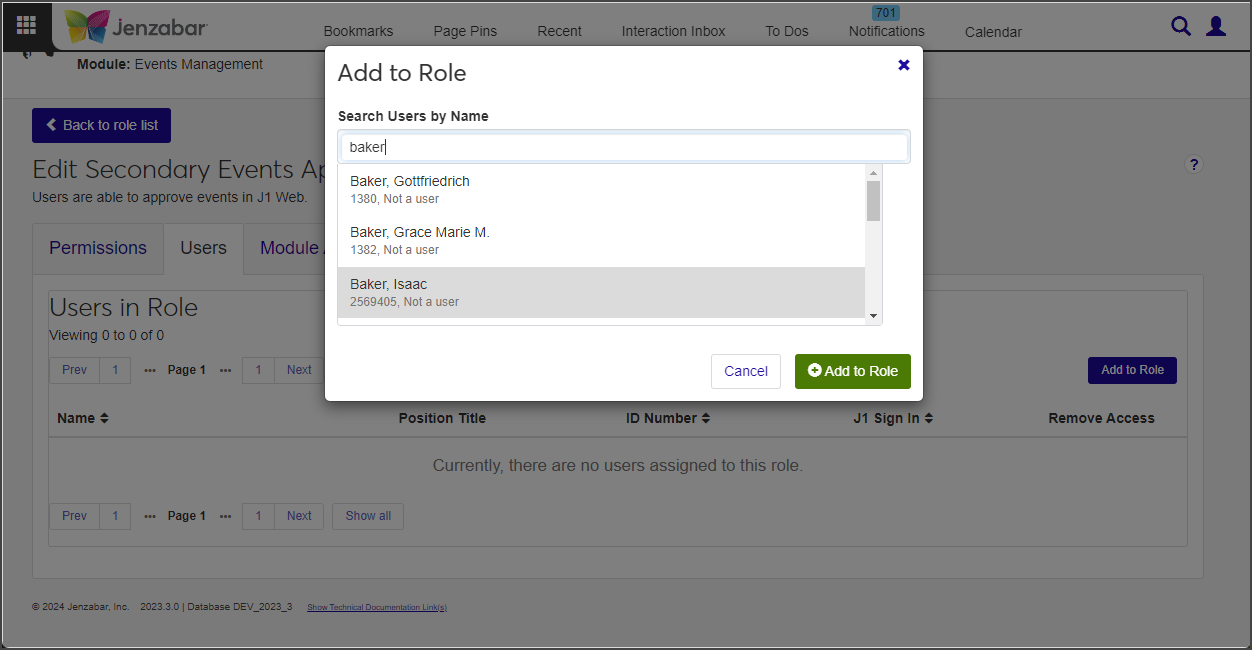
Repeat step d as many times as needed.
Click Add to Role. The Add to Role window closes. The users are added to the role and immediately have access to the information and features associated with that role.
To manage access to interactions (using J1 Web Communications):
Module Access codes are loosely based on Desktop's Module Code Stamp. They control who can work with different interactions and workflows. Codes are associated with interactions and workflows when they're defined and created. J1 Web roles can have multiple access codes enabled and users that belong to multiple roles will have access to the interaction codes available with each.
Select Edit from the Options drop-down. The Edit Role page appears.
Select the Module Access tab.
From the Access column, click No or Yes as appropriate to prohibit or grant access to the interactions associated with that module.
To manage associations:
This option applies only to some roles, including Department Head Course Access (Registration), Secondary Advisor (Advising), Student Conduct - Assistant Director Access by Department (Student Life), Student Conduct - Director Access by Department (Student Life), and Student Activities User by Activity (Student Life).
Select Edit from the Options drop-down. The Edit Role page appears.
Select the Associations tab.
From the group drop-down, select the student, course group, or conduct department you want to enable access to. The groups appear.
Note
For example, the Secondary Advisor - Access to Students by Academic Program role has students grouped by certifications, concentrations, minors, and programs. When you select the certifications group, you see a list of available certifications and can enable access to the appropriate ones.
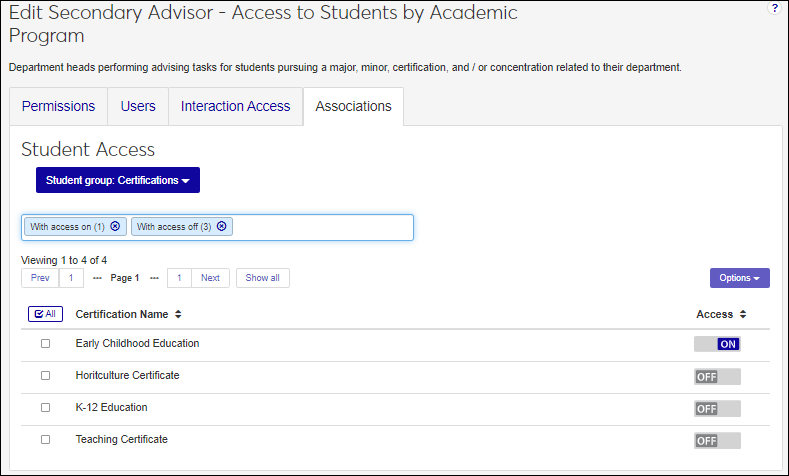
From the Access column, click Off or On as appropriate to disable or enable access to the appropriate groups. Users assigned to the role will have access to constituents or information based on their association to them.
To manage access to user-defined fields.
Select the User-Defined Fields tab.
In the Permissions column for the user-defined field you want to grant or restrict access to:
Select No permissions (default) to restrict users from accessing user-defined fields.
Select Can view UDEF data to allow users to view data only. They will not be able to edit or enter data.
Select Can edit UDEF data to allow users to enter data in user-defined fields.
Select Can configure UDEF data to allow users to design the user-designed field forms (this option grants view and edit permissions as well).
When creating a new role, it starts as an unmodified default role template provided by Jenzabar, with no permissions altered. You will need to customize the role by selecting the permissions you want to grant.
When copying a role, you can base it on either a default role or a custom role that you previously created and customized. The new role automatically inherits the permissions of the original role.
Note
In either case, copied or created, only the permissions are inherited. No users are copied over with the new role.
Only Jenzabar-provided roles are available to be used as a template in the create role process. If you want to create a new role based on a role you have customized or created, use the Copy role feature from the System Roles page.
The role template is provided by Jenzabar and cannot be modified. This helps ensure the base template can easily be identified by other administrative users when creating roles. You can tailor the name of the role being creating using the New Role Name field.