Student Life: Set Up Document Storage
Several features in J1 Web Student Life allow users to attach documentation. This is useful for completing incident reports or residence bedroom damage reports, for example. In order for this feature to work in J1 Web, you must enable a few settings in J1 Desktop.
In J1 Desktop
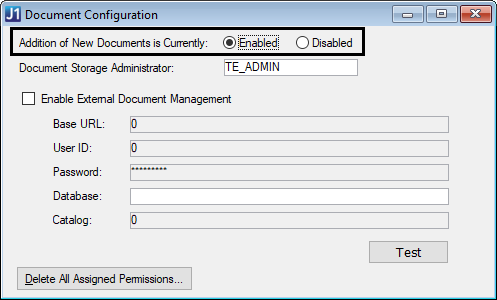
The following features must be enabled on the J1 Desktop Document Configuration window:
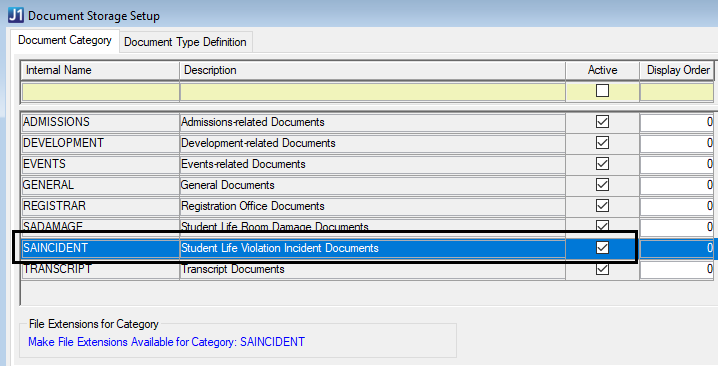
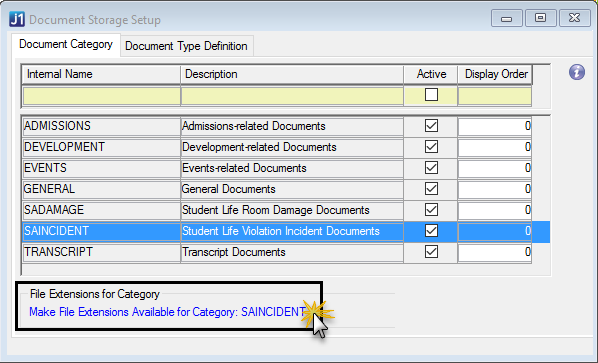
The following settings must be enabled and set up on the J1 Desktop Document Storage Setup window:

Tip
Detailed steps for setting up the allowed file types, sizes, and permissions are available in the J1 Desktop online help.
Processing Incident Reports in J1 Desktop
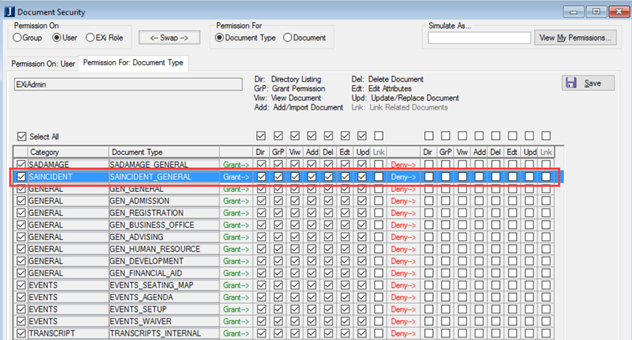
If you need to access attachments when you process incidents in J1 Desktop, you must belong to a J1 Web role with permission to access one or more SAINCIDENT-specific document types, or the J1 Web user must be granted direct access to the SAINCIDENT document types (in the J1 Desktop Document Security window). The permissions for the SAINCIDENT documents and document types determine if you and other J1 Web users can view, add, edit, or delete attachments for incident reports.
These permissions are not necessary for attaching or viewing documents in J1 Web.