Manage Residence Life Suites
Important
Information and features vary according to the roles to which you belong and the permissions associated with those roles. For more information, contact your module manager or your campus support team.
A residence life suite combines multiple spaces into one unit. The space types that can be added to a suite are:
Residence life bedrooms
Dining / Food prep / Kitchenette (designated as a residence life space)
General purpose (designated as a residence life space)
Restrooms / Locker rooms / Showers (designated as a residence life space)
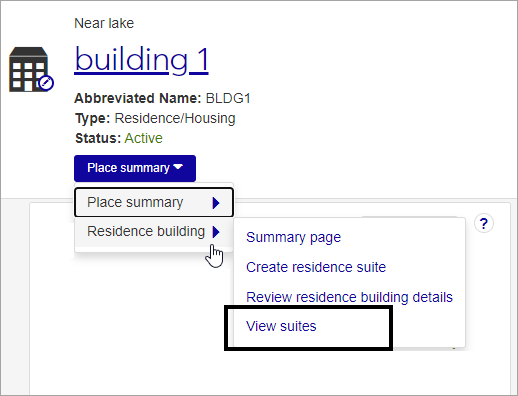
Click on a Place (building) name link to navigate to the Place summary page.
From the Place summary drop-down, select Residence Building > View suites. The View Suites page opens, listing all the active suites in the building.
The list includes the following information for each suite:
Suite: The name of the suite. Click the link to open the Suite summary page.
Smoking Allowed: Yes, No, or Not Specified.
Number of Spaces: Indicates the number of spaces—bedrooms, kitchenettes, etc.—included in the suite.
Abbr. Name: The abbreviated name of the suite.
Description: A brief description of the suite.
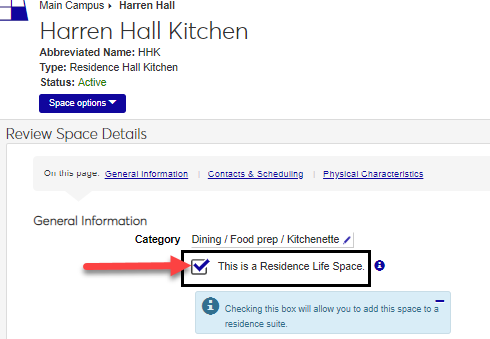
Caution
Before you create a suite, you must create the spaces that will go into the suite. All non-bedroom spaces must have the This is a Residence Life Space checkbox selected. This checkbox is found in the Facilities hub and can only be edited by users with Can edit spaces permissions enabled for their role.
It is easiest to add all correct information for the suite when you first create it. Although you can edit it later, there are additional steps involved.
To begin creating a suite, navigate to the Place summary page for a building that has already had appropriate spaces created (bedrooms, restrooms, kitchens, etc.). Access the Place summary page from the Facilities Hub by selecting View places from the Hub options drop-down menu and then clicking the link for the place you want to work with.
On the summary page, click the Place summary drop-down and select Residence building > Create residence suite.
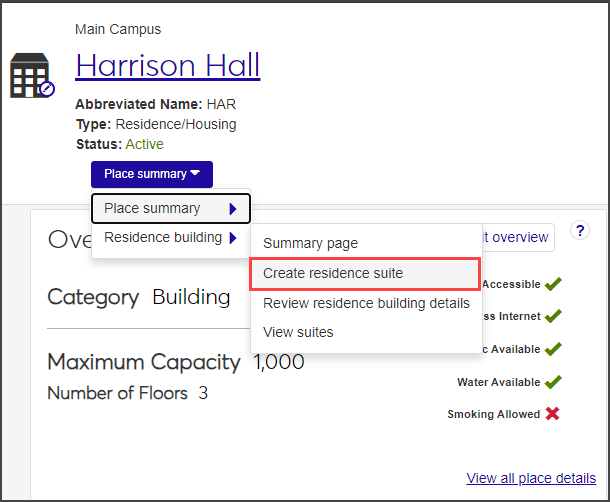
The Create Residence Suite wizard opens to step 1, Resident Suite Basics.
Enter a Name and Abbr. Name (abbreviation) for the suite. These fields are required.
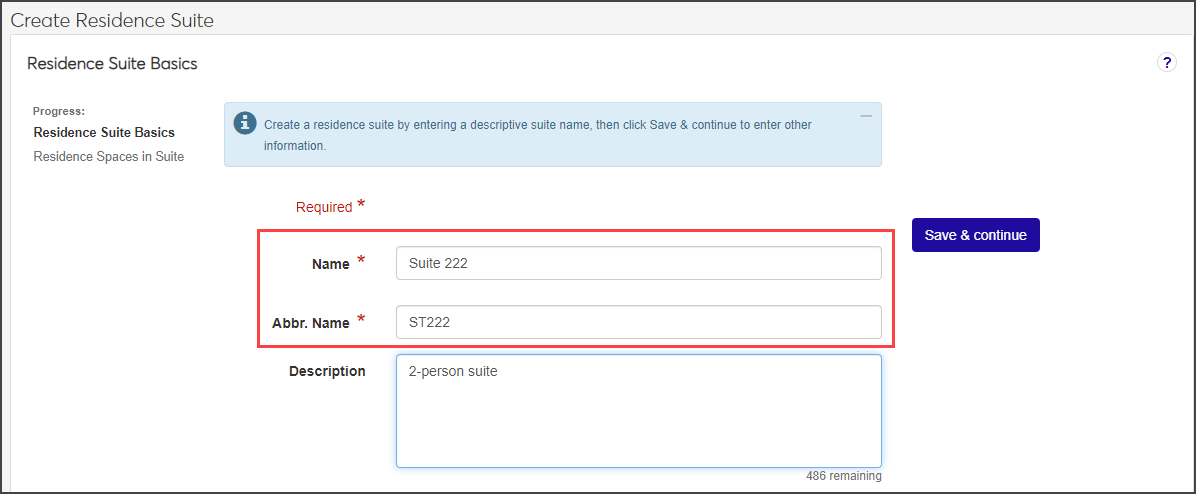
Enter an optional Description.
When you are finished, click Save & continue to move on to the next step, Residence Spaces in Suite.
Select a smoking option from the Smoking Allowed Suite? drop-down to indicate if smoking is allowed in this suite. If you select No you can only select non-smoking spaces; if you select Yes you can only select spaces that allow smoking.

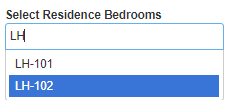
Click in the Select Residence Bedrooms field and select one or more bedrooms to add to the suite.
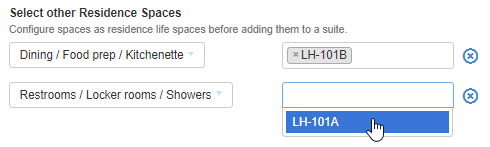
From the Select other Residence Spaces drop-down, choose the type of space you want to add (for example, a restroom or a kitchenette), then select one of the available options in the field to the right.
When you are finished, click Save & finish. The suite is added and the Suite summary page opens. This is where you can add or edit details as needed.
Tip
You can also update an image for the suite from the Summary page. See the Update Images topic for more details.