Employee Page
Important
Information and features vary according to the roles to which you belong and the permissions associated with those roles. For more information, contact your module manager or your campus support team.
Most employees at your school have a page that displays some general information, including their ID number, current positions, and years of service.
Go to the Summary Page for a person or employee.
Click the Edit icon on the image next to the page title.
Click Choose image in the pop-up.
Navigate to the image you want to upload and click Open.
Select the Display image everywhere in J1 Web checkbox if you want the image displayed on the current page and other places in J1 Web.
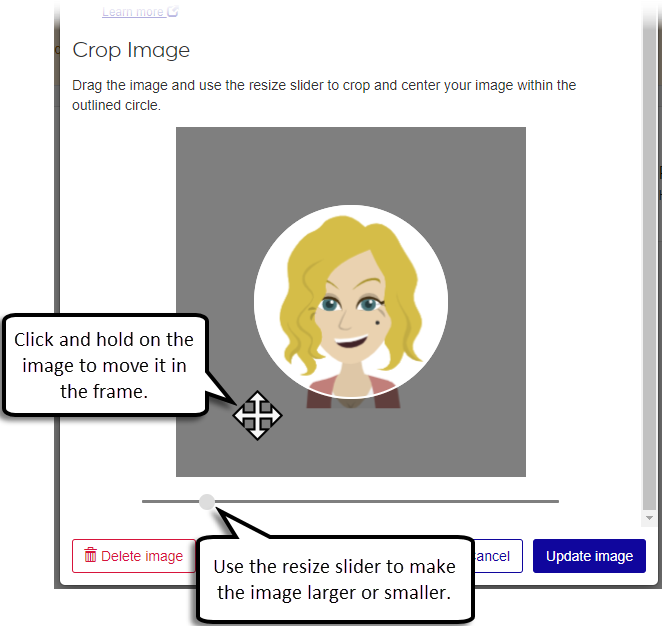
Adjust the image placement and size in the Crop Image section.
Click Update image.


Go to the Summary Page for a person or employee.
Note
For places, spaces, or suites, go to the Place, Space, or Suite page.
Click the Edit icon on the image next to the page title.
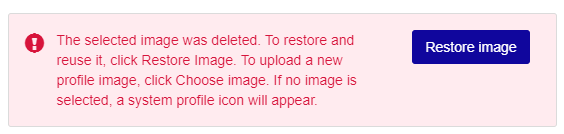
Click the Delete image button.
Click Save changes.
Select Interaction inventory from the Person options drop-down. The Interaction inventory opens with the view filtered to the employee's interactions.
No, this page is read only.
You must have one of the following permissions to upload images:
Can update images for employees (on Employee pages)
Can update images for people (on Person pages)
Can update images for places (on Place pages)
Can update images for spaces (on Space pages)
Can update images for suites (on Suite pages)
The System Administration Manager role has these permissions turned on by default. Contact your campus support team for additional information about your permissions.
Not at this time.