Case Summary: Case Documents Tab
Important
Information and features vary according to the roles to which you belong and the permissions associated with those roles. For more information, contact your module manager or your campus support team.
The Case Documents tab lists all case-related documents that have been uploaded. You can open and view the uploaded documents, upload additional documents, edit the document description, and remove documents from the case.
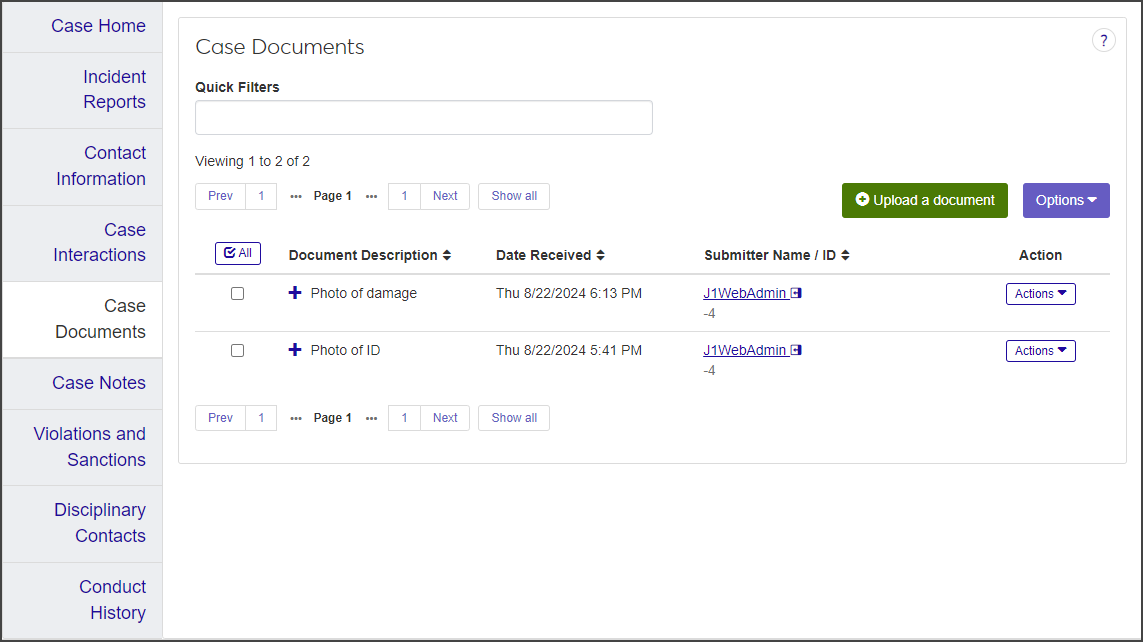
On the Case summary page, click the Case Documents tab. The tab lists all case documents that are currently uploaded.
To filter the list, type a word or other text in the Quick Filters field and select Add '[search text]' when it appears.
Click the plus icon next to a row to see a link to the attachment.
The size and file formats allowed are configured by the user. You can upload only one file at a time.
In the Case Documents tab, click Upload a document. The Upload a Document pop-up opens.
Click Choose file and locate and select the file you want to upload.
Enter a brief Description.
Click Upload and add another to upload the document and leave the pop-up open so you can upload another file. Click Upload document to upload the document and close the pop-up. The document is now listed in the Case Documents tab.
You can edit the document description for files individually or in a batch. The description is the only detail you can edit.
To edit the description for an individual file:
In the Case Documents tab, select Edit document from the Actions drop-down for the document you need to edit. The Edit Document pop-up opens.
The Select a Detail to Update field defaults to Document Description and cannot be edited.
Enter a new description in the text field next to the Select a Detail to Update field.
Click Update to save the change.
To edit the description for multiple files:
In the Case Documents tab, select the checkbox next to each file you want to edit.
Select Edit documents from the Options drop-down. The Edit Documents pop-up opens, listing the documents you selected.
The Select a Detail to Update field defaults to Document Description and cannot be edited.
Enter a new description in the text field next to the Select a Detail to Update field. Note that this description will be applied to all of the selected documents.
Click Update. The description is updated for all the selected documents.
You can remove documents individually or in a batch.
To remove individual documents:
In the Case Documents tab, select Remove document from case from the Actions drop-down for the document you want to remove. The Remove Document pop-up opens, asking you to confirm that you want to remove the document.
Click Yes, remove.
To remove documents in a batch:
In the Case Documents tab, select the checkbox next to each document you want to remove.
Select Remove documents from case from the Options drop-down. The Remove Documents pop-up opens, asking you to confirm that you want to remove the selected documents.
If you decide you need to retain any of the selected documents, click the Remove icon to delete them from the list.
When you're ready to remove the listed documents, click Yes, remove.