Open Purchase Orders Not Invoiced Report
Important
Information and features vary according to the roles to which you belong and the permissions associated with those roles. For more information, contact your module manager or your campus support team.
Use the Open Purchase Orders Not Invoiced report to generate a list of purchase orders (POs) that have a remaining balance. The report includes open POs within a specified date range, and you can choose to unencumber open POs during the report generation process.
Permissions Required
To access the Open Purchase Orders Not Invoiced Report page, you must be in a Procurement - Purchasing role with "Can create Open Purchase Orders Not Invoiced report" permission.
Desktop Location
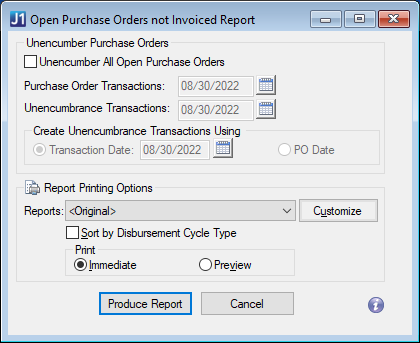
The Open Purchase Orders Not Invoiced report can also be generated in Desktop from the Open Purchase Orders not Invoiced Report window.
Note
The Reports field in the Desktop is equivalent to the Report Layout field in J1 Web.
The J1 Web report page does not include "Immediate" and "Preview" options because the report opens in a new browser tab and can be downloaded to print later.
At this time, J1 Web does not allow report customization directly from the report page. For instructions to create customized report layouts for J1 Web, see How To Create Customized Reports for J1 Web.
From the Finance Procurement Hub options, go to Reports and select Open Purchase Orders Not Invoiced. The report page opens.
Enter a date for Purchase Order Transactions. Today's date is the default. POs that have a transaction date on or before this date with line items containing an amount remaining are included in the report.
Enter a date for Unencumbrance Transactions. Today's date is the default. This date is used to determine if a PO has line items with an amount remaining after the entered date. The Unencumbrance Transactions date is compared against the Purchase Order Transactions date to determine which PO transactions have unencumbrances on or before the Unencumbrance Transactions date.
To unencumber open POs when the report is generated:
Select the Unencumber All Open Purchase Orders checkbox. The Transaction Date and PO Date options are enabled.
Enter a Transaction Date if you want to create unencumbrance transactions using the transaction date. Today's date is the default, but you can select a different date.
Select the PO Date option if you want to create unencumbrance transactions with the original PO date.
Caution
When this option is selected, open POs that are included in the report cannot be invoiced.
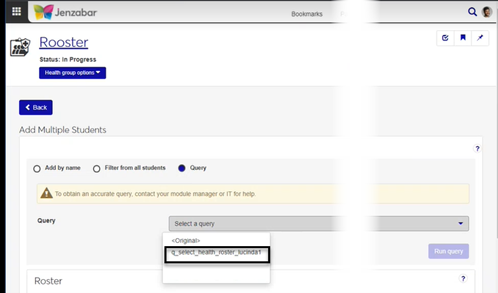
Select a Report Layout. The <Original> is the default, and any report layouts customized for J1 Web are available for selection.
Note
Reports that were customized in Desktop are not available for selection. To create customized reports for J1 Web, see How To Create Customized Reports for J1 Web.
Select a File Format. The default selection is PDF, and you can select multiple formats.
Select the Sort by Disbursement Cycle Type checkbox to group open POs by disbursement cycle code in the report.
Click Generate. An alert that the process has started appears. You can continue working in J1 Web while the report is generating, and you'll receive a notification pop-up when the report is finished.
If the Unencumber All Open Purchase Orders checkbox is selected, unencumbrance transactions are created after the report is generated and the remaining PO balance is cleared.
To view the report:
Click the "Report Generated" notification link from the Notifications drop-down in the global toolbar. You can also navigate to the Notification Center, select the notification titled "Report Generated", and click the View Details icon.
In the Report Generated pop-up, click the Open Purchase Orders Not Invoiced Report link to open the report in a new browser tab.
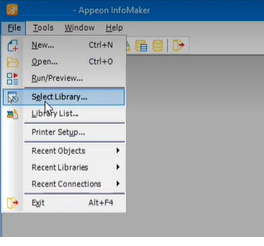
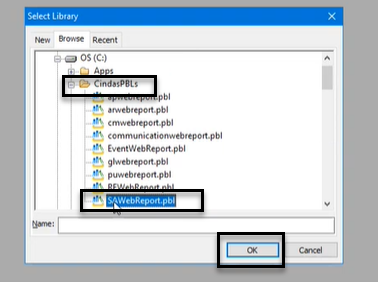
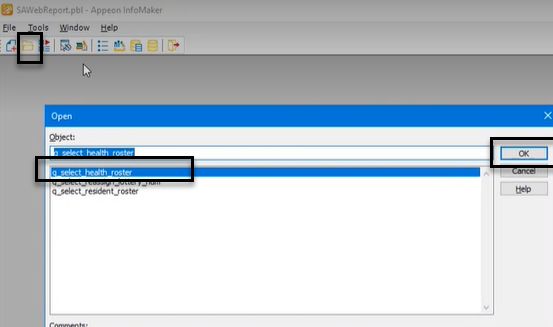
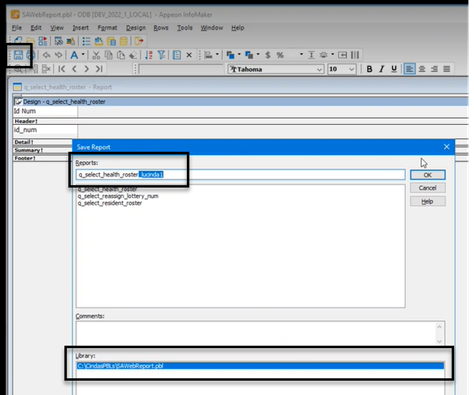
Follow the steps in How To Create Customized Reports for J1 Web above. The original report name is r_open_po in the PUWebReport.pbl. For additional assistance, contact your campus support team.
Note
Any versions of this report that were customized in Desktop cannot be brought over to J1 Web. You'll need to re-customize the reports from the original J1 Web report.
Infomaker must be installed on your machine to work with and customize reports. Contact your campus support team for additional information.
You may not be able to generate the report for a couple of reasons.
Some of the open POs may be locked by other users. When POs are in use and locked, the report generation process cannot run.
There may have been a technical issue when the process started. Contact your campus support team if you need additional assistance.
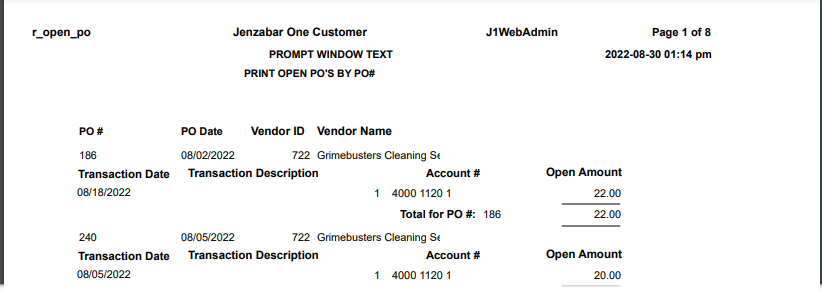
The default report layout is organized by vendor and includes the following information.
PO #
PO Date
Vendor ID
Vendor Name
Transaction Date
Transaction Description
Account #
Open Amount for each transaction
Total open amount for the PO
Verify the PowerBuilder Services URL is entered correctly in System Administration, System Settings, Product Installs and Sign page.
The URL must use HTTPS and not HTTP
The URL subdomain and domain must match the J1 Web URL

If the location where you store J1 Web reports is not the default installation location (C: > Jenzabar > Reports), verify the J1 Web server has permission to access the location. Detailed steps are available in the help topic Working with Reports in J1 Web.
