Create Vendor: Name / ID
Important
Information and features vary according to the roles to which you belong and the permissions associated with those roles. For more information, contact your module manager or your campus support team.
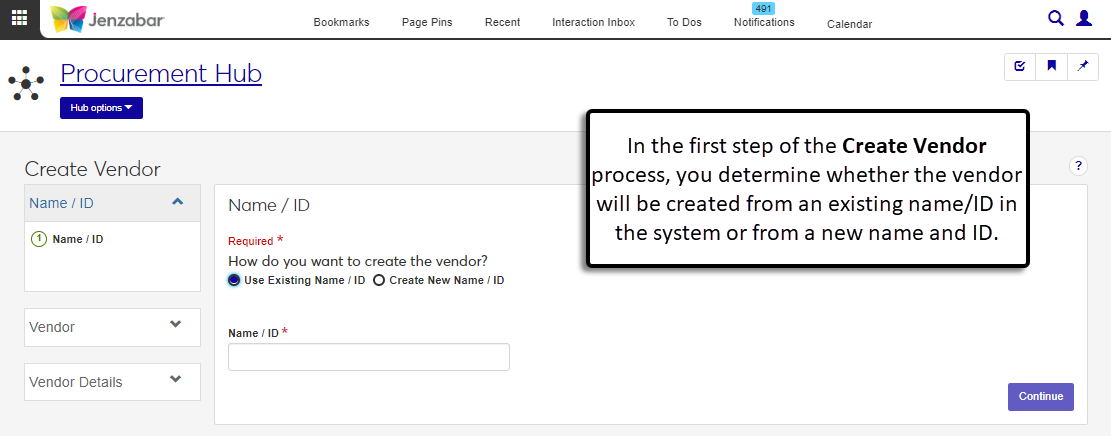
The first step in the Create Vendor process is to add name information. You can create a vendor from an existing name/ID in the system, or create a new name and ID. Vendors can be identified as people or organizations in the system, and different information is required for each vendor type.
Creating a Vendor from an Existing Name/ID
By default, the Use Existing Name / ID option is selected. Enter a name or ID number, select the person from the drop-down list, and click Continue.
Tip
The system updates the ID Number / Name field when you enter a full ID number and press Tab to move to the next field.
Adding a New Vendor to the System
When the Create New Name / ID option is selected, there are 3 steps to complete.
Identify the vendor as a person or an organization.
Enter contact information.
Perform duplicate checks to ensure the new vendor hasn't already been entered in the system.
From the Procurement Hub options, select Create vendor.
On the Create Vendor page, Name / ID step, select the Create New Name / ID option.
To create a person vendor:
In the Create New Name / ID section, Person is the default selection for the Is this vendor a person or an organization? field.
In the Person Basic Information section, enter the following:
First Name (required)
Middle Name
Last Name (required)
Birth Date
SSN (only visible and editable with permission)
Birth Name
Nickname
To create an organization vendor:
In the Create New Name / ID section, select Organization from the Is this vendor a person or an organization? drop-down.
Enter the Organization Name (required).
If known, enter the organization's FEIN.
Click Continue.
Note
At least one phone number or alternate contact must be added to use the Communications features. For more information about the address and contact fields, see the Person Information Details page, Contact Info tab.
Tip
Entering contact information isn't required to continue creating a vendor. You can wait to add contact information later from the Person or Organization Information Details page.
On the Contact Information step, create address, phone, and/or alternate contact records.
To add an address record:
Click Create address record.
Select an Address Code. Required, and cannot be edited once the record is created. Available options are maintained in the Campus-wide Definitions hub on the Contact definitions page.
Enter or select details for the following fields. At least one address field must have a value to enable the "Continue" button.
Enter an Address Line 1, Line 2, and Line 3 (up to 60 characters).
Enter the City name (up to 60 characters).
Select a State.
Enter a Zip Code (up to 5 characters).
Select a Country.
Select a County.
Select a Locality.
Enter a name in the Attention field if mailed items should be addressed to someone other than the associated name (up to 45 characters).
Select an address Type.
Select the address Status.
Enter the Date Confirmed, if known.
Enter the Start Date and End Date to indicate when the record is available in the system.
Select a Year Start Month and Year Start Day if this address will be used for the person for only part of the year.
Select the Year End Month and Year End Day to indicate when this address is no longer active for the year. The combination of Year End Month and Year End Day must be greater than or equal to the combination of Year Start Month and Year Start Day.
The Update Source is typically autofilled when information is added via the Process Internet Submission process or another import process. If not, select an option from the drop-down.
Select the Stop Mail checkbox if this address should not receive mail.
Select an FIPS 5 1 Code, if known.
Enter a 9-digit Postnet Barcode Zip if you'll need to print the address with a barcode.
Select a Private option. Default is No.
If needed, click Create another address record and repeat the above steps.
To add a phone record:
Click Create phone record.
Select a Phone Type. Required.
Select a Country.
Enter a Number with up to 30 digits. Required.
Enter an optional Extension with up to 5 digits.
From the Associate with Address drop-down, select the address code the phone number should be tied to.
Enter the Start Date and End Date to indicate when the record is available in the system.
Select an optional phone Carrier.
Select the Text Capable checkbox if the number can receive and send text messages.
Select a Mask option to determine how the number is displayed throughout the system (e.g., U.S. number with an extension).
Select a Status.
If known, enter the Date Confirmed.
Select the Verification Status. Required. Default value is Unknown.
Enter a Phone Contact Name (up to 45 characters) if the phone number is shared and may have a contact other than the associated name record.
Select whether the phone number is Private. Default is No.
If needed, click Create another phone record and repeat the above steps.
To add an alternate contact:
Click Create alternate contact record.
Select a Contact Type. Required.
Enter the Contact Address (up to 60 characters). Required.
If the selected Contact Type is an email, select the Institutional Email checkbox to indicate the record should be used as the default email for certain system processes.
Warning
Only one email can be flagged as the institutional email. If another email was already flagged, selecting the checkbox for this record deselects the checkbox on the other record.
Select the Preferred checkbox if this is the preferred alternate contact method.
Warning
Only one alternate contact can be flagged as preferred. If another alternate contact record was already flagged, selecting the checkbox for this record deselects the checkbox on the other record.
The Active checkbox is selected by default. Deselect it to mark the alternate contact inactive.
Select the Notification Enabled checkbox if notifications can be sent to this alternate contact record.
Enter the Start Date and End Date to indicate when the record is available in the system.
Enter the Date Confirmed, if known.
Select the Verification Status. Required. Default is Unknown.
If needed, click Create another alternate contact record and repeat the above steps.
Click Continue.
If there are no duplicates found, click Create new name / ID & continue. Click Yes, continue in the pop-up to proceed to the Vendor step.
If a duplicate record is found, use the Person / org info and Vendor info buttons to review the existing information.
To use existing information and not the newly entered vendor information:
Click the Match option to Yes.
Click Create vendor with match ID.
Click Yes, continue in the pop-up to proceed to the Vendor step.
To use the newly entered vendor information, leave the Match option set to No and click Create new name / ID & continue. Click Yes, continue in the pop-up to proceed to the Vendor step.
Type and Status options are maintained on the Core, Campus-wide Definitions hub Maintain Table Values page. Values are defined for the "Address status" and "Address type" table descriptions.