Transfer Subsidiary Balances
Important
Information and features vary according to the roles to which you belong and the permissions associated with those roles. For more information, contact your module manager or your campus support team.
Use the Transfer Subsidiary Balances page to generate transactions from a selected subsidiary account to an offset account. First, select an AR subsidiary account data set to query the system for subsidiary accounts with a positive posted balance. Then select another AR subsidiary offset account to transfer a specified balance amount or the total balance to. Once the transfer process is initiated, it may take a while to complete; you'll receive a notification when it's finished. After the process completes, a TP batch is created and you can review the batch validation report.
Warning
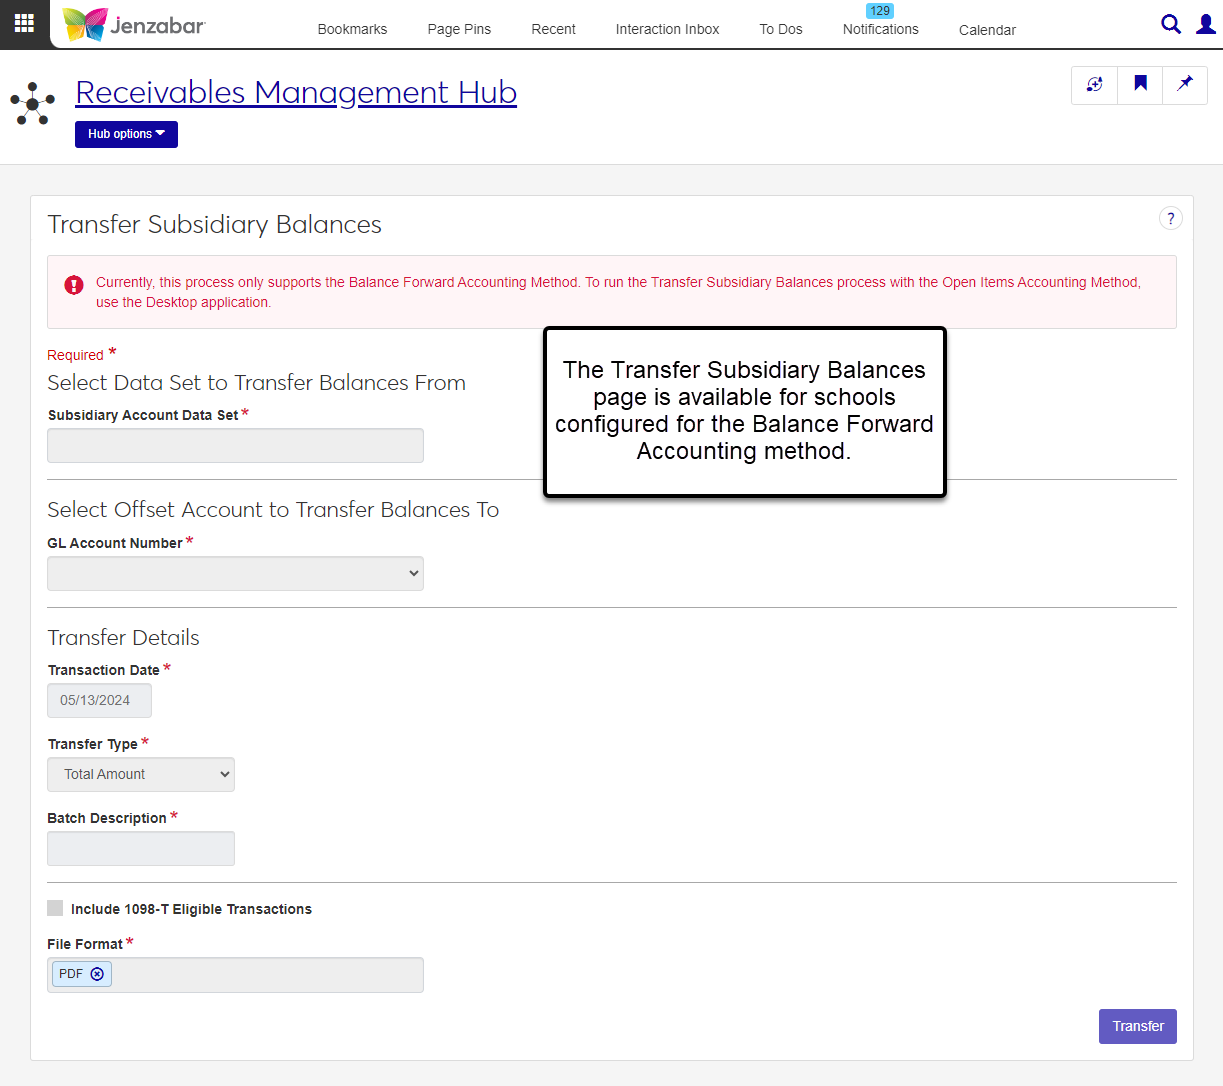
At this time, J1 Web only supports the Balance Forward Accounting Method to run this process. If your school is configured for Open Items, you'll need to run the Transfer Subsidiary Balances process in the Desktop application.
Permissions Required
To access the Transfer Subsidiary Balances page, you must be in a Receivables Management role with the "Can transfer subsidiary balance" permission.
Desktop Location
You can also complete this process from the Desktop Transfer Subsidiary Balances window.
From the Receivables Management Hub options, select Transfer subsidiary balances. The Transfer Subsidiary Balances page opens.
Click in the Subsidiary Account Data Set field and select an option from the drop-down. The "Transfer Subsidiary Balances Original" data set is the default and any customized versions of the query are available from the drop-down.
Select the offset GL Account Number from the drop-down. Only AR subsidiary accounts are available for selection.
The Transaction Date is set to today's date by default, but you can update it to any date within the current or future fiscal year.
Select a Transfer Type.
Total Amount (default): When selected, the full balance from the selected subsidiary is transferred to the offset account. The process will transfer the total account balance regardless of whether it is a debit or credit balance.
Set Amount: When selected, you must specify the amount to be transferred to the offset account in the Transfer Amount field. The process will transfer that amount regardless of the balance of the subsidiary you are transferring from. The system debits the amount to the selected subsidiary accounts and credits the offset account.
Enter the Batch Description, which will be assigned to the TP batch when the transfer process is complete.
Select the Include 1098-T Eligible Transactions checkbox if you want the offset transactions to be flagged as 1098-T eligible. When this checkbox is selected, the following fields are visible and required.
Select a 1098-T Eligibility Flag from the following options.
B (1098-T Eligible Box 1 and Box 5 Non-Financial Aid Source Codes)
C (1098-T Eligible Charge)
G (1098-T Eligible Grant/Scholarship)
N (1098-T Not Eligible)
P (1098-T Eligible Payments)
Select the 1098-T Academic Year.
Select the 1098-T Academic Term.
Select the File Format. PDF is the default, and you can select one or more additional formats. Required.
Click Transfer. An alert that the process has started appears. You can continue working in J1 Web. You'll see a notification pop-up when the process is complete.
To review the TP batch details when the process is complete:
Click the Transfer Subsidiary Balances Process Completed notification link from the Notifications drop-down in the global toolbar. You can also navigate to the Notification Center, select the notification titled "Transfer Subsidiary Balances Process Completed", and click the View Details icon.
In the Transfer Subsidiary Balances Process Completed pop-up, click the links to open the TP batch details and batch validation report.