Create Vehicle Incident Report
Important
Information and features vary according to the roles to which you belong and the permissions associated with those roles. For more information, contact your module manager or your campus support team.
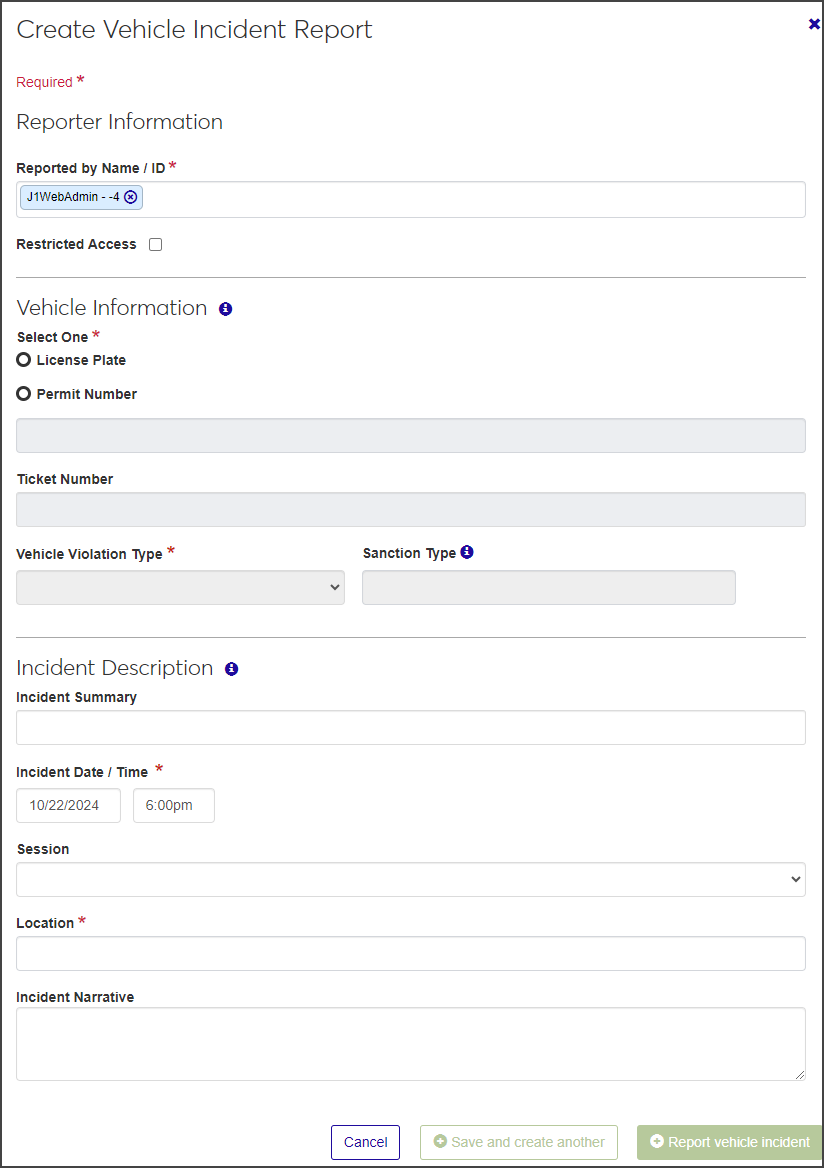
From the Create Vehicle Incident Report page, you can record and submit vehicle incident reports.
To create a Vehicle Incident Report, you must be in a role with the "Can submit incident reports" permission enabled.
Even if you don't have all the information needed, complete the form to the best of your knowledge. The report can be edited later.
On the Vehicle Administration Hub page, select Create vehicle incident report from the Hub options drop-down. The Create Vehicle Incident Report window opens.
In the Reporter Information section, the Reported by Name / ID field autofills with the name and ID of the logged-in user. To change it:
Click the Remove icon next to the name.
Begin typing the new name in the field and select the correct name when it appears on the list.
If vehicle incident reports are set up to have the incident number created manually (see Manage Vehicle Settings), enter an Incident Number in the field. The number can include a maximum of 9 numerals.
If the incident number is set up to be generated automatically, the Incident Number field is not visible.
Some incident reports contain sensitive data and should be restricted to specific personnel. If this is the case, select the Restricted Access checkbox.
In the Vehicle Information section, select either License Plate or Permit Number to indicate how you want to search for the vehicle.
Begin typing the license plate number or permit number in the field and select the correct vehicle when it appears.
After you select the license plate or permit number, the following driver's information is displayed below the field:
involved party's name and ID (if the involved party is in your school's system, you can click the name to open the student's summary page)
if the driver has an active permit
driver's license state
plate expiration year
permit type
make, model, and year of the vehicle
If a ticket was issued, enter the number in the Ticket Number field.
Select an option from the Vehicle Violation Type drop-down. The available options are pulled from active Vehicle Violation Type definitions.
Default sanctions are applied automatically based on the violation type you select, but you can remove the default or add another sanction:
To remove a sanction, click the Remove icon next to the sanction in the Sanction Type field.
To add a sanction, click in the Sanction Type field and select a new sanction from the list.
Note
If you selected the Restricted Access checkbox in the Reporter Information section, the Sanction Type drop-down is not available.
To add another vehicle violation type, click the Add another vehicle violation type link and repeat steps 7 and 8.
In the Incident Description section, enter a brief account of the incident in the Incident Summary field. The summary can contain a maximum of 100 characters.
Click in the Incident Date / Time fields and select the date and time the incident occurred.
Select the Session from the drop-down. The field defaults to the currently active session but can be changed if other sessions are active (for instance, if spring and summer sessions overlap).
Begin typing the location of the incident in the Location field and select the correct option when it appears in the list.
Enter a detailed account of the incident in the Incident Narrative field. This field has no character limit.
Click Save and create another to save the report and clear the fields so you can create another. Click Report vehicle incident to save the report and close the window.