Student Listing Report
Important
Information and features vary according to the roles to which you belong and the permissions associated with those roles. For more information, contact your module manager or your campus support team.
Use this page to generate lists of students, their divisions, majors, honors, probations, hours, GPA, and full-time/part-time status. First you select a year/term, and then you build a list of students to report on.
You can build the list of students in any combination of these ways:
Student: You can add students by searching for them one at a time, entering their name or ID.
Filters: You can add students using any combination of these filters:
Classification
Division
Degree
Major
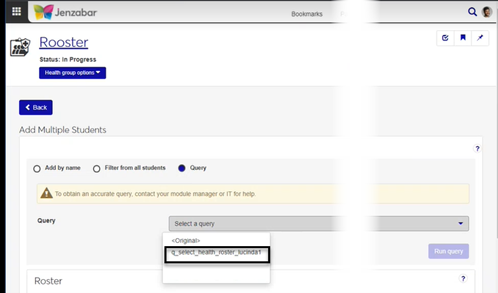
Data Set: You can select from data sets. The Original data set includes all students enrolled in the selected year/term.
Note
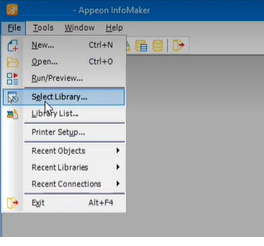
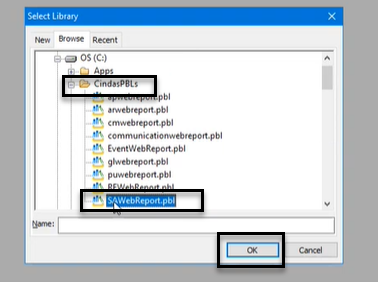
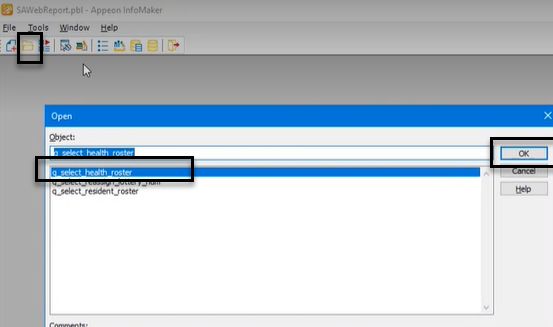
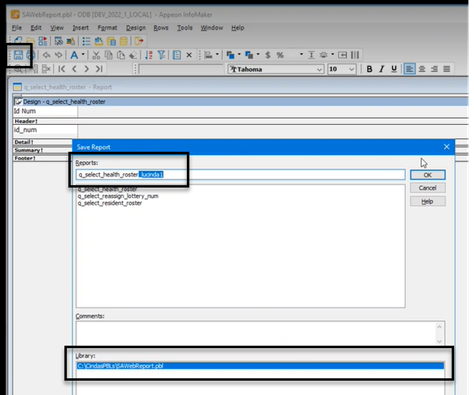
Data sets use InfoMaker to query the database and determine which students are included. Queries are managed in InfoMaker, and updates made there are reflected in J1 Web.
The Original data set is provided by Jenzabar. Your school can define others.
Data sets are called queries in Desktop.
Selected students are listed in alphabetical order with the following fields:
Division code
Major 1, Major 2, and Major 3
Honors and Probation codes
Courses (for the term): hours and number of courses
Class Information: Class (classification such as 4 for senior), Rank, Size
Career: Attempted, Earned, and GPA hours; Career Quality Points and GPA
Term: Attempted, Earned, and GPA Hours; Term Quality Points and GPA
Part-Time/Full-Time Status
Subtitle: You can enter a subtitle that appears just under the title (Student Schedule) on each student's schedule page. Examples: "Graduate and Undergraduate", "Second Subterm"
Layout: You can select a layout if your school has created any. The Original layout (d_stud_sched_rpt) is provided by Jenzabar.
You can run the report from Desktop, too, on the Student Listing Report window.
Permission to generate student listing reports is available in these roles:
Registrar
Registration Module Manager
Registration Reporting Module Manager
The permission required is "Can generate student listing reports".
In the Registration Reporting and Processes hub, click Hub options.
In the Student reports section, select Student listing report. The Student Listing Report page opens.
In Term, enter a year. The matching year/terms appear. Select one.
To build the list of students for the report:
Select a radio button.
Student lets you enter students one at a time by name or ID.
Filters let you use a number of filters to find students.
Data Set lets you select a predefined data set. The Original data set includes all students scheduled for the selected year/term.
Enter information in the fields that appear when you select a radio button.
Click Add students.
You can add more students using the same radio button or different ones to find more students, and then click Add students again.
You can remove students by clicking the Remove icon in their row.
In Display Options:
You can enter a Subtitle to appear just under the title on each student's page.
You can select a Layout if your school has created one, or use the Original layout (d_stud_sched_rpt) provided.
Click Generate PDF. The report opens in a new tab.
In most cases, yes. Customized versions of the report created in Desktop before your school started using J1 Web should be available as options in the Report Layout drop-down. If your school created new customized layouts in Desktop and copied them to the appropriate location on the J1 Web server, those reports are also available in the drop-down.
However, certain reports were modified to be used in J1 Web (i.e., the base report for J1 Web is different from the base report in Desktop). In those cases, the customized versions from Desktop will not work even when they are moved to the correct location on the J1 Web server. You'll need to re-customize those reports from the original version of the J1 Web report by following the instructions to Customize Reports for J1 Web.
See the help for each report page for guidance about customizing a specific report.
Verify the PowerBuilder Services URL is entered correctly in System Administration, System Settings, Product Installs and Sign page.
The URL must use HTTPS and not HTTP
The URL subdomain and domain must match the J1 Web URL

If the location where you store J1 Web reports is not the default installation location (C: > Jenzabar > Reports), verify the J1 Web server has permission to access the location. Detailed steps are available in the help topic Working with Reports in J1 Web.
For the customized versions of the report created in Desktop to appear as choices in the Report Layout field drop-down, your campus support team needed to complete certain steps as part of the installation process. For more information, contact your campus support team or see Working with Reports in J1 Web.
Tip
Only custom versions of the report created in Desktop before J1 Web installation will appear as choices in the Report Layout field drop-down. Reports customized in Desktop after you've installed J1 Web are not available in the drop-down unless they have been copied over to the appropriate location on the J1 Web server.
