Interaction Run History
Important
Information and features vary according to the roles to which you belong and the permissions associated with those roles. For more information, contact your module manager or your campus support team.
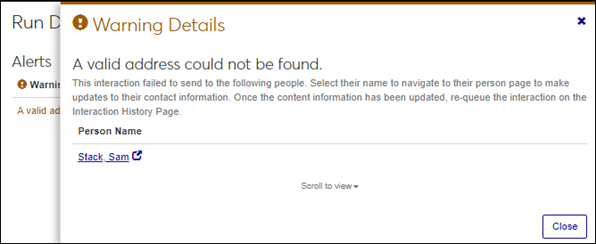
Use this page to see when an interaction was run, how long it took to run, and if there were any errors. If there was an issue with sending the interaction, a warning or error appears with details about why the interaction failed to send or be applied. An option to re-queue standard interactions lets you try re-sending it.
You can also apply/send, copy, preview, or edit the interaction from this page.
SendGrid and Twilio error messages are shown in the Run History.

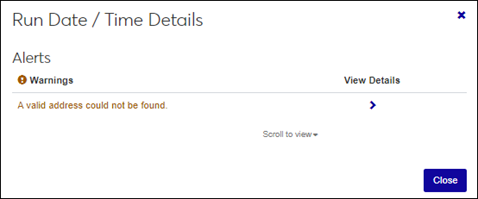
Warnings indicate the system ran the job, but there were issues when it ran. Warnings can include issues like one of the recipients has an invalid email address or the document couldn’t be merged or a phone number in the list intended to receive a text was a landline. The job ran, but some recipients may not have received the interactions because of missing information.
Errors mean the job didn’t run and none of the interactions were sent/applied. Errors can include issues with the server or there was an unhandled exception with the Client Application Services. Your IT Department will need to help resolve errors.
J1 Web shows email statuses from SendGrid, which allows you to monitor the status of your email communications, including insights into whether messages have been opened, blocked, or encountered other delivery events. Detailed technical information about each of these statuses is available on Twilio's website: https://www.twilio.com/docs/sendgrid/for-developers/tracking-events/event.
Event | Description |
|---|---|
Account Status Change | Your account status changed because of issues related to compliance with SendGrid's terms of service. This can happen when SendGrid identifies abnormal activity such as phishing, elevated spam rates or other potentially bad behavior. For more information on account statuses and what to do, refer to SendGrid's .Account Under Review documentation. |
Blocked | Receiving server could not or would not accept the message temporarily. If a recipient has previously unsubscribed from your emails, the message is dropped. |
Bounce | Receiving server could not or would not accept mail to this recipient permanently. If a recipient has previously unsubscribed from your emails, the message is dropped. |
Click | Recipient clicked on a link within the message. Click Tracking needs to be enabled for this type of event. |
Processed | Message has been received and is ready to be delivered. |
Dropped | You may see the following drop reasons: Invalid SMTPAPI header, Spam Content (if Spam Checker app is enabled), Unsubscribed Address, Bounced Address, Spam Reporting Address, Invalid, Recipient List over Package Quota. |
Delivered | Message has been successfully delivered to the receiving server. |
Deferred | Receiving server temporarily rejected the message. |
Group Resubscribe | Recipient resubscribed to a specific group by updating their preferences. Subscription Tracking needs to be enabled for this type of event. |
Group Unsubscribe | Recipient unsubscribed from a specific group either by clicking the link directly or updating their preferences. Subscription Tracking needs to be enabled for this type of event. |
Open | Recipient has opened the HTML message. Open Tracking needs to be enabled for this type of event. |
Spam Report | Recipient marked message as spam. |
Unsubscribe | Recipient clicked on the 'Opt Out of All Emails' link (available after clicking the message's subscription management link). Subscription Tracking needs to be enabled for this type of event. |
If filter options aren’t appearing, click the No filters applied link. You can filter interactions in several ways:
Searching by specific word using the Keyword filter
Using a filter or combination of filters to view interactions (e.g., keyword, name/description, type, etc.)
Using the column headings to sort interactions
Access the Communication Management, Interactions page.
Use the available filter options to find the interaction for which you want to view the run history.
Hover over the Actions drop-down for the interaction and clickAccess Run History.
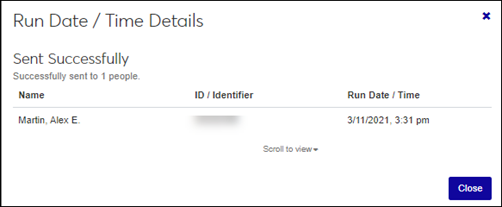
Click the expand icon > in the View Details column. The Run Date/Times Details window appears.
Click Close.
From the Options drop-down, select Apply.
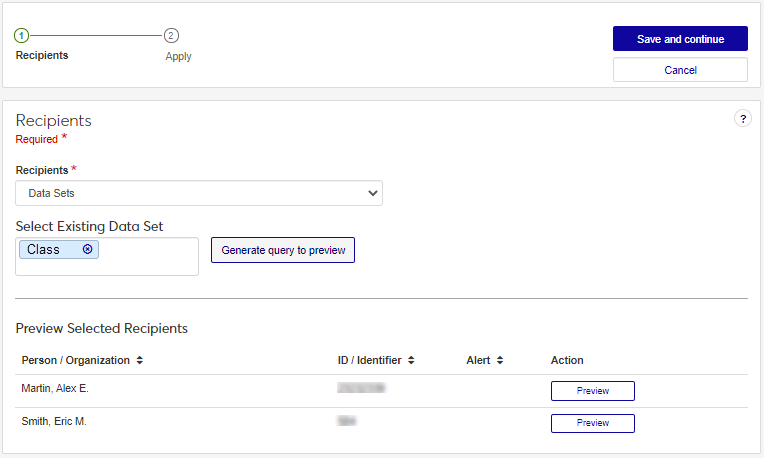
To use a data set query to select recipients:
From the Recipients drop-down, select Data Sets.
From the Select Existing Data Set field, select the data set you want to use.
Click Generate query to preview. Recipients meeting the query criteria are shown in the Preview Selected Recipients area.
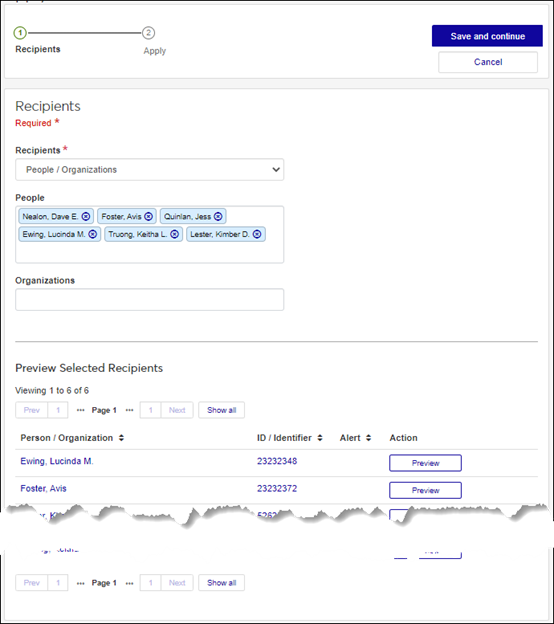
To select recipients by name:
From the Recipients drop-down, select People / Organizations. People and Organization options appear.
Start typing the name of the individuals/organizations you want to apply the interaction to and select from the options that appear. As you select individuals/organizations, they appear in the Preview Selected Recipients section.
To remove an individual/organization, click the x icon next to their name in the Recipients section.
To preview the interaction as it will appear to the recipients, click Preview.
Select the Contact Type you want to use. For example, a student can have *LHP (legal/home/permanent) and *CUR (current) email addresses in the system. This option lets you to specify which contact type should be used to ensure the communication is delivered to the appropriate email.
Click Save and continue. The Apply Interaction page appears.
To proceed and apply the interaction to the recipients immediately, select Send now and click Save and apply.
To apply the interaction at a later time, select Schedule. Select the Date and Time you want to send the interaction from the options that appear. Click Save and queue. Scheduled interactions can be viewed from the Schedules page, Queued Interactions tab.
From the Options drop-down, select Copy.
Follow the steps to define and save the interaction based on the interaction type you've copied.
Note
For specific steps, see the Define Interactions page.
Note
Editing an existing interaction can skew analytics if the interaction has already been sent/added. If you need to update an interaction that has been sent/added, Jenzabar recommends copying it to create a new one and making the changes to the copied version.
Note
The interaction Type, Name / Description, Code, and Interaction Use cannot be changed from the Edit page.
From the Options drop-down, select Edit.
Make changes to the appropriate fields based on the interaction type you are editing.
Note
For specific details about updating the fields for specific interactions, see the Define Interactions page.