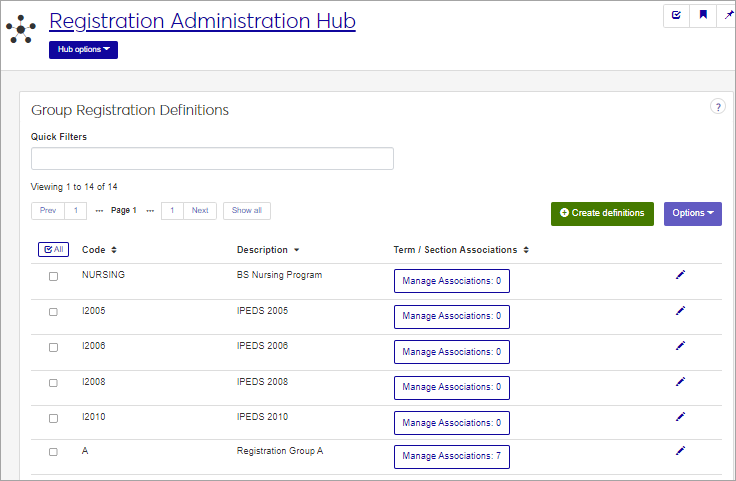
Group Registration Definitions
Important
Information and features vary according to the roles to which you belong and the permissions associated with those roles. For more information, contact your module manager or your campus support team.
Group Registration allows you to automatically register certain students for a predefined list of courses in specific terms, such as a Nursing program. Use this page to create and manage the groups that you will later add students to. When you define a new Group Registration code, you can choose the courses that students in this group will be registered for.
You can also manage these definitions in the Desktop, on the Group Registration Definition window.
Group Registration definitions are stored in the group_reg_def table.
When you define a new Group Registration code, you can select the courses that students in this group will be registered for using the Manage Associations button. You can add students to this group and run the registration process in Desktop
The permission to manage Group Registration Definitions is in the Registration Module Manager and Registrar default roles, listed under Manage Definitions.
Field | Note |
|---|---|
Code | Up to 10 characters. Required. Not editable for existing definitions. Must be unique. |
Description | Up to 30 characters. Required. |
Term / Section Associations | Clicking the Manage Association button opens a side pop-up that allows you to add or remove the specific courses/sections that students in this group will be registered for. See How To Manage Associations below for more details. |
From the Registration Administration hub, click Hub options.
Click Manage Definitions, and select Group Registration Definitions.
Enter characters, words, or phrases in the Quick Filters to limit the list of definitions.
Click a heading to sort the list by that column.
Tip
You can also use the page search in the upper right corner of J1 Web. Just start typing the name of the definition page you want, and select it in the results.
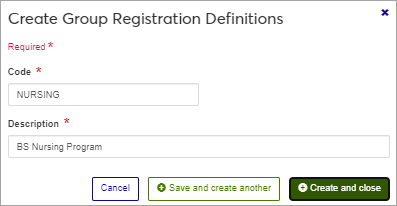
Click the Create definitions button.
Enter a unique Code, required, up to 10 characters.
Enter a Description, required, up to 30 characters.
Click either Save and create another or Create and close. Upon closing, a pop-up at the bottom of the page confirms that your definition was created.
Click the Edit icon
 on the row of a definition. The edit pop-up opens.
The Code cannot be edited once it has been created. The Description may be edited. Edit as needed.
Click the Update button. The popup closes, and a new popup at the bottom of the page confirms that your definition was updated.
When you run the registration process, students in this group will be automatically registered for all of the year/term/sections shown on this list.
To add an Association:
Click the Manage Associations button on the Group Registration Definitions page. The Manage Associations popup appears with any existing associations shown.
Click the Add another association link, below the existing association section.
In the Term field, select the year and term that you would like to add. Students will be registered for this year/term for the section you choose in the next step.
In the Section field, select one or more Sections that you want students to be registered for. The section must already be set up for this year/term.
After selecting the Sections you want to add, click Update. Upon closing, a pop-up message at the bottom of the page confirms that your changes were saved.
To remove an Existing Association:
Click the Manage Associations button on the Group Registration Definitions page. The Manage Associations pop-up appears with any existing associations shown.
On the same row as the Existing Association you want to remove, click the x icon. The row is deleted.
When you are finished making changes, click Update. Upon closing, a pop-up message at the bottom of the page confirms that your changes were saved.
Select the checkboxes next to the rows you want to export.
From the Options drop-down, select Download to Excel. The Download to Excel pop-up opens.
Select options for the Excel format and data columns.
Click Download. Your .xlsx or .zip file is saved in the file location that you have set in your browser settings.