Recurring Payments
Important
Information and features vary according to the roles to which you belong and the permissions associated with those roles. For more information, contact your module manager or your campus support team.
From the Recurring Payments page, you can create and manage details for payments that are made on a recurring basis. These payment definitions are used to create invoices that are paid via the Create Payment process. For example, suppose you make a monthly payment to rent a meeting room. You can create a recurring payment with details about how much is to be paid to that vendor each month, which AP subsidiary and GL account the payment is tied to, and for how long the payment should be made.
There are two tabs on the page.
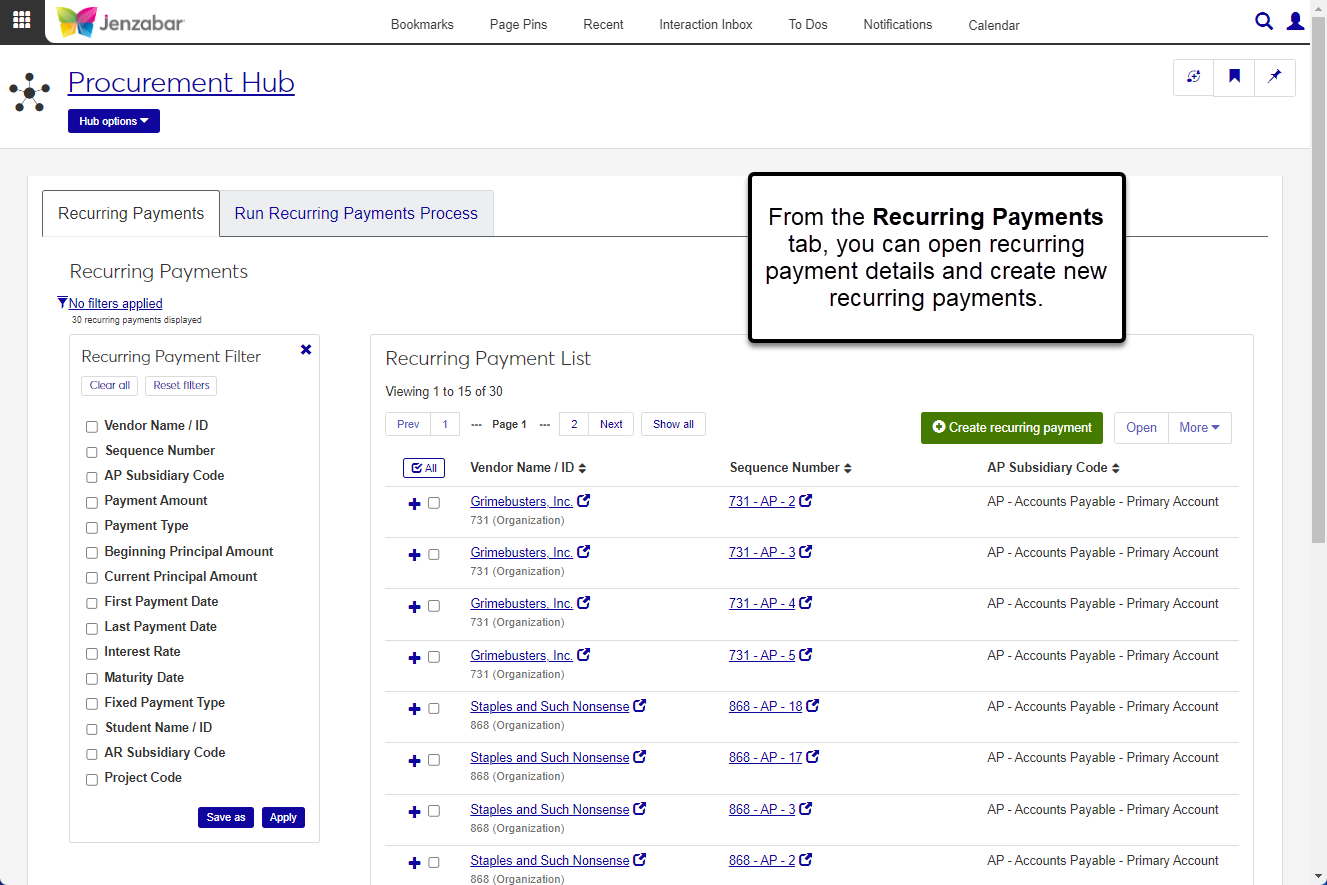
The Recurring Payments tab lists all the recurring payments that have already been defined. You can also create new recurring payments and open details about existing ones from this tab.
From the Run Recurring Payments Process tab, you can create invoices for recurring payments you've defined and generate the Batch Validation report.

To access and work with the Recurring Payments page, you must be in a Procurement - Accounts Payable role with one or more of the following permissions:
Can create recurring payments
Can view & edit recurring payments
Can delete recurring payments
Can create recurring payment invoices
You'll also need General Ledger Accounting GL Account access for the GL accounts associated with recurring payments. For additional information about permissions, see Roles and Permissions to Work with Recurring Payments.
In Desktop, recurring payments are viewed and created on the Select/Create Regular Payments window. Recurring payment invoices are created on the Create Regular Payment Invoices window.
Recurring payments are identified in the system by the vendor number, subsidiary code, and sequence number. This combination is called the Sequence Number. If you create multiple recurring payments for the same vendor and subsidiary, the system automatically sequences each recurring payment based on the order in which they are entered.
For example, suppose you make four recurring payments to IBM (ID number 123), one of your usual vendors. Three of the payments are for the AP subsidiary and the last one is for the AQ subsidiary. The system generates the following Sequence Numbers to identify each recurring payment.
123 - AP - 1 for the mini computer hardware lease
123 - AP - 2 for the PC lease
123 - AP - 3 for the software lease
123 - AQ - 1 for maintenance payments
After your recurring payment details are defined, use the Run Recurring Payments Process tab to create invoices. To run the process, select a month and the GL Transaction or Payment Date. The system first finds all the recurring payments to be processed for the selected month. Then it verifies that the GL Transaction or Payment Date is between the First Payment Date and Maturity Date for each of the recurring payments for that month.
When the process is complete, invoices are created for all the recurring payments that meet the criteria and an IV batch is created for the new invoices.
From the Finance Procurement Hub options, select Recurring payments. The Recurring Payments page opens with the Recurring Payments tab open.
Use the Recurring Payment Filter options to find a specific record.
Click the Sequence Number link to open the recurring payment details on a new tab. You can also select one or more rows and click Open to view multiple recurring payments.
Click the Expand icon
 for a row to see additional details about the payment, including first payment date, interest rate, and maturity date.
Tip
For more information about the fields and columns on this page, see Create Recurring Payment.
Access the Create Recurring Payments page in one of the following ways:
On the Recurring Payments tab of the Recurring Payments page, click the Create recurring payment button.
From the Finance Procurement Hub options, select Create recurring payments.
Enter header information.
Enter and select a Vendor Name / ID. Required.
Select an AP Subsidiary Code. Required.
Enter the Payment Amount. Required.
Click in the Months to Process field and select the months in which the payment should be made.
Select a Payment Type from the following drop-down options. Required.
C | Complete Payment: when this option is selected, the invoice amount is calculated by multiplying the Payment Amount by the Payment Percent.
I | Interest Payment: select this option to calculate the invoice amount based on the Current Principal Amount, Interest Rate, and the number of days between the Last Payment Date and the Transaction Date entered when the recurring payment invoice is created.
R | Reinvest Interest: this option is not currently used.
Enter the First Payment Date. Required.
Enter or select values for the following optional fields. Some fields may be necessary if you've selected the Interest Payment Payment Type.
Last Payment Date
Default Project Code
Beginning Principal Amount
Current Principal Amount (required for interest payments)
Maturity Date
Fixed Payment Type (options are Complete Payment, Interest Payment, and Reinvest Interest)
Interest Rate (required for interest payments)
Student Name / ID
AR Subsidiary Code (only enabled when a Student Name / ID is selected)
Enter payment transaction information in the following columns in the details spreadsheet.
GL Account Number (required)
Payment Percent (required)
Transaction Description (required)
Project Code
Student ID Number
AR Subsidiary Code
Click Create recurring payment. The information saves and the Recurring Payment Details page opens.
On the Recurring Payments tab, select one or more recurring payments from the list.
Click the More button and select Delete from the drop-down. The Delete Recurring Payments? pop-up opens.
Review the recurring payments and click the Remove icon
 to remove rows from the list.
Click Yes, delete.
On the Recurring Payments tab, select the checkboxes next to the rows you want to export.
From the More drop-down, select Download to Excel. The Download to Excel pop-up opens.
Select options for the Excel format and data columns.
Click Download. Your .xlsx or .zip file is saved in the file location that you have set in your browser settings.
All fields are required.
On the Run Recurring Payments Process tab, select the Month to Process.
Select or enter the GL Transaction or Payment Date. When invoices are created, this date is used for the invoice batch transactions, the invoice batch date, and the invoice payable date.
The default File Format for the Batch Validation report is PDF. You can select additional formats as needed.
Click Create invoice and generate file. If PDF was the only file format selected, the Batch Validation report opens in a new browser tab. Otherwise, the report is downloaded as a zip file. An alert displays at the bottom of the page with a link to the Invoice Batch Details page.
Tip
From the invoice batch details page, you can access the invoice details pages by clicking the Invoice Number link in the spreadsheet or the View all invoices link at the top left above the Batch options drop-down.