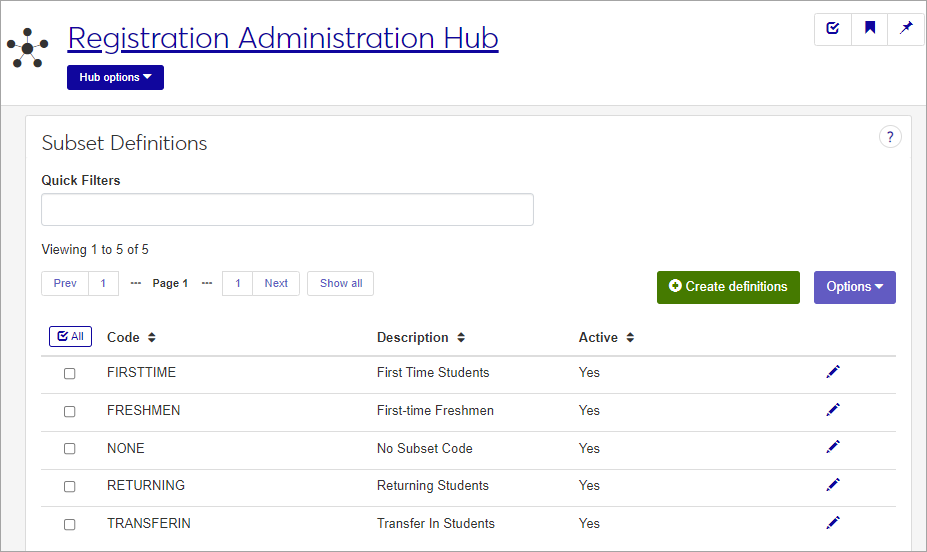
Subset Definitions
Important
Information and features vary according to the roles to which you belong and the permissions associated with those roles. For more information, contact your module manager or your campus support team.
Subsets allow you to group students into categories based on shared parameters, primarily for capturing Snapshot data for Institutional reporting. Here are a few examples of possible Subset definitions:
FIRST - First-time students
TRANSFER - Students transferring in
NONDEGREE - Non-degree-seeking students
UNDERGRAD - Degree-seeking students

Subset definitions can also be created and maintained in J1 Desktop, on the Subset Definitions window.
Subset definitions are stored in the ir_subset_def table.
Subset definitions are primarily used for capturing Snapshot data for Institutional reporting. For example, when collecting Undergraduate and Degree Completion students for one Snapshot, each group can be defined with a subset code, using different parameters to collect the data for each group (subset). Multiple subset codes can be combined in one Snapshot under the same Year, Purpose, and Date; but data is collected per subset (group of students). Subsets are chosen in the Data Collection Subset window in Desktop.
The permission to define and edit Subset definitions is in the Registration Module Manager and Registrar default roles.
From the Registration Administration hub, click Hub options.
Click Manage Definitions, and select Subset definitions.
Enter characters, words, or phrases in the Quick Filters to limit the list of definitions.
Click a heading to sort the list by that column.
Click the Create definitions button.
Enter a unique Code, required, up to 15 characters.
Enter a Description up to 80 characters, optional.
Set the Active option to active or inactive (required). Inactive definitions will not be available for users to choose from in the Data Collection Subset window (Desktop).
Click either Save and create another or Create and close.
Click the Edit icon
 on the row of a definition. The edit pop-up opens.
The Description and Active status may be edited, but not the Code. Edit the available fields as needed.
Click the Update button.
Select the checkboxes next to the rows you want to export.
From the Options drop-down, select Download to Excel. The Download to Excel pop-up opens.
Select options for the Excel format and data columns.
Click Download. Your .xlsx or .zip file is saved in the file location that you have set in your browser settings.