Workflows
Overview
The Jenzabar SONIS Workflows feature allows administrators to create a saved list of pages to be accessed in a specific order. This makes repeat tasks faster and easier to complete as the user can move directly between subpages in different menus. Workflows can also be useful in training new employees.
Web Option
Before workflows can be used, they must be turned on from the Web Options page in the Systems hub. Check the Enable Workflows box and click Submit to save the changes. Workflows will be turned on for all SONIS users with an Administration login.

Adding New Workflows
Once workflows have been turned on, a Workflows option can be accessed from the User Card menu in the upper left-hand corner. Workflow controls are available through this link or access the full Workflows page through the Systems hub.
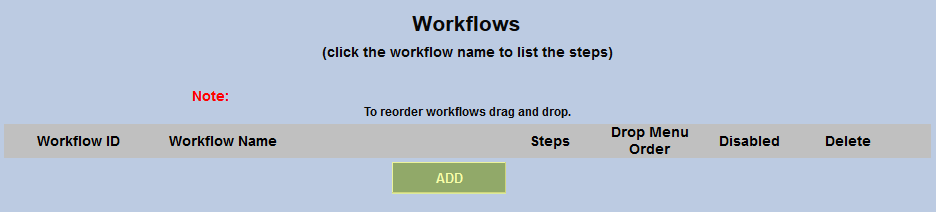
A new workflow can be added from the Workflows summary page by clicking the Add button.

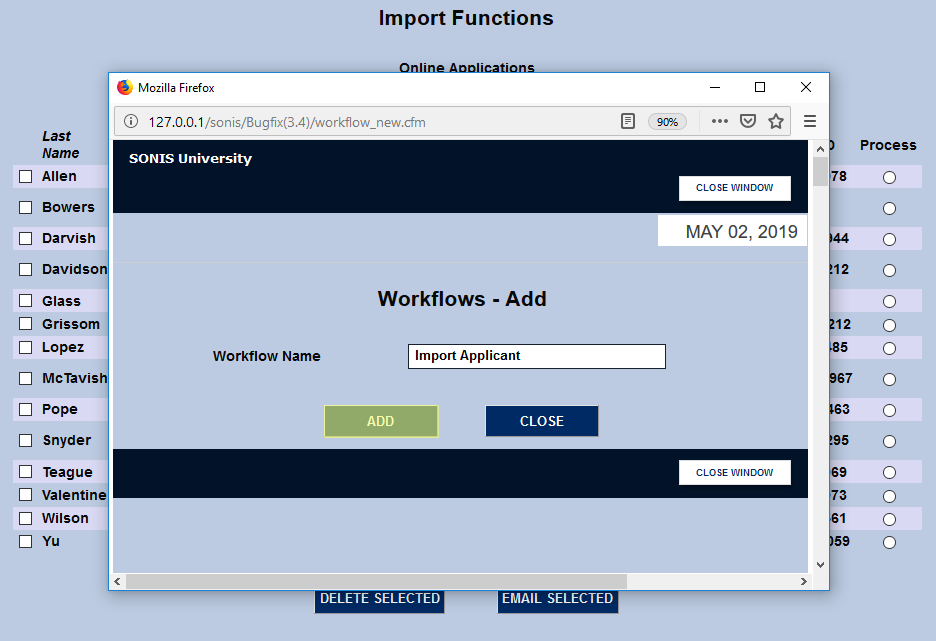
Alternately, users can mouse over the top-nav menu and click Create New instead. A new window will pop up asking for a name for the workflow. Create a name and click Add. The advantage of using this on-the-fly method is that users can add the current page they're on to the workflow rather than having to navigate back to the page from the Workflows summary page.

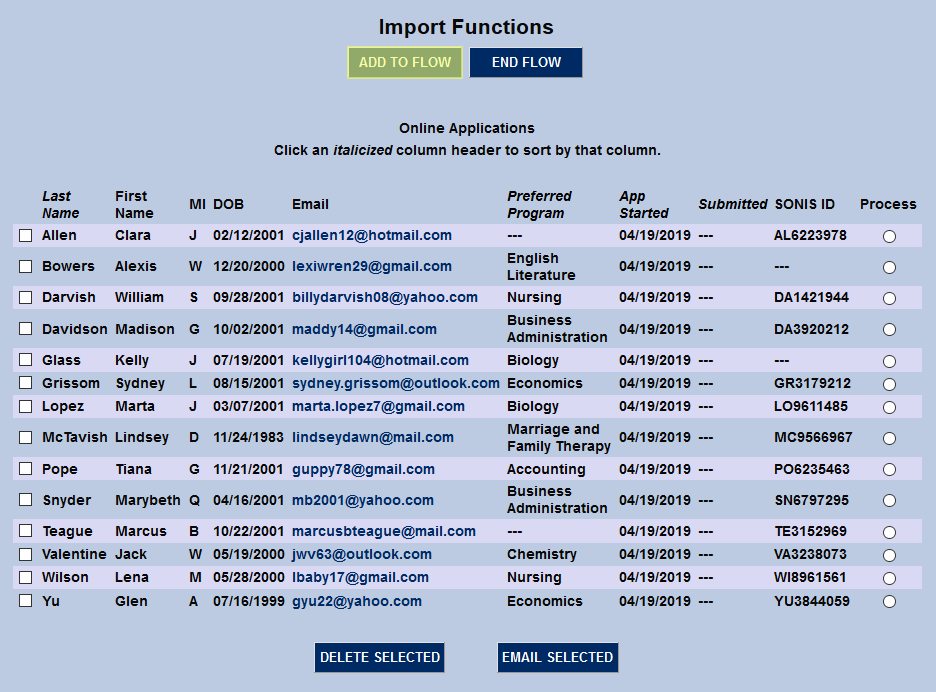
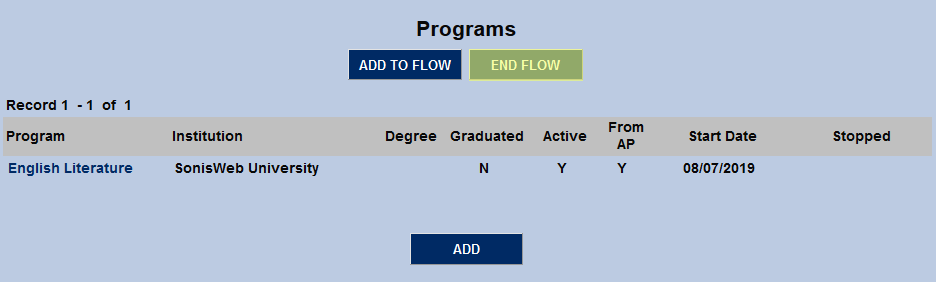
Once a new workflow has been added, Add to Flow and End Flow buttons will appear on each page visited until the flow has been ended. Click Add to Flow to add the current page to the newly created workflow.
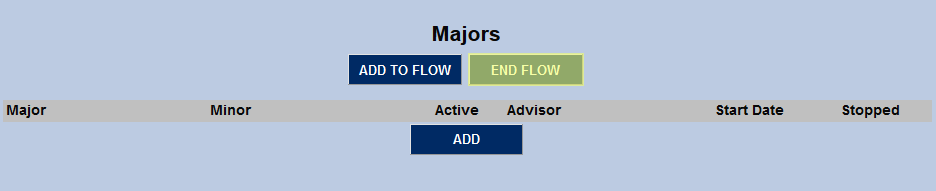
Note: If a page from the Users or Courses hubs is added to a workflow, the Namesearch or Coursesearch page will be automatically added to the flow preceding those pages since they can not be accessed without a student or course being selected first.
When all the necessary pages have been added to the workflow, click End Flow to finish.
Editing Workflows
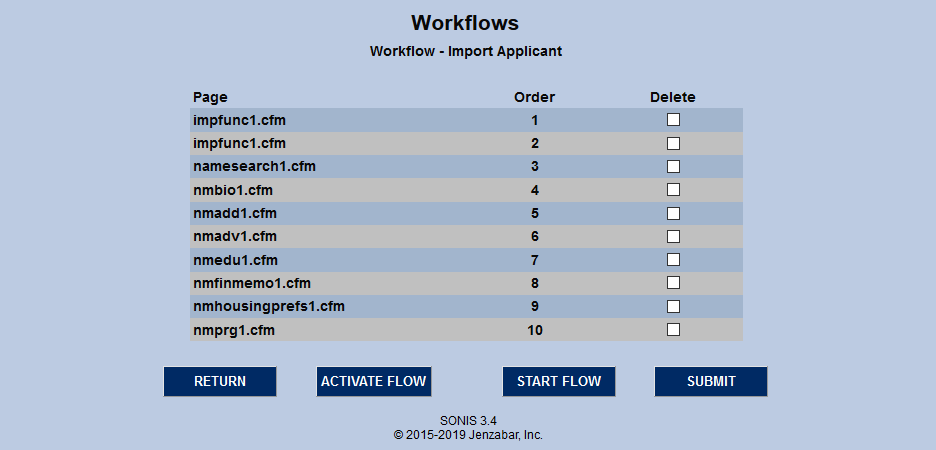
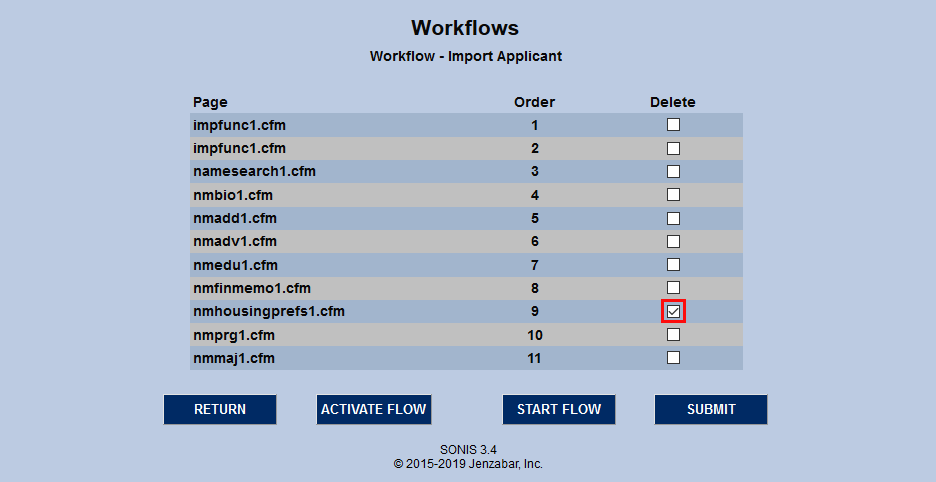
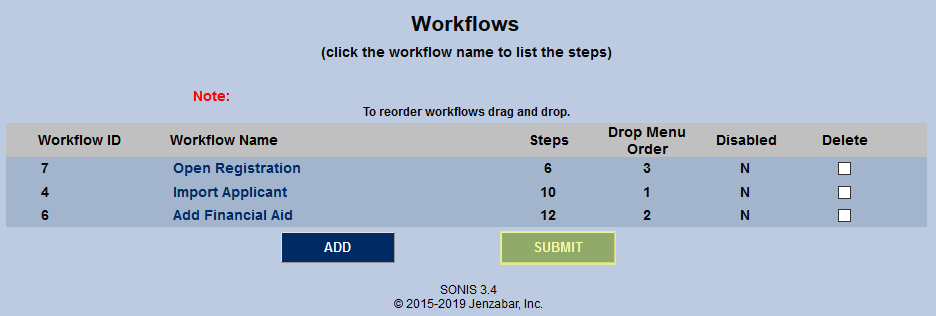
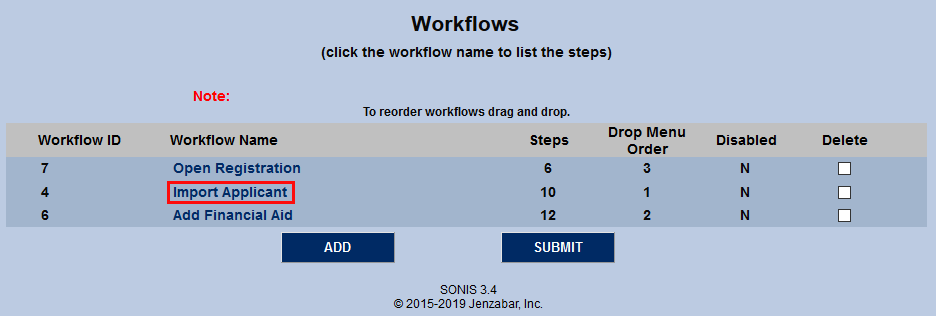
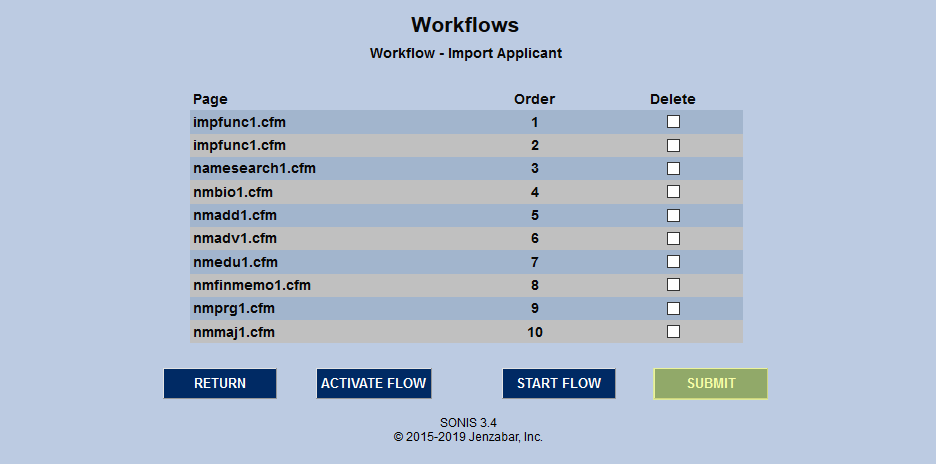
Once a workflow has been created, it can be edited from the Workflows summary page. To see the pages in a workflow and make changes, click on the Workflow Name.
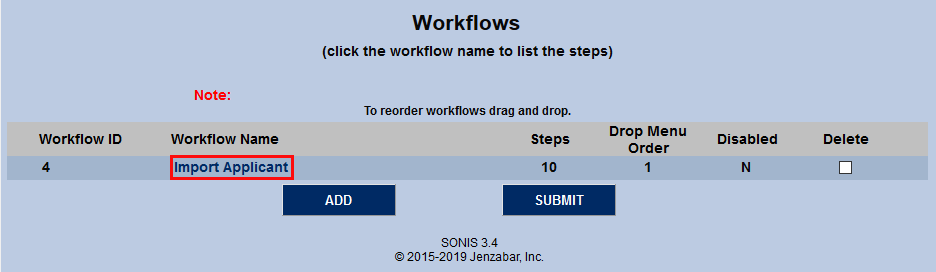
Every page in the workflow is listed in the order it was added to the flow.
Adding Pages
To add additional pages to a workflow, click Activate Flow.

Once the flow has been activated, navigate to the page to be added add click Add to Flow. As when the workflow was initially created, click End Flow to stop adding pages.
Deleting Pages
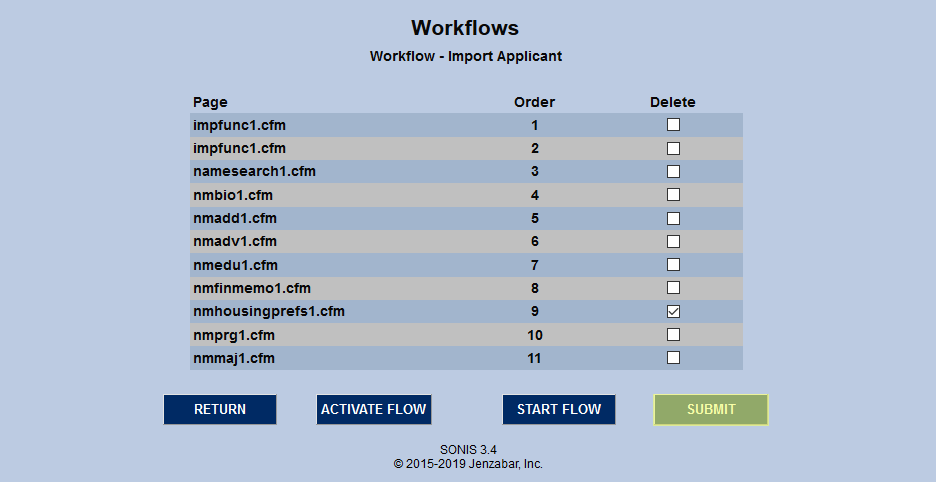
To delete a page from a workflow, simply check the corresponding Delete box and click Submit.
Reordering Workflows
By default, Workflows will appear on the summary page in the order they were created. To change the list order, simply click on any part of the workflow row that isn't the name and drag it into a new position. Click Submit to save the changes.

Running a Workflow
Workflows can be run from the Workflows page by clicking on the Workflow name and then clicking the Start Flow button.
Alternately, hover over the Workflows menu in the top-nav and click one of the workflow names to begin that workflow directly from the current page.

Click the Next button to continue the workflow and move to the next page in the list.
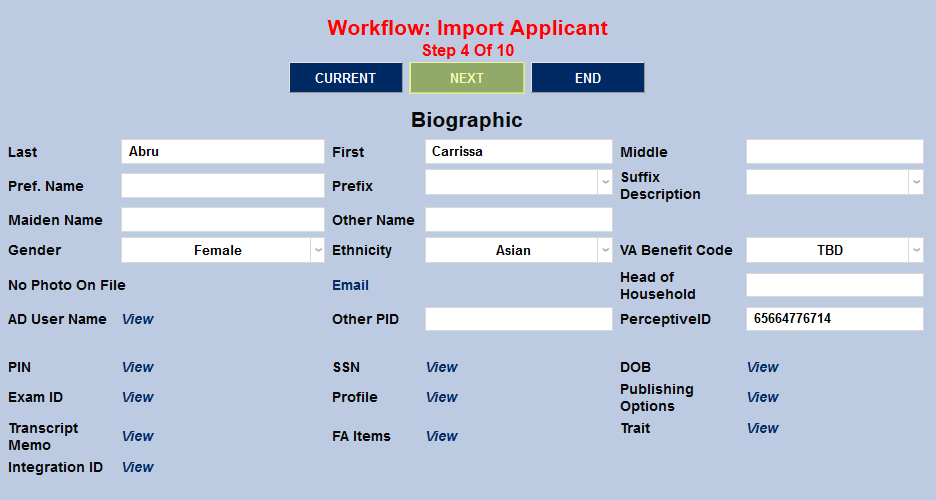
To return to the workflow after navigating away from it, click Current to reload the current page in the flow.

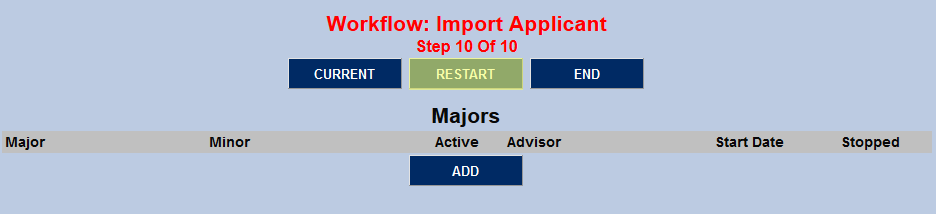
To end the workflow early, click the End button.

When the workflow reaches its prescribed end, the option to Restart the workflow is offered.