Checklist
Overview
Checklist items are tasks that must be completed before an applicant can be accepted to the institution. They may include things like sending the school a transcript or a portfolio, paying an application fee, giving an admissions interview, or anything else that the institution deems necessary for admittance. The Checklist Records page, in the Users hub, allows administrators to access a user's application checklist items and see the progress that has been made. Some checklist items may apply to all applicants while others may be program-specific.
Checklist items are created in Table Maintenance and assigned to programs through the Application Checklist page in the Systems hub. A report called App Checklists (Missing Items) is offered to track checklist completion.
Creating Checklist Items
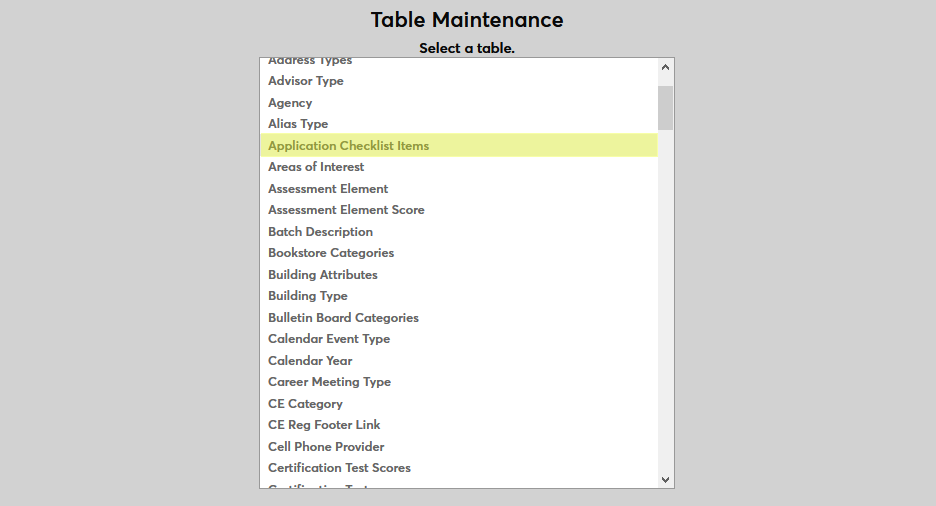
Before checklist items can be assigned, they must be created. Navigate to Table Maintenance in the Systems hub and select Application Checklist Items.
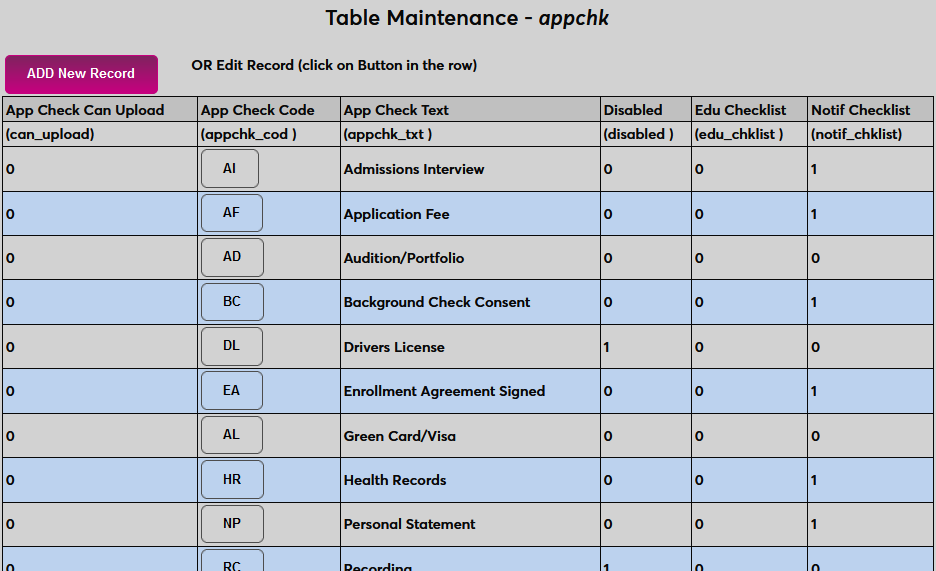
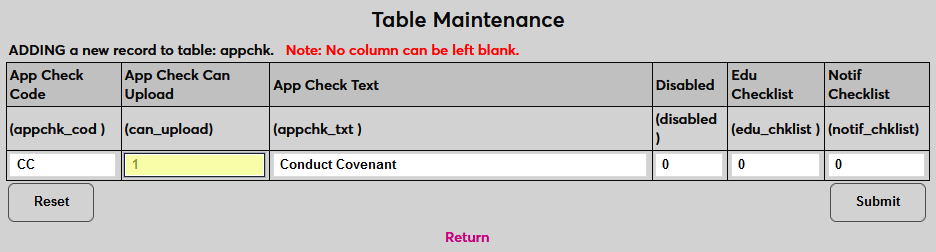
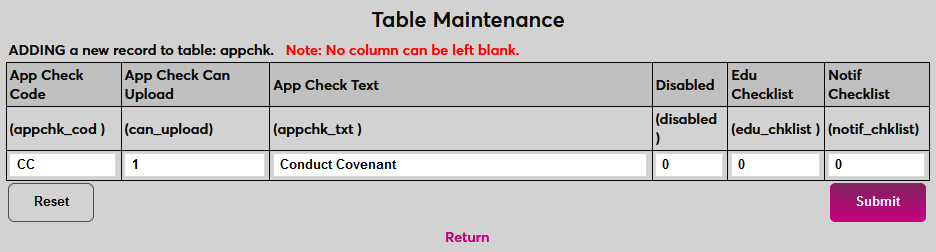
On the following page, click Add New Record to add a new checklist item or click on the App Check Code of an existing checklist item to edit it.
Create a name for the checklist item that describes what is required to fulfill it. This field has a 55-character limit.
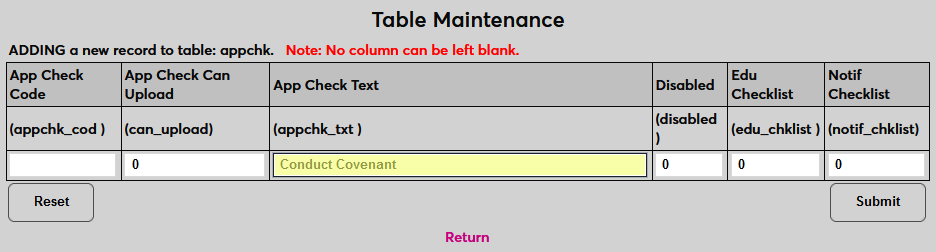
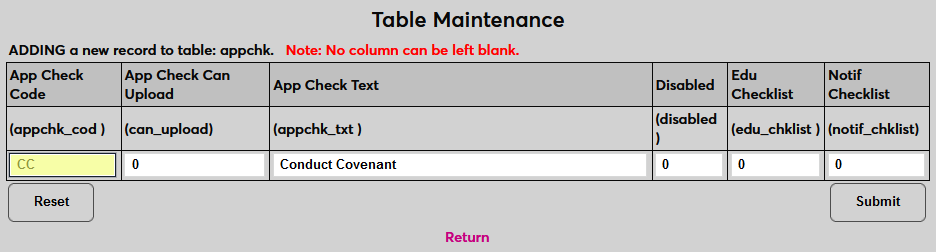
Next, create a two-character code that the system will use to identify the checklist item.
If the checklist item can be satisfied by the student uploading a document of some kind, place a 1 in the App Check Can Upload field. If this field is active, the applicant will have the ability to upload an item through the Applicant portal. If it is inactive (0), then the applicant will not have this option.
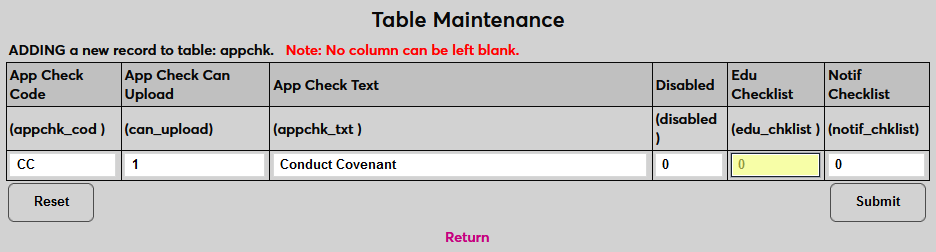
Some checklist items are tied directly to an applicant's prior educational institution. To append the name of this institution to the checklist item, place a 1 in the Education Checklist field. For example, a transcript checklist item might be listed as Transcript - Mount Airy High School if this field is active. Most checklist items will not use this field.
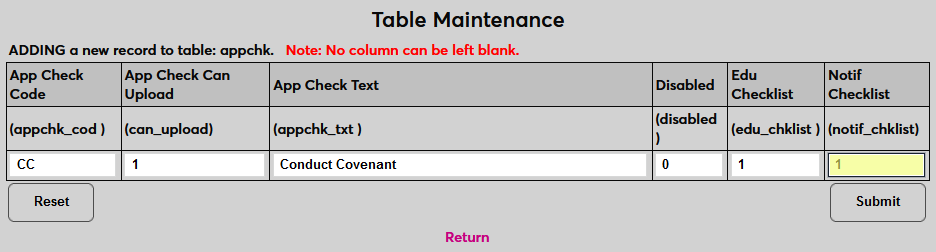
The Notification Checklist field is used to create notifiers for a checklist item. Administrators can receive notifications when a checklist activity is completed. Place a 1 in the field to list it among the options for the Activity Notifier. Leave a 0 in the field if a notification assignment for the checklist item will not be needed.
Leave a 0 in the Disabled field to keep the notifier active or place a 1 in the field to prevent it from being used.
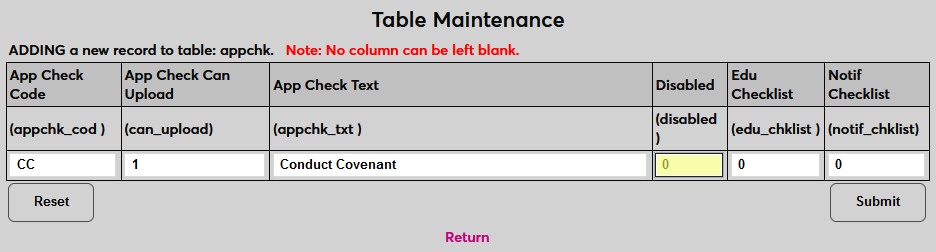
Click Submit to save the changes and create the checklist item.
Building Application Checklists
Core List
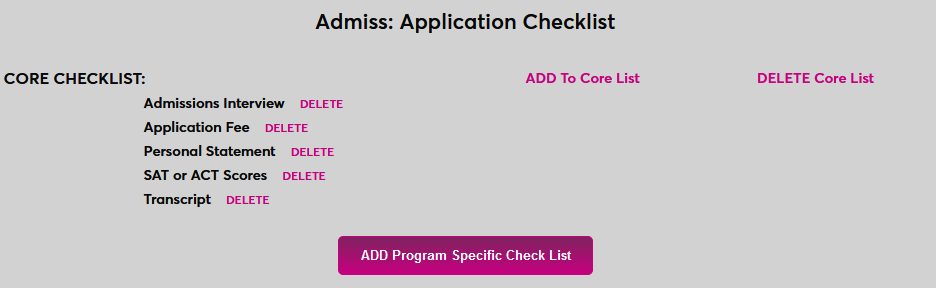
Once the checklist items have been created, the lists can be built. To build a checklist, navigate to Application Checklist in the Systems hub. The Core checklist is the list that will apply to every applicant regardless of their program(s) of interest. Click Add to Core List to add checklist items to this list.

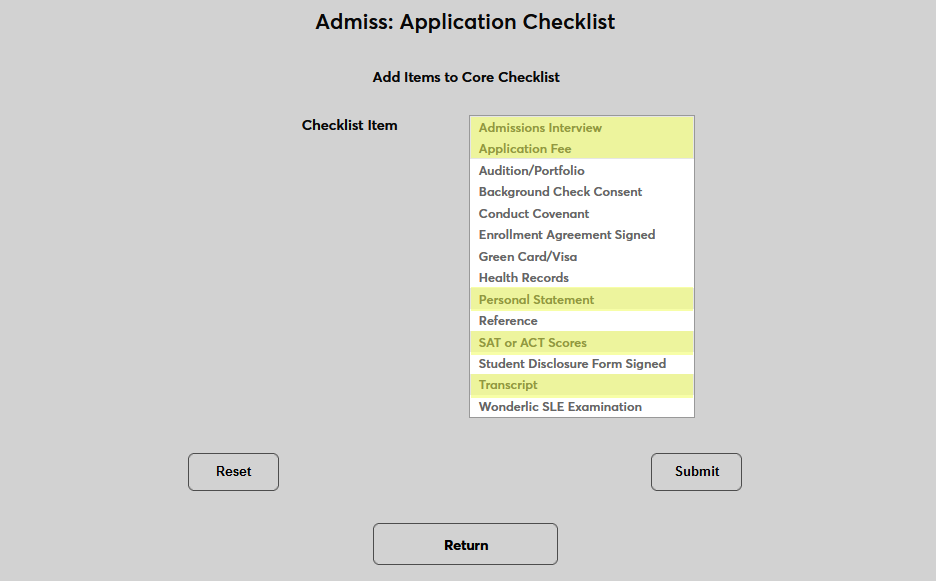
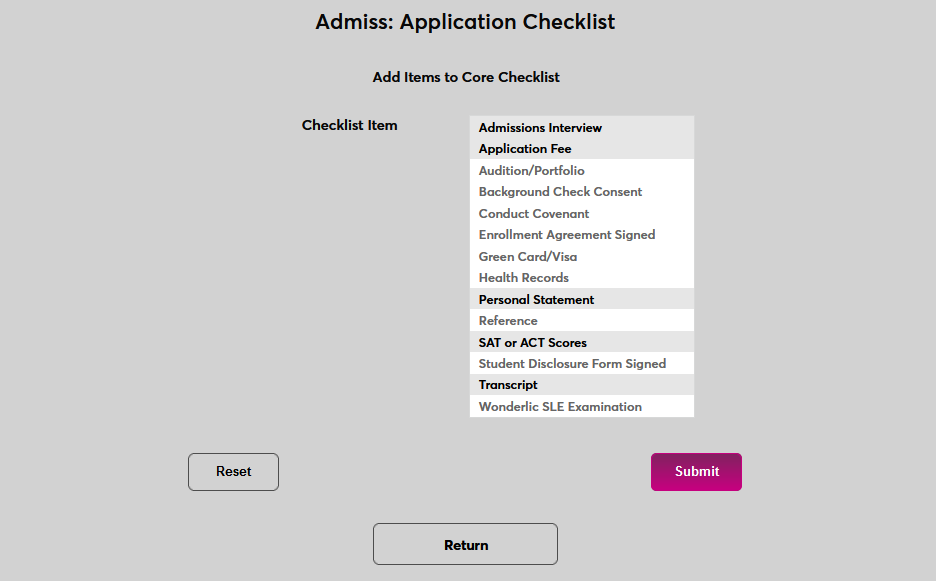
On the following page, select checklist items to be added to the Core list and click Submit.
Program Specific List
To create a new checklist that only applies to one program, click the Add Program Specific Checklist button.
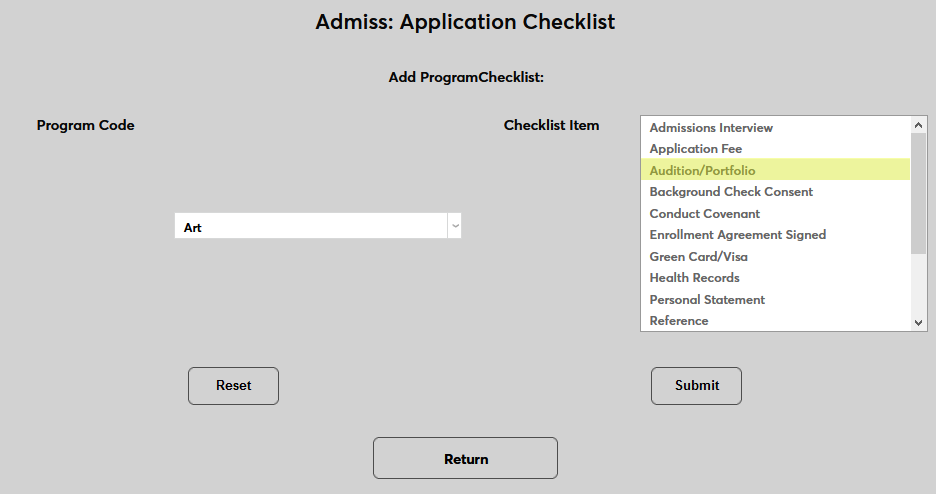
On the following page, select a program from the Program Code menu.
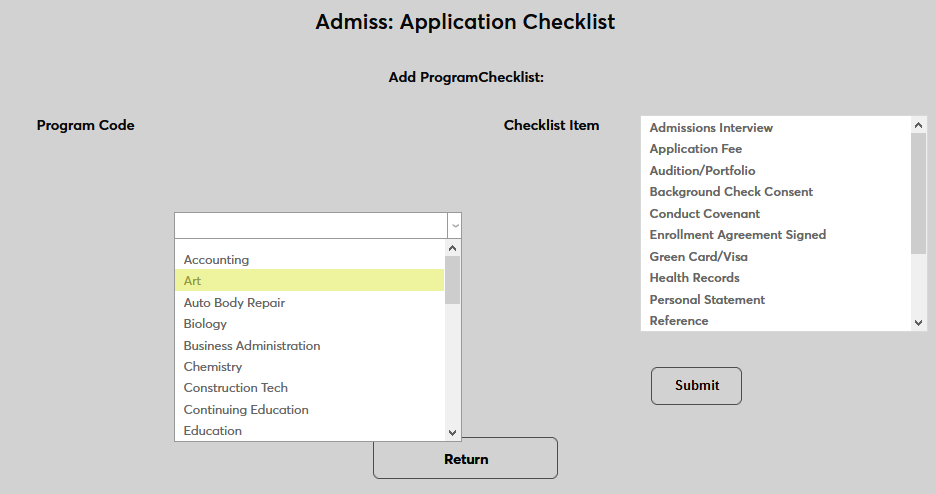
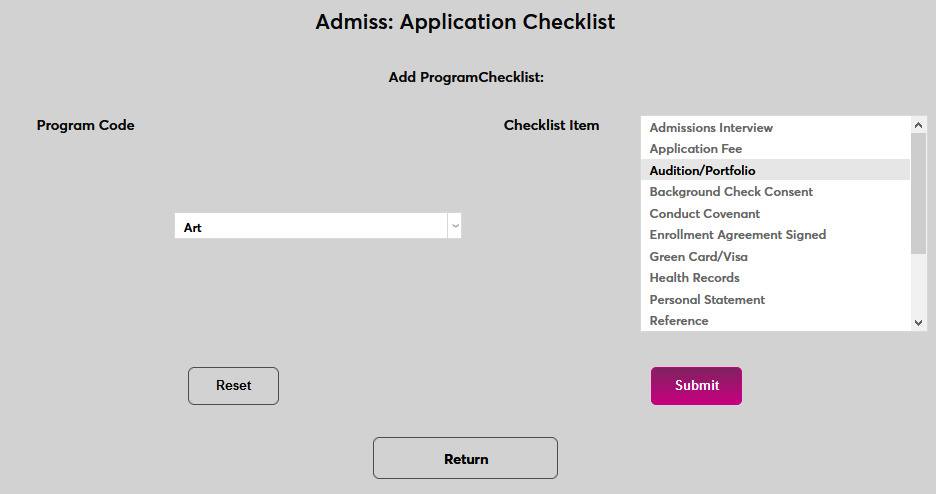
Select one or more items from the Checklist Item menu and click Submit to save the changes and create the list.
Checklist Records
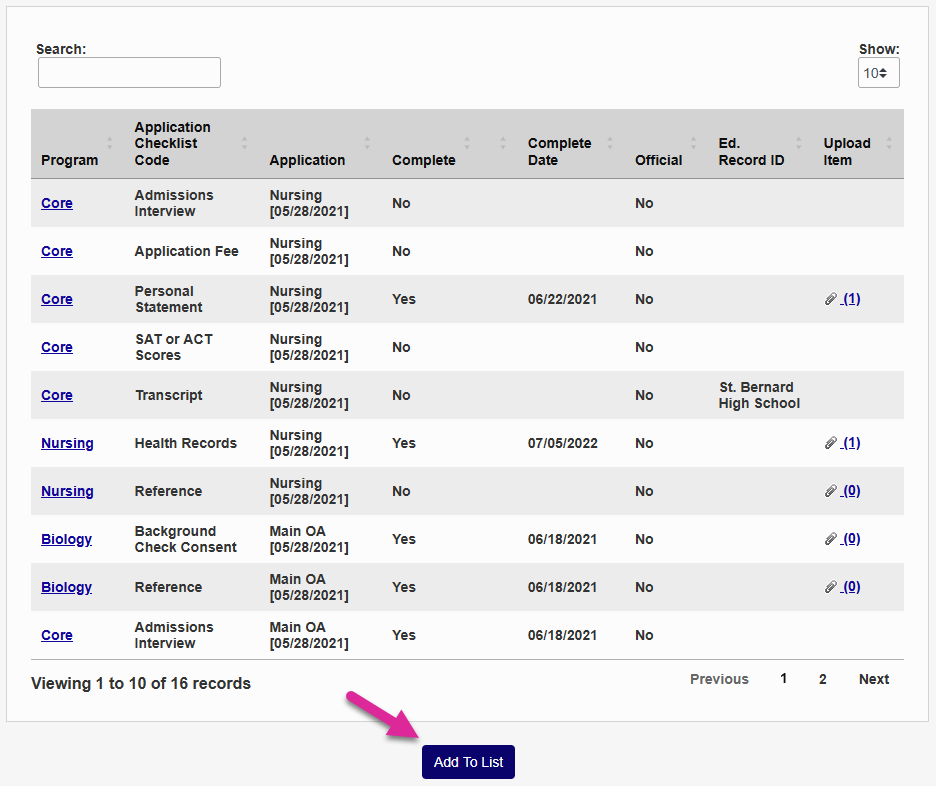
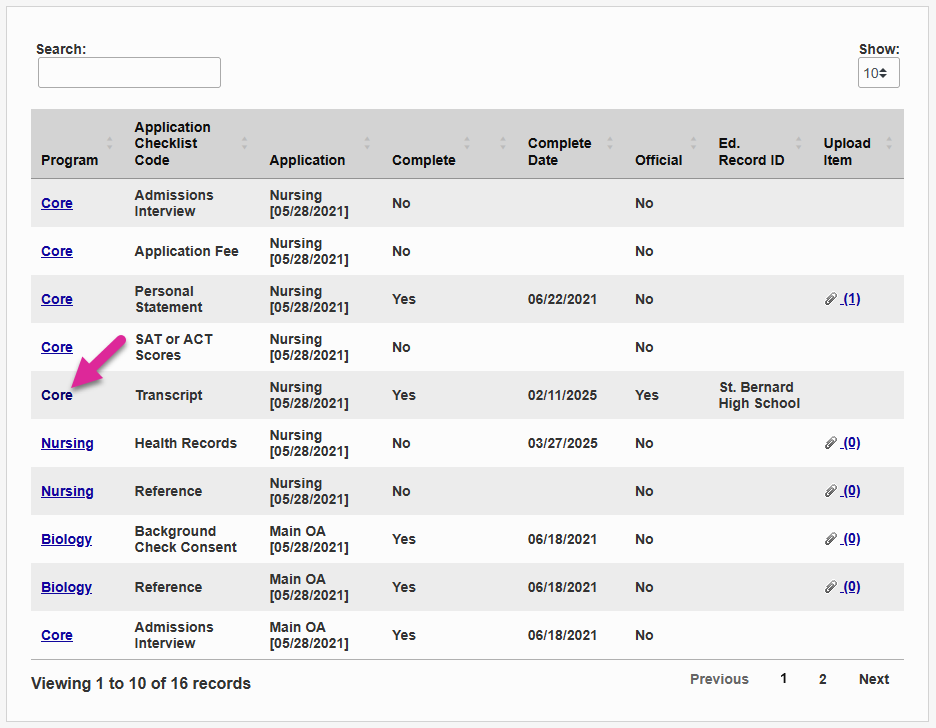
When a student applies to the institution through the SONIS Online Application, they are automatically assigned checklist items based on the Core list as well as their chosen program(s) if applicable. Administrators can view the applicant's progress by navigating to the Checklist page under the applicant's Records menu. If there are more than ten checklist items, you can use the Show menu on the right-hand side of the page along with the Previous and Next links to view additional items.
To assign a new checklist item, by click the Add to List button.
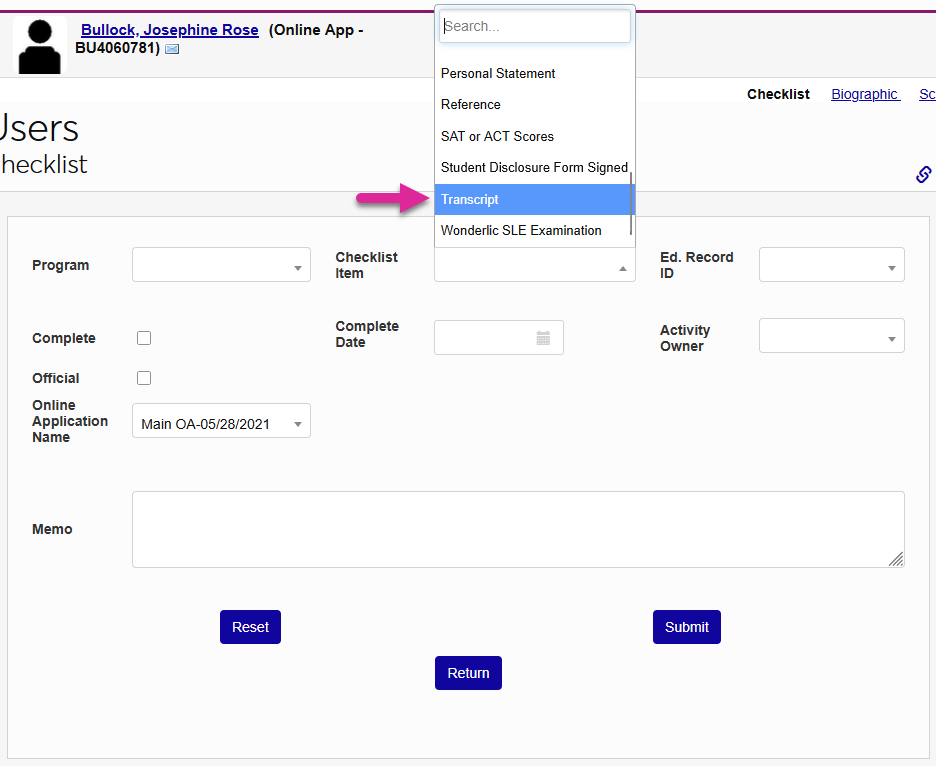
On the following page, select the Checklist Item to add.
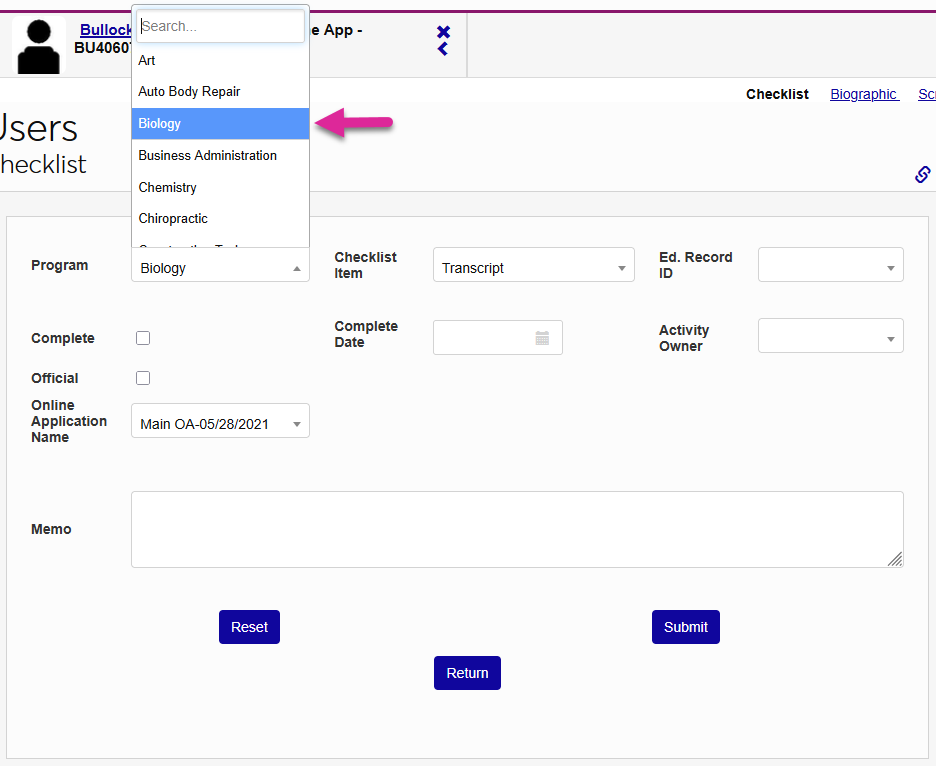
Select a Program to associate with the checklist item or leave this field blank to add the checklist item as a core checklist item.
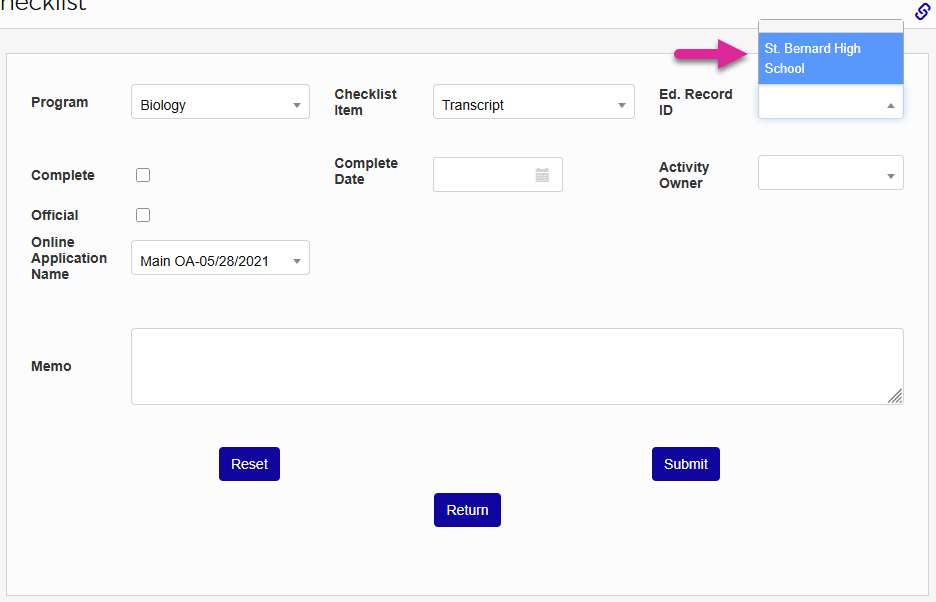
Select an Education Record ID to associate the checklist item with one of the applicant's education records. For example, if the student has an education record from their high school as well as one from a community or junior college they attended, a transcript checklist item can be associated with one of these records to show which transcript is being requested. If the checklist item does not relate directly to a prior educational institution that the applicant attended, leave the field blank.
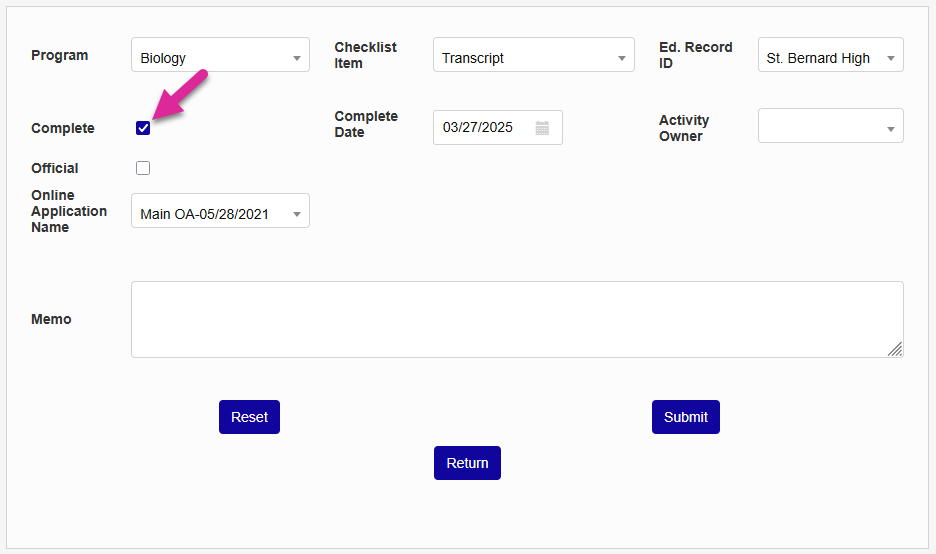
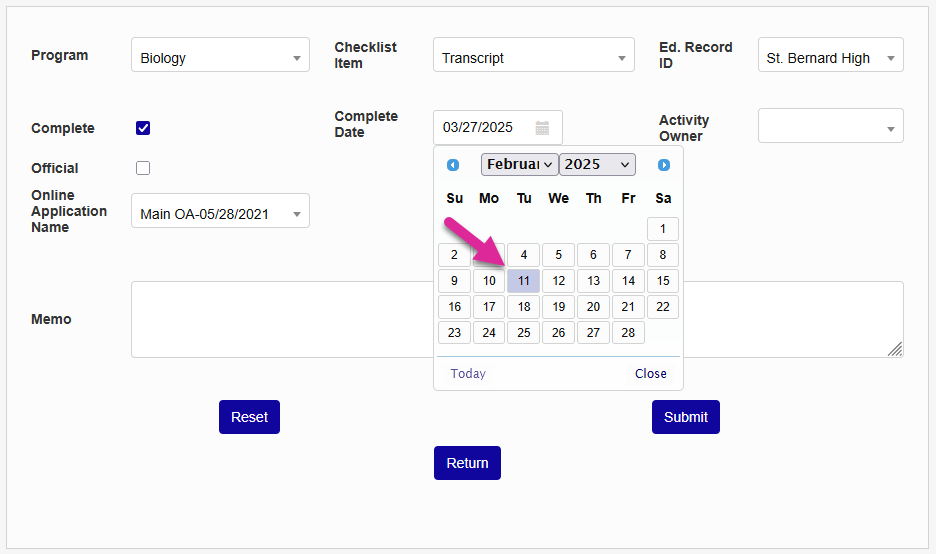
If the checklist item should be marked as complete, check the Complete box and enter an Application Checklist Item Completed Date. Leave both blank if the checklist item has not been completed.
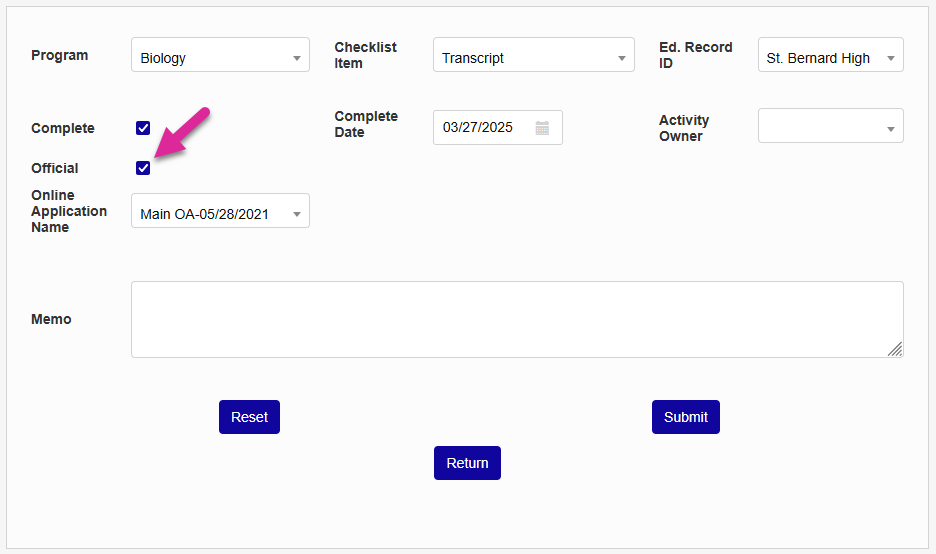
You can use the Official checkbox to designate a checklist item as official. For example, to differentiate an official transcript sent directly from the applicant's previous school from an unofficial copy provided by the applicant.
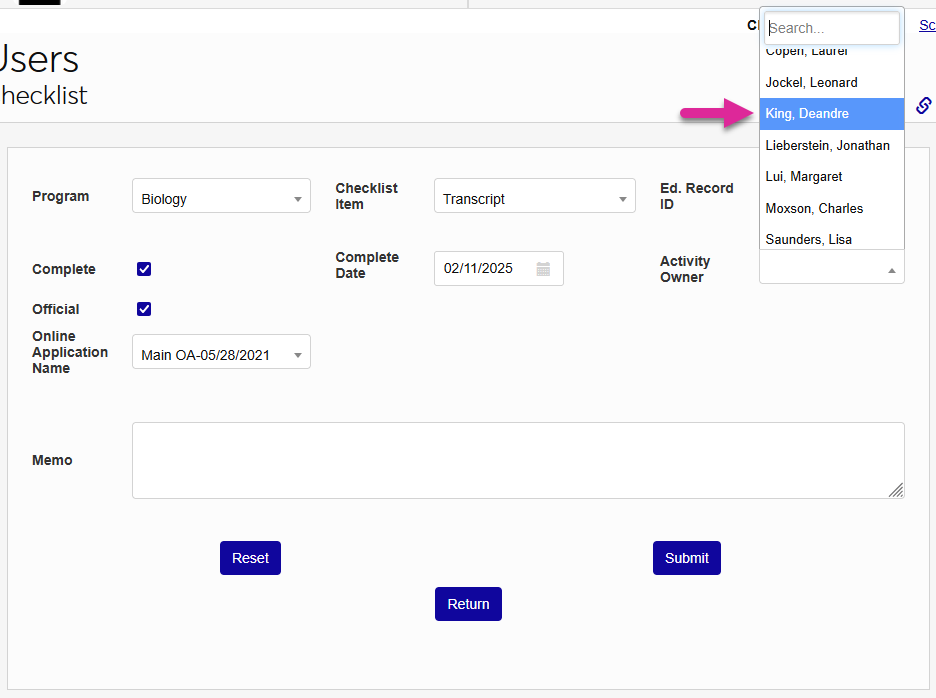
Select an Activity Owner to associate this item with a specific staff member or leave it blank to leave it unassociated.
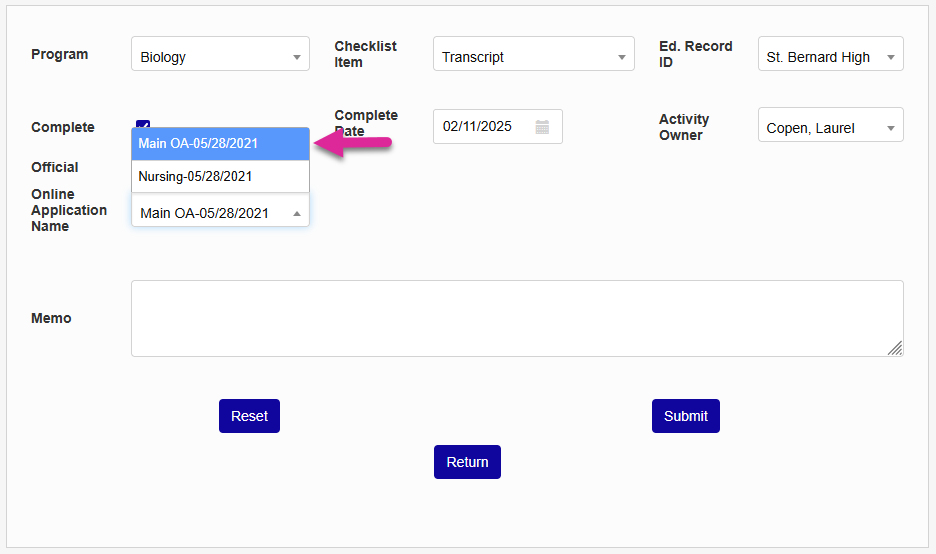
If the applicant has more than one active application, the checklist task should be associated with one of the applications. Select an application from the OA Name menu.
A memo can be added to inform other Admin users who access this page to see why changes were made or add other notes.
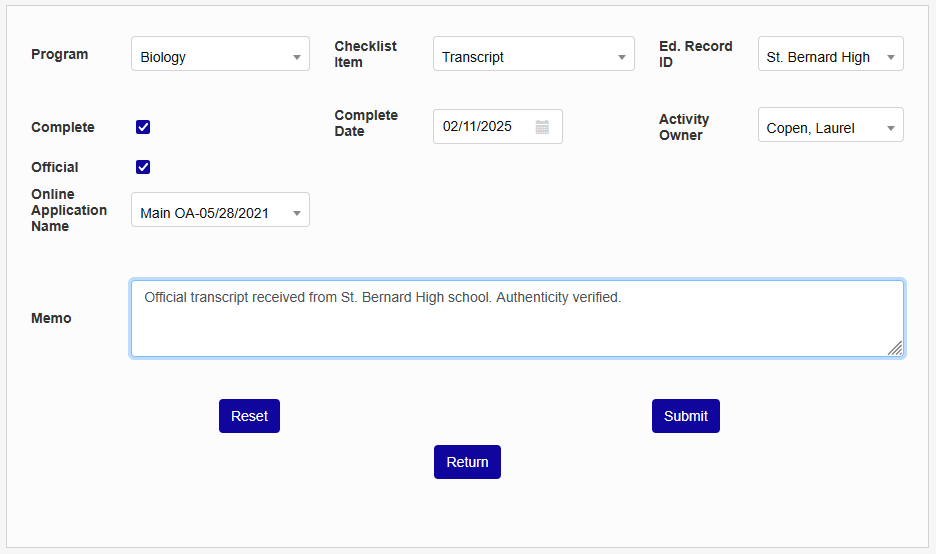
Click Submit to save the changes and add the checklist item.
Back on the summary page, click the link in the Program column to edit a checklist item. The Program and Checklist Item cannot be changed, but all fields can be edited.
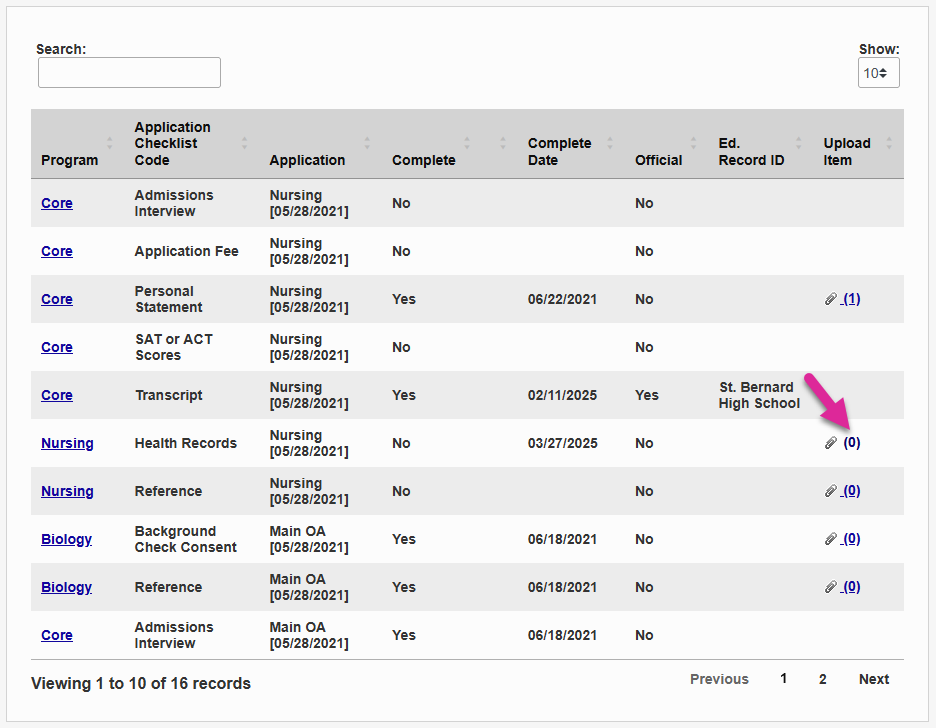
If the checklist item has been designated with the App Check Can Upload option mentioned above, the summary page will include the option for an administrator to upload a document on the applicant's behalf. This function ties into the SONIS Document Management System.
To upload a document, click the Upload Item link for the checklist item. A new window will open.
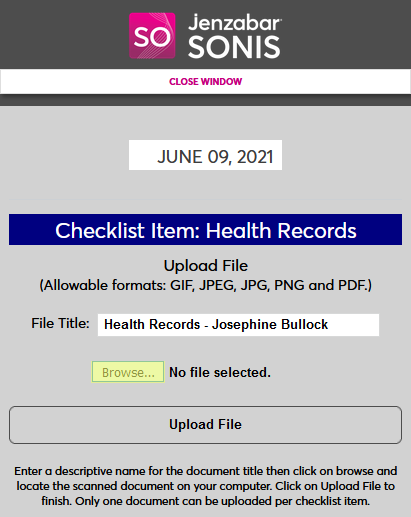
In the pop-up window, use the File Title field to create a descriptive name for the document that will be used to identify it throughout the system.
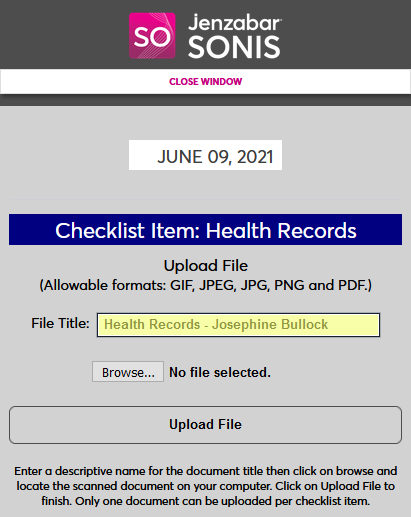
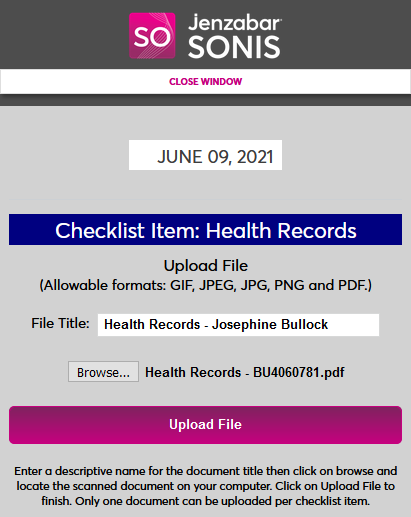
Next, click the Browse button and locate the file on the local system. All uploaded documents must be in an image format: PDF, JPG, PNG, etc.
Select the correct file and click the Upload File button.
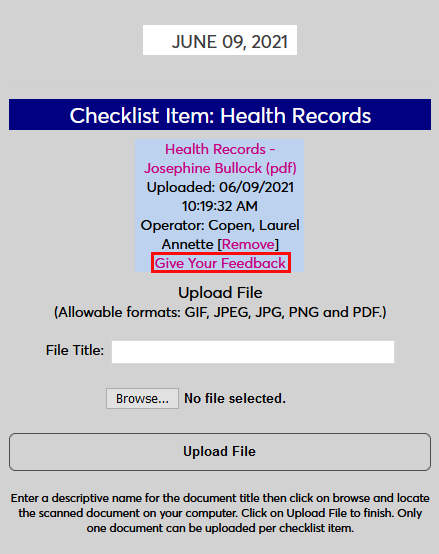
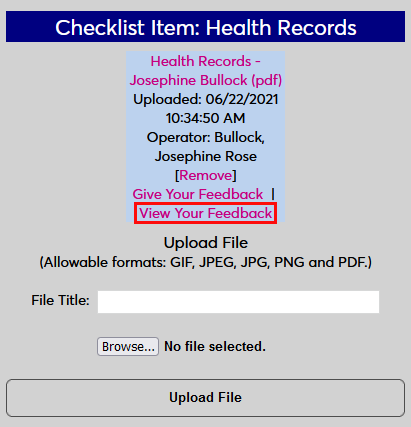
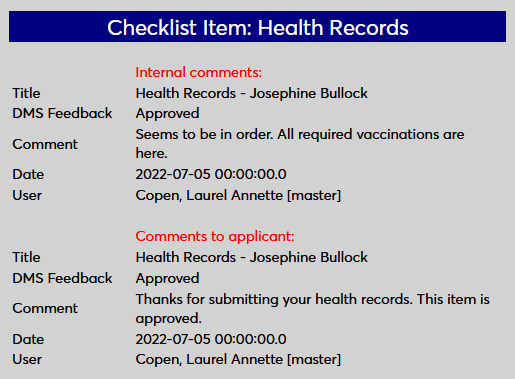
Once the file has been uploaded, it will be listed on this page where it can be removed. Click Give Your Feedback to add feedback. A new window will open.
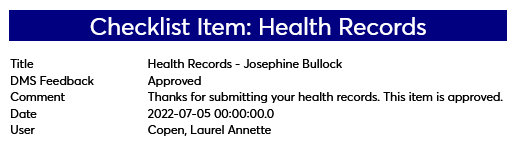
Designate the file as either Approved, Not Approved, or simply Read.
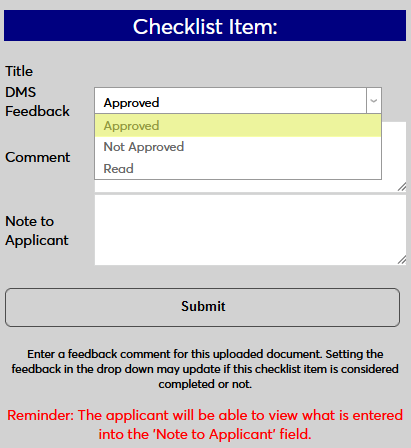
Though it's not required, feedback can be added for other administrators using the Comment field and/or for the applicant using the Note to Applicant field.
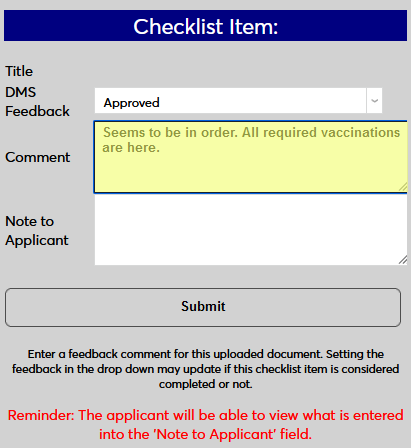
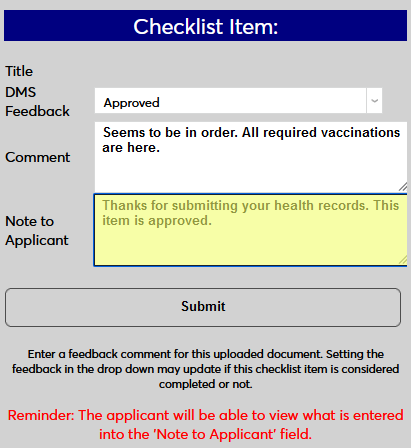
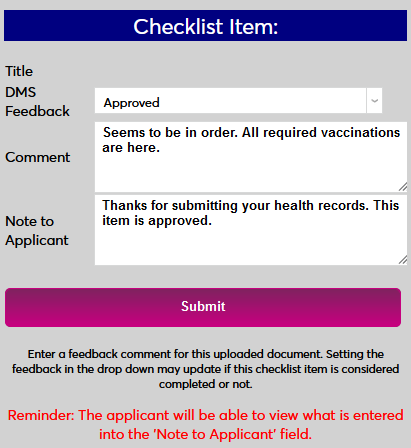
Click Submit to save the feedback.
Existing feedback can be viewed by opening the upload page again and clicking View Your Feedback.
Note
Once a document has been uploaded by either the applicant an administrator, the checklist item is automatically marked as completed on the date that the file was uploaded. This can be changed by editing the checklist item.
Applicant Portal
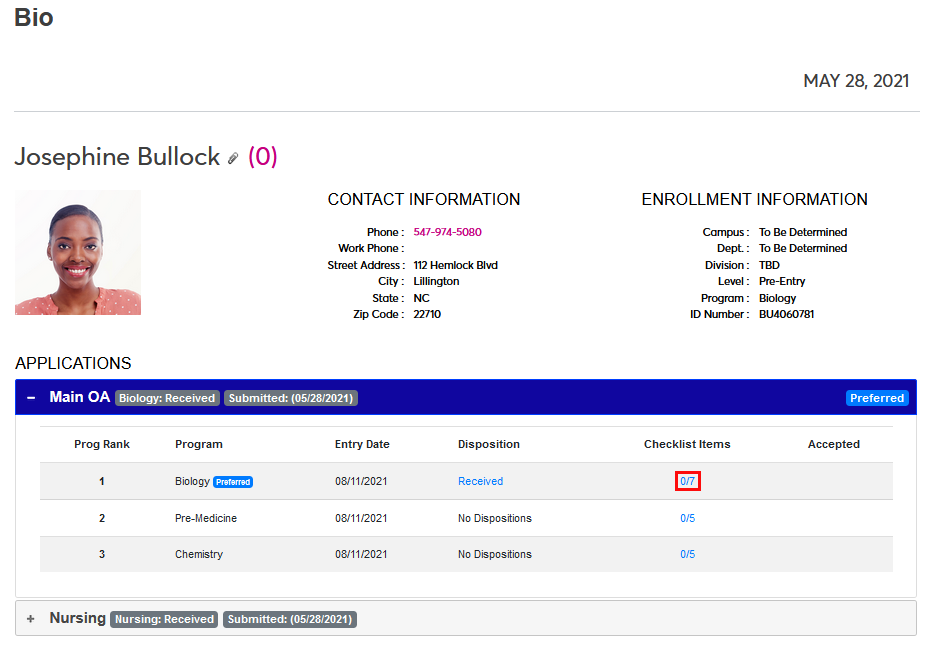
By default, applicants can access the Checklist Items page by clicking on the link in the Checklist Items column from their Bio page.
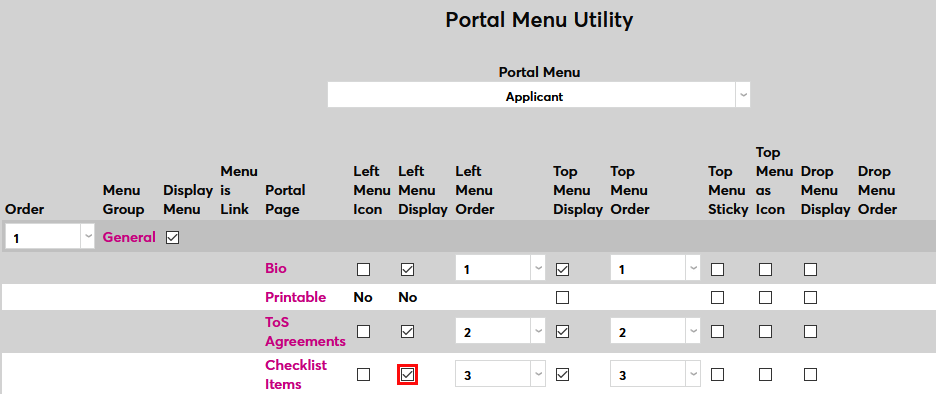
To add a link to the Checklist Items page to the left-nav menu in the Applicant portal, navigate to the Portal Menu Utility in the Systems hub. Find the Checklist Items row and check the Left Menu Display box. Once this option has been turned on, applicants will see Checklist Items as an option in their left-nav menu under the General tab.
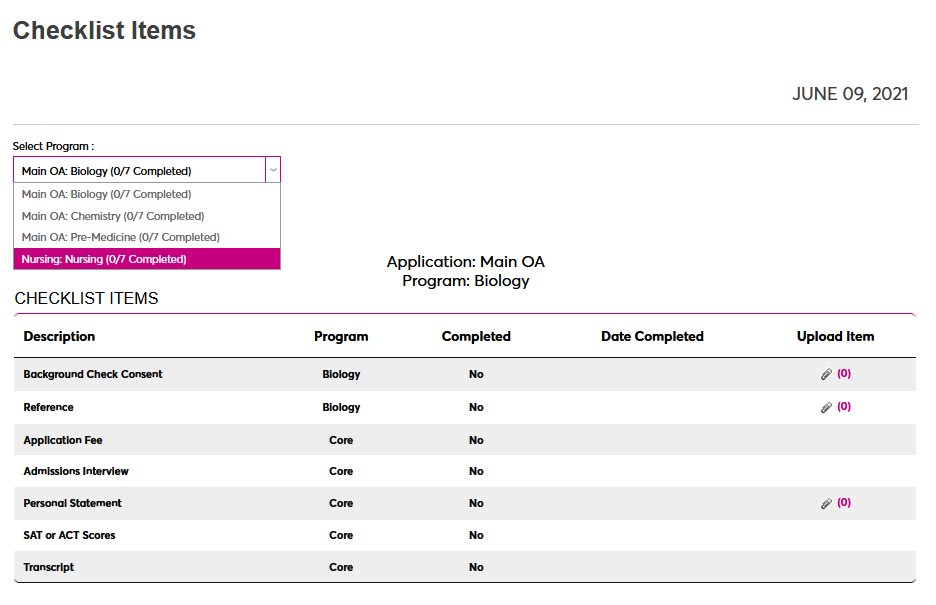
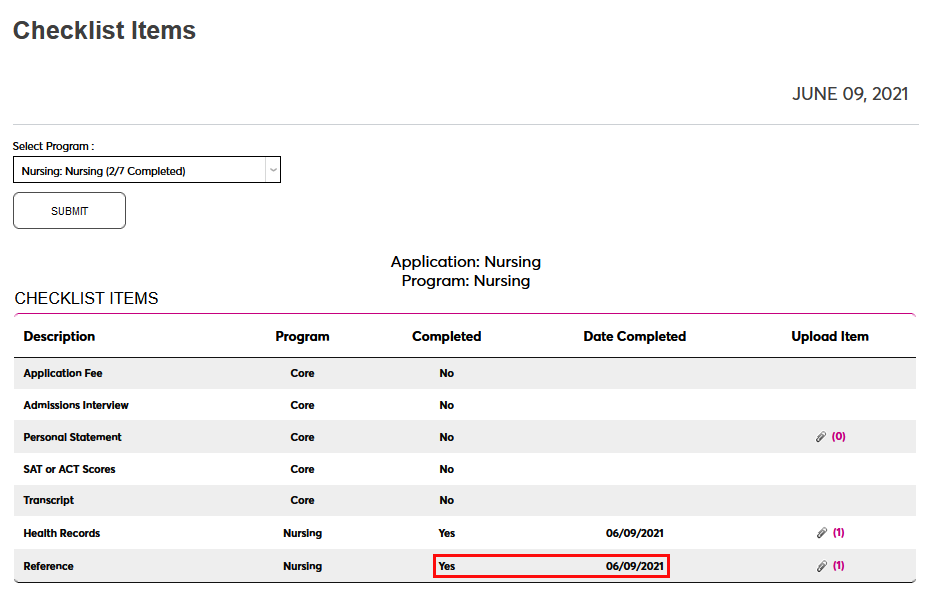
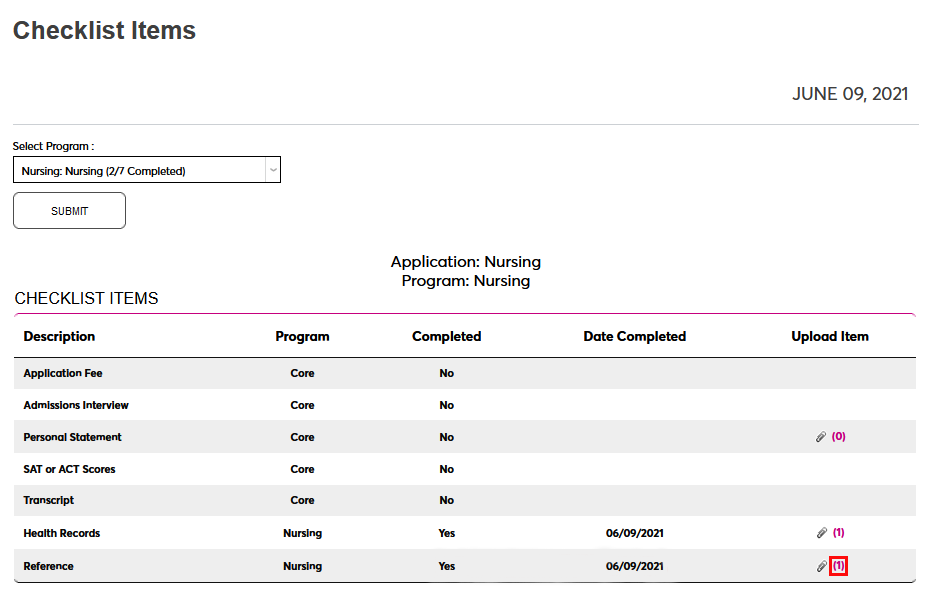
Each checklist item is listed with a basic Description, the Program it's associated with, the Date Completed if applicable, and the option to Upload Item to satisfy the checklist item if this option has been activated as detailed above.
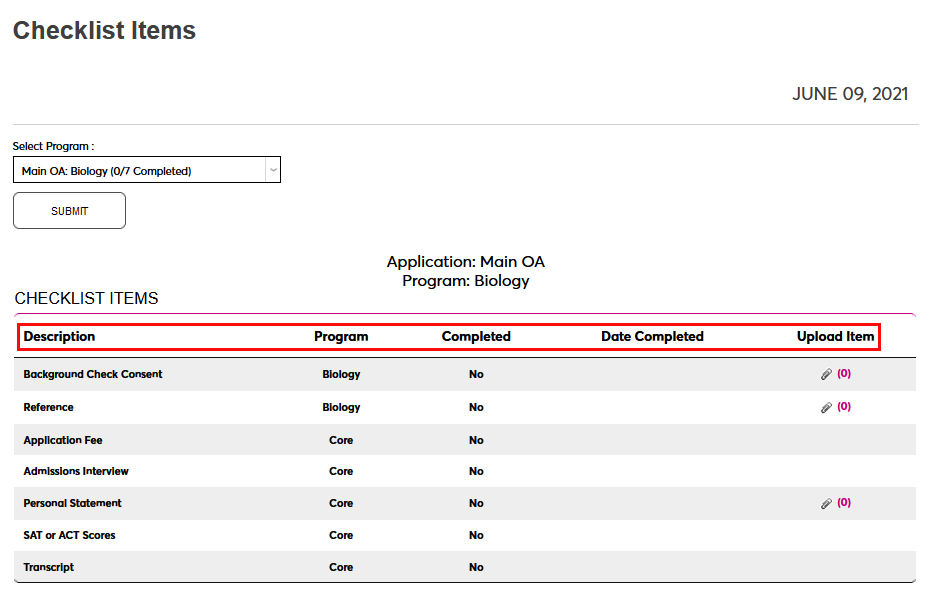
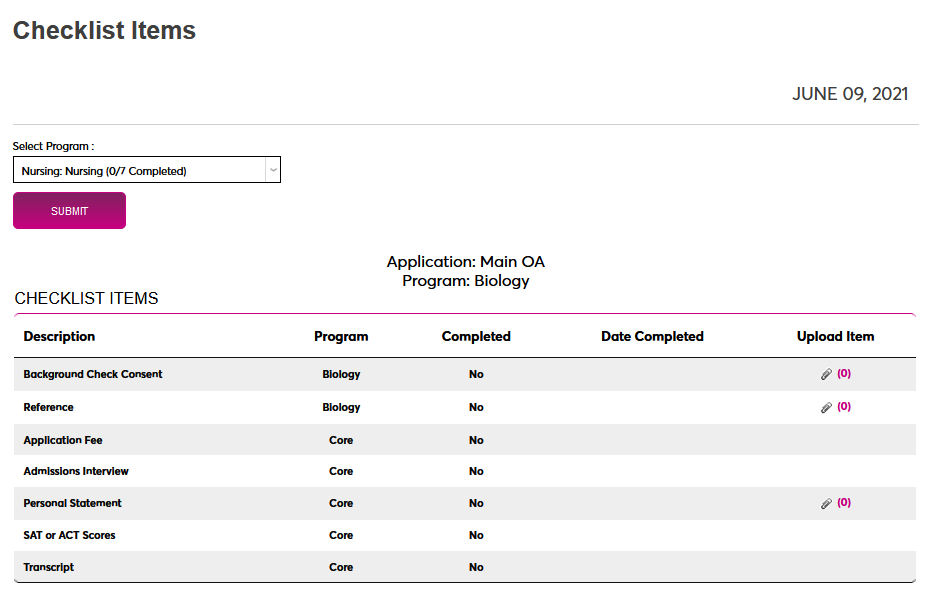
Applicants have the option to view the checklist items associated with another program using the Select Program menu at the top of the page. The applicant can select a different checklist to view and click Submit.
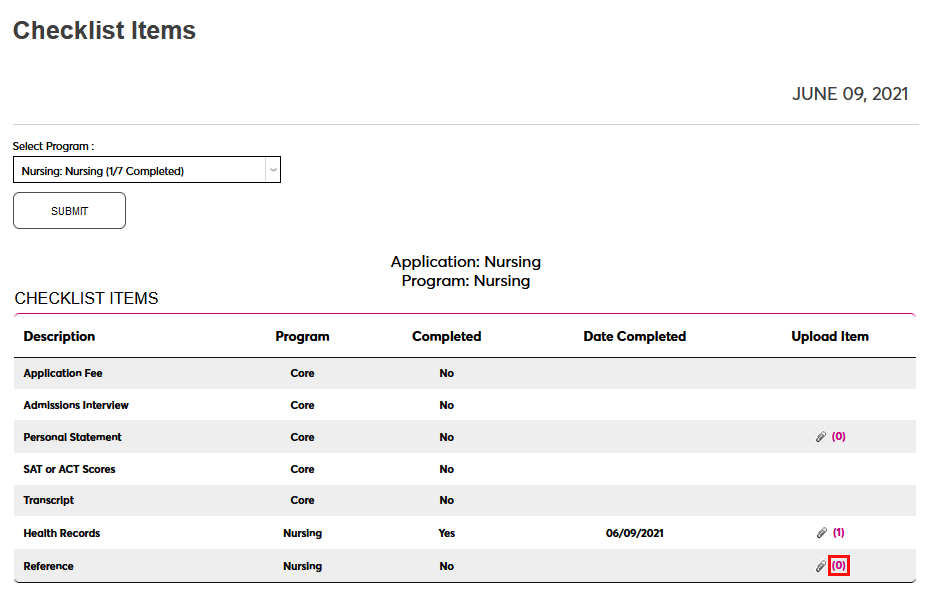
To upload a checklist item, click the link in the Upload Item column. This number displays the number of files that have been uploaded so far. A new window will open where the applicant can upload their file.
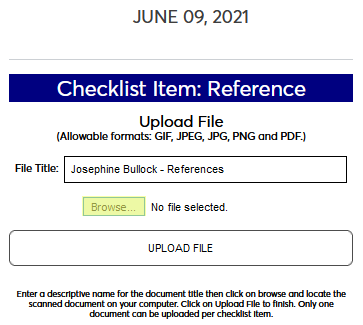
From the pop-up window, use the File Title field to create a descriptive name for the document that will be used to identify it throughout the system.
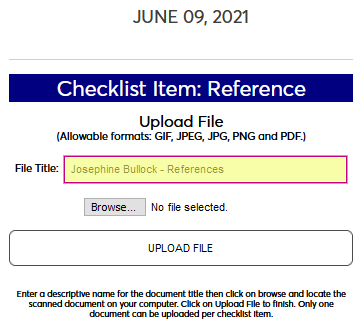
Next, click the Browse button and locate the file on the local system. All uploaded documents must be in an image format: PDF, JPG, PNG, etc.
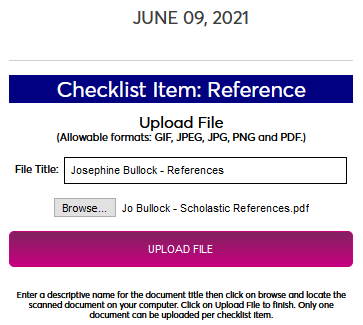
Select the correct file and click the Upload File button.
Once the file has been uploaded, it will be listed on this page where it can be viewed or removed.
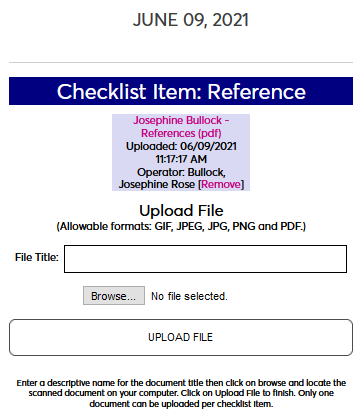
Once a file has been uploaded, the checklist item will automatically be marked as completed on the date that the file was uploaded. If the file is removed, the checklist item will no longer be marked as completed.
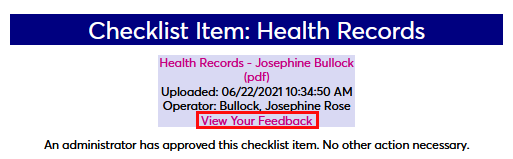
Applicants can open the item and click View Your Feedback to see the approval status and any feedback that's been left by an administrator.
Shared Checklist Items
You can choose to share checklist items between applications and programs to avoid unnecessary duplicates. With this option active, core checklist items only appear once in a user's application checklist. Program-specific items will still appear more than once, but checklist items attached to the same program on different applications are not duplicated.
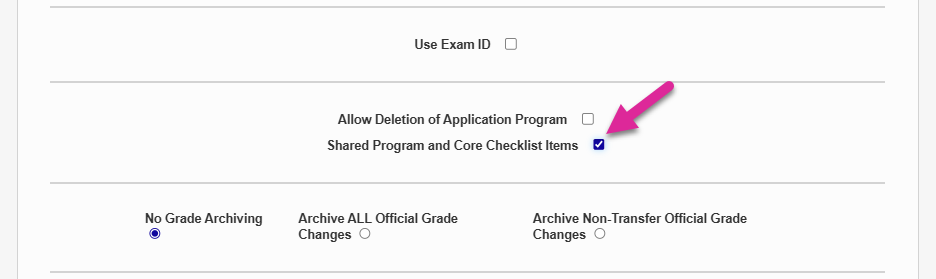
To turn this feature on, navigate to Web Options under the Systems hub. Check the Shared Program and Core Checklist Items box and click Submit to save the page.
Once the option has been turned on, a field is added to each checklist item indicating whether or not it is shared with another program or application.
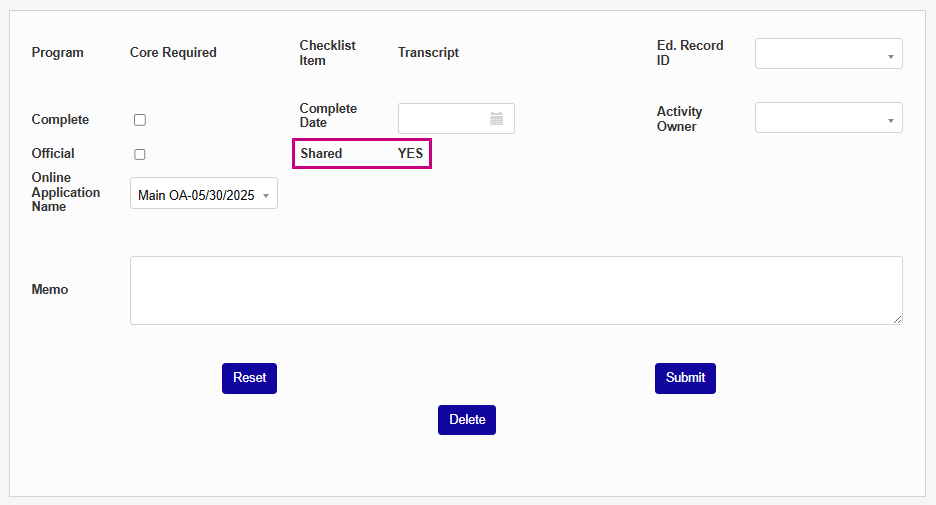
Note
When you activate the shared checklist items option, existing duplicates are not deleted. Instead, they are also marked as Shared. All duplicates are updated when you update one item.