Quiz Module
Overview
The Jenzabar SONIS Quizzes module allows faculty members to create quizzes, tests, and exams for their students. Students can then answer the questions on the quizzes through their own Student portal. Some answer types can be automatically graded while others must be graded manually. Faculty members can copy quizzes they've created to other courses that they teach and can share them with other faculty members. Quiz access can be controlled by date and correct answers can be displayed or hidden.
Managing Quizzes
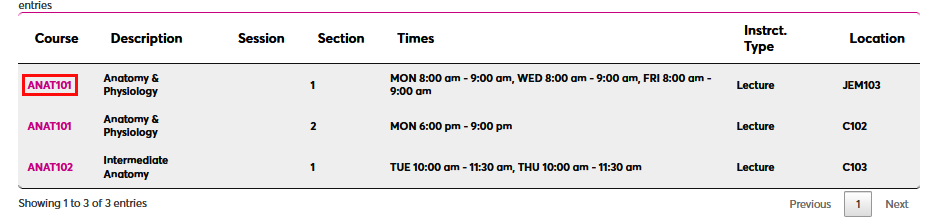
To manage quizzes from the Faculty portal, navigate to the Biographic page and scroll down to the Teaching Schedule section. Click on a Course. A new window will open.
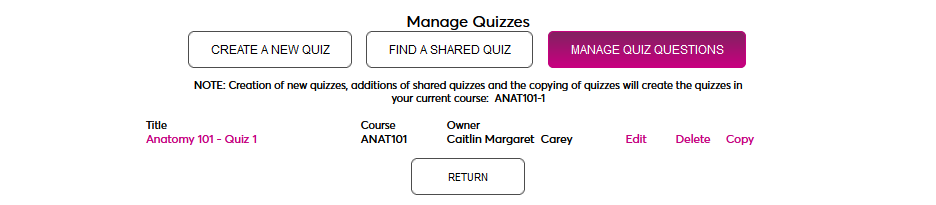
In the new window, scroll down to the Course Quizzes header and click Manage Quizzes.

Creating A New Quiz

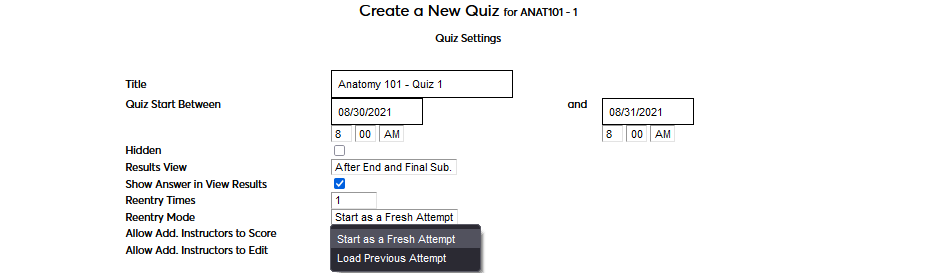
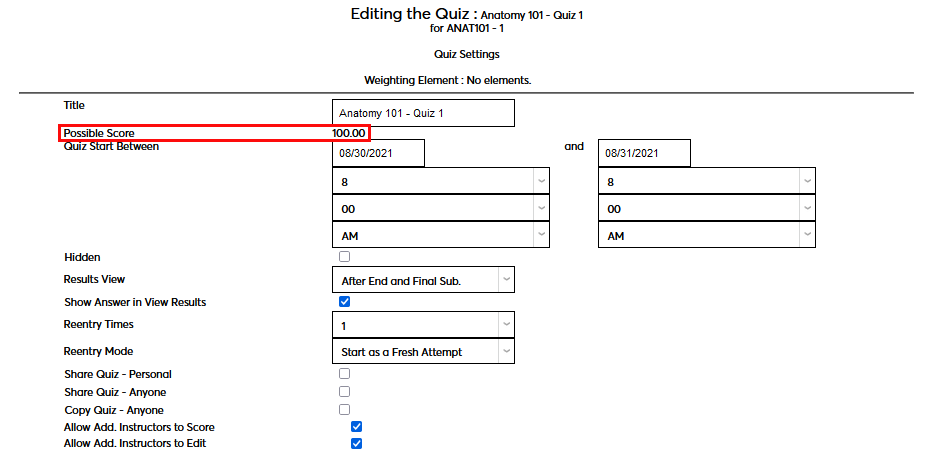
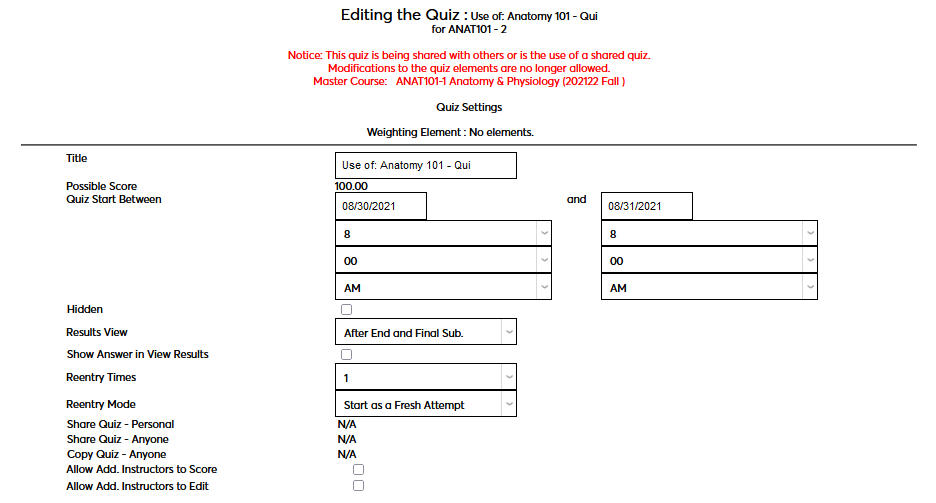
Enter a short Title for the quiz that will differentiate it from other quizzes. The field has a 25-character limit.
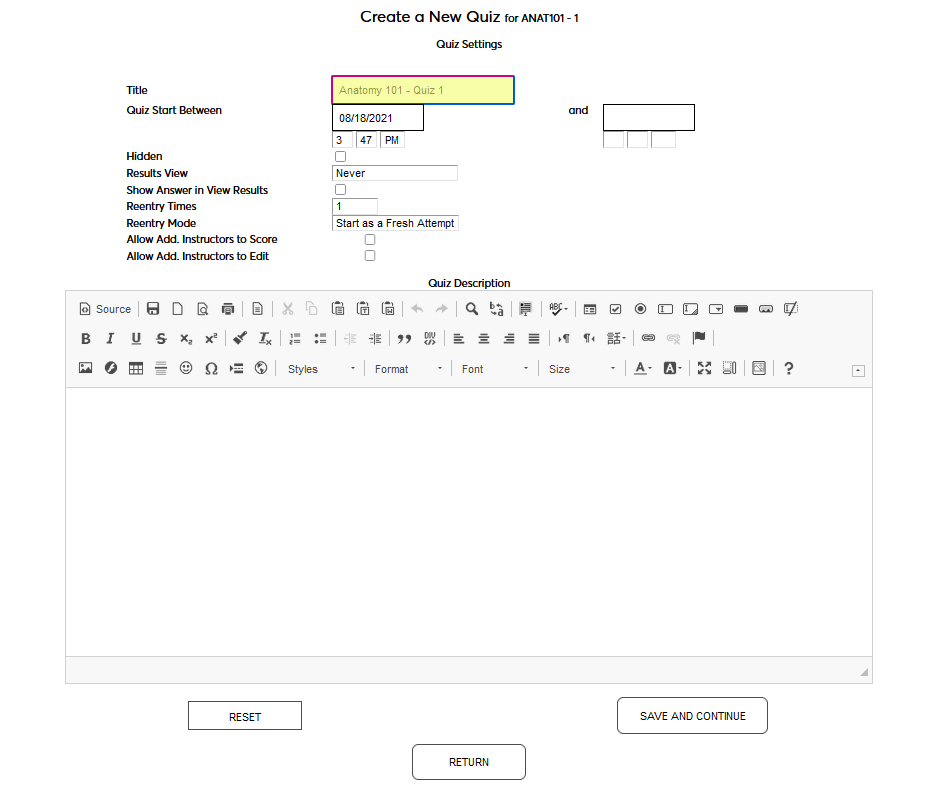
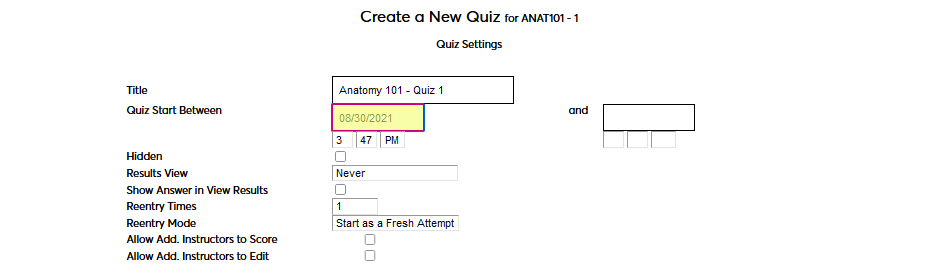
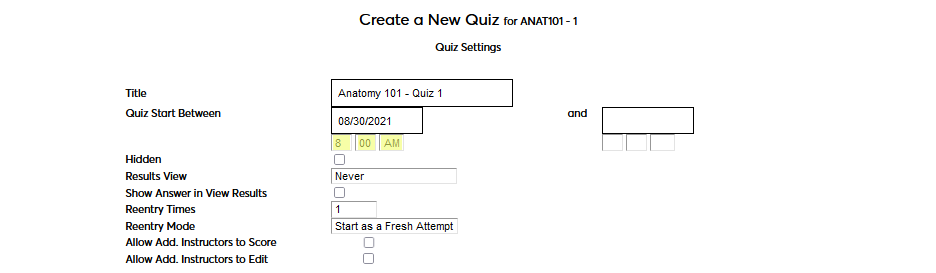
Next, set the Quiz Start Between dates and times. Students will only be able to start the quiz between these two times. The second set is optional and can be left blank if the quiz will be available perpetually after the beginning date/time.
Check the Hidden box to prevent students from seeing this quiz on their course page. Some faculty may wish to use this checkbox to prevent students from taking a test before or after a certain period rather than using the date fields.
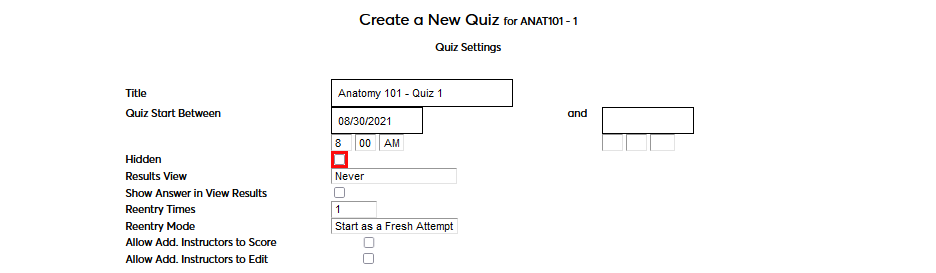
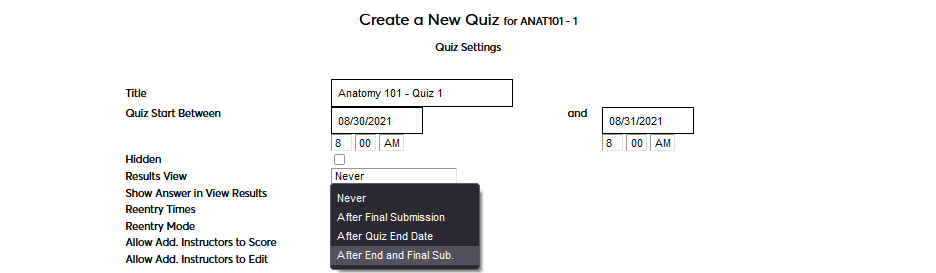
Select the appropriate Results View option. If Never is selected, students will never be able to view their results through their SONIS portal. If After Final Submission is selected, students will be able to view their results after they've submitted their quiz. If After Quiz End Date is selected, students will be able to view their results once the quiz end date/time has passed even if they've only partially finished and haven't submitted the quiz. If After Quiz End Date and Final Submission is selected, students will only be able to view their results after they've submitted their quiz and the end date/time has passed.
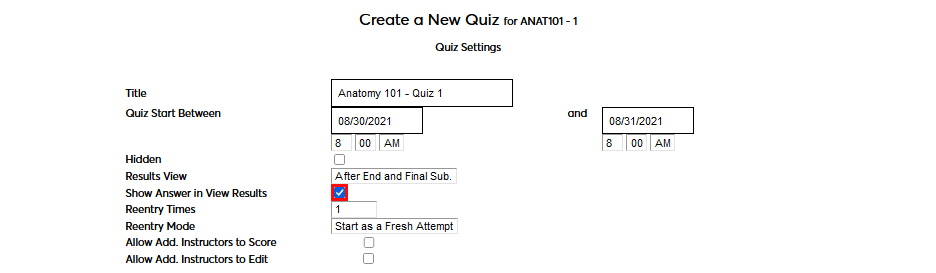
If the Show Answer in View Results box is checked, then the student will be able to see any answers that have been provided by the quiz creator when viewing their results. If it is not checked, the student will only be able to see their score for each question. Answers will not be shown unless the Results View criteria set above has been met.
The Reentry Times option controls each student's ability to retake a quiz. If 1 is selected, a student can only take the quiz a single time and all submitted answers are final. Select a higher number or No Limit to allow students to retake the quiz after their initial submission. Keep in mind that the Show Answers settings may need to be adjusted based on this setting.
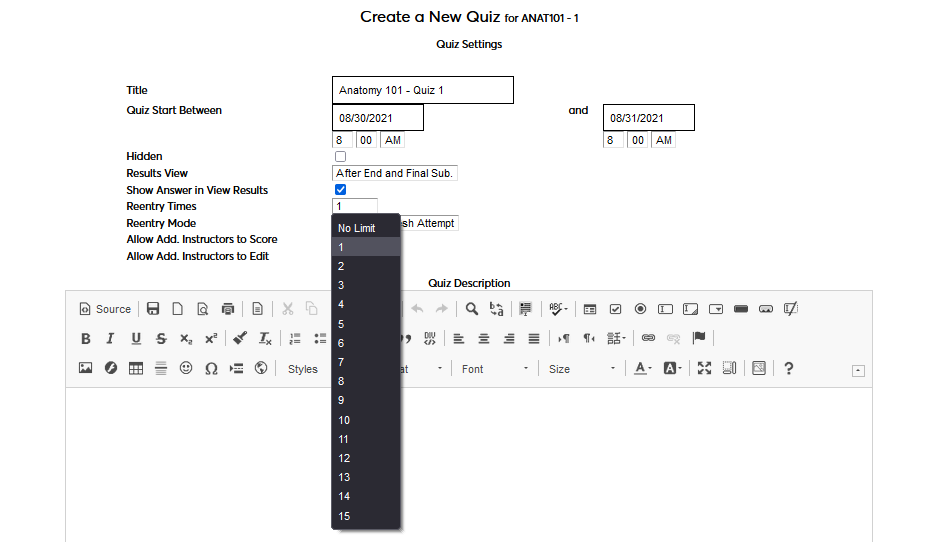
After setting the Reentry Times, use the Reentry Mode option to control what a student will experience when retaking the quiz. If Start as a Fresh Attempt is selected, the student will start the quiz over with no questions answered. If Load Previous Attempt is selected, the student will see their previous answers when retaking the quiz. This setting can be ignored if 1 was selected as the number of times that the quiz can be taken.
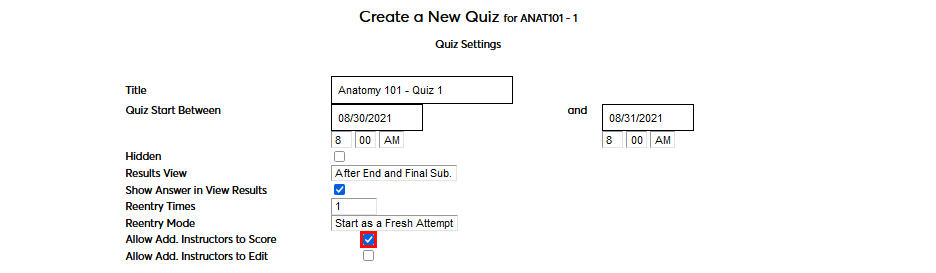
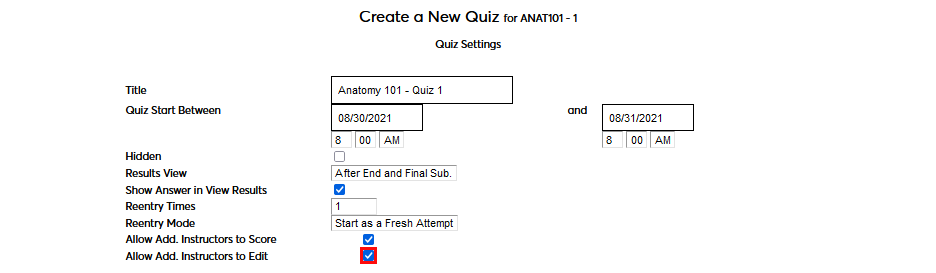
Check the Allow Additional Instructors to Score box to allow faculty set as additional instructors for the course to score completed quizzes. Check the Allow Additional Instructors to Score box to allow faculty set as additional instructors for the course to make changes to the quiz itself such as adding additional questions, providing answers for questions, and changing the settings on this page.
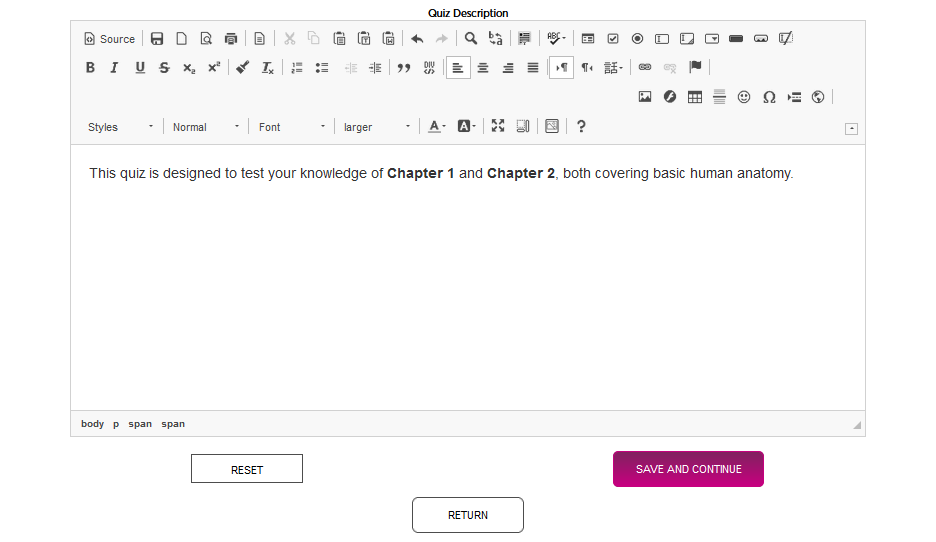
Use the Quiz Description field to provide any additional information about the quiz that a student might need such as what is being covered. The field features a WYSIWYG editor which allows for font changes, links, and other design choices.
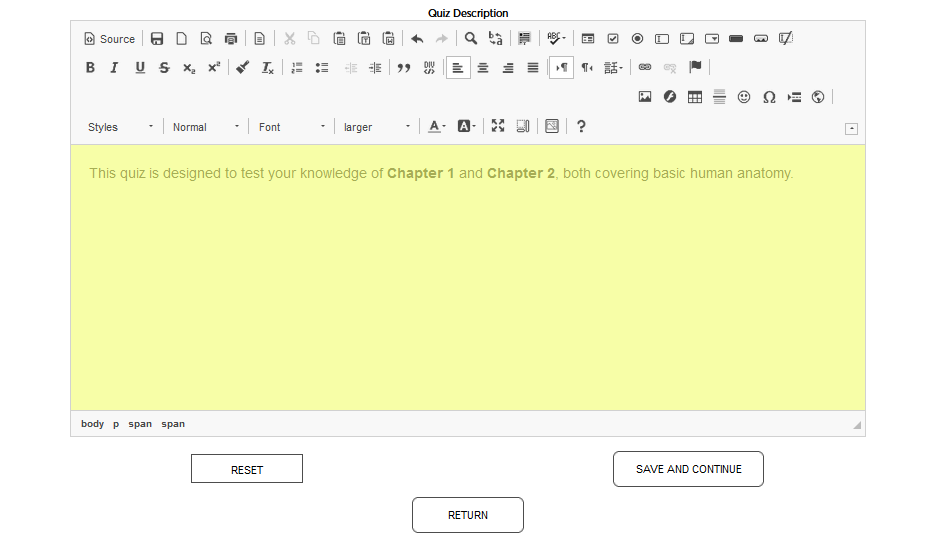
Click Save and Continue to save what has been done so far and open the next set of options.
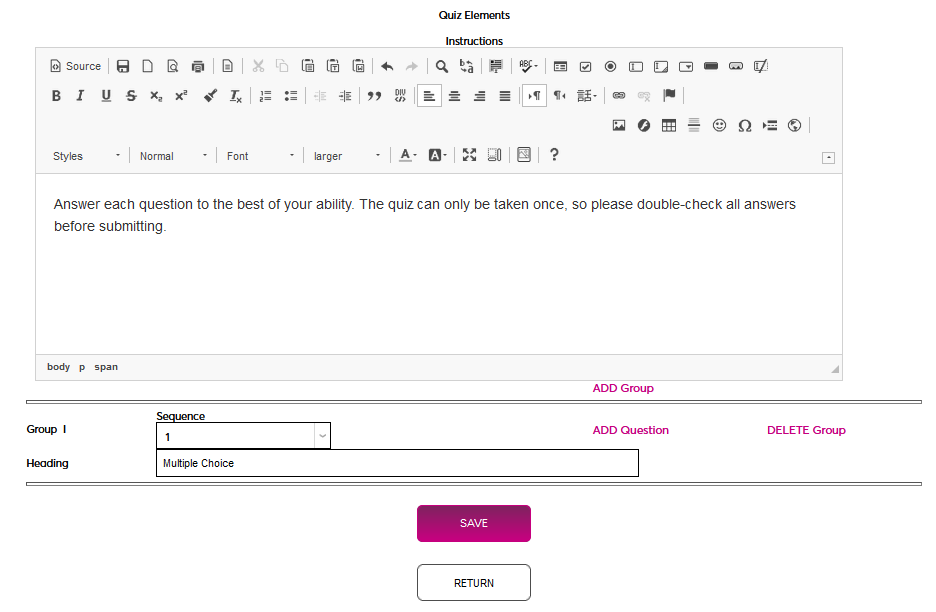
A text box is offered for Instructions. These instructions will appear at the top and apply to the entire quiz. The field features a WYSIWYG editor which allows for font changes, links, and other design choices.
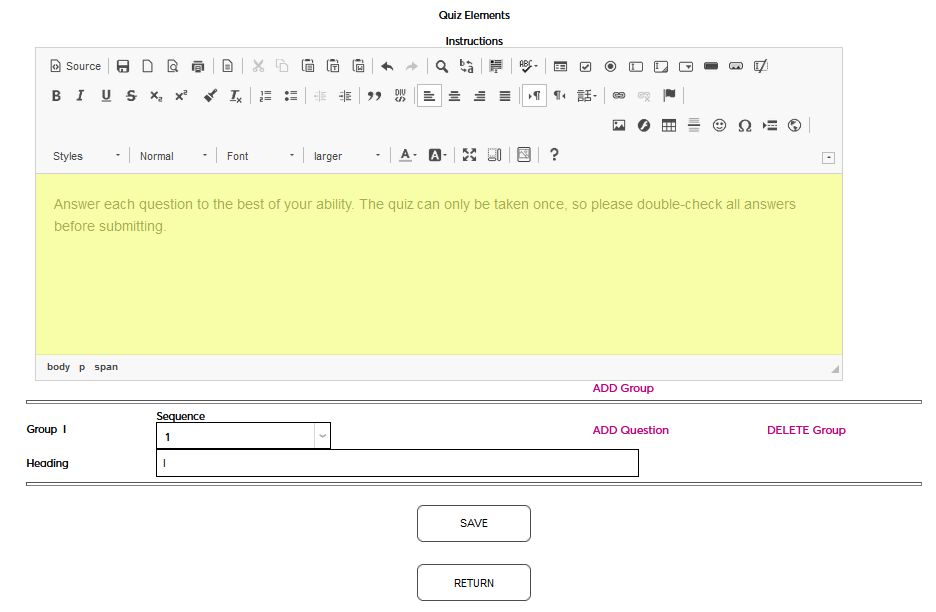
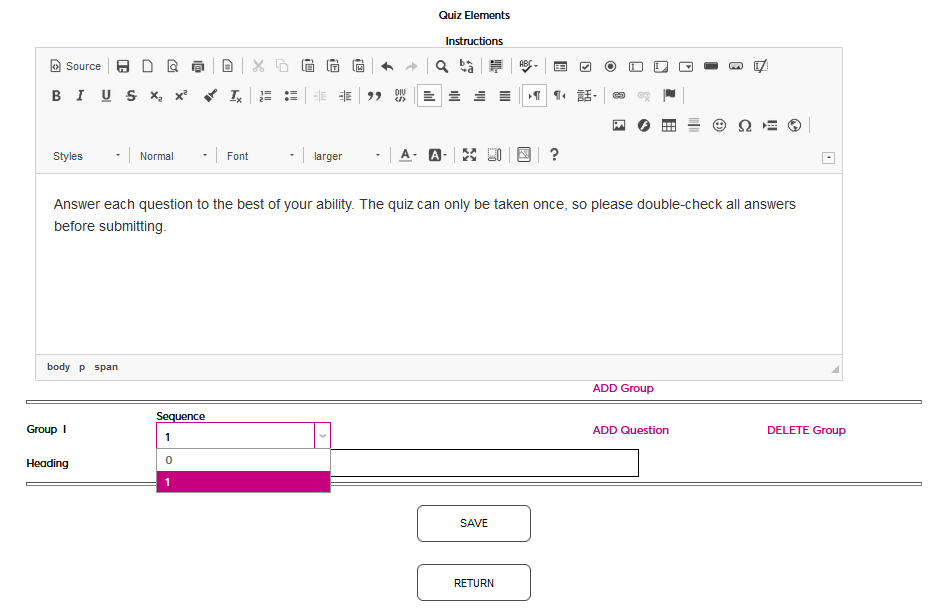
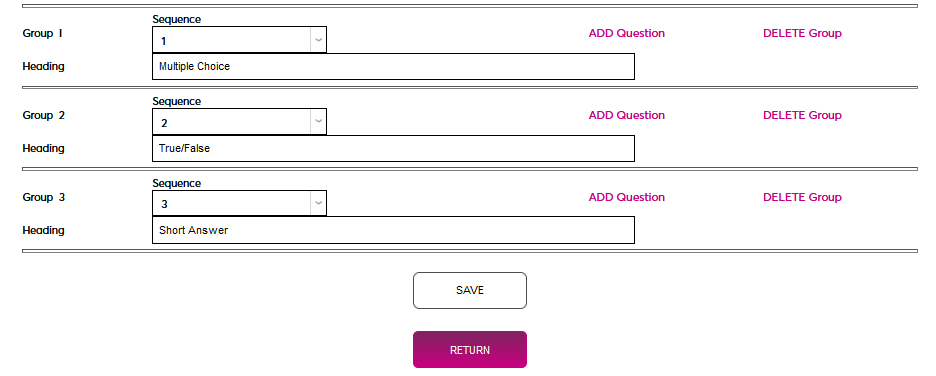
All quizzes must have at least one Group of questions. The default group is set to be first in the Sequence, but this can be changed as more groups are added.
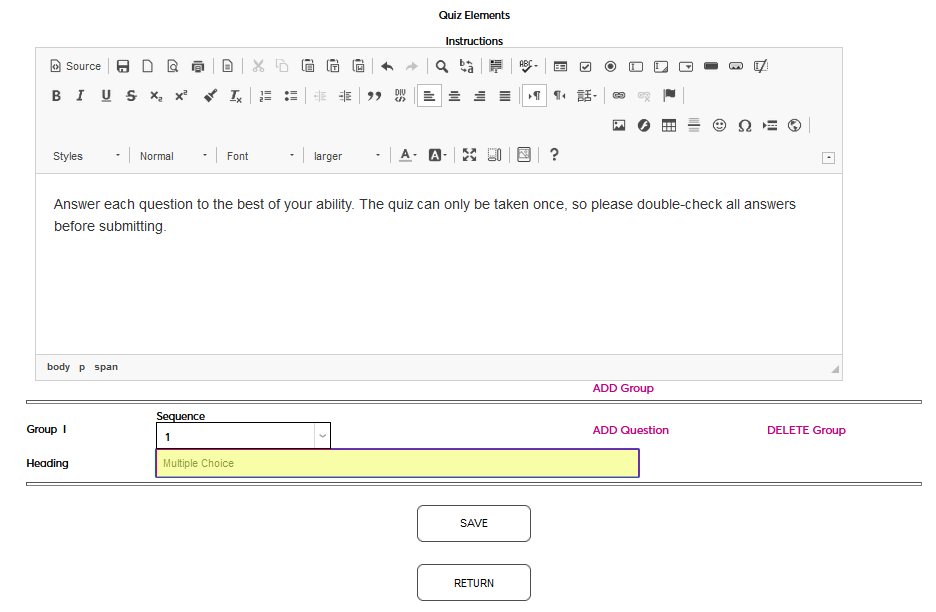
Give the group a Heading that will tell students taking the quiz what to expect from the group. This could be the type of questions in the group, the part of the material covered in the group, etc. The field has a 200-character limit, so full-sentence descriptions or instructions pertaining to what is covered in the group can be used.
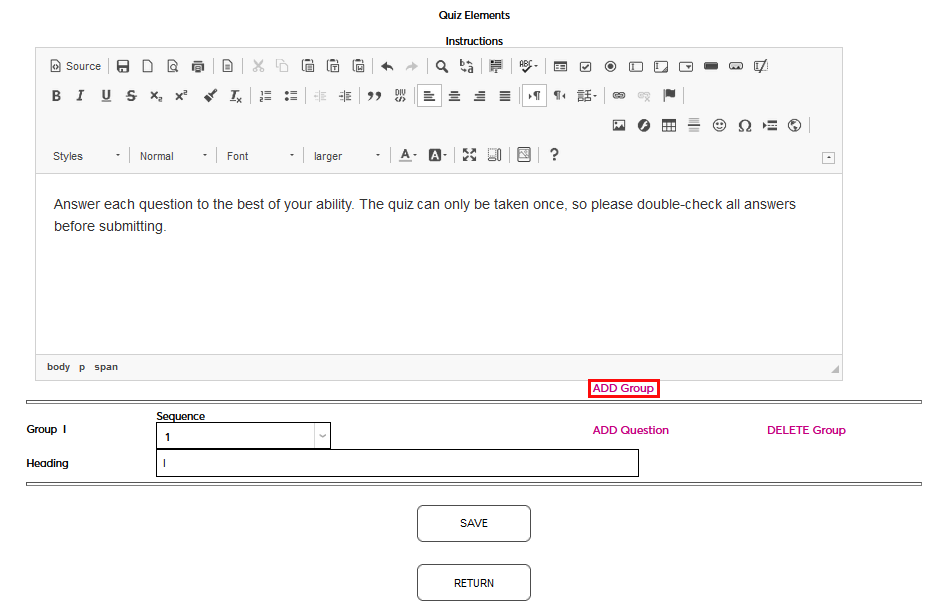
Click Save again to save the changes that have been made. Do not click the Add Group or Add Question links before saving or all updates made since the last save will be lost.
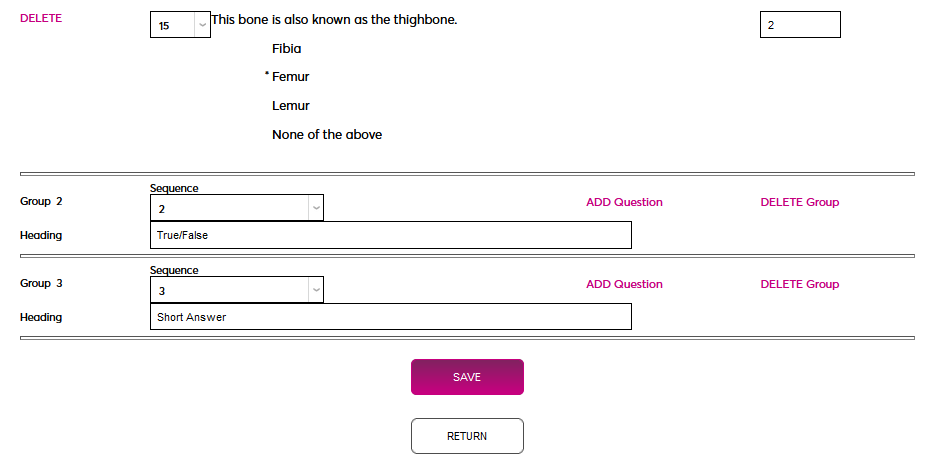
Once the first group has been named and the settings have been saved, click Add Group to add additional sections of questions if needed.
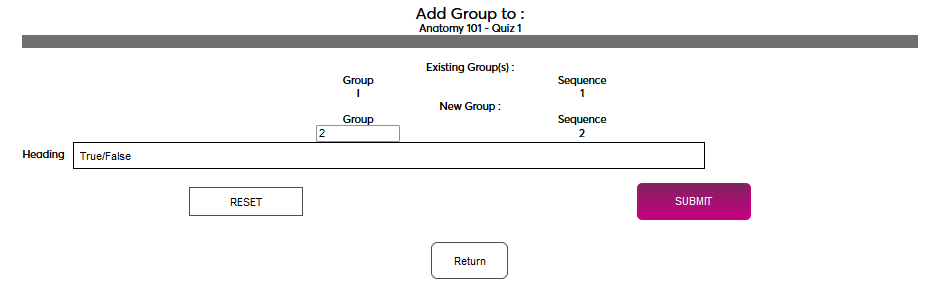
On the following page, number the Group and provide a Heading for the group. Students will only see the heading.

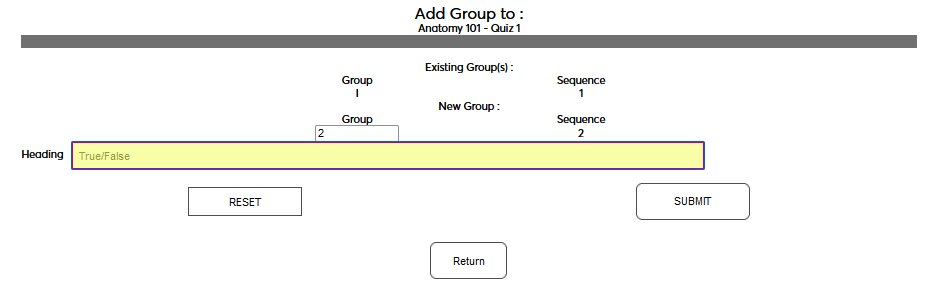
Click Submit to save and add the new group. This process can be repeated as many times as necessary to add more groups.
Once all required question groups have been added, click Return to complete the initial quiz setup process and proceed to adding questions.
Managing Questions
On the following page, begin by selecting a question type. SONIS offers four question types: Text, Numeric, Multiple Choice, and True/False. A single quiz may have multiple question types.

Text
Click Add Question to continue.

Enter a Brief Question Description. This will be used to identify the question when adding it to a quiz and will not be seen by students taking the quiz.
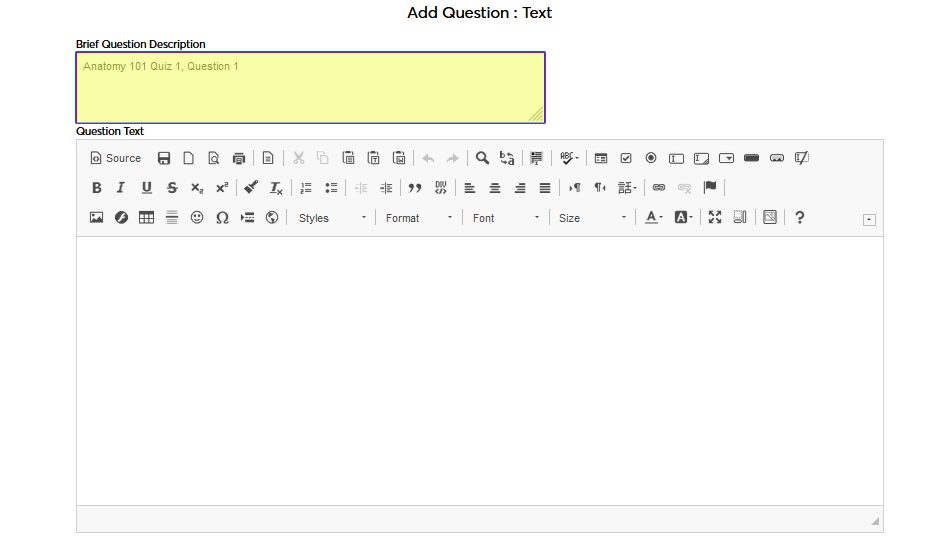
Enter the Question Text. This is the question that the student will see on their quiz. The field features a WYSIWYG editor, which allows for font and style changes, the addition of images, etc.
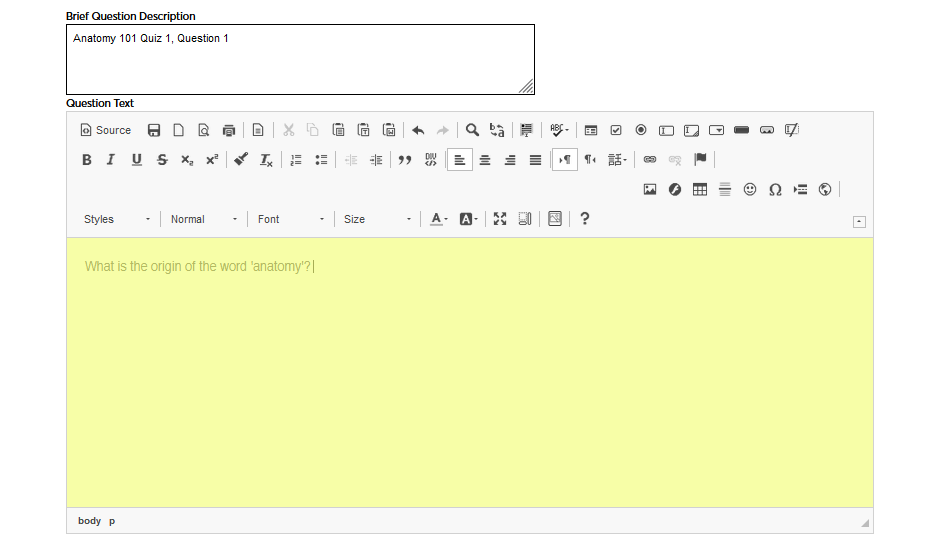
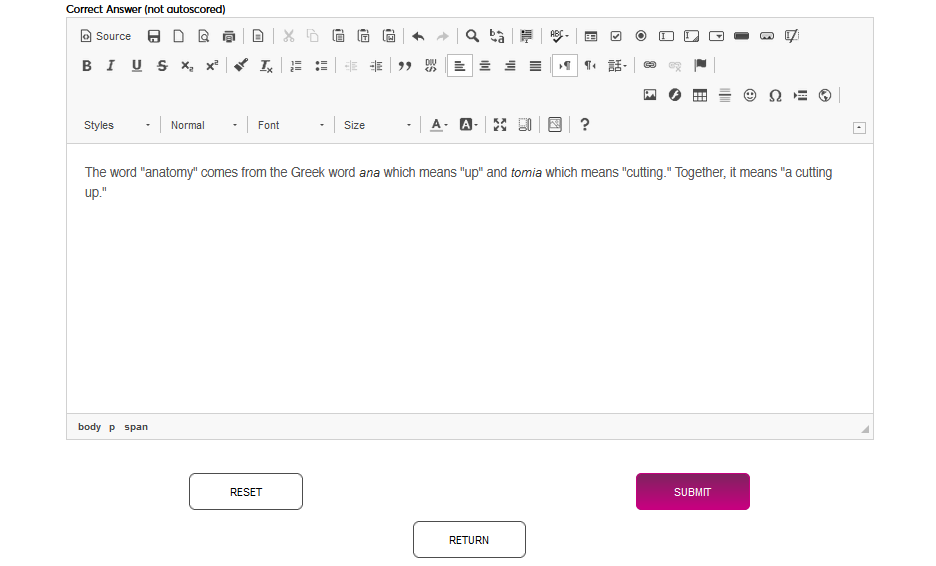
Enter the Correct Answer to the question in the next WYSIWYG field. Note that text questions cannot be autoscored.
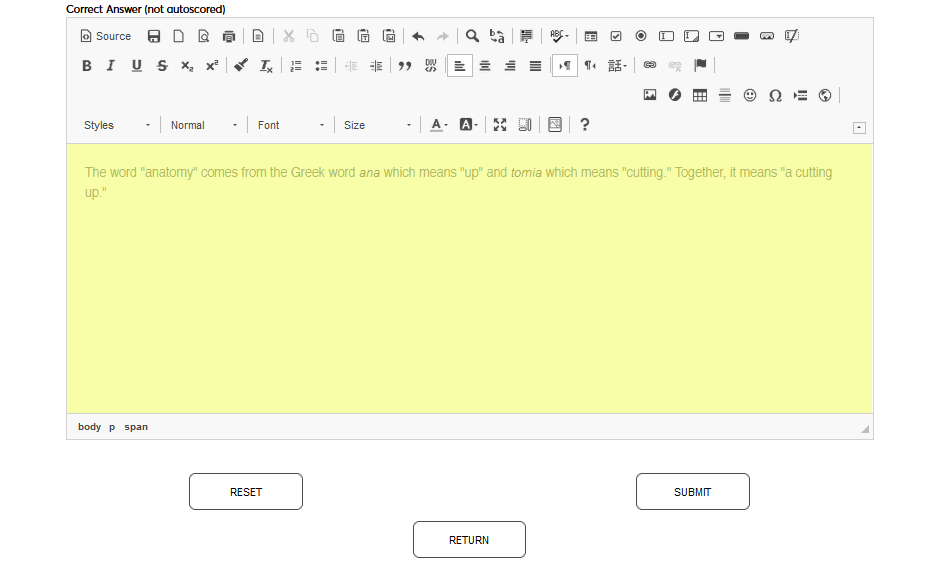
Click Submit to save the question and answer.
Numeric
Click Add Question to continue.

Enter a Brief Question Description. This will be used to identify the question when adding it to a quiz and will not be seen by students taking the quiz.
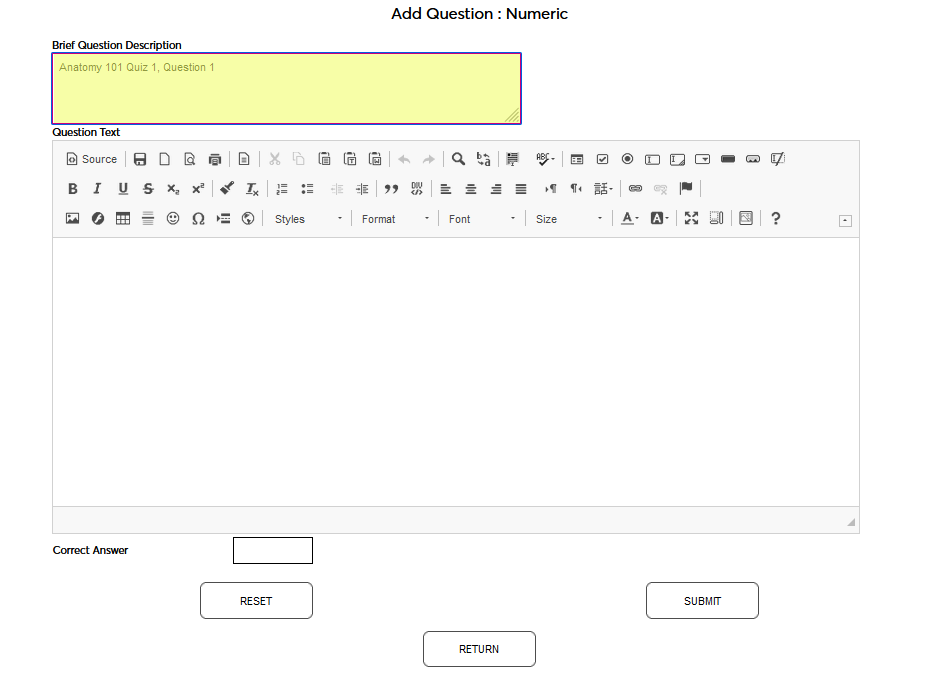
Enter the Question Text. This is the question that the student will see on their quiz. The field features a WYSIWYG editor, which allows for font and style changes, the addition of images, etc.
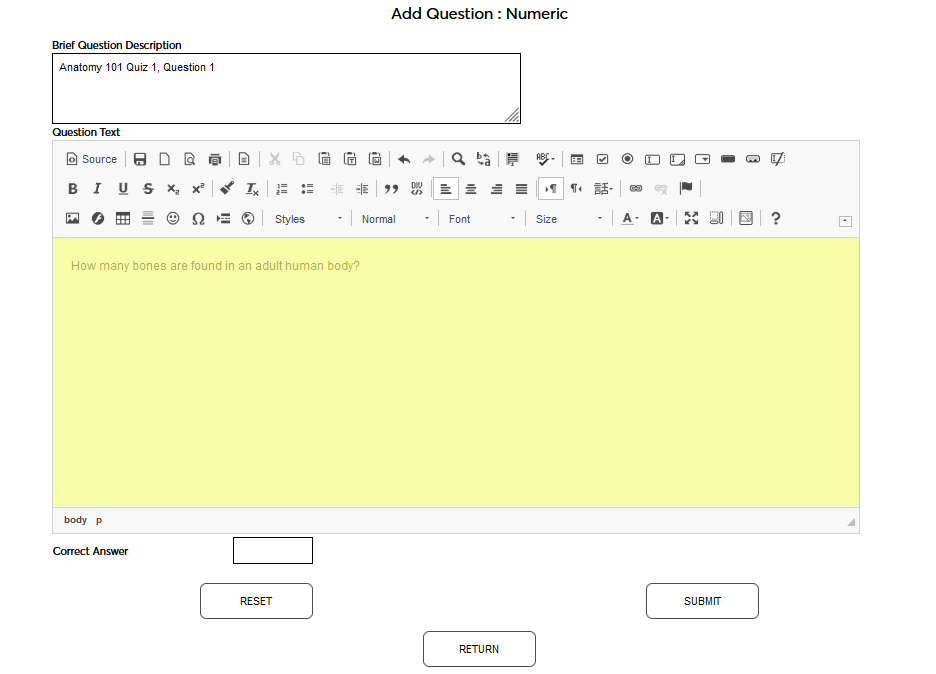
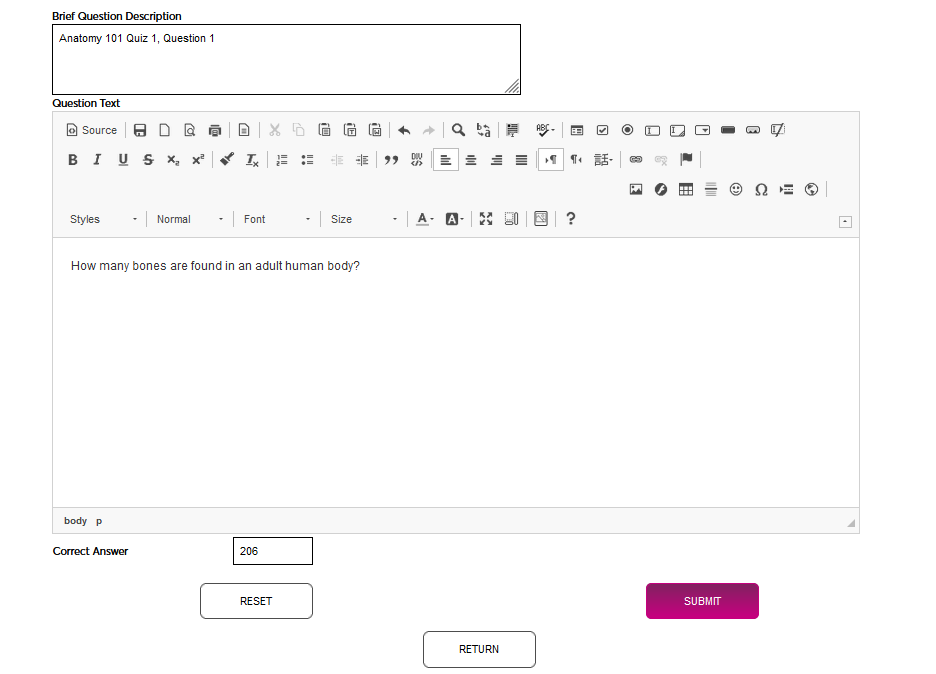
Enter the Correct Answer to the question in the small field below. The field only accepts numeric characters. Quizzes will be autoscored based on this value.
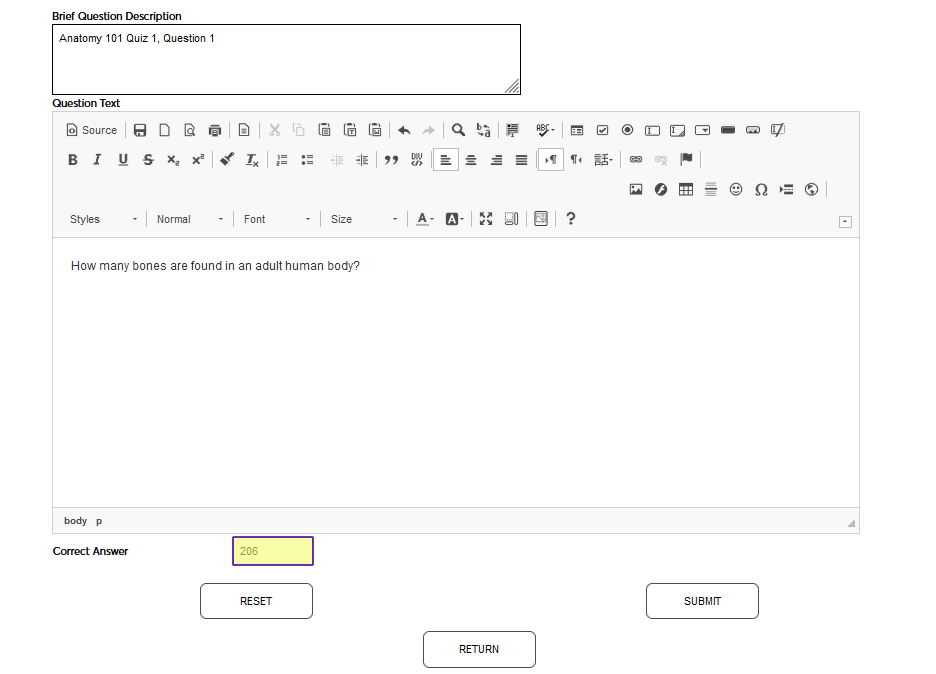
Click Submit to save the question and answer.
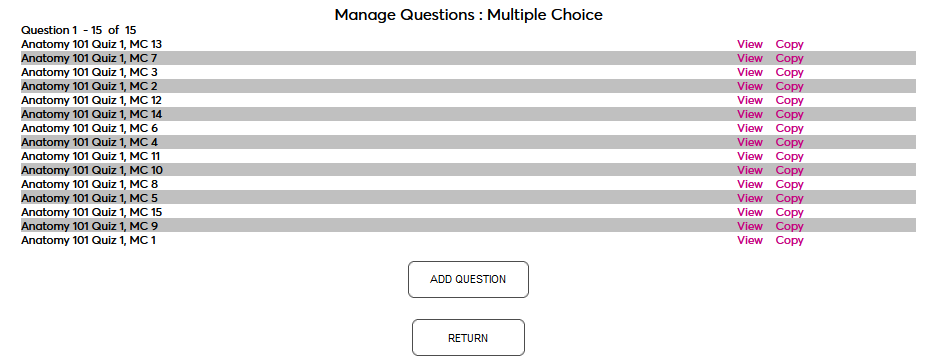
Multiple Choice
Click Add Question to continue.

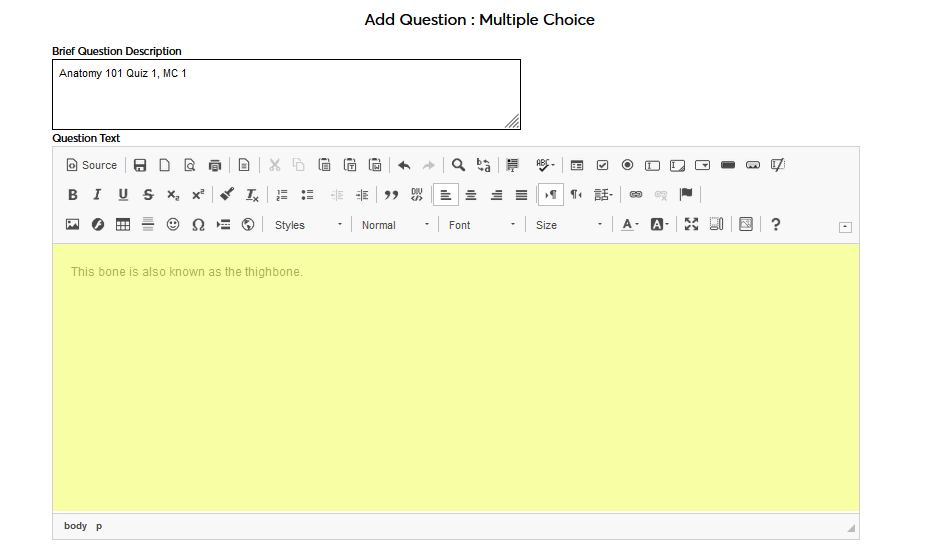
Enter a Brief Question Description. This will be used to identify the question when adding it to a quiz and will not be seen by students taking the quiz.
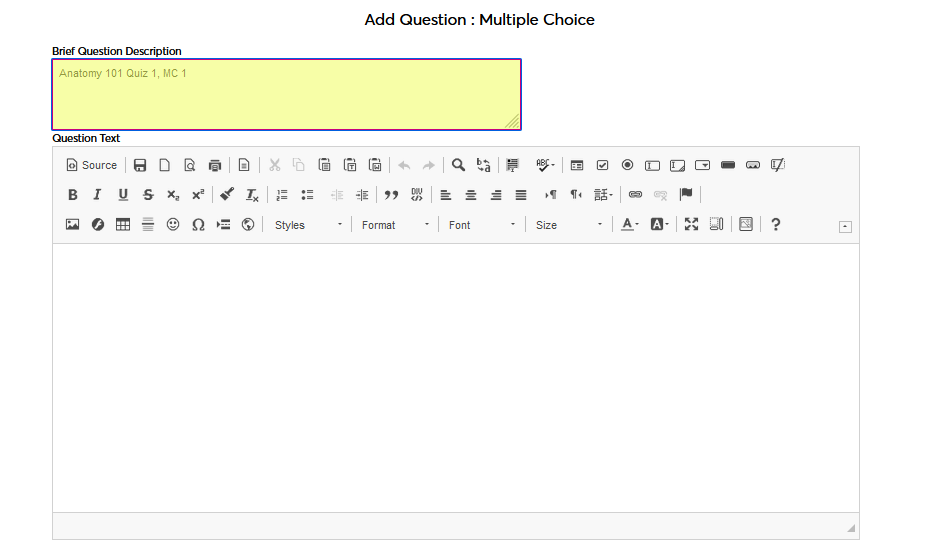
Enter the Question Text. This is the question that the student will see on their quiz. The field features a WYSIWYG editor, which allows for font and style changes, the addition of images, etc.
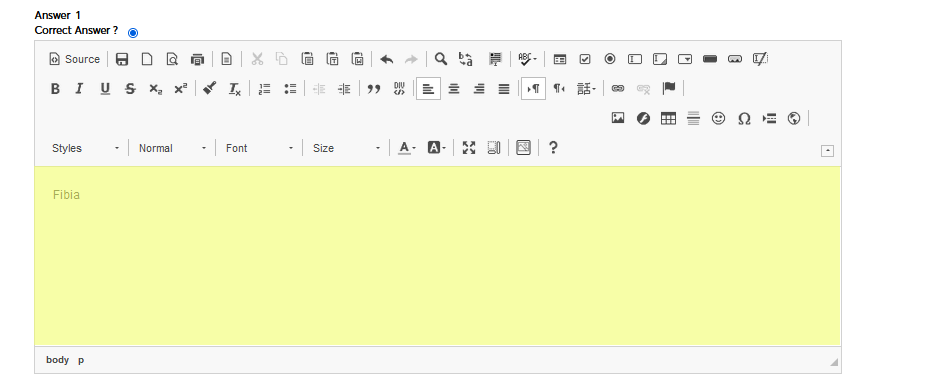
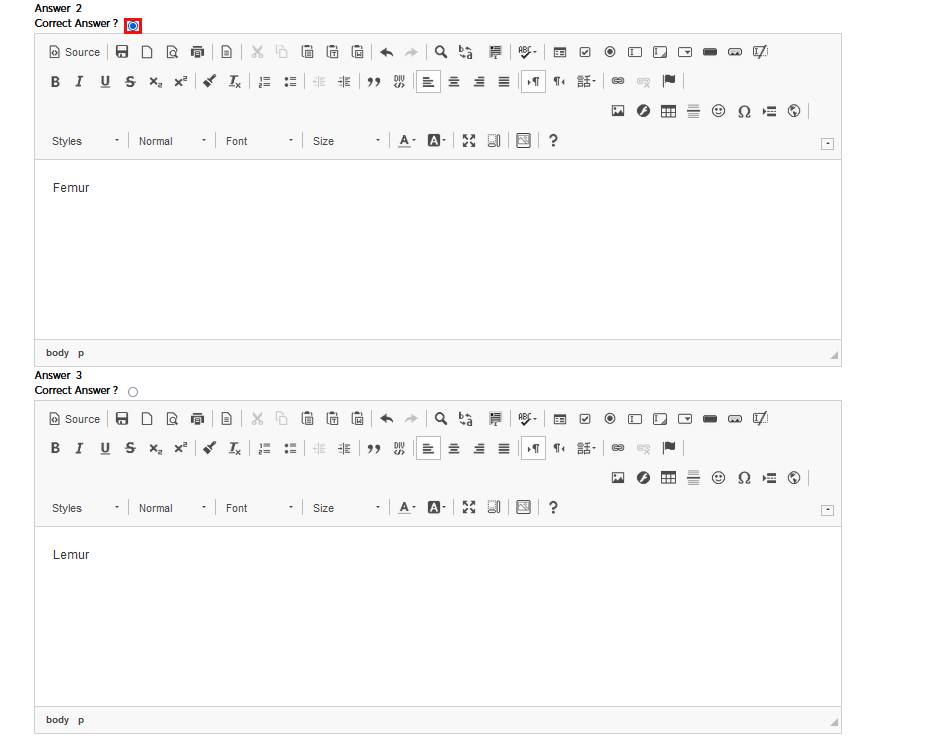
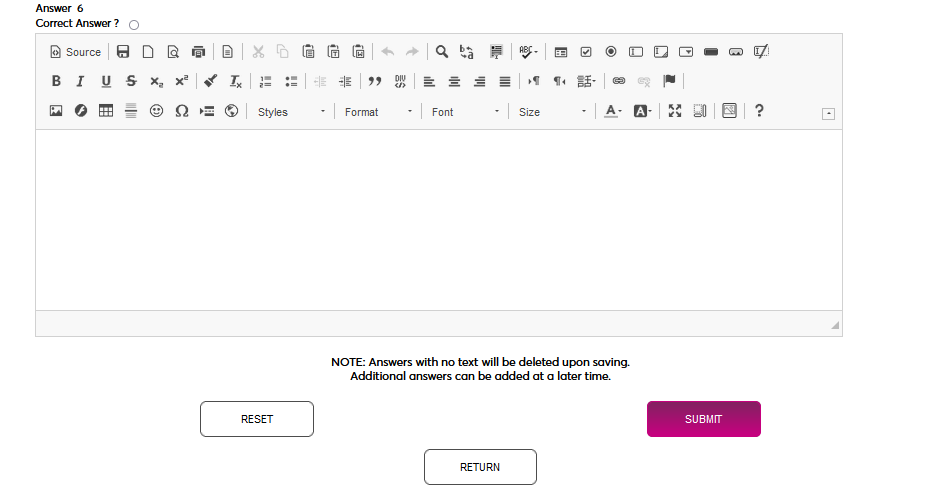
Enter up to six possible answers in the WYSIWYG Answer fields. Select one of the answers as the Correct Answer using the corresponding radio button. Only one answer can be selected. These questions will be autoscored.
Click Submit to save the questions and answers.
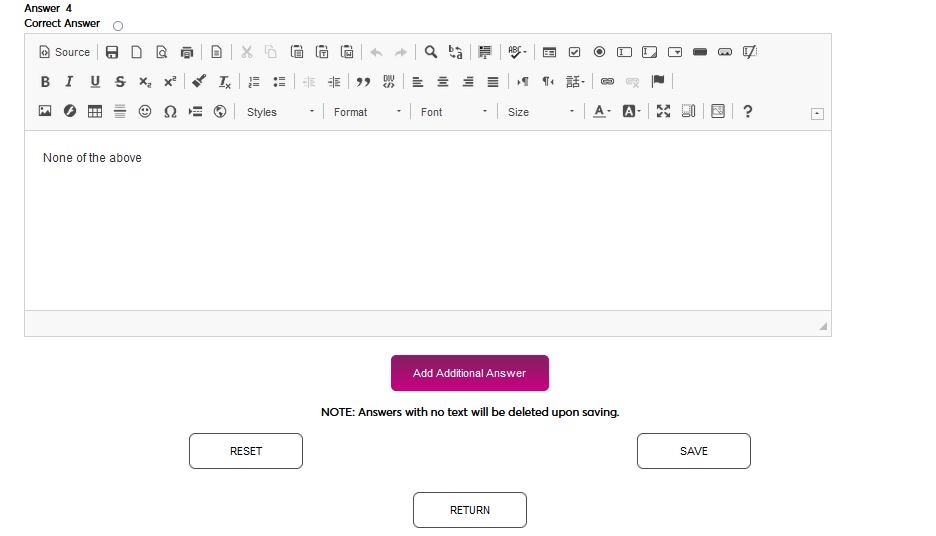
Note that additional answers can be added when editing existing multiple choice questions using the Add Additional Answer button.
True/False
Click Add Question to continue.

Enter a Brief Question Description. This will be used to identify the question when adding it to a quiz and will not be seen by students taking the quiz.
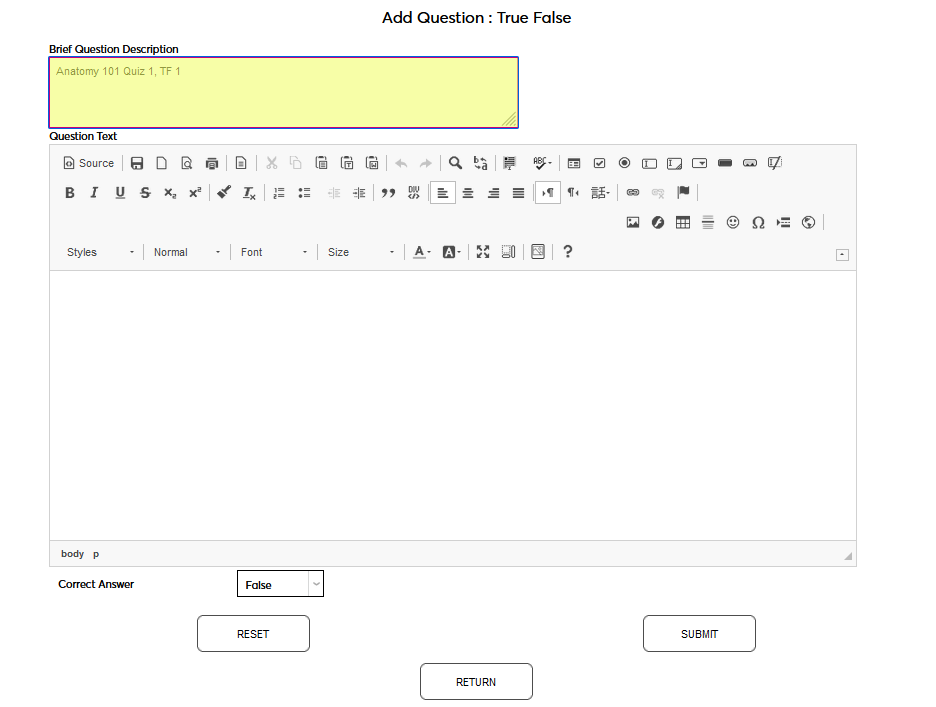
Enter the Question Text. This is the question that the student will see on their quiz. The field features a WYSIWYG editor, which allows for font and style changes, the addition of images, etc.
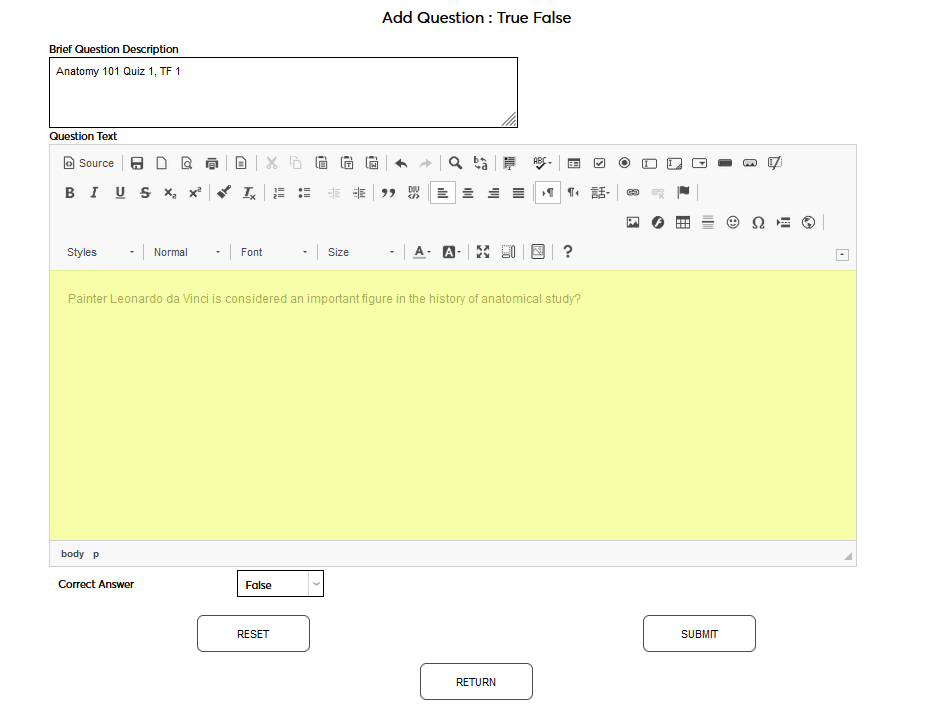
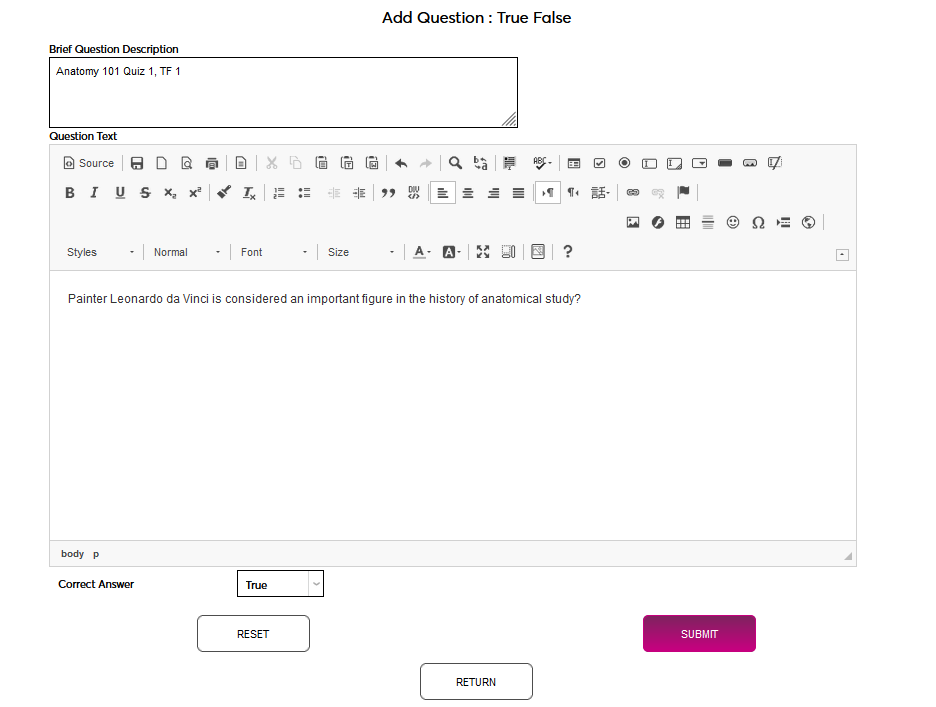
Select whether the Correct Answer is True or False. These questions will be autoscored.
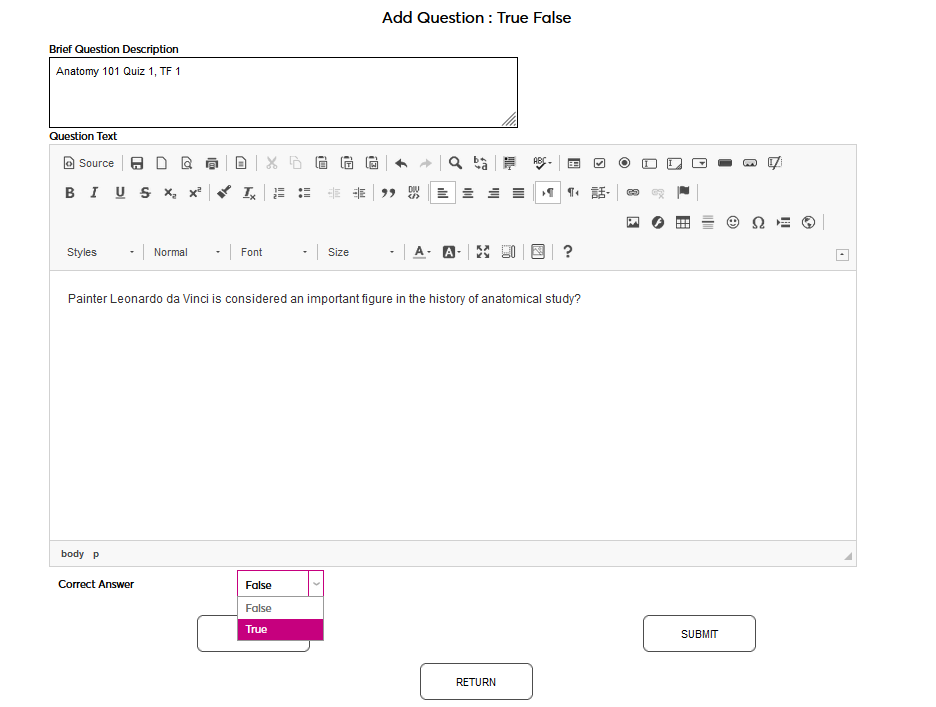
Click Submit to save the questions and answer.
Adding Questions
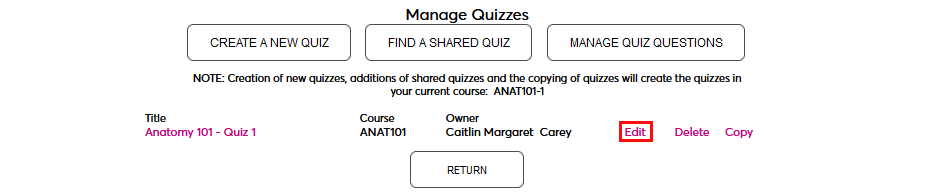
To add questions to an existing quiz, return to the Manage Quizzes page and click the Edit link.
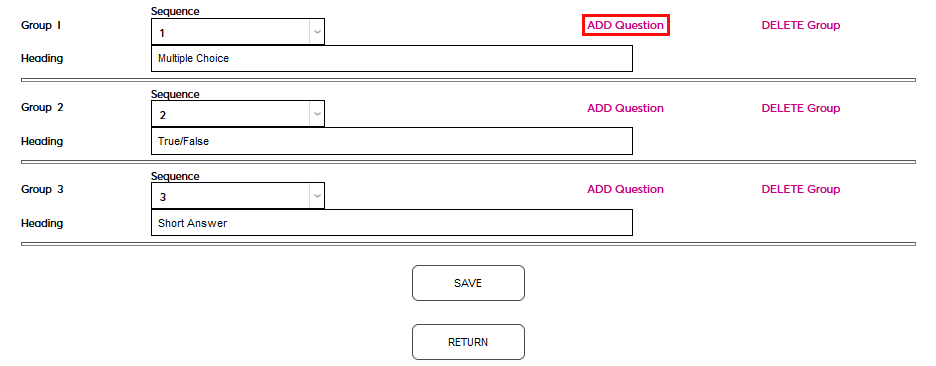
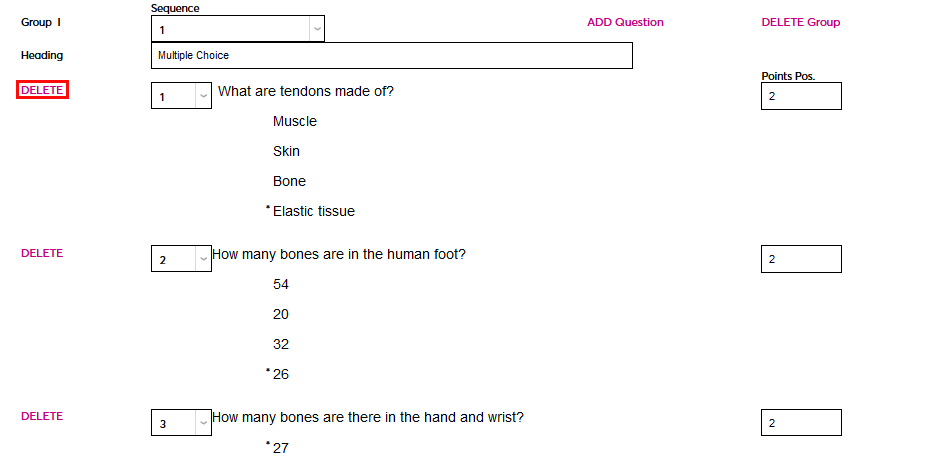
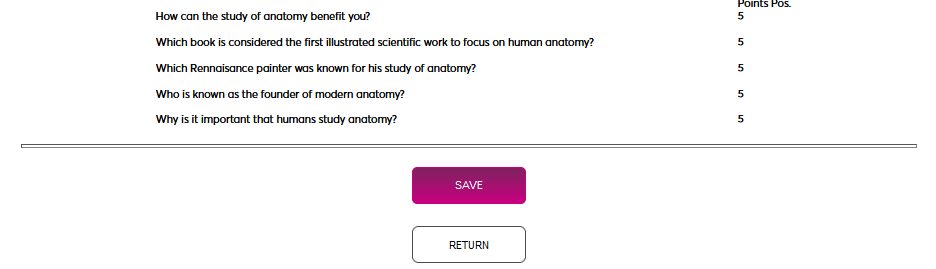
Scroll down and click the Add Question button to add questions to one of the quiz sections.
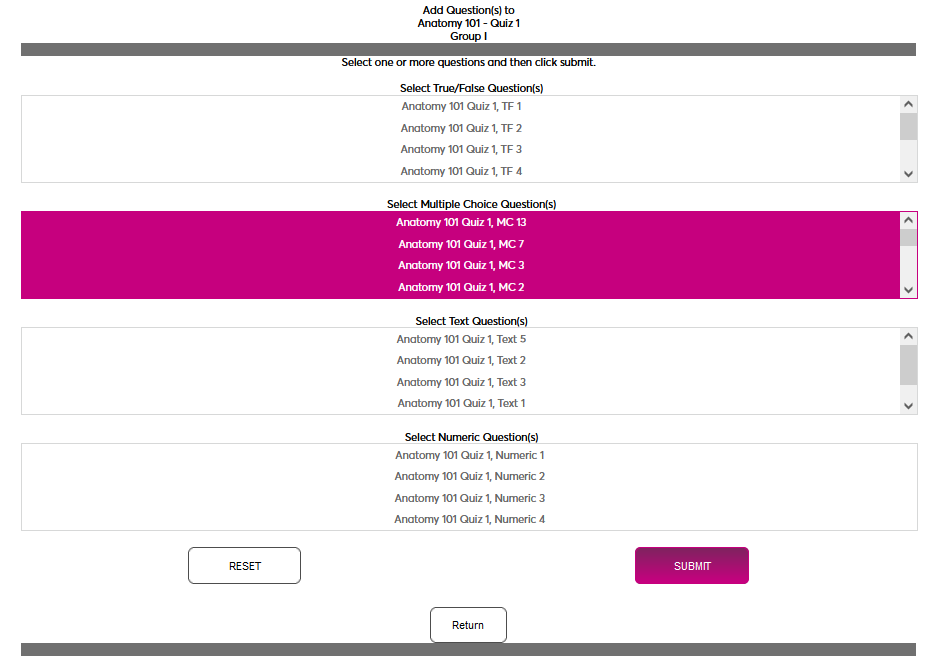
On the following page, select one or more questions to add to the section and click Submit.
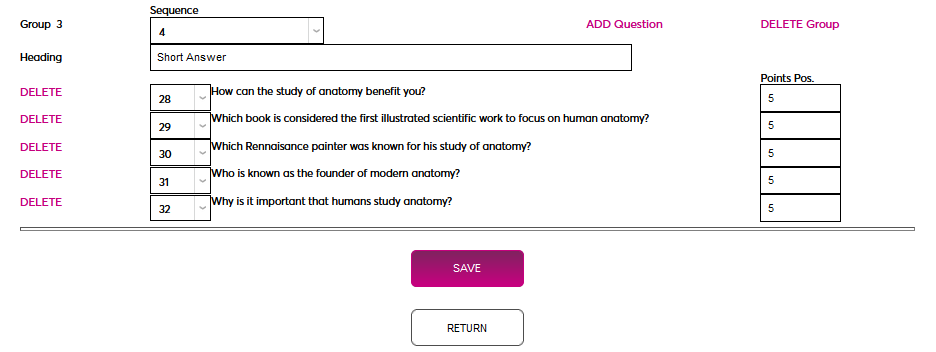
Once questions have been added, use the dropdown menu on the left-hand side to order them and the Points field to set a value for each question. This value defaults to 1.
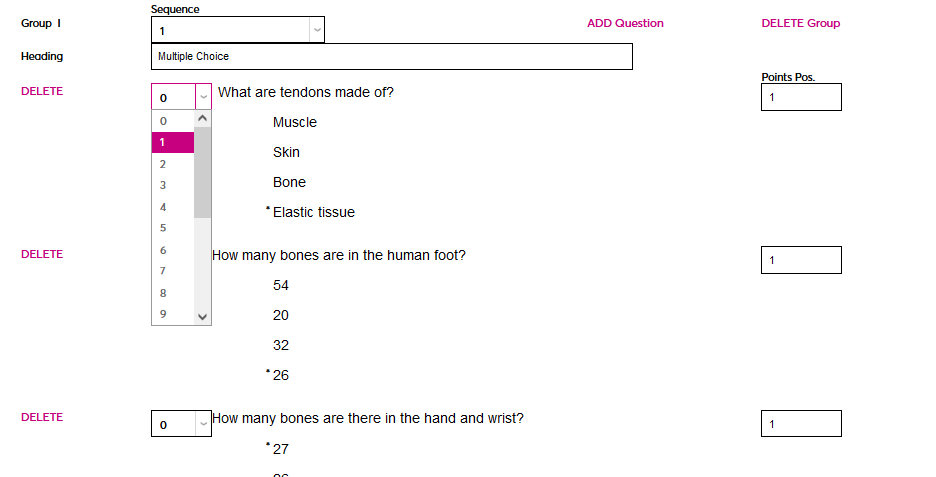
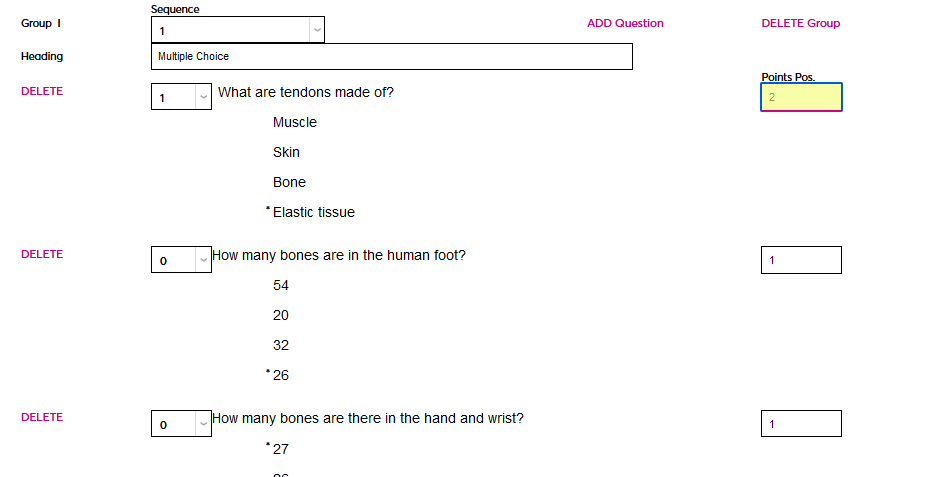
Click Save to save the question order and point value changes. Additional questions can be added to this section or another section using the same method.
The Possible Score for each quiz will update based on the point values assigned to each question.
Note that questions cannot be edited once they've been added to a quiz. If changes need to be made, delete the question from the quiz and add it back once the edit has been completed.
Sharing & Copying Quizzes
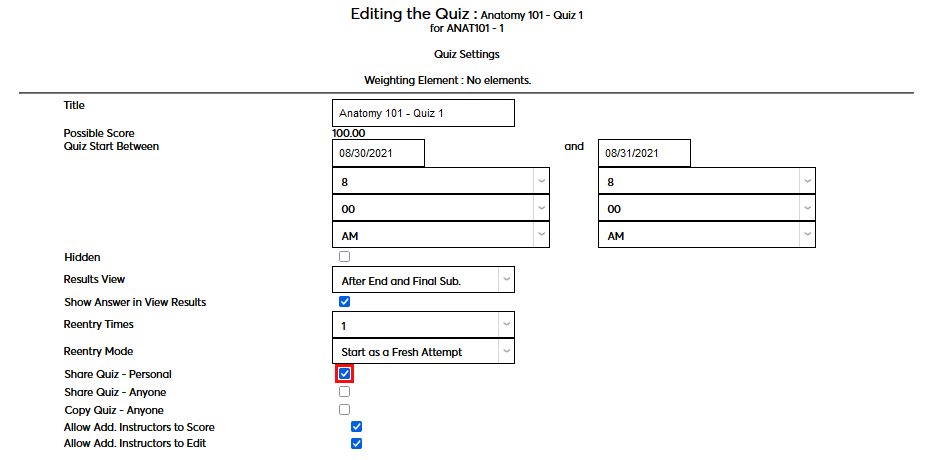
Faculty members have the option of sharing the quizzes they've created with their other courses or with other faculty members. Before a quiz can be shared or copied, the sharing and/or copying settings must be activated. These options appear at the top of the page with the other settings after a quiz has been created. The Share Quiz - Personal checkbox allows a faculty member to share a quiz among their own courses. Shared quizzes are shared as-is and cannot be altered. Once a quiz is used in another course, the quiz elements will be locked from further edits and the sharing cannot be undone. Only the quiz settings (dates, descriptions, reentry parameters, etc.) can be changed after this setting is saved.
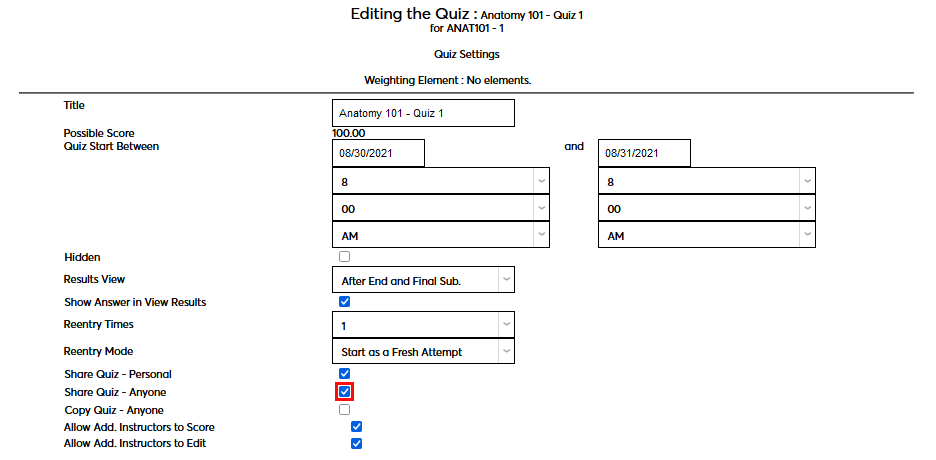
The Share Quiz - Anyone checkbox allows a quiz to be shared with other faculty members. Shared quizzes are shared as-is and cannot be altered. Once a quiz is used in another course, the quiz elements will be locked from further edits and the sharing cannot be undone. Only the quiz settings (dates, descriptions, reentry parameters, etc.) can be changed after this setting is saved.
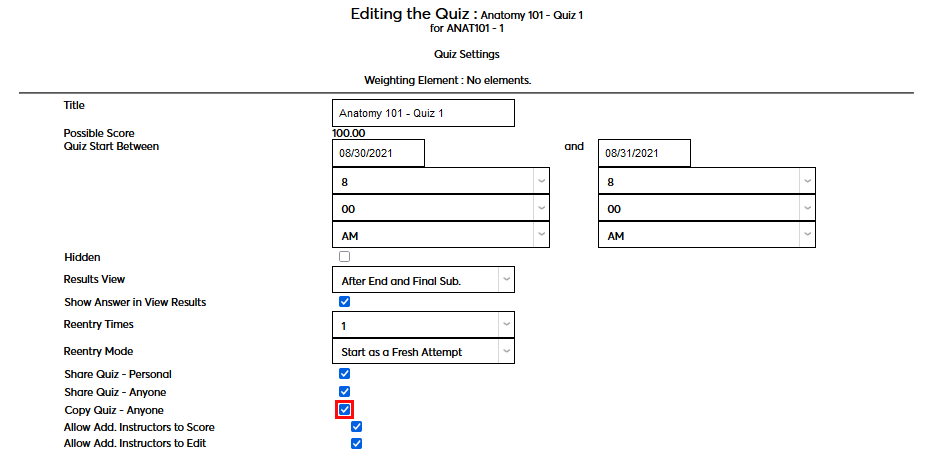
The Copy Quiz - Anyone checkbox allows a quiz to be copied by other faculty members. Copied quizzes can be edited and used just as if the faculty member(s) who copied the quiz created it themselves. Once a quiz is used in another course, the quiz elements will be locked from further edits and the sharing cannot be undone. Only the quiz settings (dates, descriptions, reentry parameters, etc.) can be changed after this setting is saved.
Click Save to save the sharing and copying settings.
Quizzes can be copied within the same course from the Manage Quizzes page regardless of the above settings. Click Copy to make a copy that can be edited.
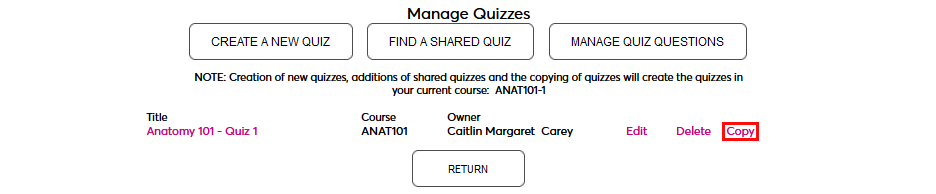
Quizzes can also be deleted from this page when no longer needed.

Copying & Using Existing Quizzes
If a quiz is available to be shared or copied, it can be located using the Find a Shared Quiz button on the Manage Quizzes page. Click this button to begin.

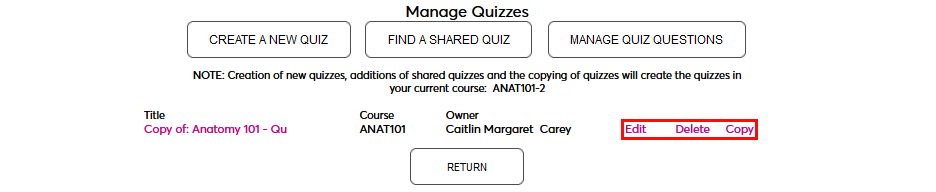
On the following page, all quizzes that have been shared by any faculty member will be listed. If a quiz is able to be copied, a Copy link will appear. Click the link to create a copy on the Manage Quizzes page. This copy can be edited, deleted, or copied.

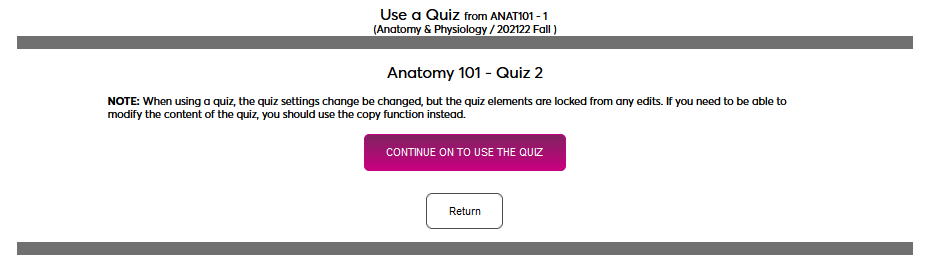
Alternately, click the Use link to use the quiz without making changes.

Click Continue to Use the Quiz to continue.
The quiz settings will appear. Only the basic settings and the description can be changed. Make any necessary changes to these settings and click Save. Keep in mind that this quiz will be made immediately viewable to students if they're within the date window.
The quiz will now be listed as a Use of quiz to show that it's owned by another user. A faculty member can click Edit to return to the limited edit screen or Delete to remove the quiz from their quizzes.

Taking a Quiz
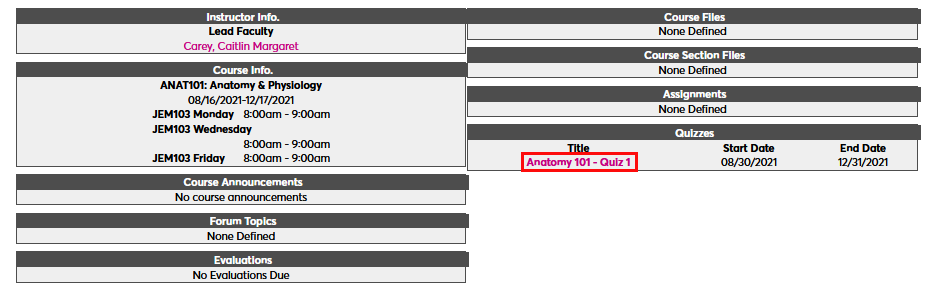
To take a quiz as a student, navigate to the Course Pages page under the Academics folder. Select the appropriate course using the School Year, Semester, and Course Section menus. The quiz will appear under the Quizzes label along with the Start Date and End Date. Click on the quiz Title to begin.
A new window will open displaying the quiz description along with the Entries Allowed and Next Entry number, which shows the student how many attempts they have left. Click Start Quiz to continue.
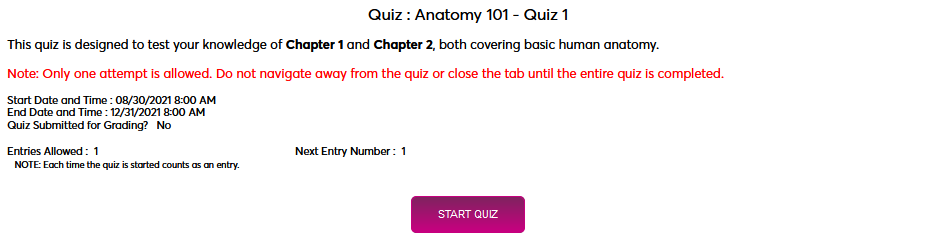
Answers are automatically saved as they are filled in, which allows students to leave the quiz and come back later if more than one attempt is allowed based on the quiz settings. Once all questions have been answered correctly, click Submit for Grading to submit the quiz. Submitted quizzes cannot be accessed again.

Text
To answer a text question, simply type the answer in the provided text field. There is no character limit and the field can be stretched to a bigger size if needed by dragging the lower right-hand corner. These questions are not autoscored.

Numeric
To answer a numeric question, simply type the answer in the provided text field. Only numeric characters are accepted. These questions are autoscored.

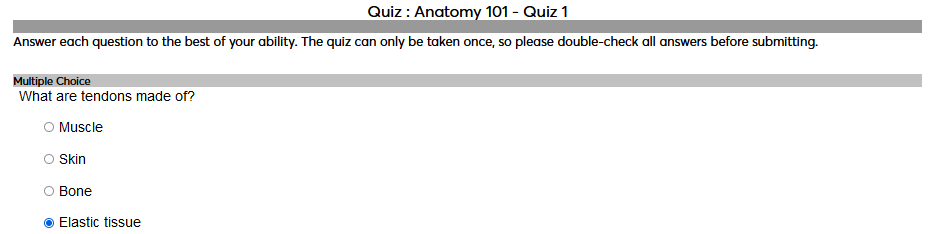
Multiple Choice
To answer a multiple choice question, select the radio buttons corresponding with the correct answer. Only one button can be selected. These questions are autoscored.
True/False
To answer a true/false question, select the radio buttons corresponding with the correct answer, either true or false. Only one button can be selected. These questions are autoscored.

Grading Quizzes
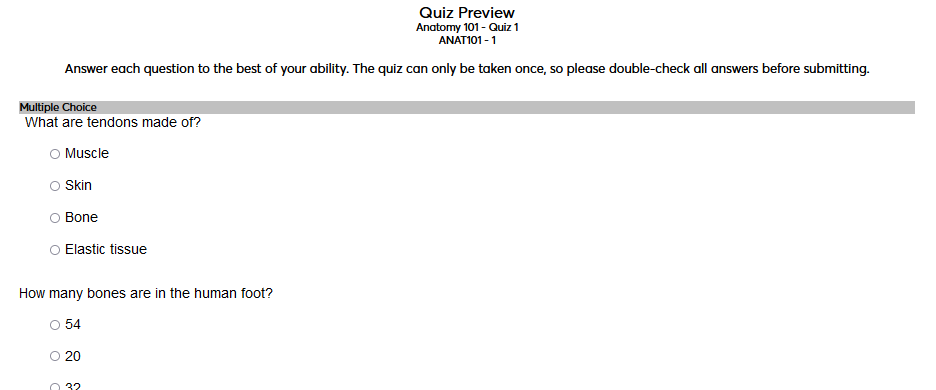
Once a student has taken a quiz, the questions cannot be edited. To view a quiz in the format that a student will see it, click on the name of the quiz from the course overview page.

The Submitted/Enrolled column displays the number of students who have submitted a quiz along with the number of students who are enrolled in the course. Click on the link to view the submitted quizzes.

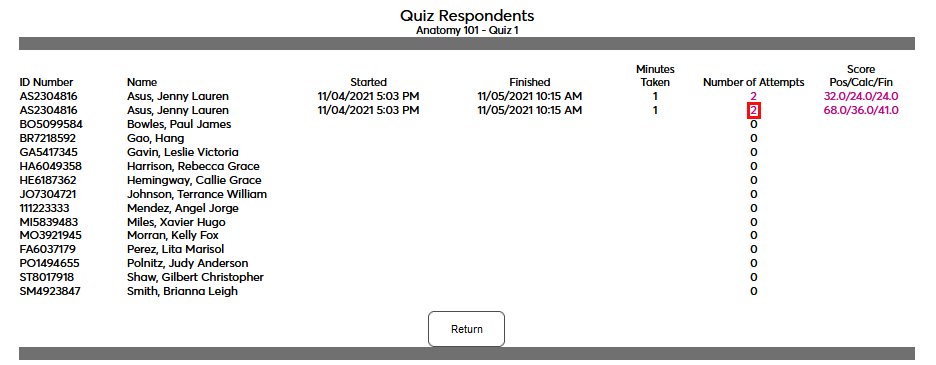
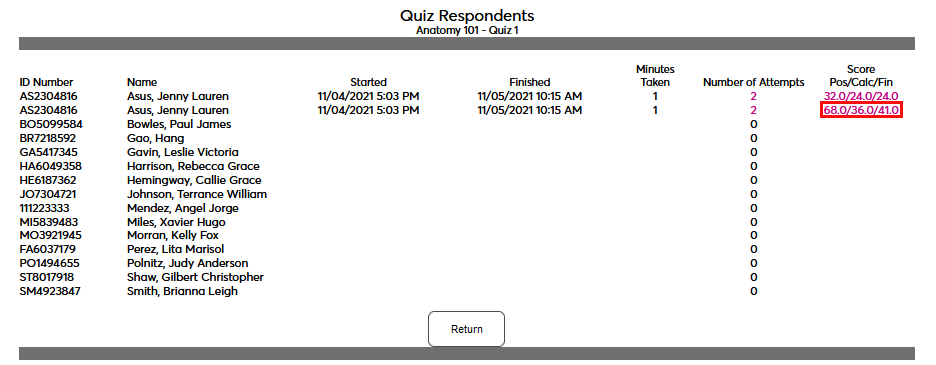
The following page lists every student who has attempted the quiz along with some particulars about their attempts. Click on the link in the Number of Attempts column to view each attempt by the listed student separately.
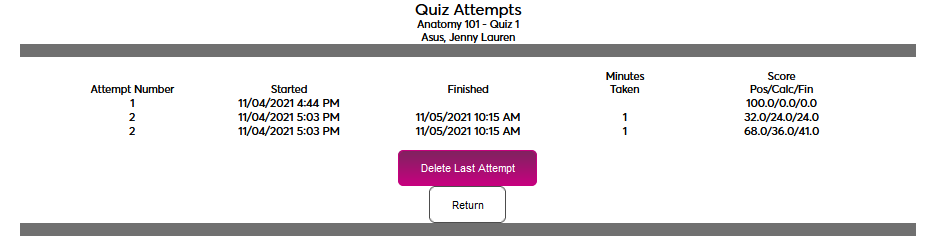
The next page offers the option to Delete Last Attempt. This may be done to allow the student another opportunity to take the quiz if they made an error and have reached the maximum number of allowed attempts. Multiple attempts can be deleted one at a time, but there is no way to skip and delete an earlier attempt without first deleting the latest attempt. Grades that have been submitted to the gradebook are not affected.
The Quiz Respondents page also displays the student's current score based on what has been graded so far. The column displays the possible score, the calculated score, and the current final score. Click this link to grade the quiz.
When scoring a quiz, questions that were autoscored will already have their Possible points and Calculated points listed along with the Given points. If the question was answered correctly, these three values should all be the same.

For text questions, which cannot be autoscored, the Possible points are listed, but there are no Calculated points and no points Given. Faculty can offer Feedback to the provided answer for their own benefit and for the student.

If the question was answered correctly, change the Given field to reflect the points that the student should receive. This field is freeform, meaning that partial credit can be given.
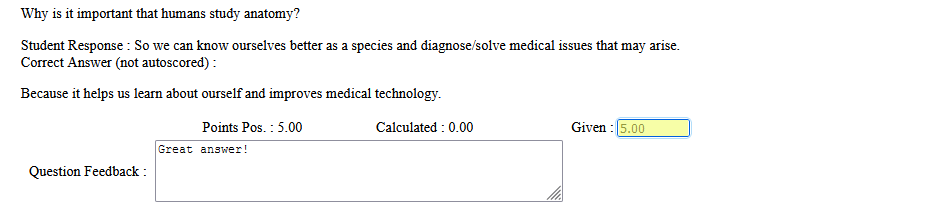
Ensure that every question that was not autoscored has been graded. At the bottom of the quiz, the Overall Feedback form can be used to add an additional note to the student on their performance.

When finished, click Save to save the changes and return later or Save and Post to Gradebook to finalize the student's score and post that score to the gradebook.