Job Listings
Overview
The Jobs tab of the Employer portal allows users to post and manage Job Listings for students to view and apply to. When applications are submitted, the employer portal users can view and manage applicants. This can be done without the oversight of institutional administrative users.
Adding Job Listings
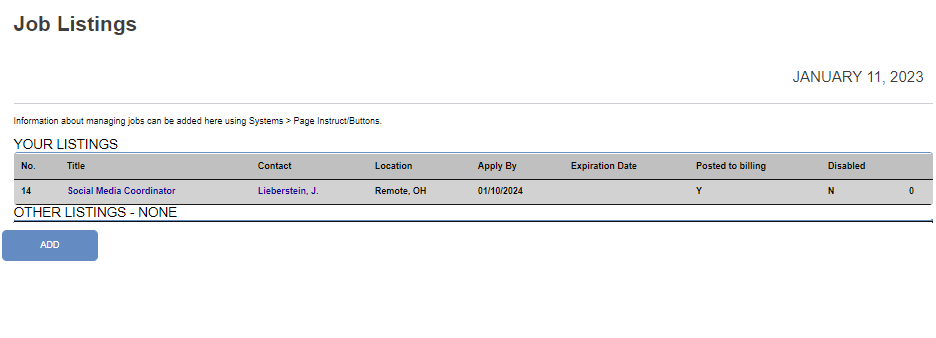
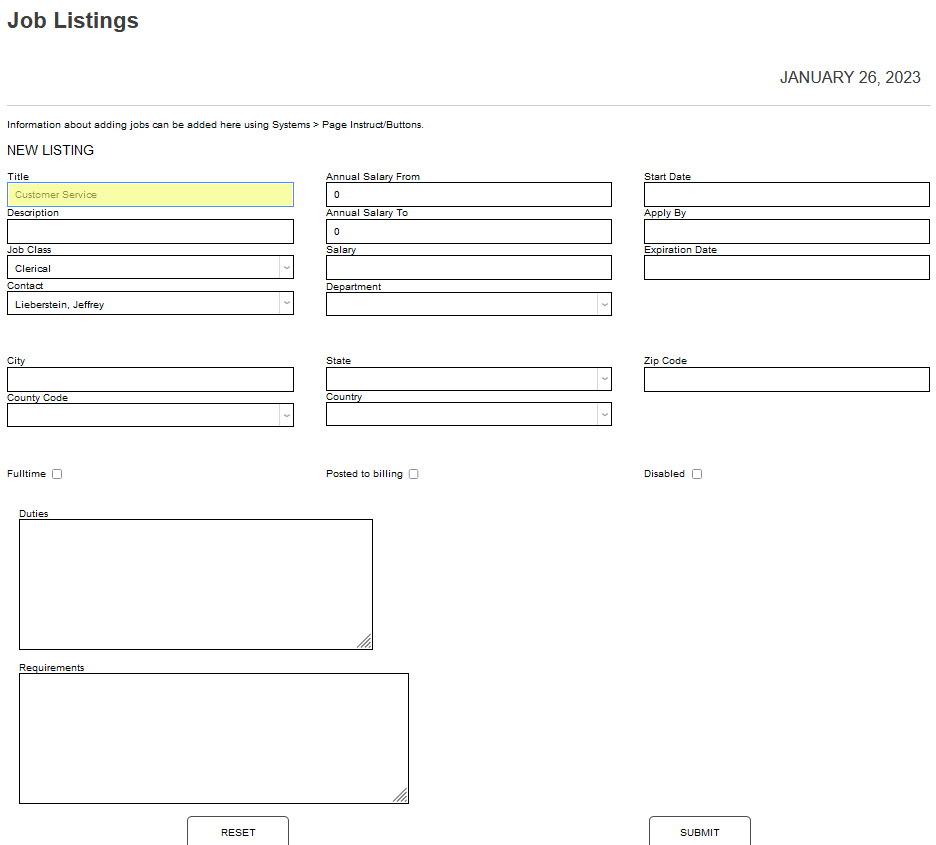
To add a job listing, sign in to the Employer portal and click Job Listings. Click the Add button to access the new listing form.
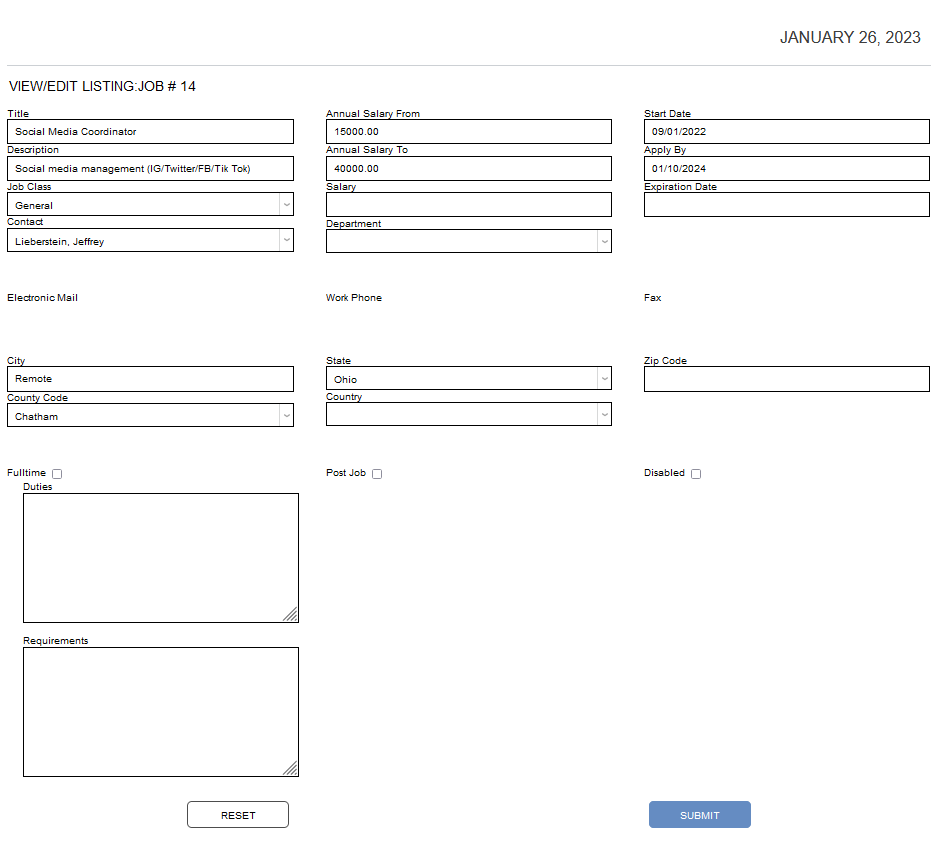
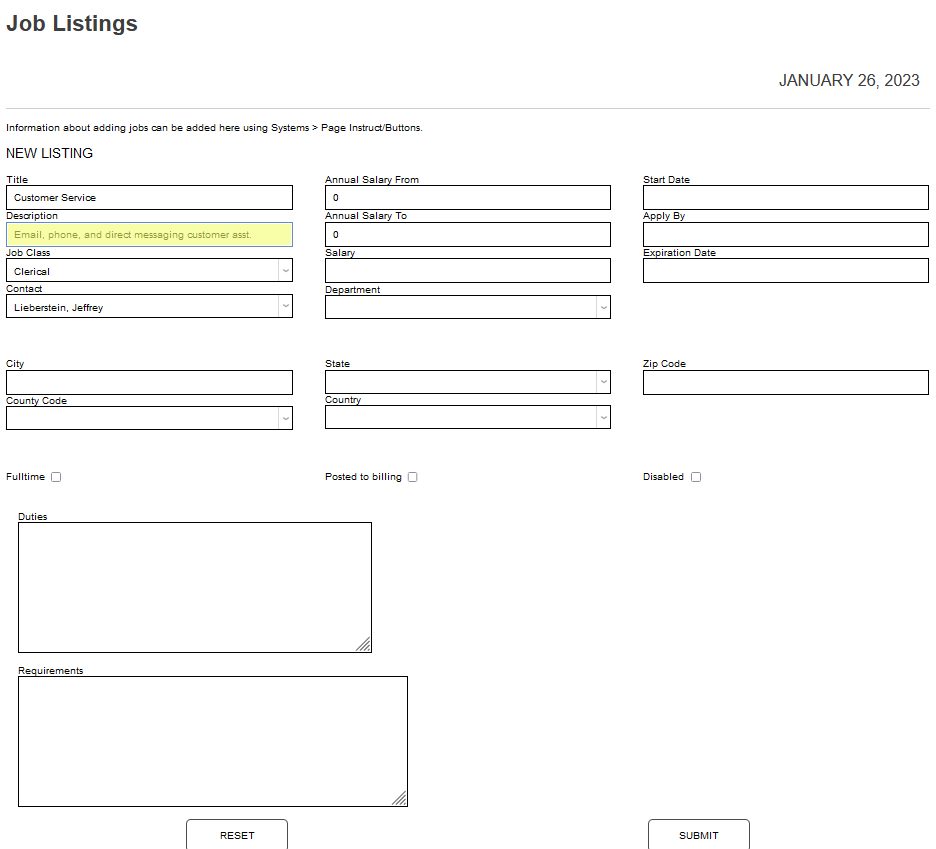
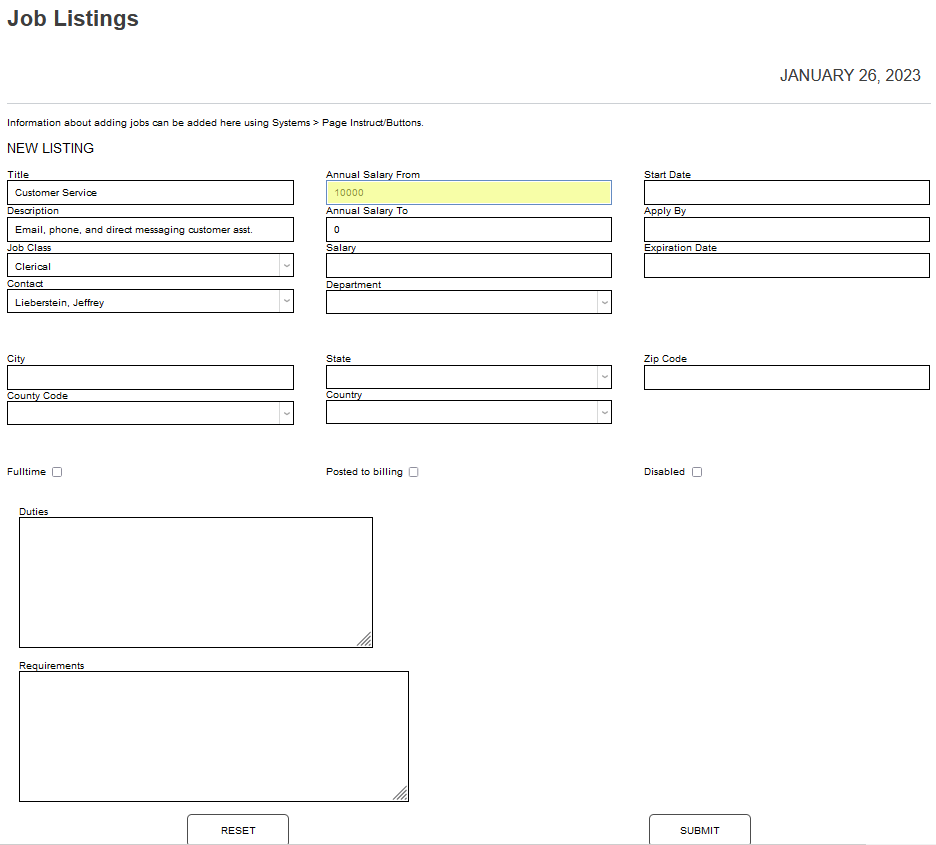
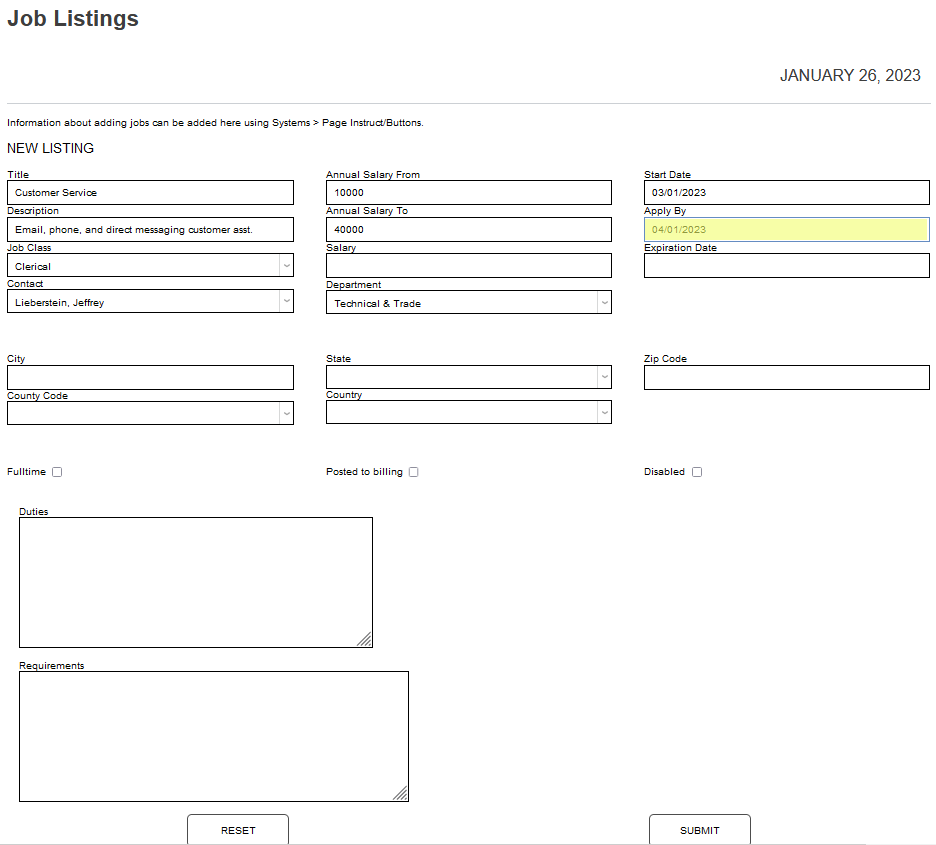
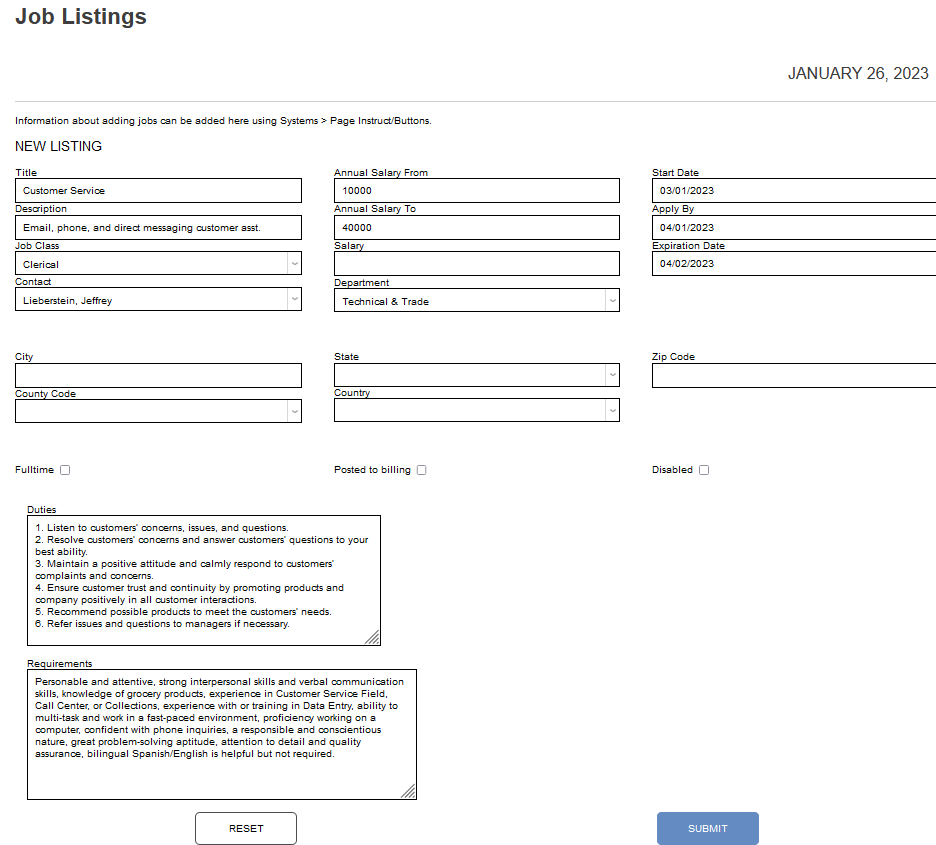
The page displays fields allowing the employer to define the details of the position being recruited for. To begin creating a new job listing, enter the Title and Description of the position.
The available fields can be updated or modified using Page Instruct/Buttons under the Systems hub.
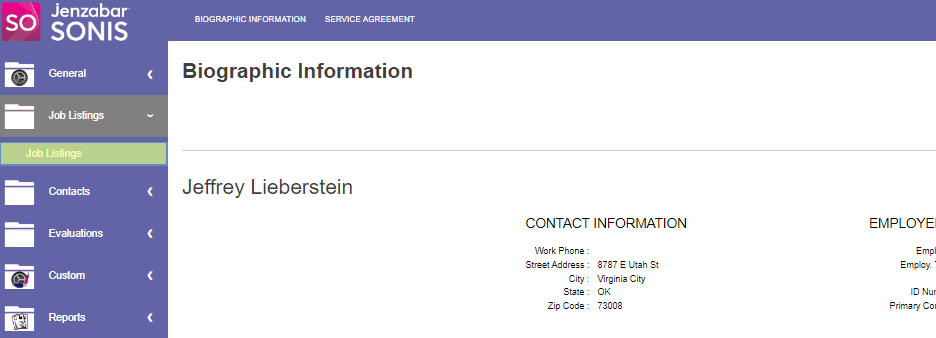
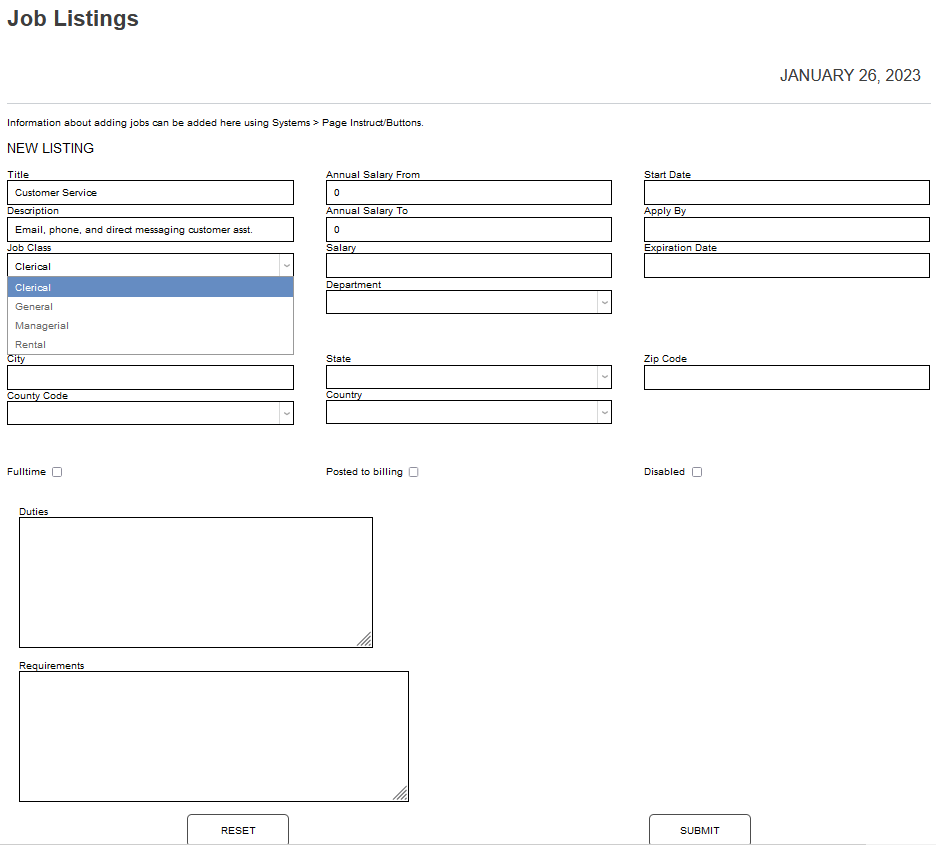
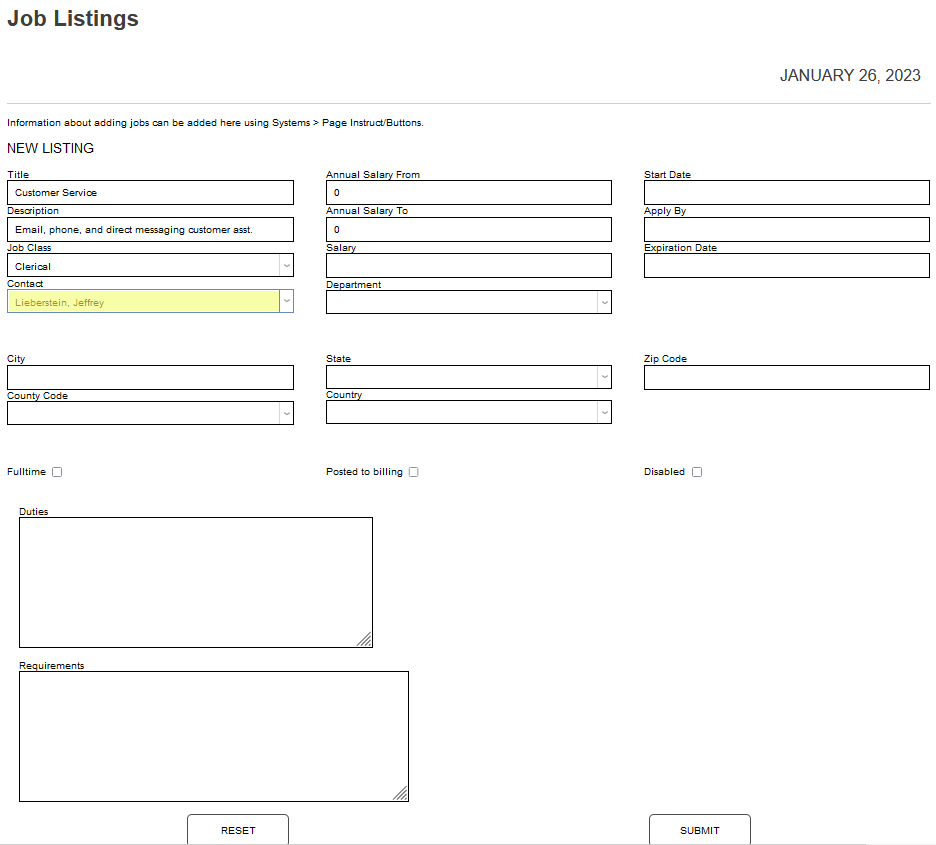
The Job Class menu is sorted alphabetically and displays the first value defined in SONIS, by default. Click the down arrow and select the needed value, if necessary. The Contact menu displays all contacts defined for the employer within SONIS and the first in the list displays by default. Click the down arrow and select the needed contact, if necessary.
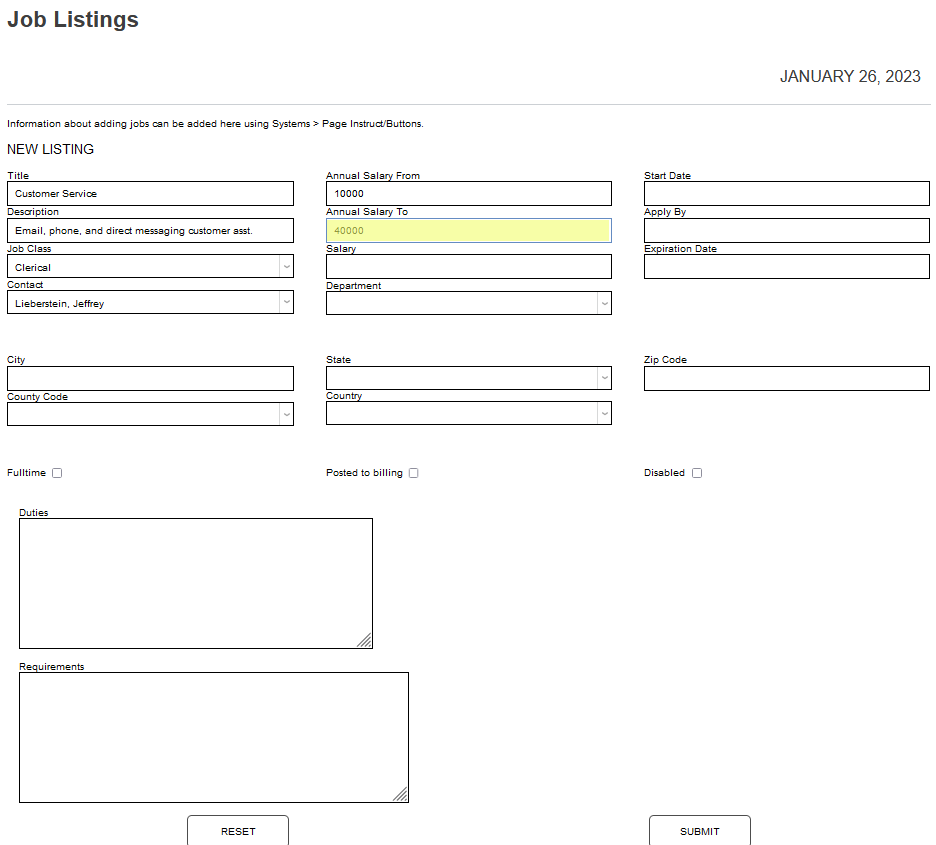
If there is a base salary, enter it in the Annual Salary From field, using numbers only. If the salary has a ceiling or cap, enter it in the Annual Salary To field, only using numbers.
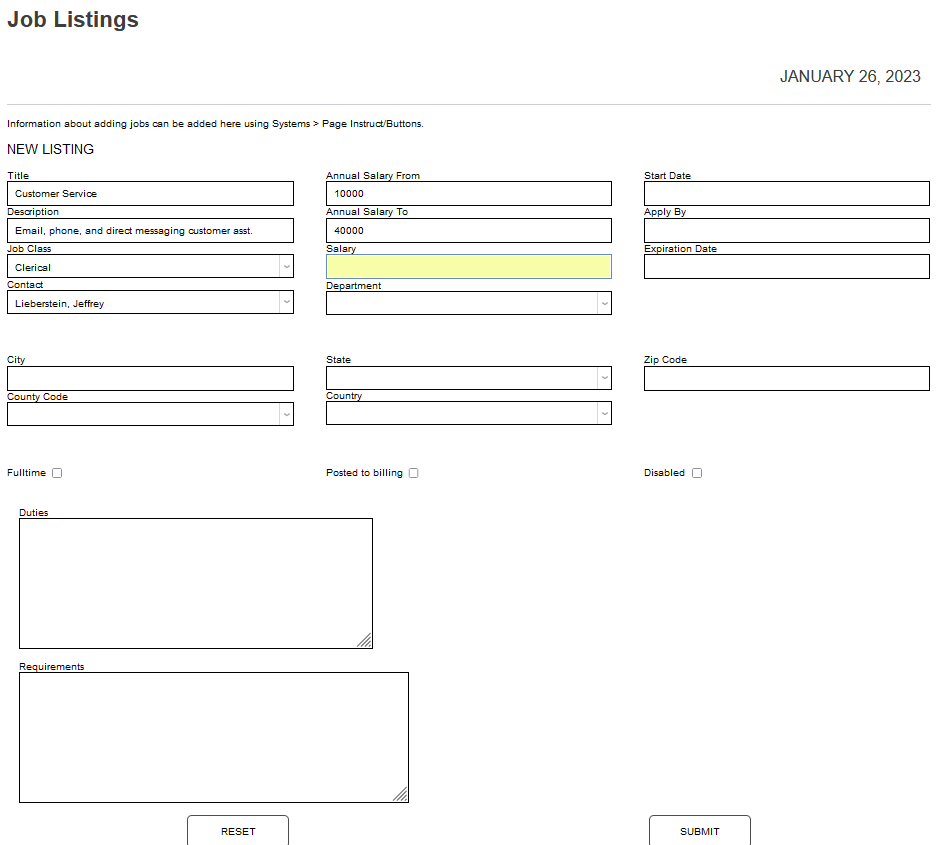
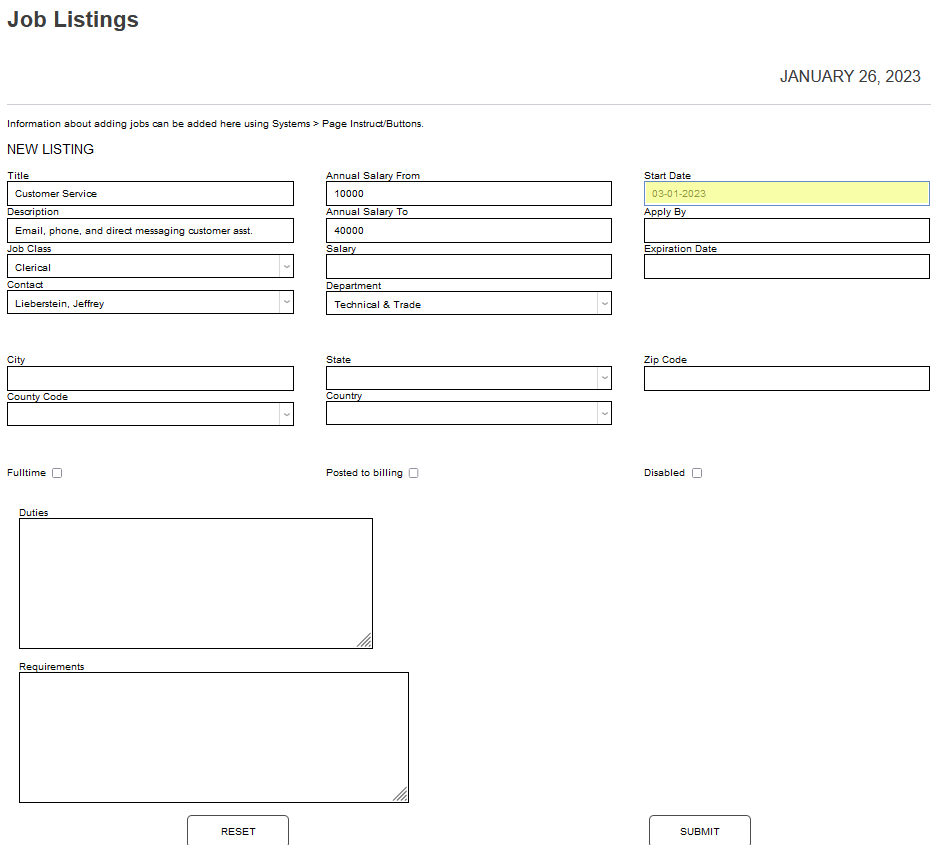
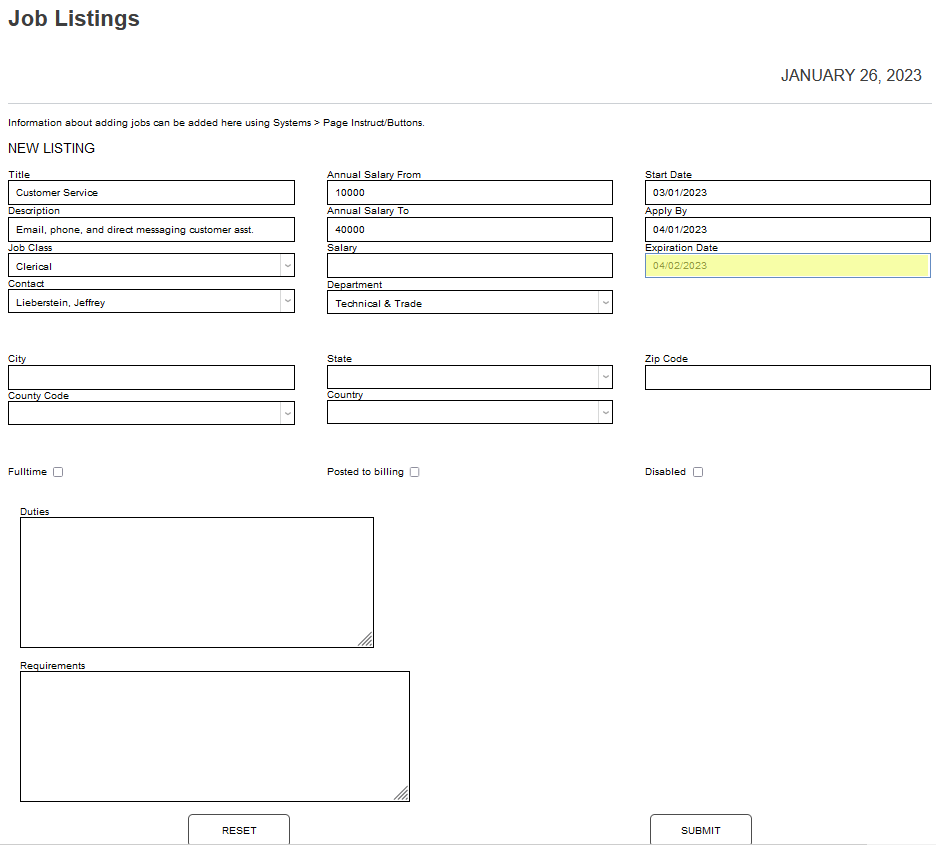
If the compensation is hourly, or a flat amount, enter it in the Salary field, using numbers only. If the position is associated with a specific institutional department, it can be selected from the Department dropdown. All active departments in SONIS display in this menu.

Enter the first available, or expected, Start Date in MM-DD-YYYY format. Enter the date applications must be received by in the Apply By field in MM-DD-YYYY format.
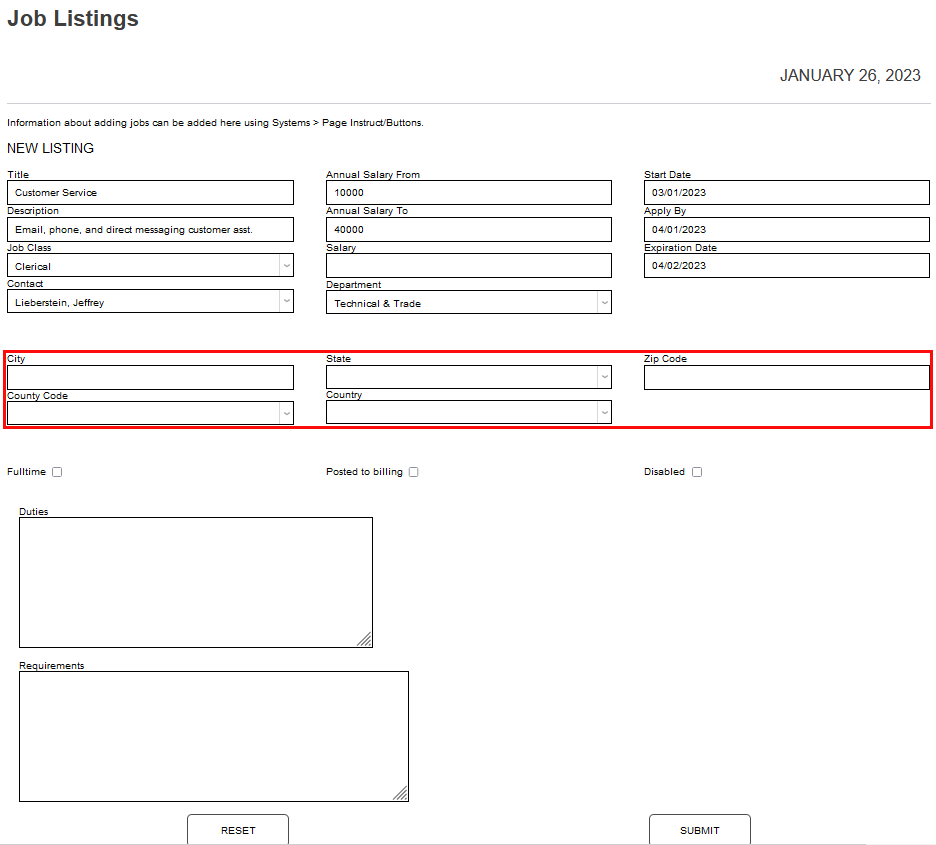
If the job will expire, or should no longer be available for applicants after a certain date, enter that date in the Expiration Date field in MM-DD-YYYY format. Enter the address associated with the position in the City, State, Zip Code, County Code, and County fields.
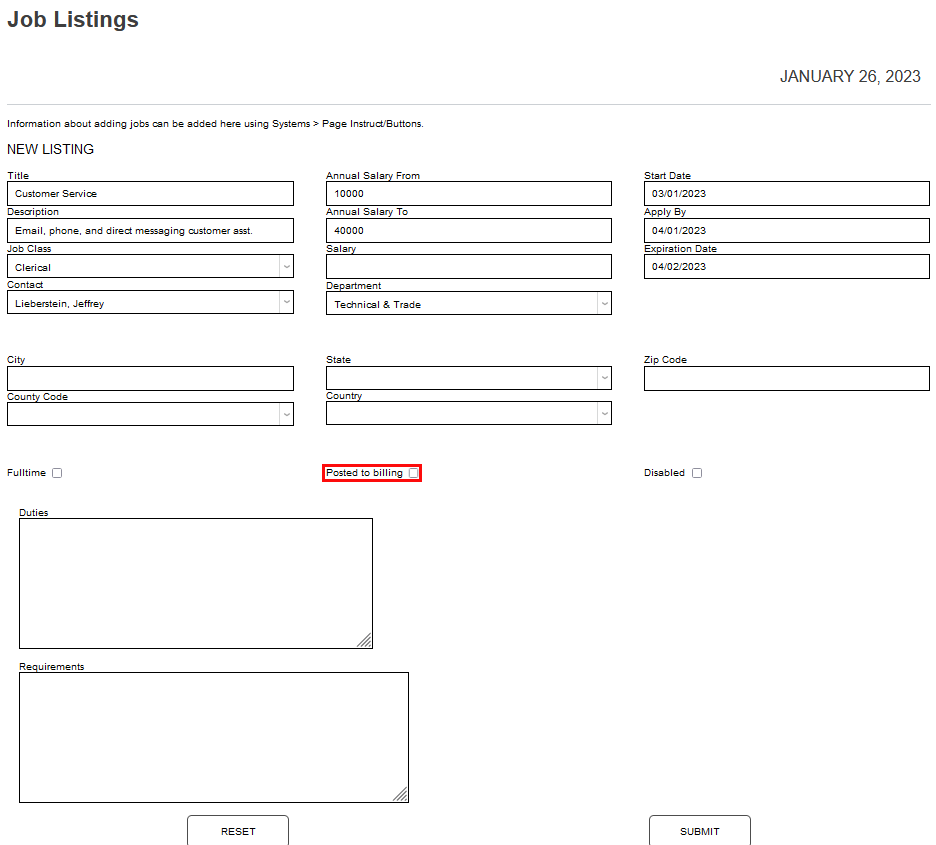
If the position is Fulltime, check the box. If the earned compensation will be paid through the institution, check the Posted to Billing box.
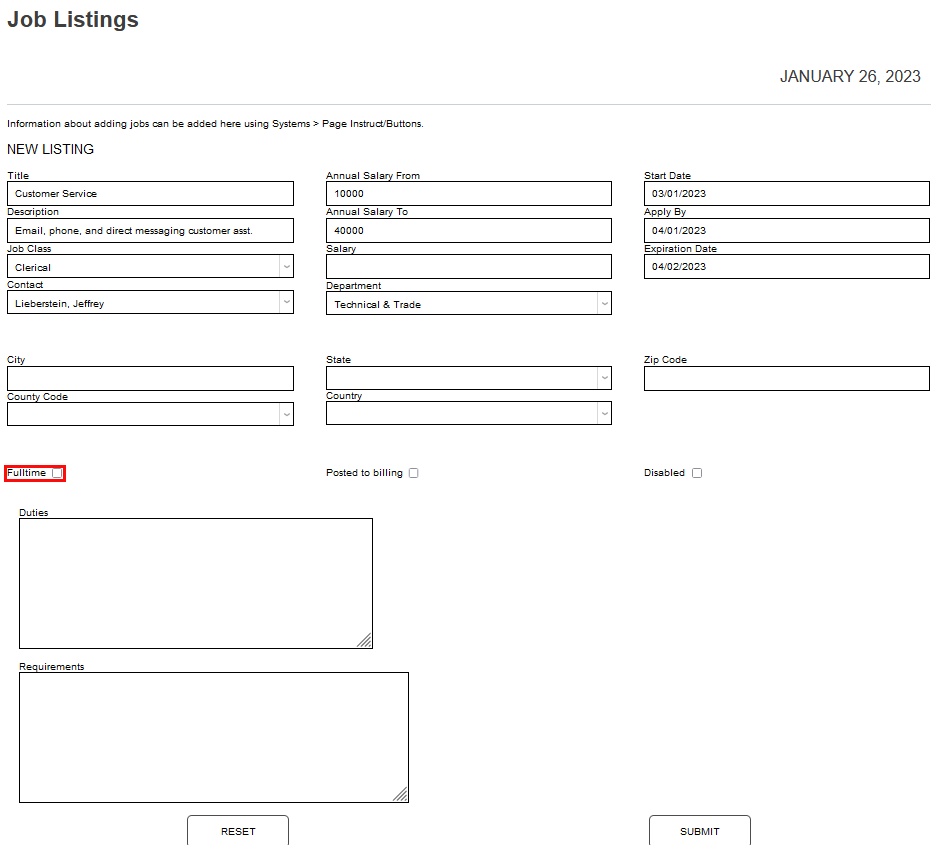
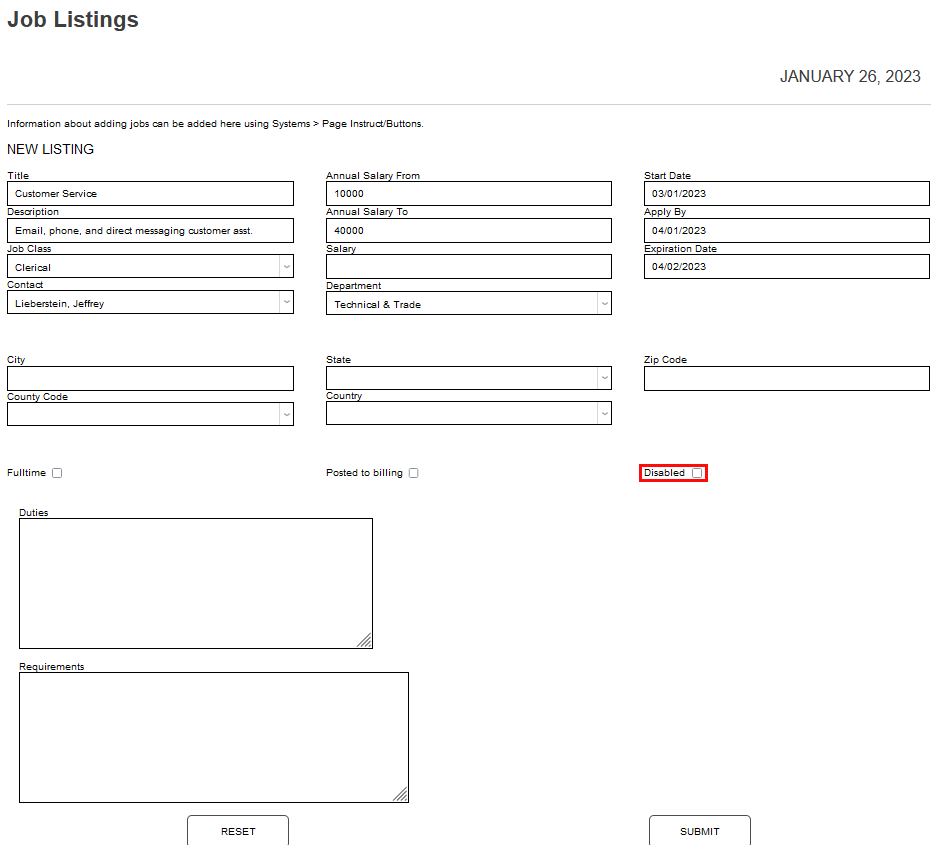
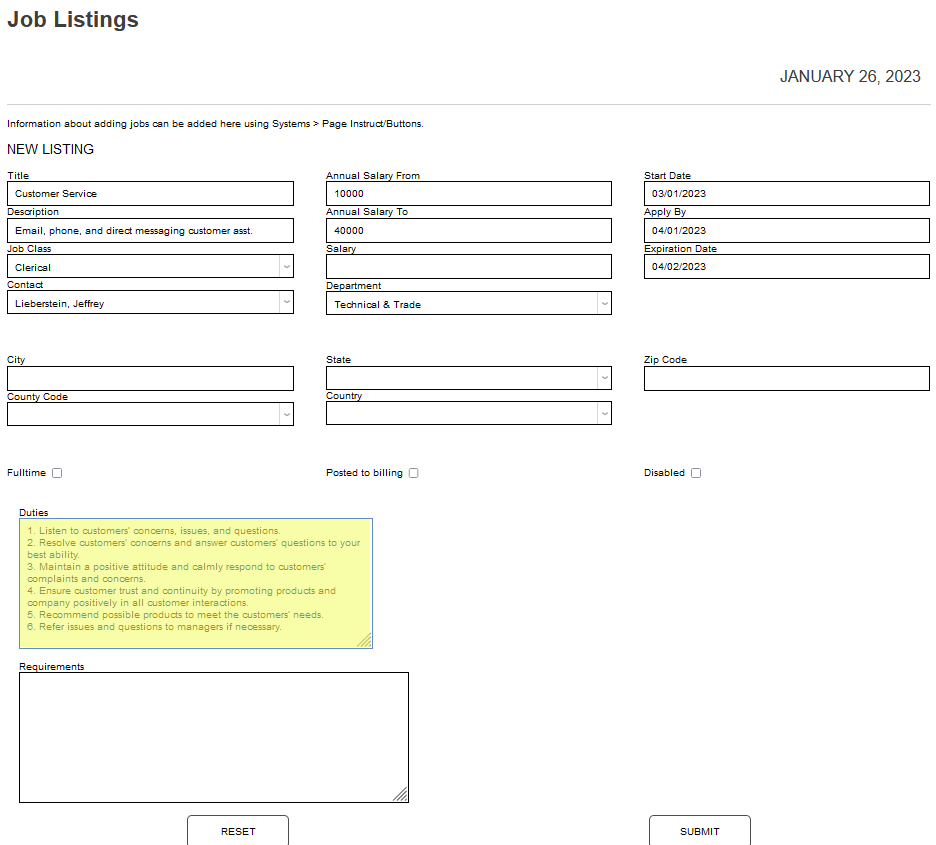
The Disabled box controls whether or not the position will display, or be active. Skip it if adding a listing that should be available right away for applicants. If the listing should not be available until later, click Disabled, but remember that someone will have to activate it later. Describe the expected duties of the role in the Duties field.
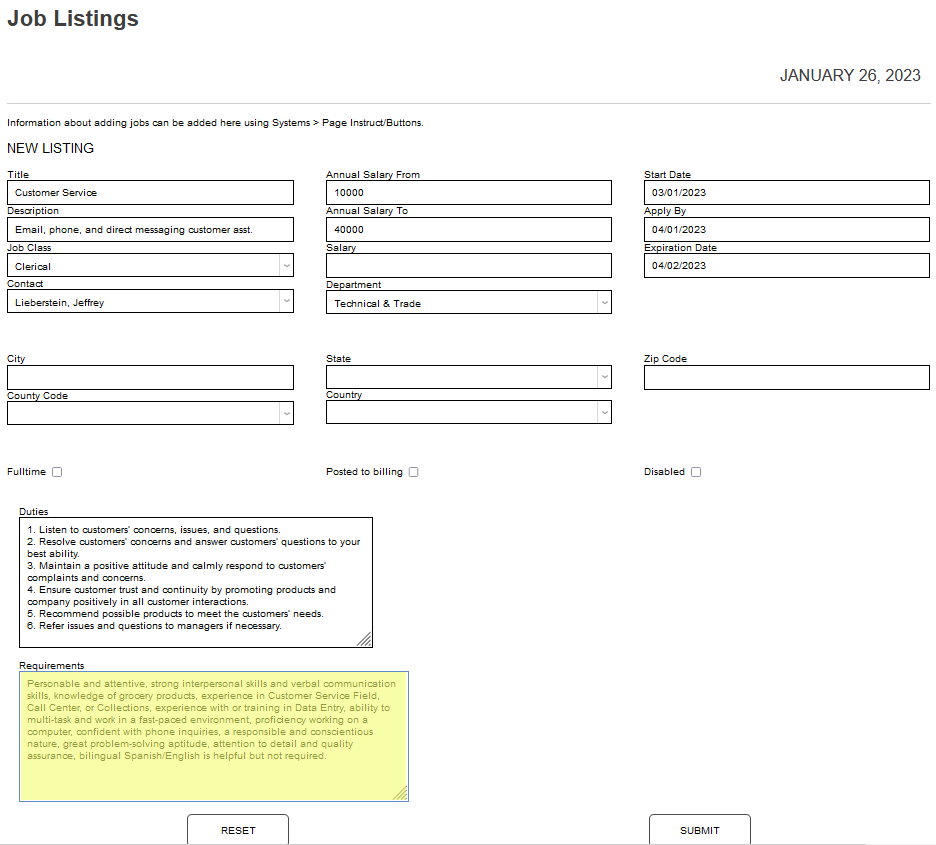
Enter the education and skill requirements of the position in the Requirements field. Click Submit to create the listing.
Managing Job Listings
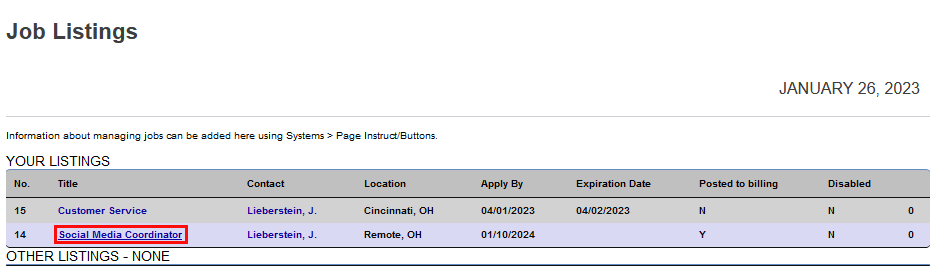
To manage existing job listings, sign in to the Employer portal and click Job Listings.
When the Jobs Listing page populates, any existing postings can be viewed and managed by clicking on the name. There is an information section above the Your Listings header.
Administrators can edit the content by changing the value for employer_job_list1.cfm in Page Instruct./Buttons.
Click the Title of the listing to view it's details and make edits. After making the desired edits, click Submit to save the changes and update the listing.