EDExpress Direct Import
Overview
The EDExpress Direct Import utility is designed to allow Jenzabar SONIS users to import direct loan disbursement files from EDExpress. It's located under the Financials tab. SONIS also has a tool designed for importing Pell Grant disbursements. Before these awards are disbursed, they must first be awarded to the students in the file from their Financial Aid page or imported through the Financial Aid Import utility, also located under the Financials tab. To read an overview of the ways in which SONIS integrates with EDExpress, click here.
Note that the PowerFAIDS disbursement process does not adhere to the No Post To Billing nor Post Transactions on or before date setting in System Variables.
To access Federal Student Aid training on using EDExpress, visit the FSA Training Center.
Note
The EDExpress disbursement file is delivered with a P for both Grad Plus and Parent Plus loans. To prevent the Jenzabar SONIS system from misinterpreting the code, the system checks whether the student is a graduate student or not and if so, the process will use the Import T-Codes Graduate Plus Loan award identifier to match and disburse against an existing award. If there is a Grad Plus award in the user’s records that has not been disbursed, but the student is not marked as a grad student, an error message will appear saying, Possible Grad Student . Administrators receiving this error should ensure that the student’s active Education record has been marked as a graduate student record. If the student is marked correctly as a graduate student, but they have not been awarded a graduate loan, a No Matching Loan message will display.
EDExpress File
In prior versions of SONIS, the EDExpress disbursement export file had to be modified significantly before it could be imported to SONIS. Only the three fields that SONIS imports could be displayed while the rest had to be hidden or deleted from the file. However, beginning with SONIS version 3.6 and carrying forward, the SONIS system can accept the EDX disbursement file with no additional manipulation required. SONIS now simply ignores the columns that are not needed and recognizes the columns that are imported.
SONIS Setup
Import Filters
Before importing an EDExpress file, administrators must ensure that their system is set up with the correct filter. Navigate to the Web Options utility and select the version of EDExpress being used from the Financial Aid Import Filter dropdown menu. If the school is using the pre-2018 version of EDExpress and creating a disbursement import file for school year 2017-18 or earlier, the Financial Aid Import Filter should be set to "EDExpress2004-2017." If the school is using the 2018 (or later) version of EDExpress to create a disbursement import file for year 2018-19 or later, the Financial Aid Import Filter should be set to "EDExpress2018-20xx" or the appropriate year designation.
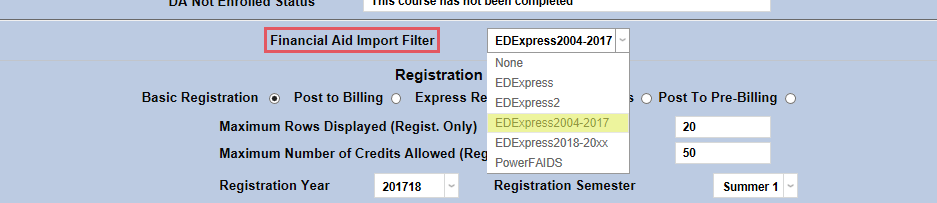
Note: Schools running SONIS version 3.2 or earlier may not see "EDExpress2018-20xx" as an option. These schools will need to upgrade to 3.3 or contact Jenzabar SONIS Support to have this added.
Import T-Codes
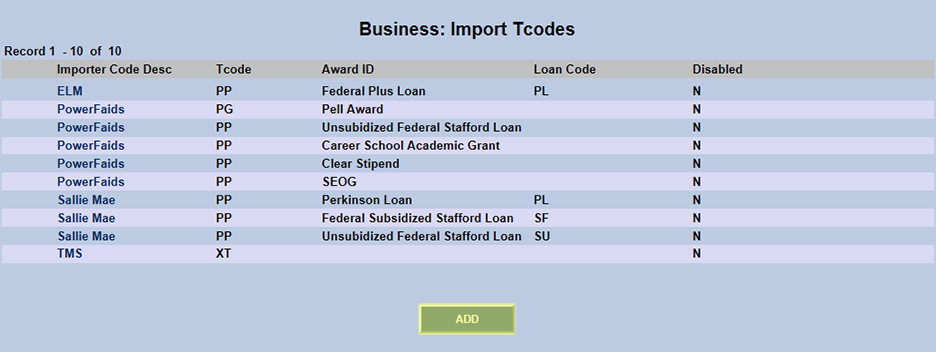
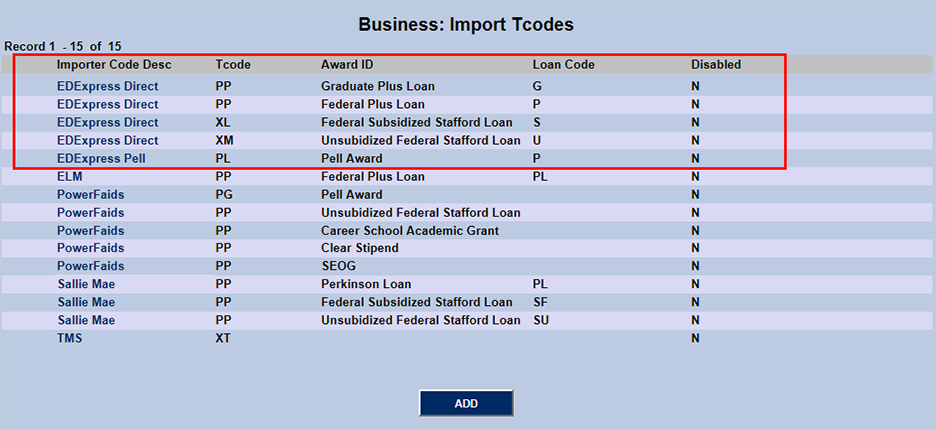
Administrators will also need to set up Import T-Codes for use with the EDExpress system. Navigate to Business: Import T-Codes under the Systems tab and click "Add" to begin creating the codes.
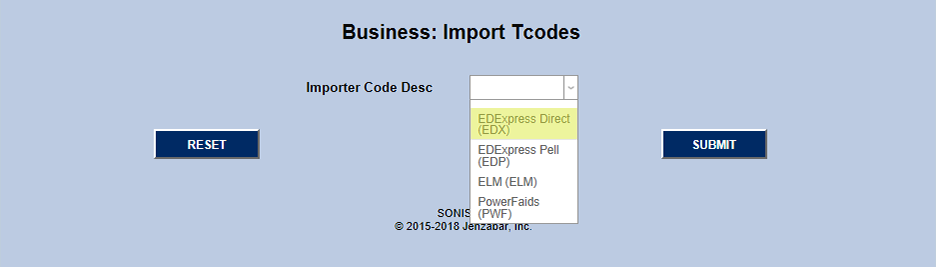
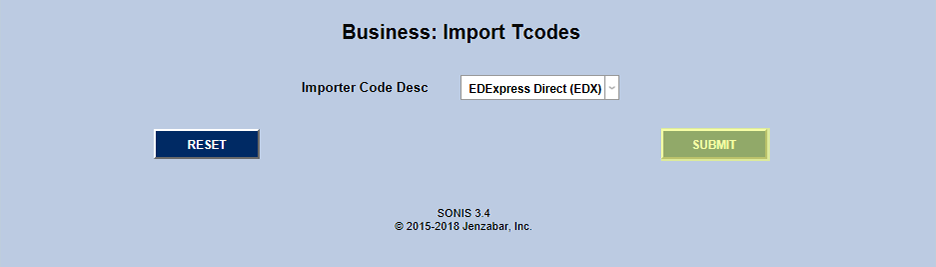
Select "EDExpress Direct" from the Importer Code Desc dropdown menu and click the "Submit" button.
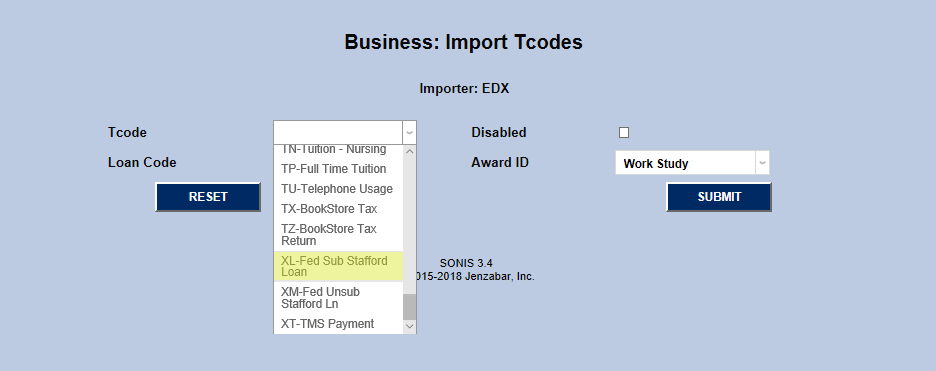
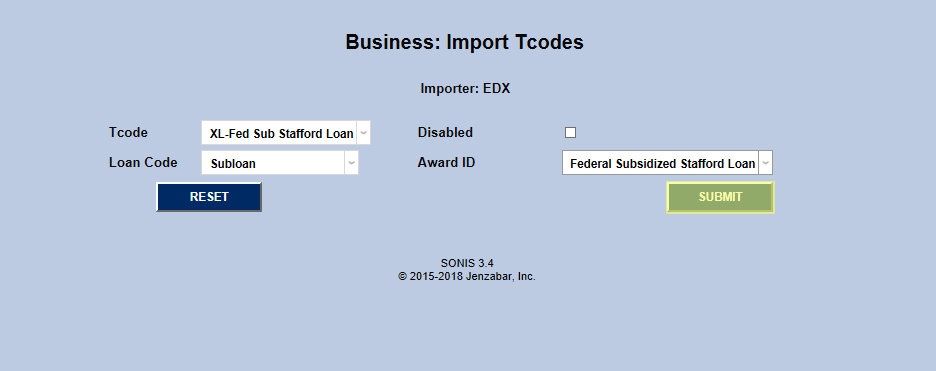
On the following page, select the appropriate T-Code from the T-Code dropdown menu. T-Codes can be added or deleted through the Tbl: Transaction Codes utility under the Systems tab.
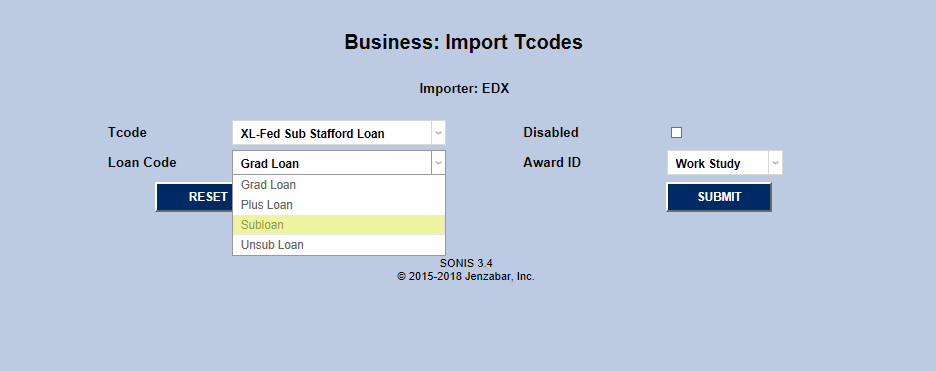
Next, select a loan code from the Loan Code dropdown menu. There are four loan codes that can be imported through the EDExpress Direct Import utility: Subsidized Federal Stafford Loans, Unsubsidized Federal Stafford Loans, Graduate Loans, and Plus Loans. Select the appropriate Award ID that corresponds to the selected Loan Code and click the "Submit" button.
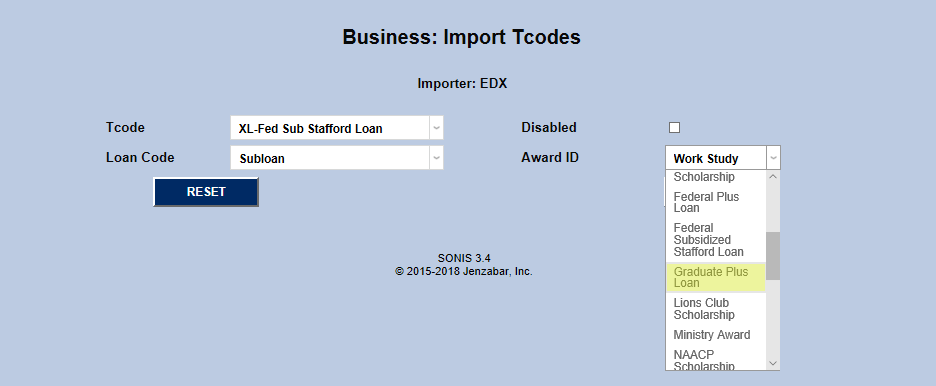
Repeat the process with each Award ID until all five types are set up.
Importing to SONIS
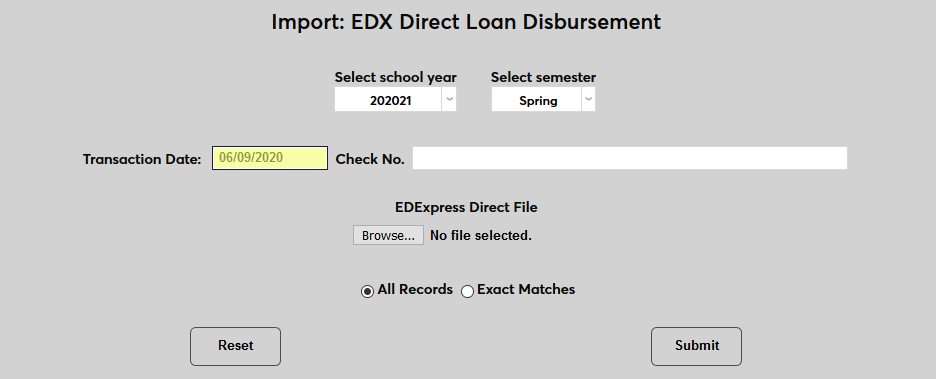
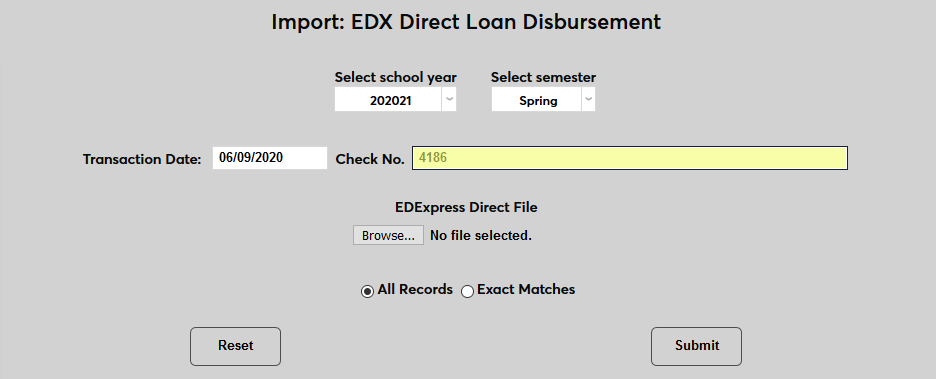
Navigate to the Import: EDExpress Direct Import utility under the Financials tab in SONIS. Select a School Year and a Semester.

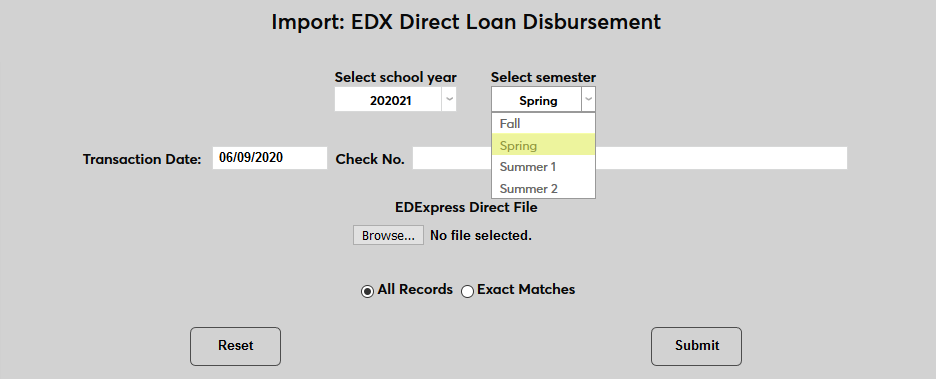
Set the Transaction Date. The Check No. box can be used for any notes about the file that need to be added or left blank.
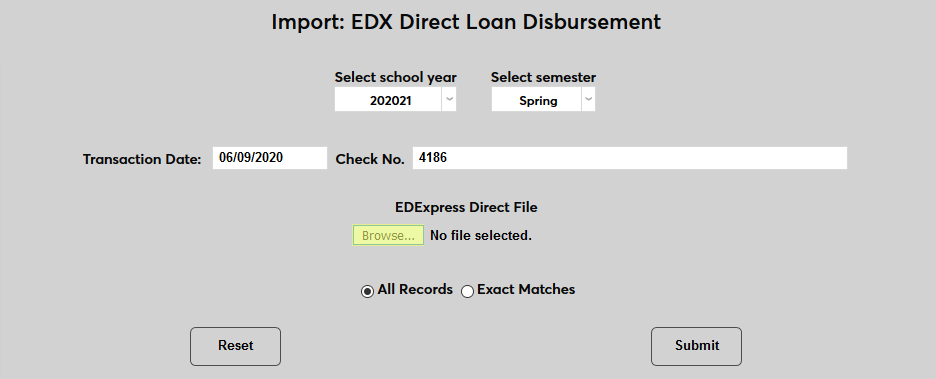
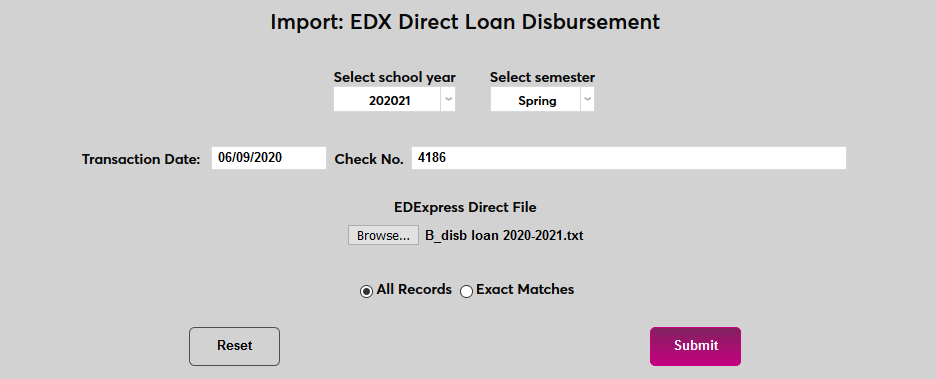
Click the Browse button and select the file be imported.
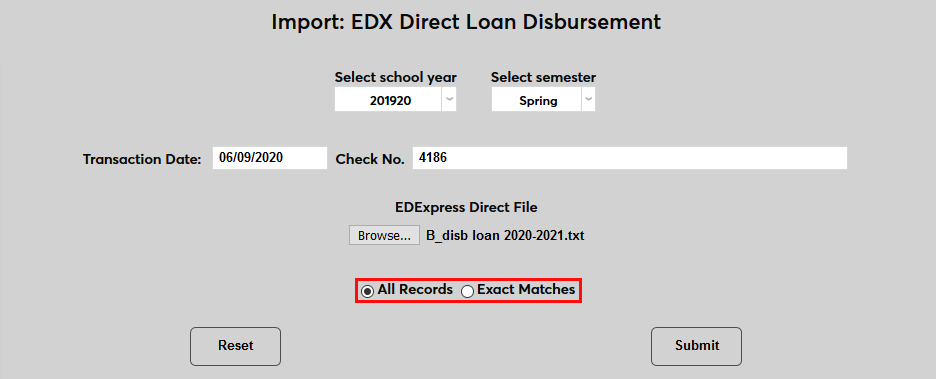
Choose All Records to pull in every field in the file or Exact Matches to pull in only items that match previous financial awards records. Click Submit to import the file.
If the import file contains more than one distribution date, the following screen will prompt the user to Select Distribution Date from a dropdown menu. Select the date that will be imported and click the Submit button.


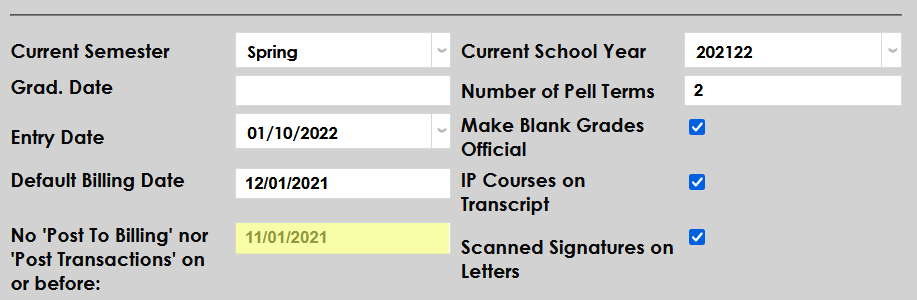
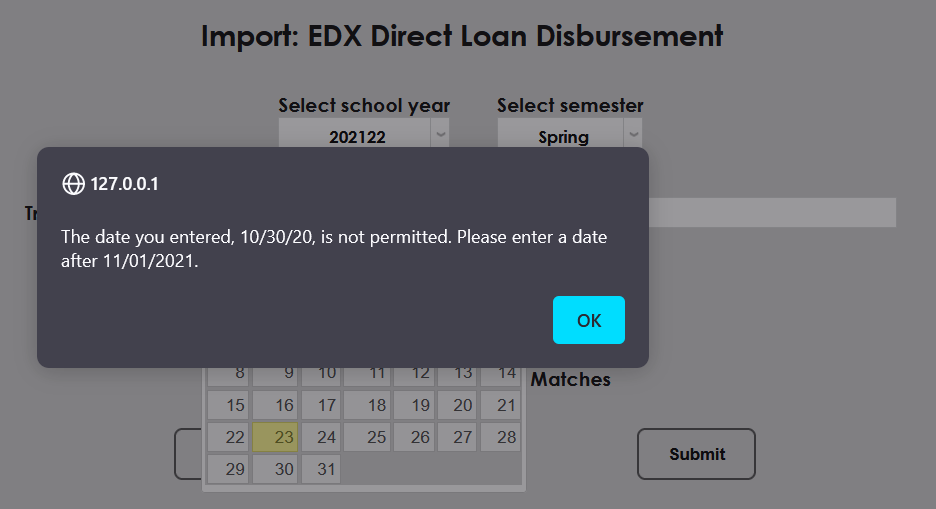
It is important to note that any date that is before the No Post to Billing nor Post Transactions on or before date cannot be selected by the user. If the user attempts to select a date prior, the user will be alerted. The alert includes the No Post to Billing nor Post Transactions on or before date so the user is immediately notified of the date that is defined in System Variables.
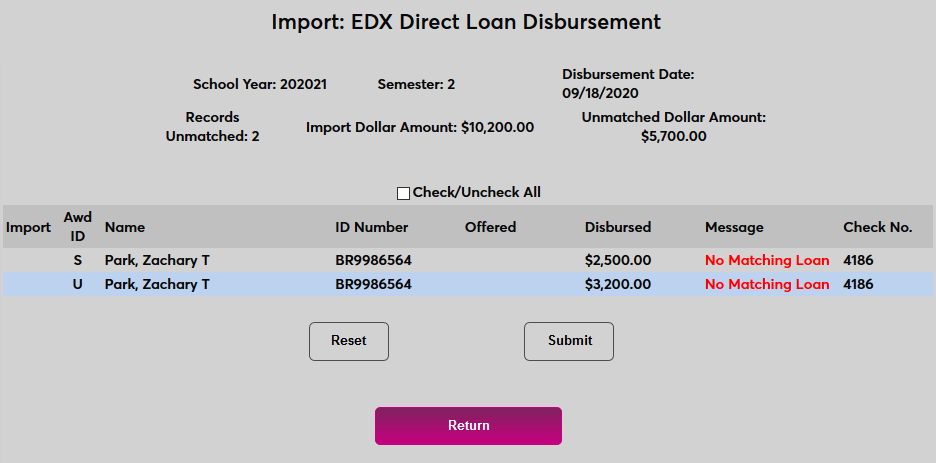
Once the file has been imported, if All Recordswas chosen, SONIS will display the number of disbursements that match loans already in the system and the number of loans that do not match any existing loans. Click the Review button in the Unmatched row to view these records.
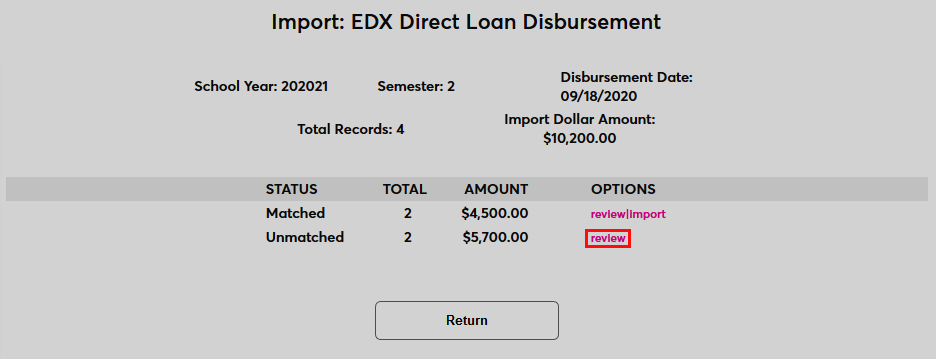
Unmatched records cannot be imported. Click Return to either import the matched records or import another file.
Click the review|Import link in the Matched row to view and import the matched records.

On the Matched page, a Check/Uncheck All box is included for quick changes to large lists.
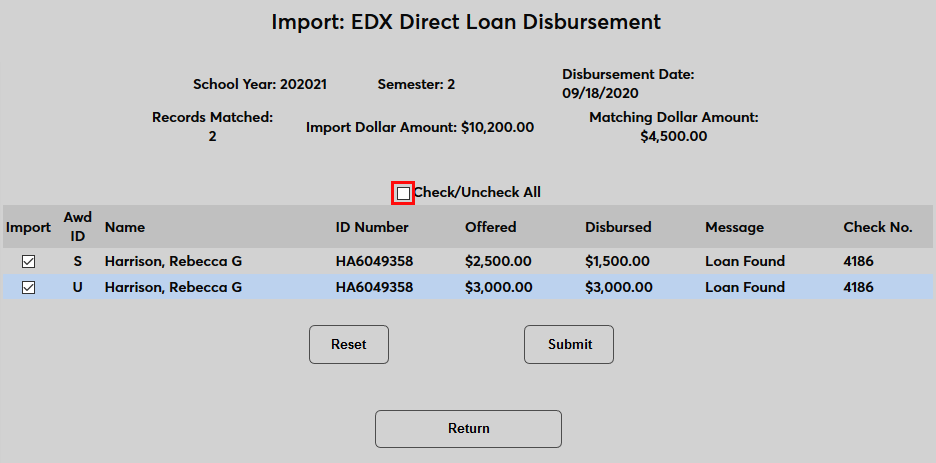
Check the boxes for the disbursements that should be imported and click Submit.
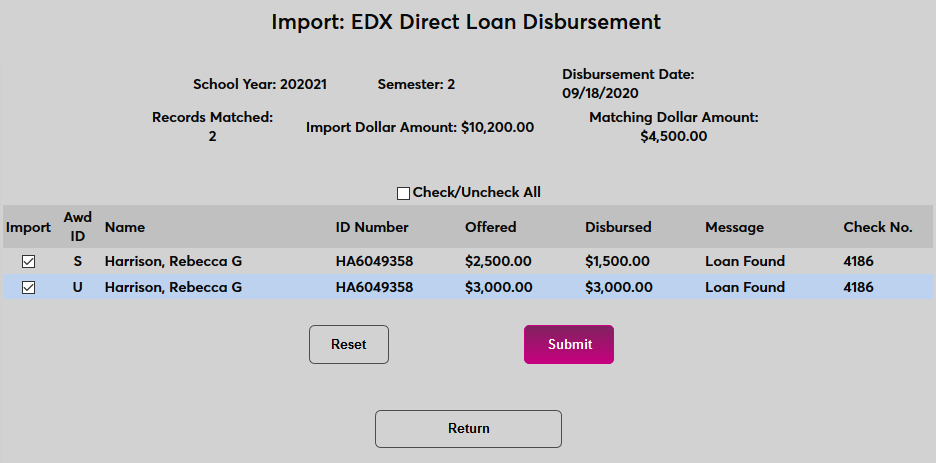
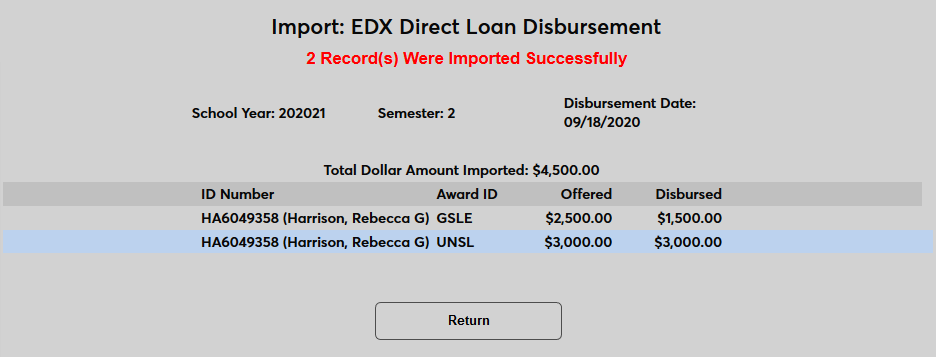
Once the records have been imported, the results of the import are displayed.