Void Awards by Disposition
Overview
The SONIS Void Awards by Disposition utility allows administrators to void an awards that have been assigned to a student or applicant. Since disposition is part of the search criteria, only transactions from users who have an application disposition can be altered using it. This makes the utility most useful for voiding awards given to applicants, though it can still technically be used for a student if they still have a disposition such as Accepted attached to their records. Dispositions can be created and edited using Table Maintenance under the Systems menu. They're assigned to individual students through the Dispositions page under their Records menu.
Awards and disbursements can both be voided through the Void Transactions utility and the Bulk Void utility. In both utilities, the disbursement must be voided before the corresponding reward.
Searching
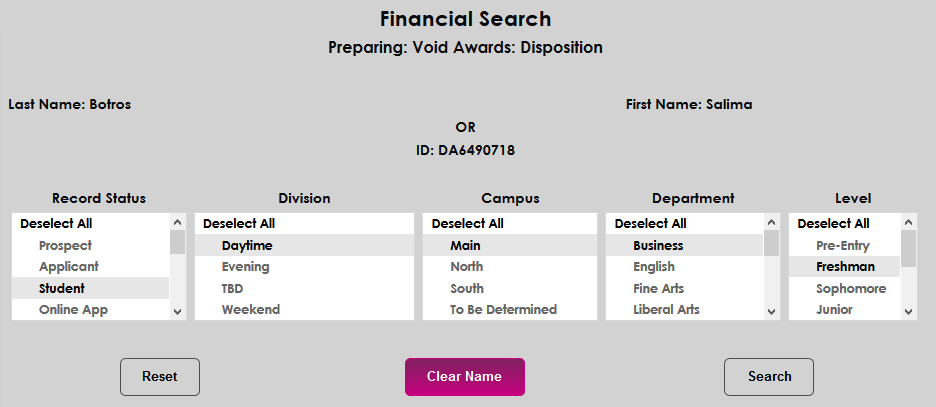
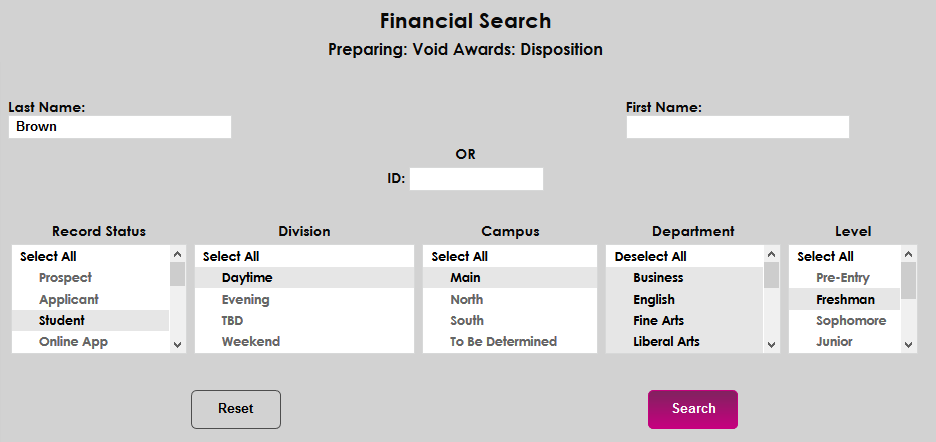
To begin, navigate to the Void Awards utility under the Financials menu. If a name has already been selected using the Name Search function, the user's information will appear at the top of the page. Click Search to continue or Clear Name to remove it and search for a different user or users.
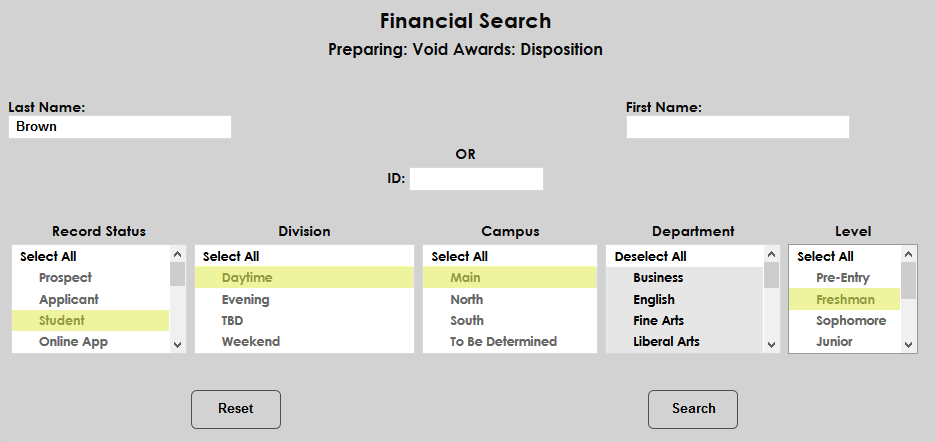
If a name is not selected, enter the user's SONIS ID or a first and/or last name to search for a single individual.
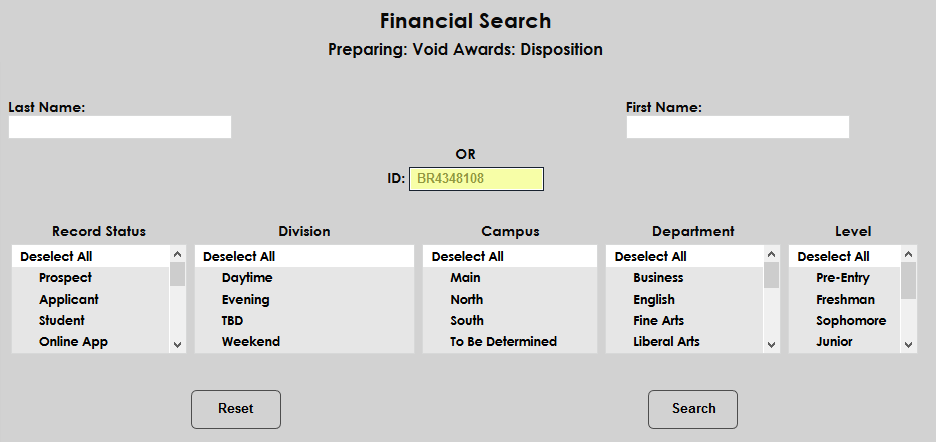

The Record Status, Division, Campus, Department, and Level menus can be used to further narrow down the results or to search for a group of users.
Once the appropriate selection criteria has been selected, click Search to continue.
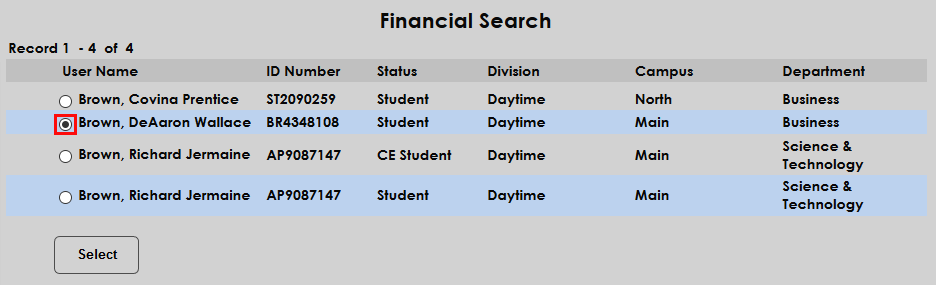
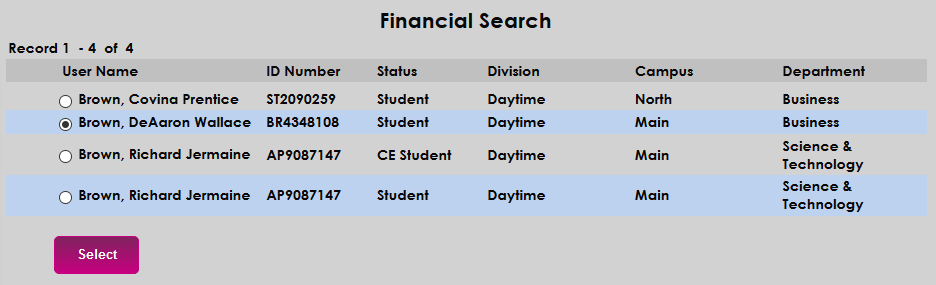
If a name was entered, the next page will display a list of potential matches. Choose a user by clicking the radio button next to the name and click Select.
Voiding
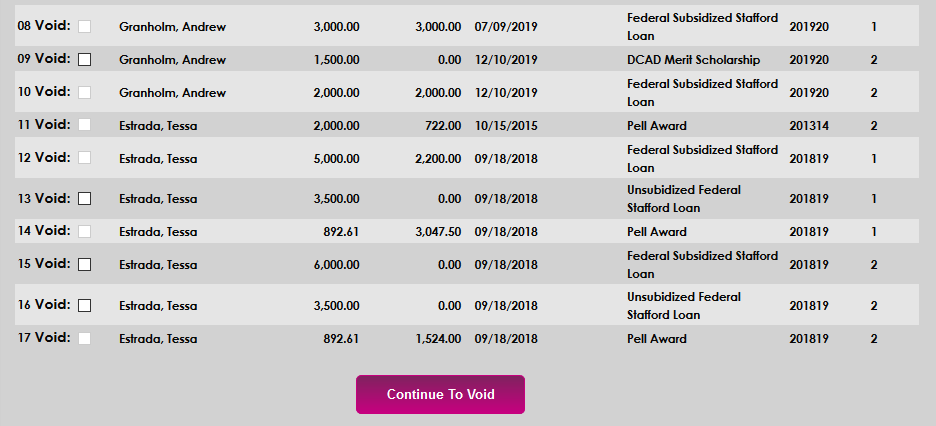
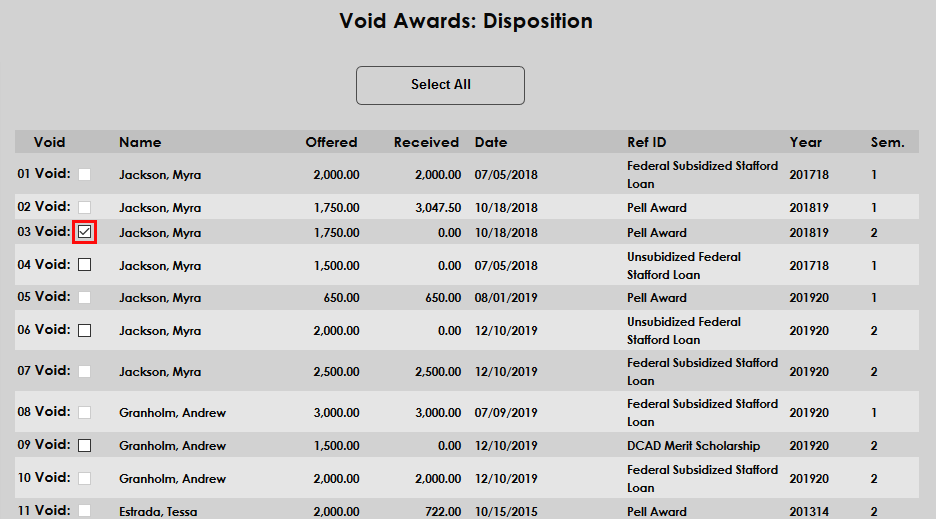
On the search results page, the awards that have not been disbursed and can be voided are automatically checked. Check or uncheck the boxes under the Void column to choose which awards should be voided. A Deselect All button is available to facilitate quicker changes in large lists. Once clicked, the button turns into a Select All button.
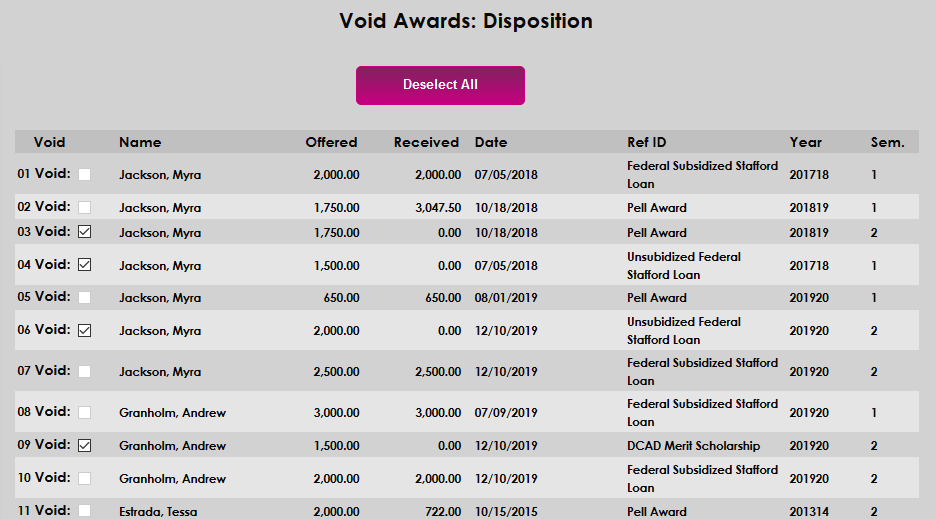
Once the appropriate selections have been made, click Continue to Void to complete the process and remove the transaction(s) from the system.