Application Checklist
Overview
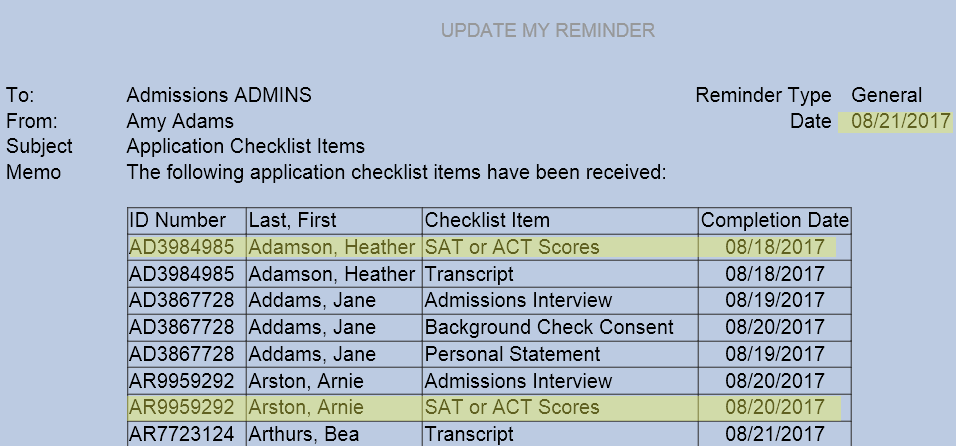
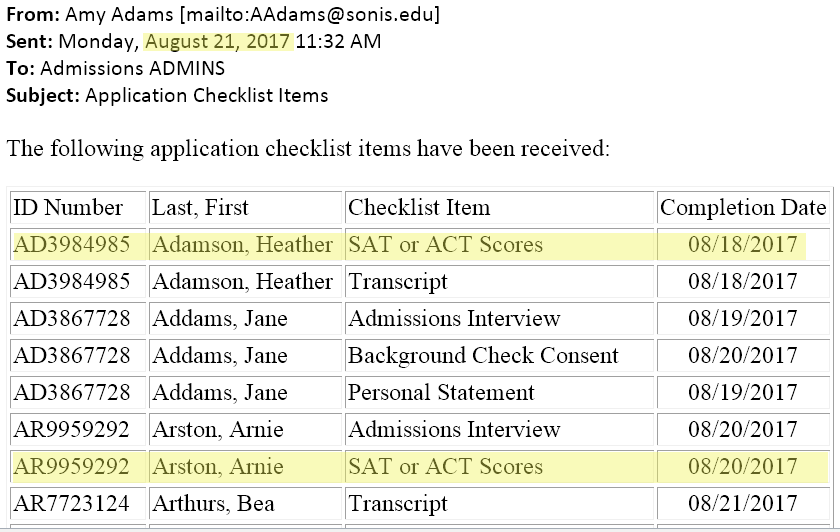
Checklist items are tasks that must be completed before an applicant can be accepted to the institution. They may include things like sending the school a transcript or a portfolio, paying an application fee, giving an admissions interview, or anything else that the institution deems necessary for admittance. The Checklist page, in the Users hub, allows administrators to work with a user's completed application checklist items and see the progress that has been made towards completing required items. Some checklist items may apply to all applicants while others may be program-specific. Checklist items are created in Table Maintenance and assigned to programs through the Application Checklist page. Applicants can view their own checklist through their Checklist Items page in the Applicant portal. A report called App Checklists (Missing Items) is offered to track checklist completion.
Creating Checklist Items
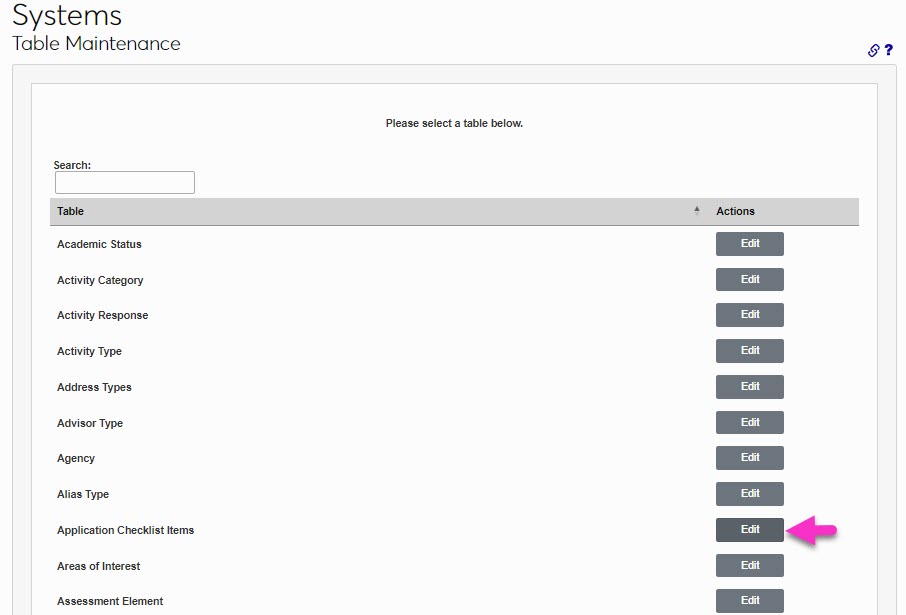
Before checklist items can be assigned, they must be created. Navigate to Table Maintenance in the Systems hub and select Application Checklist Items.
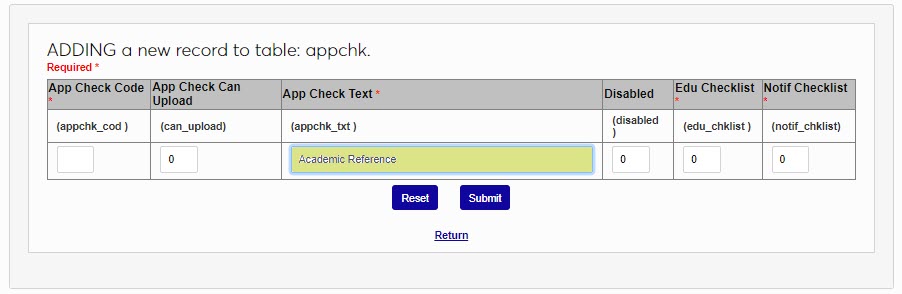
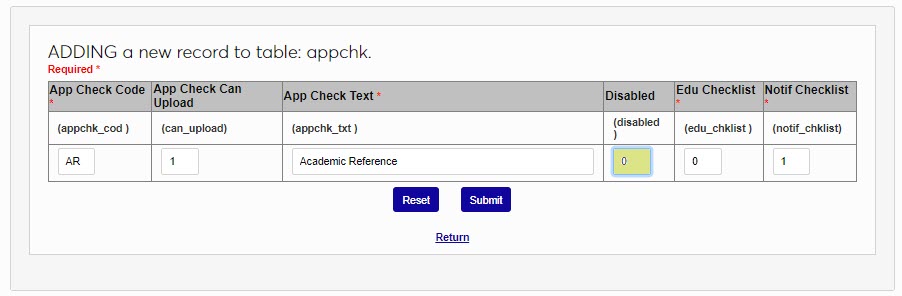
On the following page, click Add New Record to add a new checklist item or click on the App Check Code of an existing checklist item to edit it.
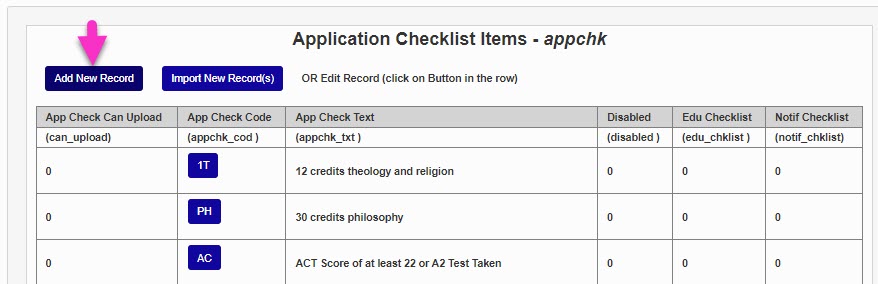
Create a name for the checklist item that describes what is required to fulfill it. This field has a 55-character limit.
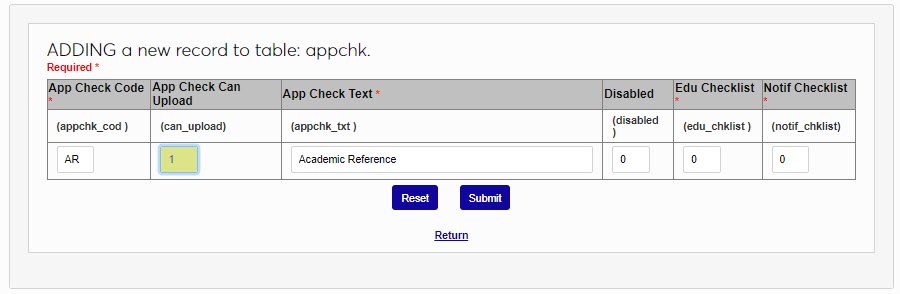
Next, create a two-character code that the system will use to identify the checklist item.

If the checklist item can be satisfied by the student uploading a document of some kind, place a 1 in the App Check Can Upload field. If this field is active, the applicant will have the ability to upload an item through the Applicant portal. If it is inactive (0), then the applicant will not have this option.
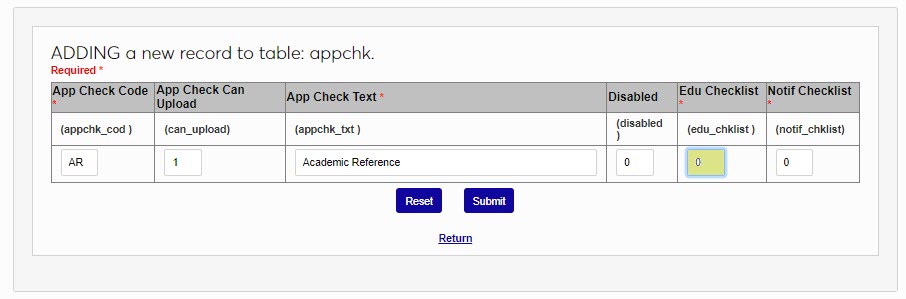
Some checklist items are tied directly to an applicant's prior educational institution. To append the name of this institution to the checklist item, place a 1 in the Education Checklist field. For example, a transcript checklist item might be listed as Transcript - Mount Airy High School if this field is active. Most checklist items will not use this field.
The Notification Checklist field is used to create notifiers for a checklist item. Administrators can receive notifications when a checklist activity is completed. Place a 1 in the field to list it among the options for the Activity Notifier. Leave a 0 in the field if a notification assignment for the checklist item will not be needed.
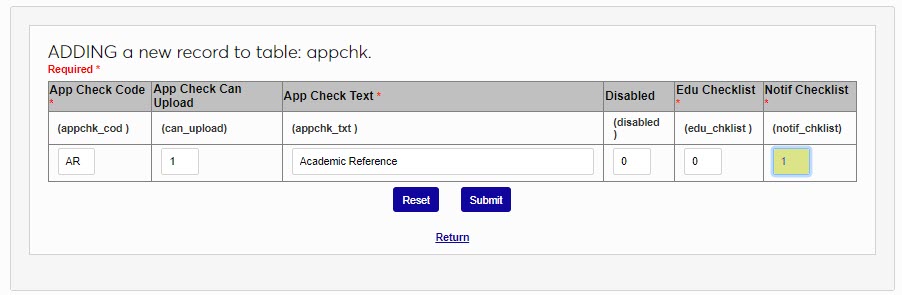
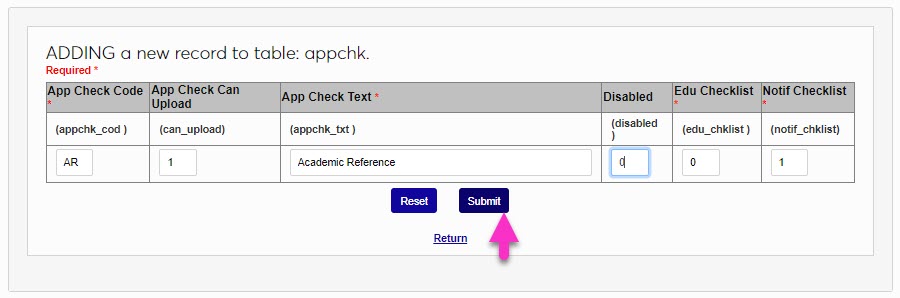
Leave a 0 in the Disabled field to keep the notifier active or place a 1 in the field to prevent it from being used.
Click Submit to save the changes and create the checklist item.
Building Application Checklists
Core List
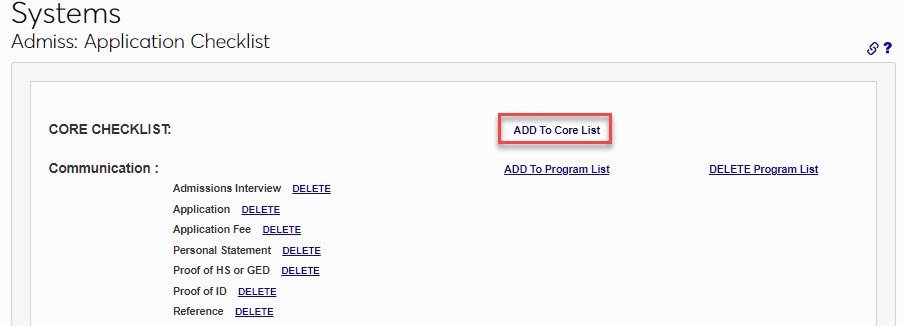
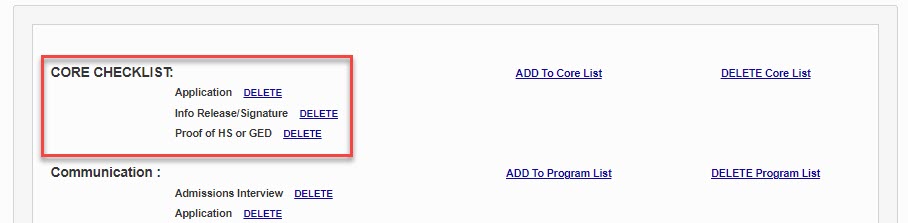
Once the checklist items have been created, the lists can be built. To build a checklist, navigate to Admiss: Application Checklist in the Systems hub. If an item is added to the Core checklist it will apply to every applicant regardless of their program(s) of interest.
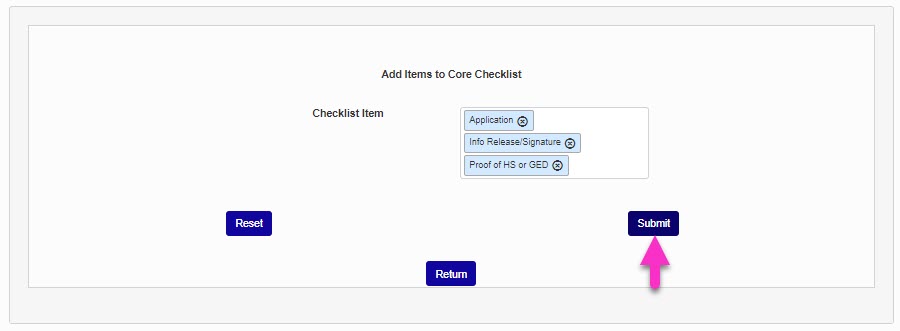
Click Add to Core List to add checklist items for all applicants who are applying for admission to the institution. On the following page, select Checklist Items to be added to the Core list. This menu allows multi-select and is searchable.
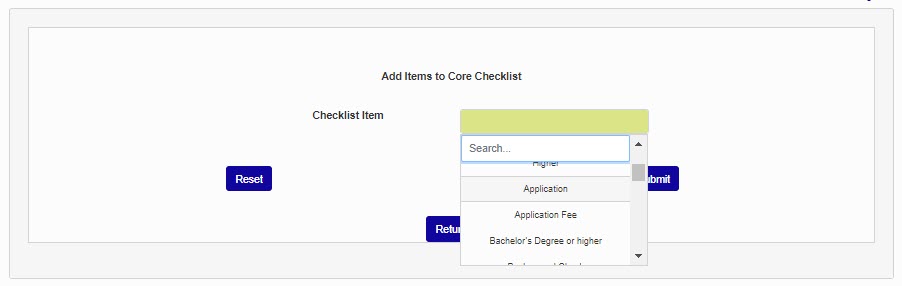
Click Submit to save the items to the Core List.
Program Specific List
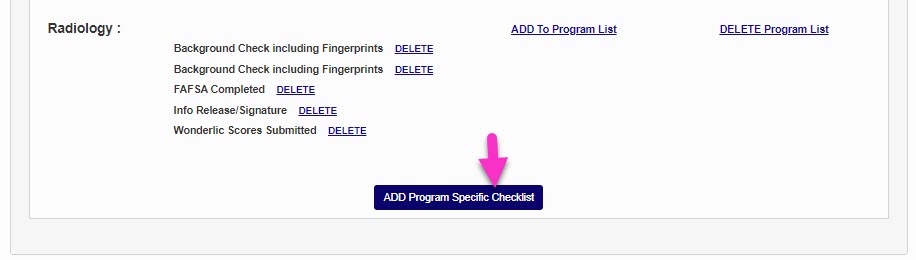
To create a checklist that applies to a single program, click the Add Program Specific Checklist button.
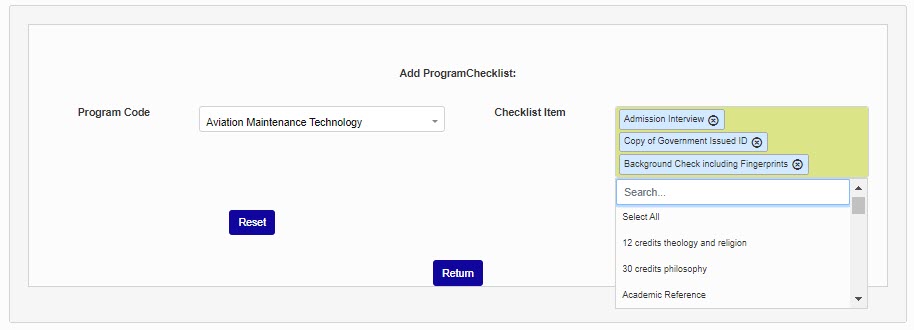
On the next page, select a program from the Program Code menu.
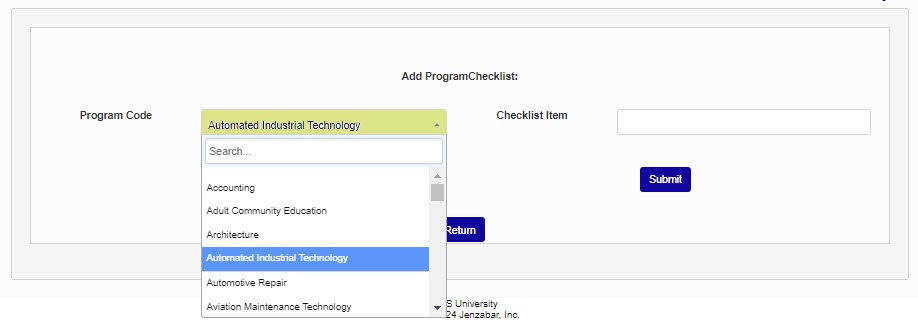
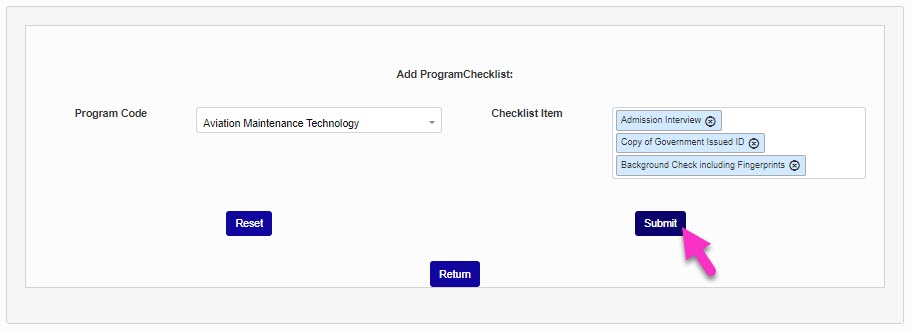
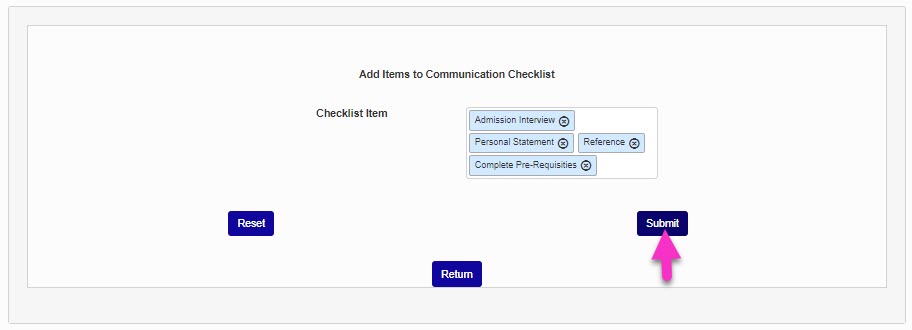
Select one or more items from the Checklist Item menu and click Submit to save the changes and create the list.
Adding to Existing Checklists
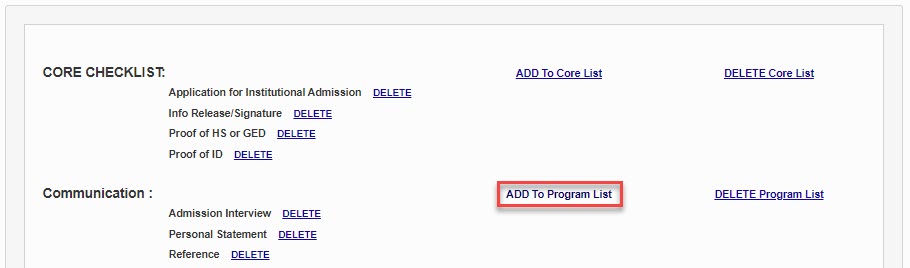
To add items to an existing checklist, click the Add to Core List or Add to Program List link, then select the desired item(s) from the Checklist Item menu.
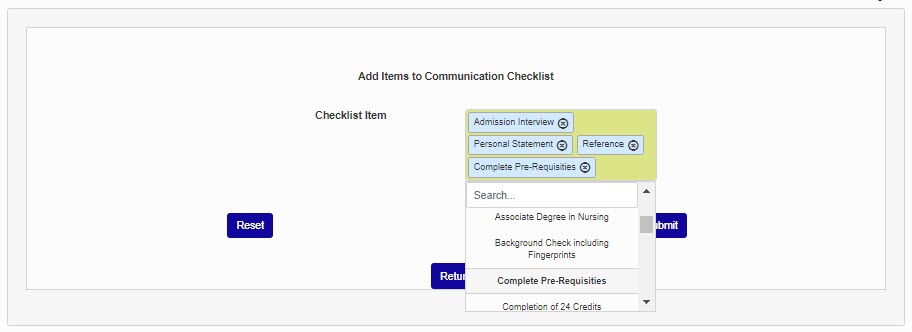
Click Submit to save the added item(s). Adding items to an existing checklist will not add the items to already admitted students, the items will only be added to applicants submitted after the item is added to the checklist. To add the item(s) to existing or in-progress applications, add them manually within each applicant's checklist.

Shared Checklist Items
You can choose to share checklist items between applications and programs to avoid unnecessary duplicates. With this option active, core checklist items only appear once in a user's application checklist. Program-specific items will still appear more than once, but checklist items attached to the same program on different applications are not duplicated.
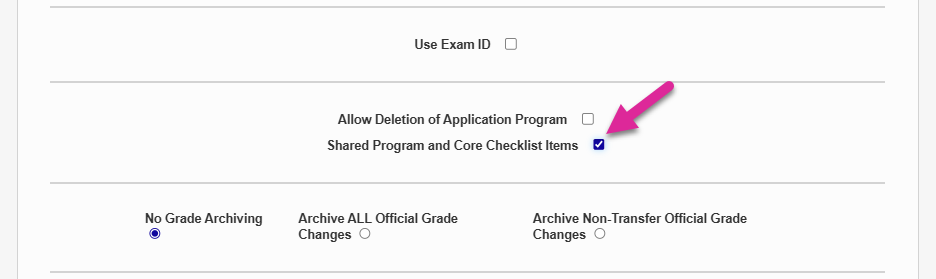
To turn this feature on, navigate to Web Options under the Systems hub. Check the Shared Program and Core Checklist Items box and click Submit to save the page.
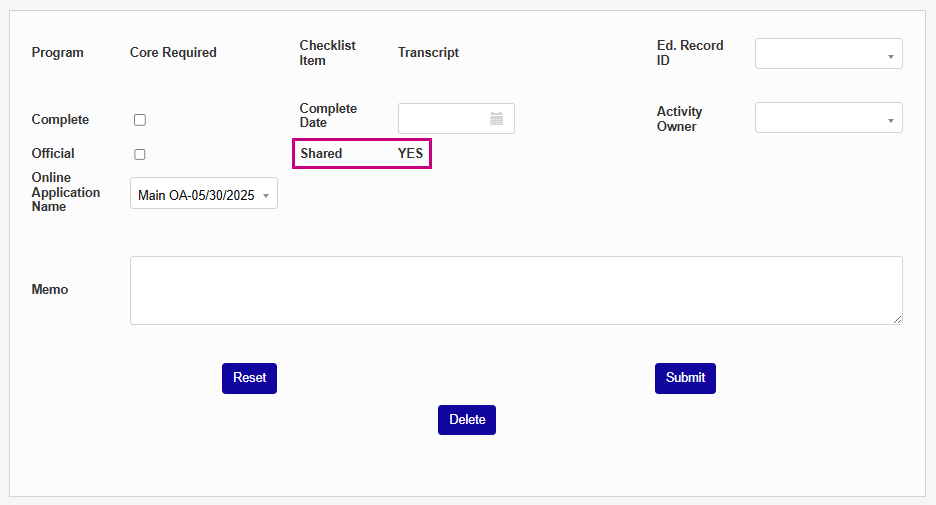
Once the option has been turned on, a field is added to each checklist item indicating whether or not it is shared with another program or application.
Note
When you activate the shared checklist items option, existing duplicates are not deleted. Instead, they are also marked as Shared. All duplicates are updated when you update one item.
Activating Notifications
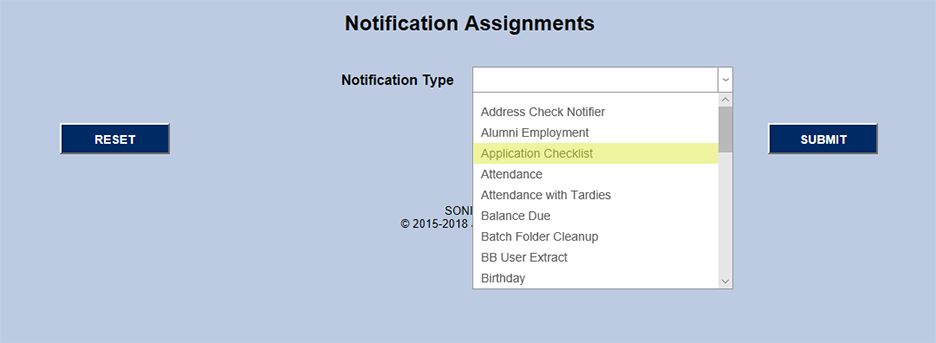
Once the list of potential notifiers has been created, the user must navigate to the Notification Assignments utility, again in the Systems hub to turn on the Application Checklist Notification. Click Add at the bottom of the page. Then, choose Application Checklist from the dropdown menu on the next page and click the Submit button.

To create a specific notification, create a Code and a Name for the notification, enter the SONIS ID of the person setting up the notification, choose which groups will receive the notification, and choose which checklist items will trigger the notification. Groups are created in Table Maintenance. Individual users can be added to groups by using the Groups utility after selecting that user through Name Search. The beginning text of the message can be edited in the "Group Notification Message" box and the students included in the notifications can be culled by status, division, campus, department, and level. Multiple application notifications can be created for various groups of users.