References
Overview
If a Jenzabar SONIS member institution requires or receives References for their students, the references can be recorded by an administrator or added as a Checklist Item on the Users hub menu References page. If added as a checklist item, or as a required part of the Online Application, applicants can then enter references when submitting the Online Application and the entries will populate the References page automatically.
Additionally, the References page can be used to view questionnaire responses and any accompanying uploads submitted by references. The questions for references are defined on the Academic: Evaluations page, available in the Systems hub.
Adding a Reference
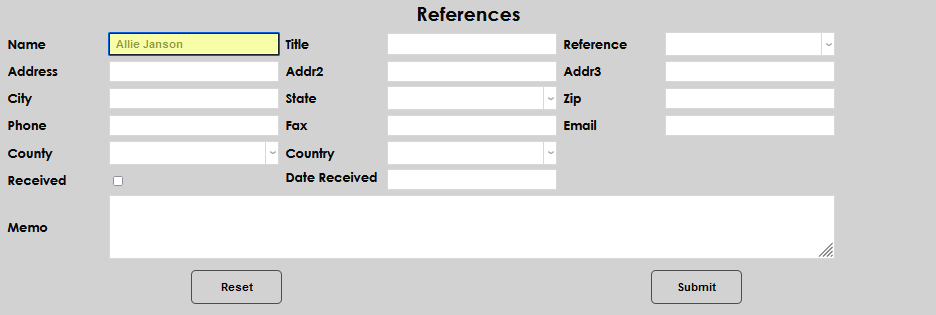
To add a reference record to a user, enter the References page in the Users hub and click the Add button.

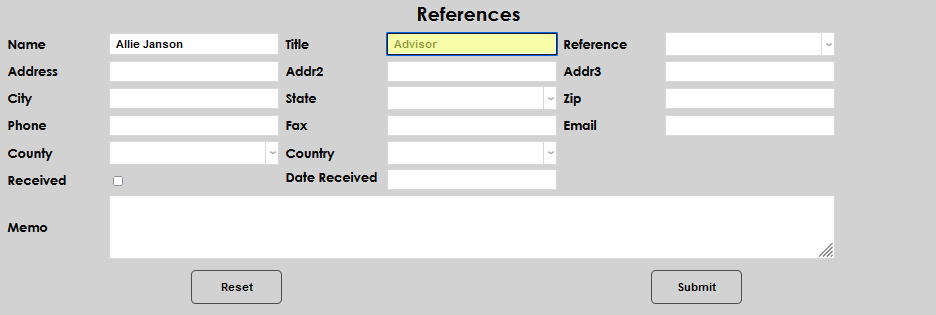
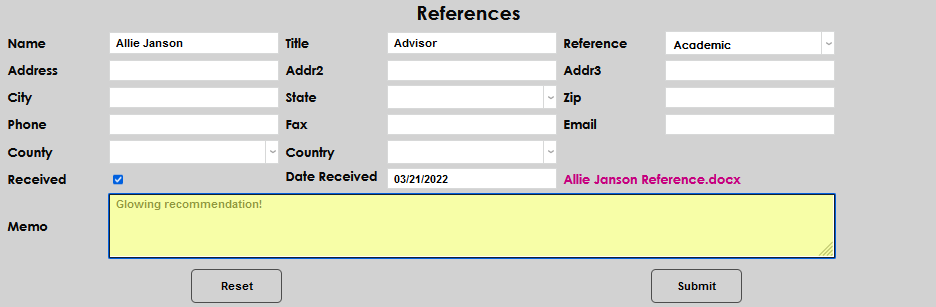
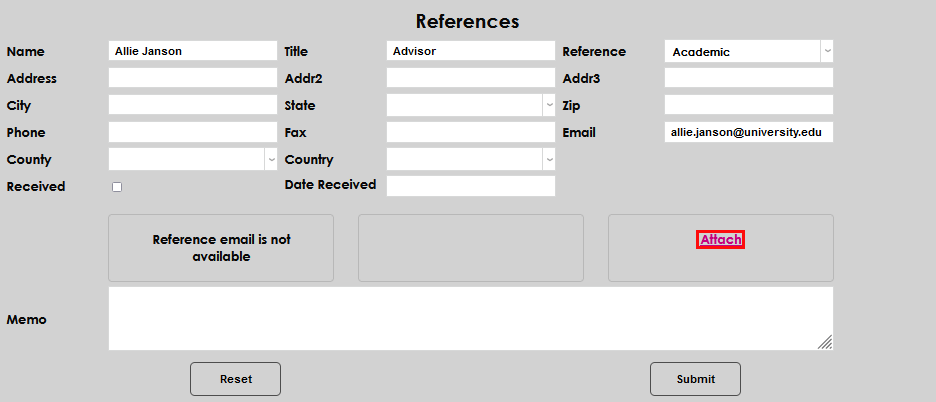
Enter the Name and Title of the individual providing the reference.
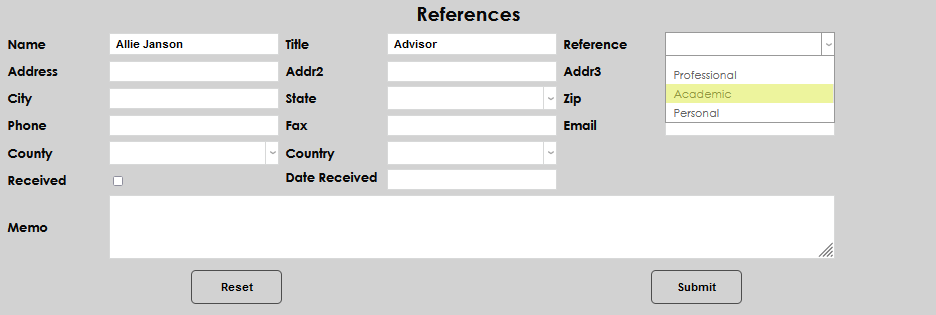
Select the type of reference from the Reference dropdown menu. Reference Types must be predefined by an administrator before they will appear in this dropdown. If the necessary type is not displaying, contact the institution's system administrator so the type can be added to the Recommendation table.
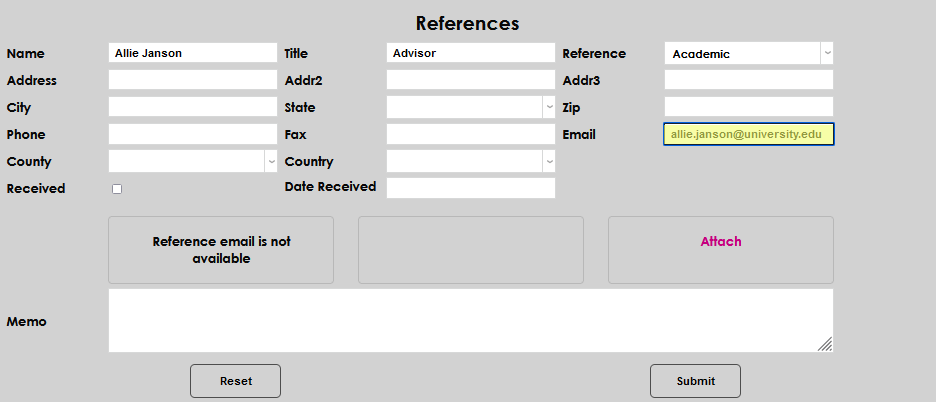
The Address, Phone, and Email fields can be entered, if necessary. If they are not used by the institution, they can be skipped.
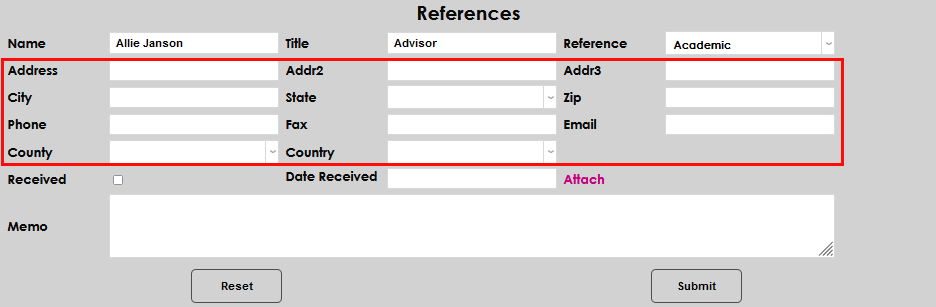
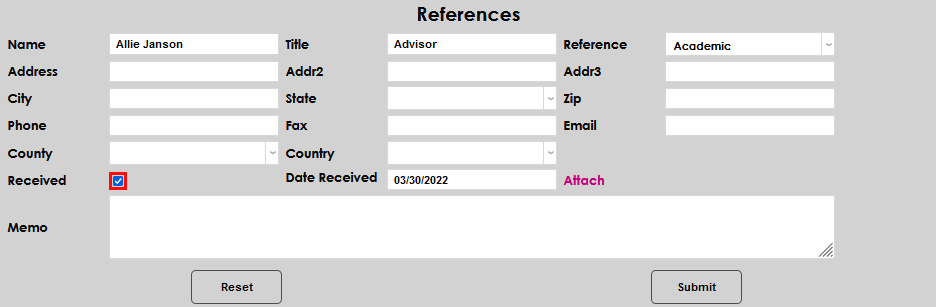
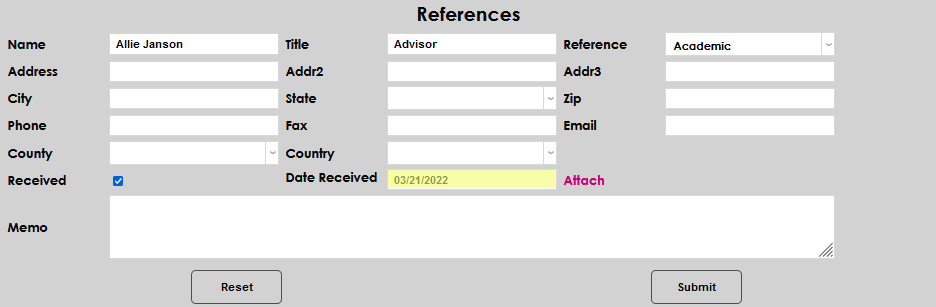
Check the Received box to indicate the reference has been received. When the box is checked, the Date Received field will auto-populate. If it's necessary to edit the date, simply click in the field and make the desired edit.
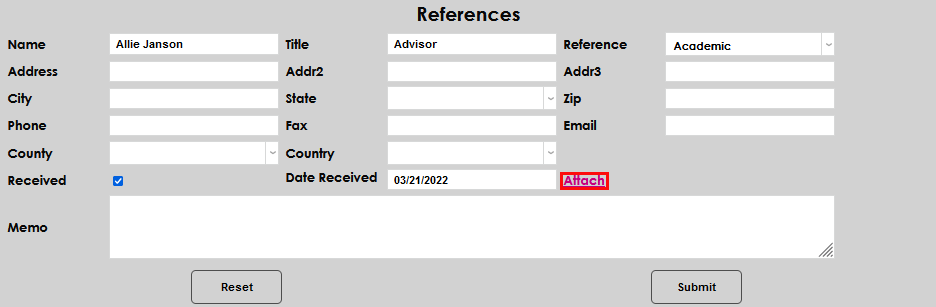
An electronic version of the reference can be attached to the record. Click the Attach button.
A new window opens and is the same window that an applicant will see when attaching a reference from within the Online Application. Click Browse, navigate to the saved file using the explorer or file-picker, select the file, and click Attach File.
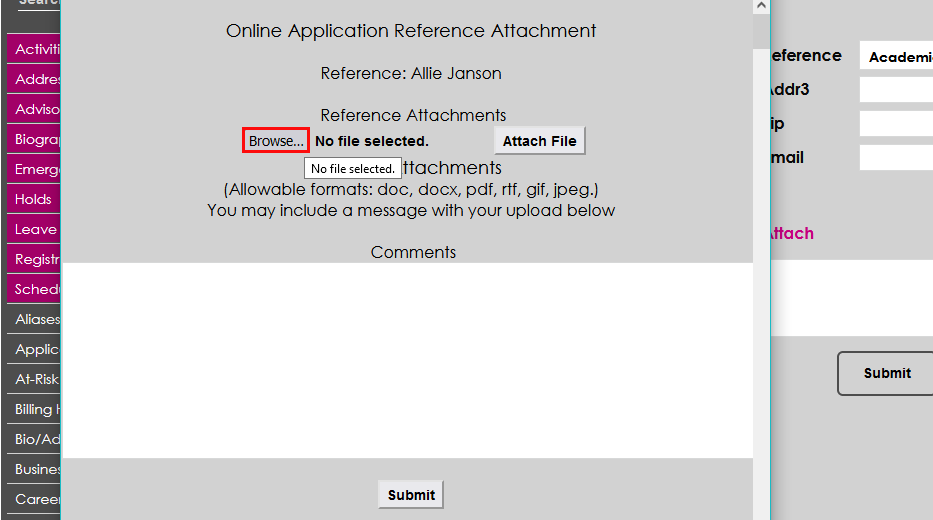

Enter any applicable Comments and click Submit to save the attachment to the reference record.

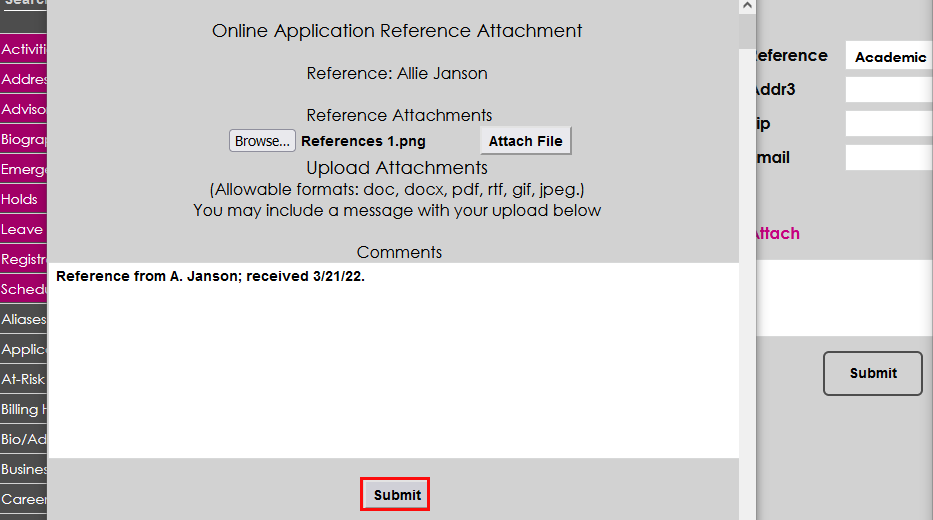
If an unsupported file type has been selected, the screen will clear without attaching the file. Be sure to attach a .doc, .docx, .pdf, .rtf, .gif, or .jpeg file, or the attachment process will have to be repeated to be successful. When the file has successfully attached, the name of the file will replace the word Attach on the References page.

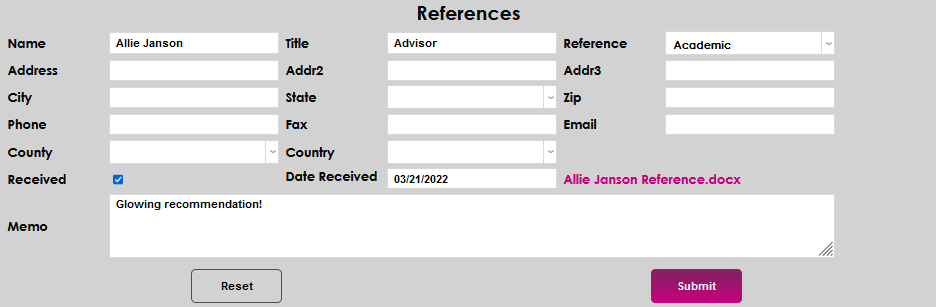
Enter any other applicable details in the Memo field and click Submit to save the entered information.
Editing Existing References
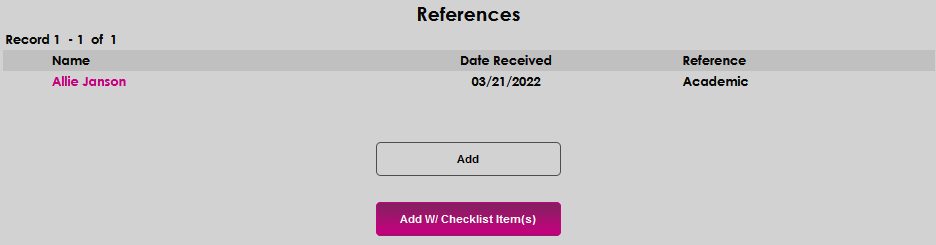
If a reference name was previously submitted by an applicant or added to a record by a user, it will display upon entering the References page. To edit an existing reference, click the Name of the reference.

On the reference details page, any field may be edited, including the attachment. To edit a field, simply click in it and make the desired update. To change the attachment, click the attachment name and follow the steps to select a new file. After making the desired updates, click Submit to save the changed information.
Adding a Reference Checklist Item
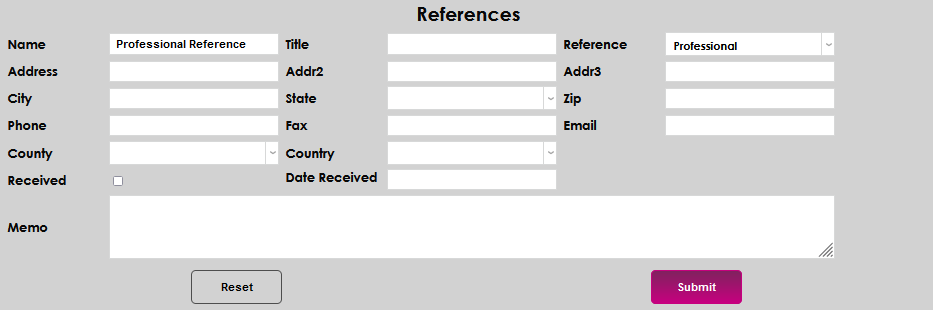
To add a reference as an Admission Checklist item and allow it to appear on the Online Application, navigate to the user's References page in the Users hub and click Add W/ Checklist Item(s).
Follow the same steps used to manually add a reference, ensuring that a Name and Reference type are entered, and click Submit. Submitting will add the request to the user's checklist.
Viewing Reference Submitted Materials
If a reference name has been submitted by an applicant and is subsequently deleted by the applicant before an application is submitted, any questionnaire responses for that reference will also be deleted.
References can be emailed a link to a page with a questionnaire allowing the reference to complete defined questions and/or upload a letter of reference. The page displayed for the reference indicates whether the applicant waived the right to review the response or not.