Course Creation Wizard
Overview
The Course Creation Wizard, available from Search Results and the Courses hub, provides administrators a utility to quickly create new courses. The user is stepped through the process of creating a new course, whether it be home institution or transfer. The Create New Section Wizard, available on the Section Add page, works similarly to the Course Creation Wizard and walks the user through section creation. These wizards help with consistency across courses and integrate existing default data points.
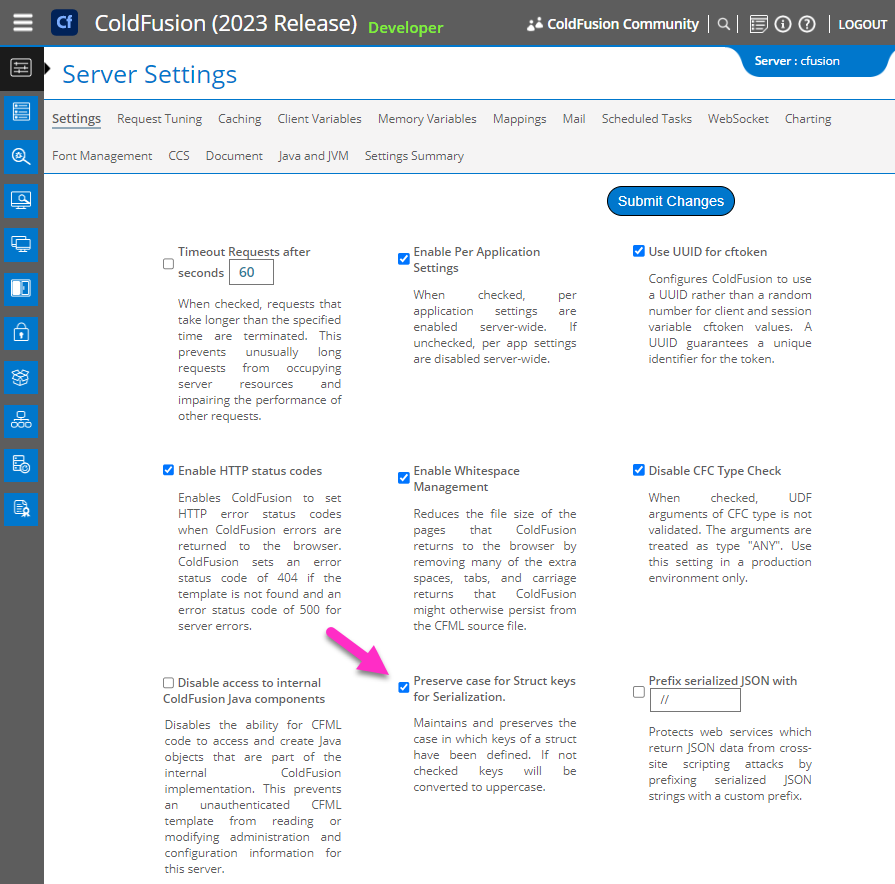
Preserve case for Struct keys for Serialization must be checked within ColdFusion Administrator to utilize the wizard. For hosted clients, this will be set automatically as part of the upgrade to SONIS 2023. Self-hosted clients must set this themselves.
Using the Course Creation Wizard
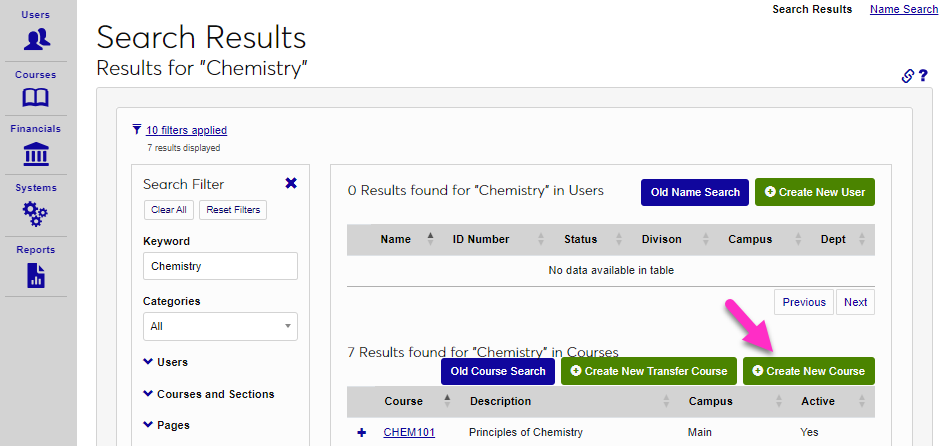
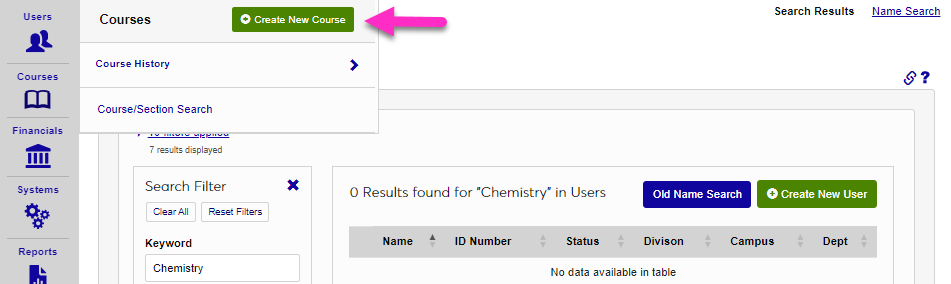
To begin using the Course Creation Wizard, select it from the Search Results page or from the Courses hub.
Editing the Template
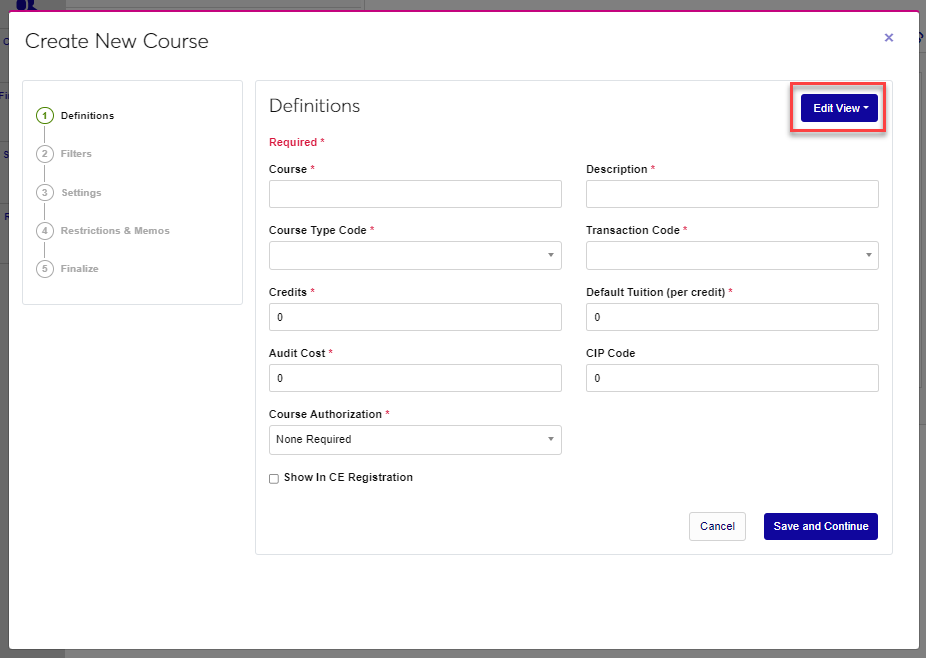
Administrators with associated permissions can modify the displayed elements by clicking the Edit View button. Selecting the Master Edit button will modify the wizard for all institutional users. Clicking User Edit will modify the wizard for only the logged in user. After clicking Edit View, click User Edit.
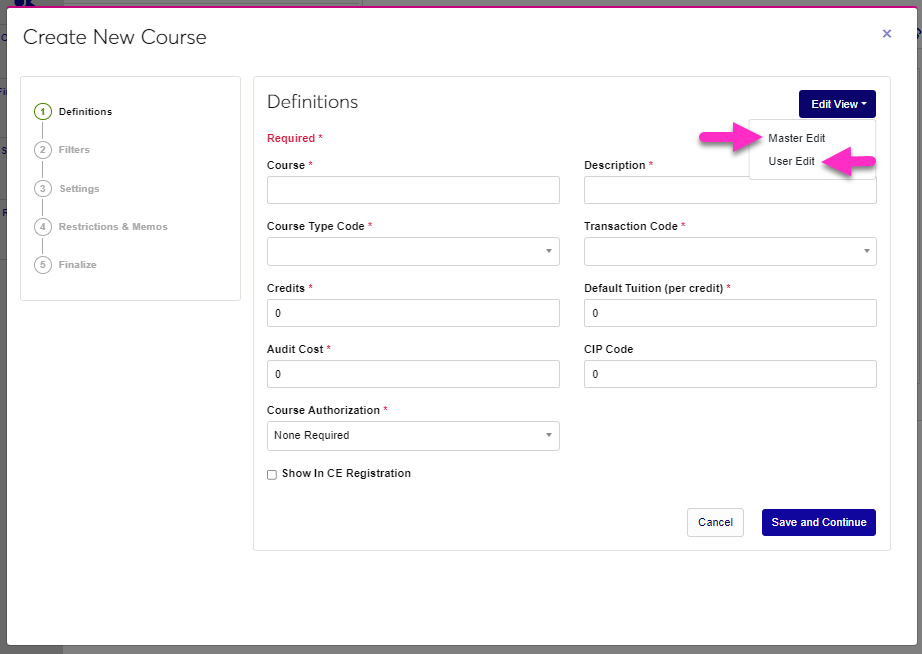
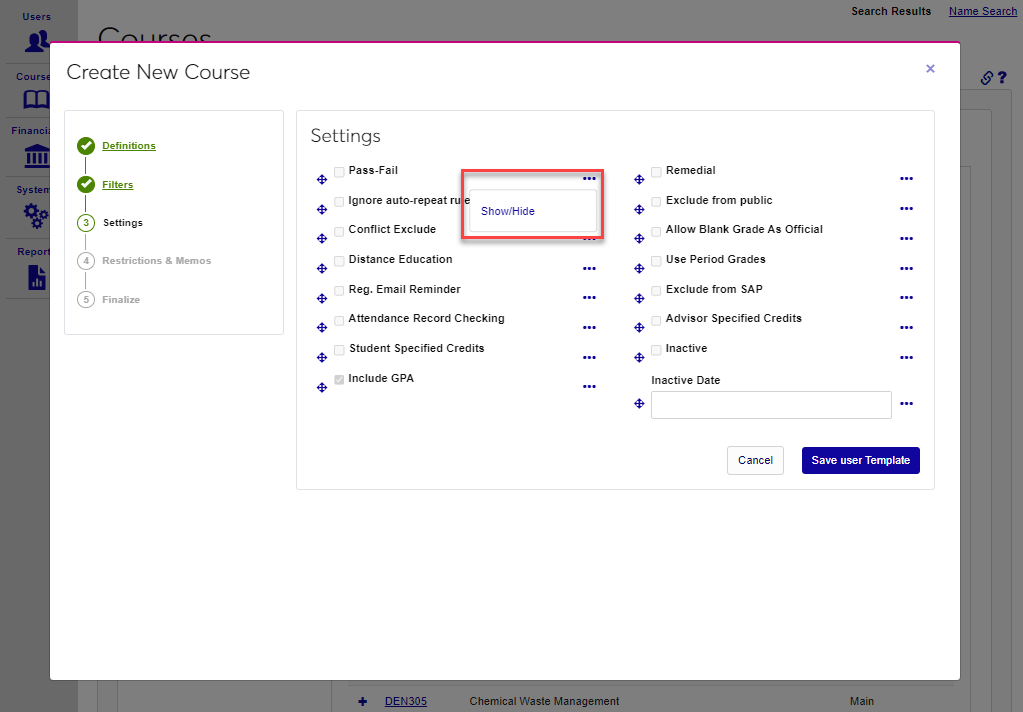
To move an element, click on the arrow icon and drag the element to the desired location. Release the mouse button to move the element into the new spot. Click the ellipsis to display the Show/Hide, Required, and Rename options and click it to select the desired update option.
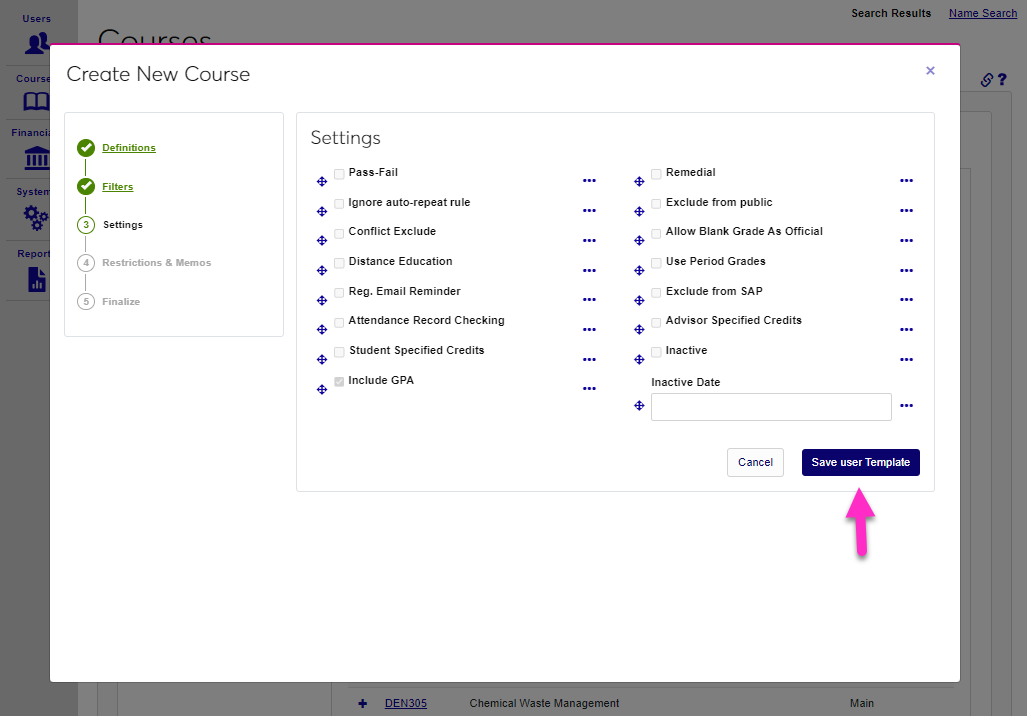
Click Cancel to leave without saving changes or Save User Template or Save Master Edits to save the edits.
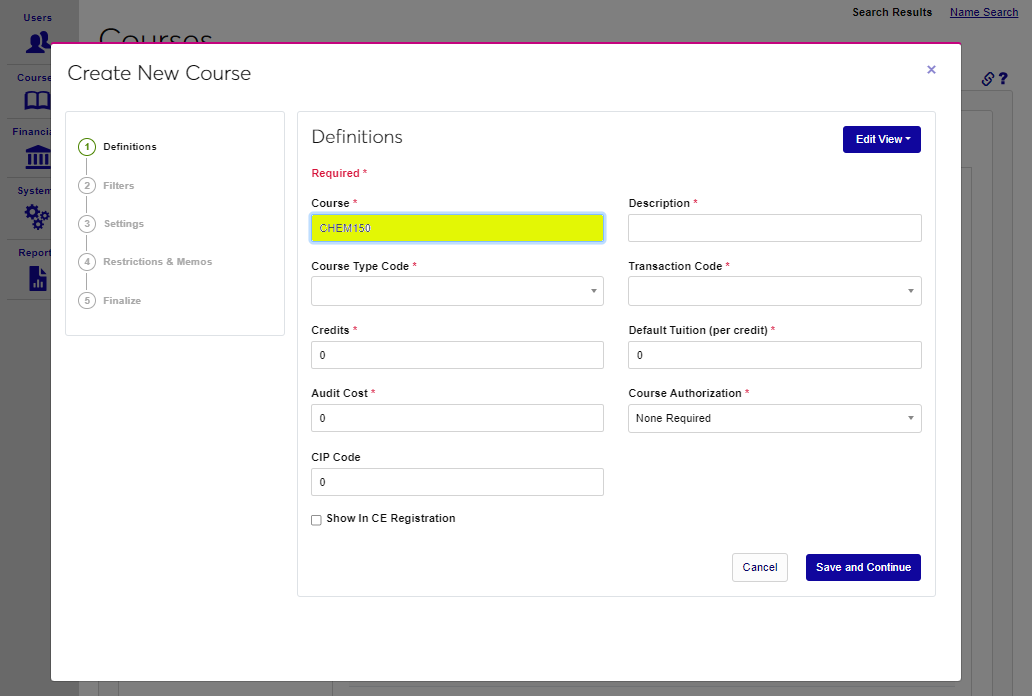
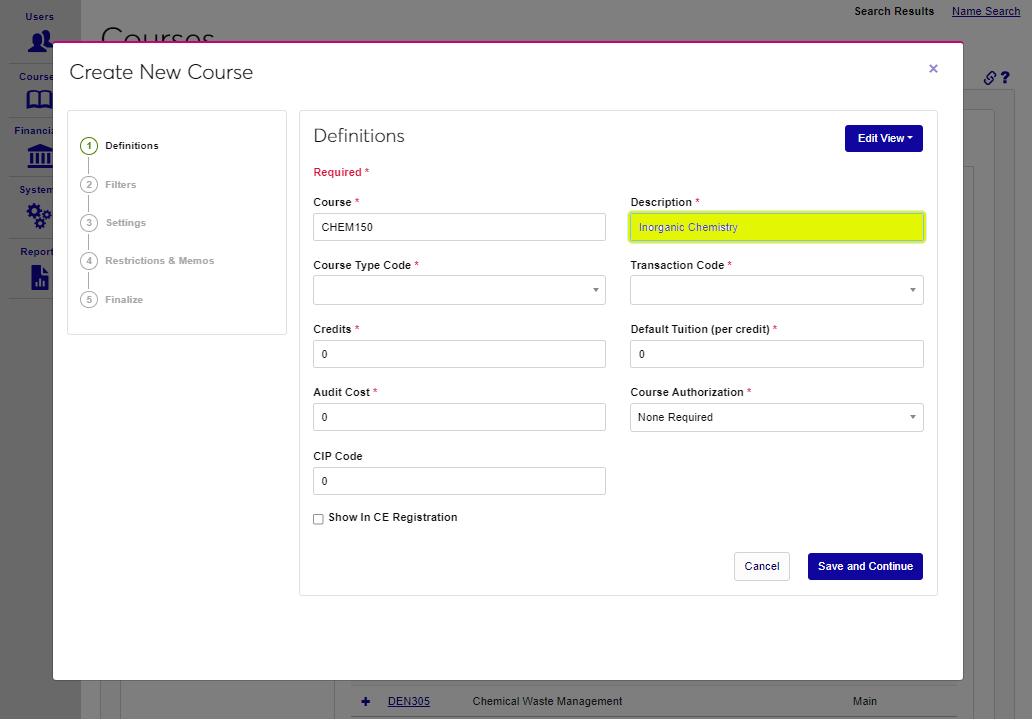
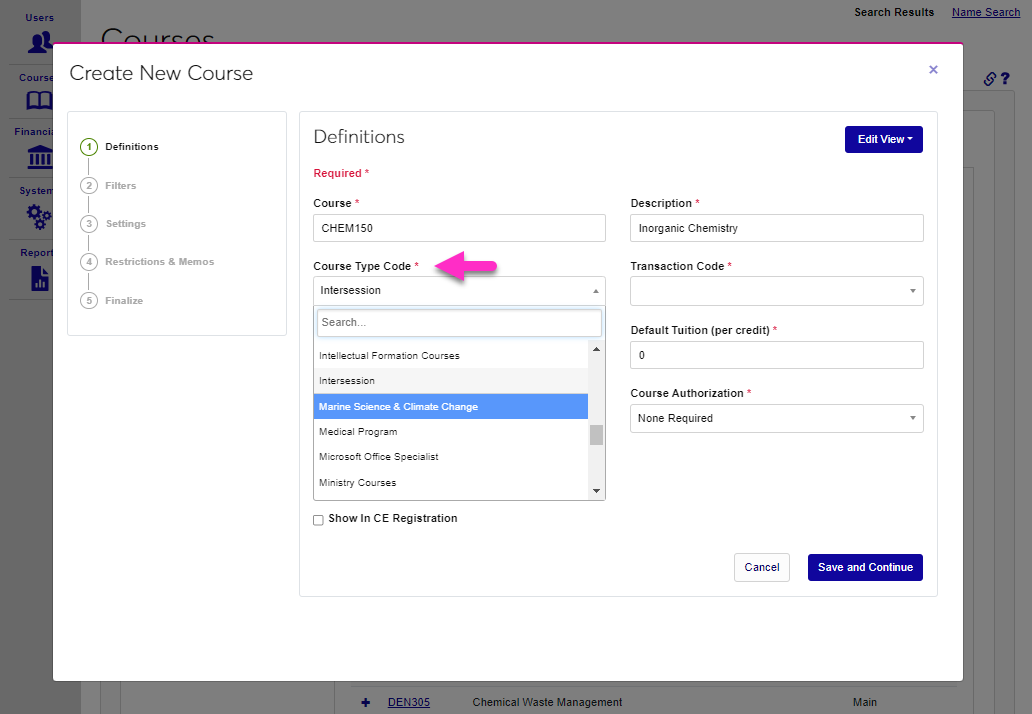
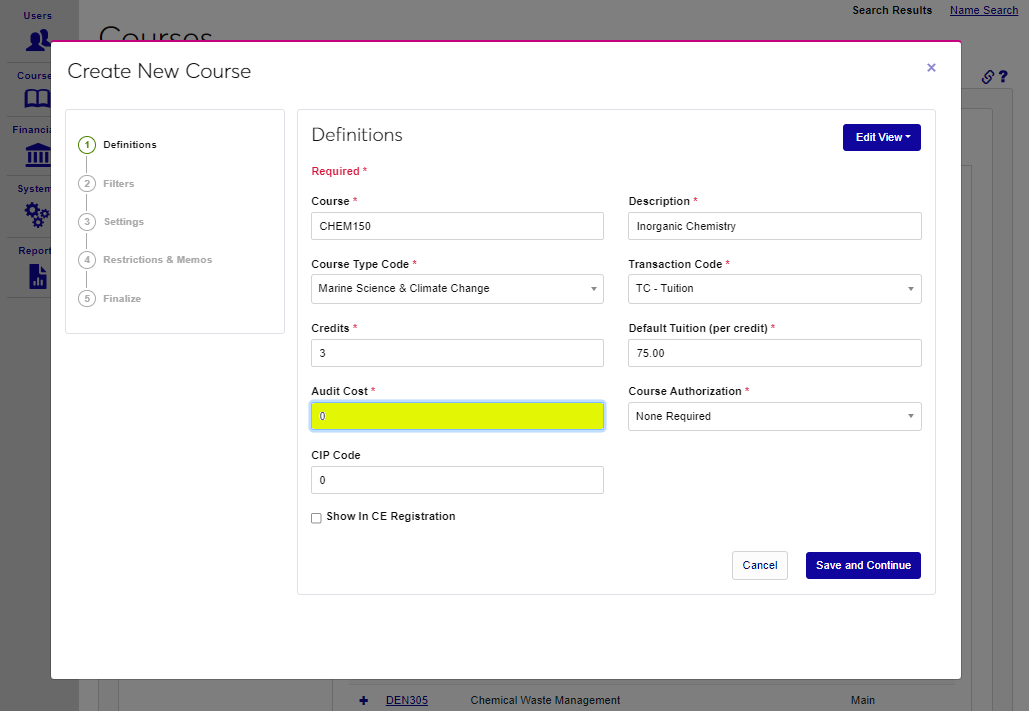
Definitions
The Definitions page displays the fields that will define the course. Some are Required and are indicated by a red asterisk(*). Create a Course number for the course following the school's numbering principles and a longform Description for the course. The Course field has a 10-character limit and the Description field has a 100-character limit
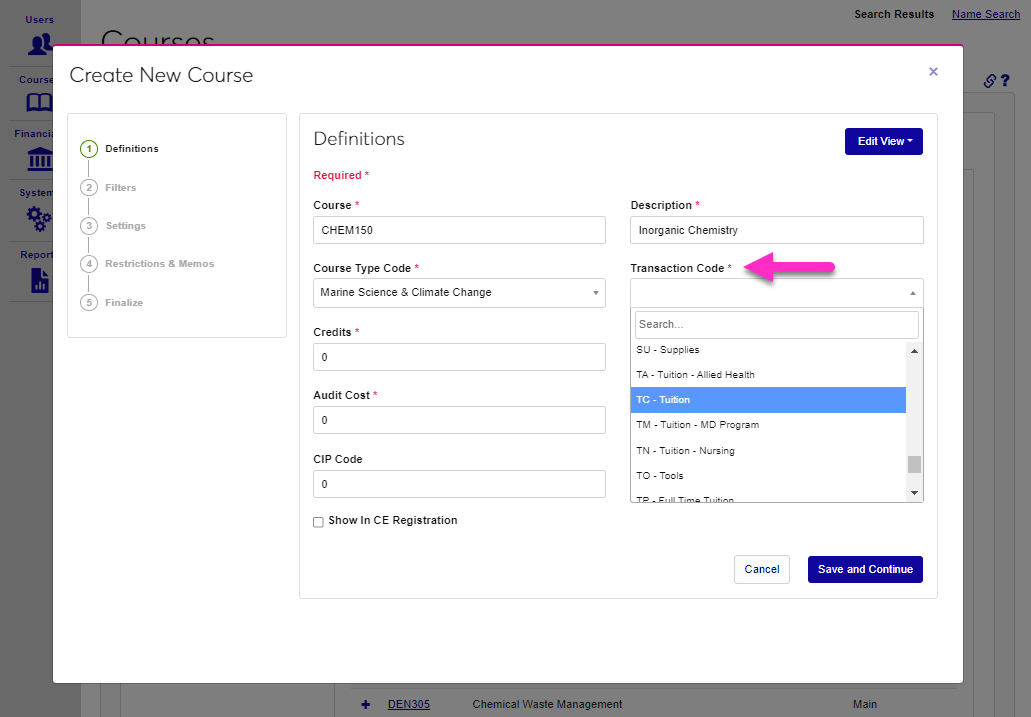
Select a Course Type Code for the course. Course types can be used in various ways by schools to label and separate courses. Some schools may wish to tie a course type or types to a different Grading Index, altering the way final grades and GPAs are calculated. Select a T-Code for the course charges.
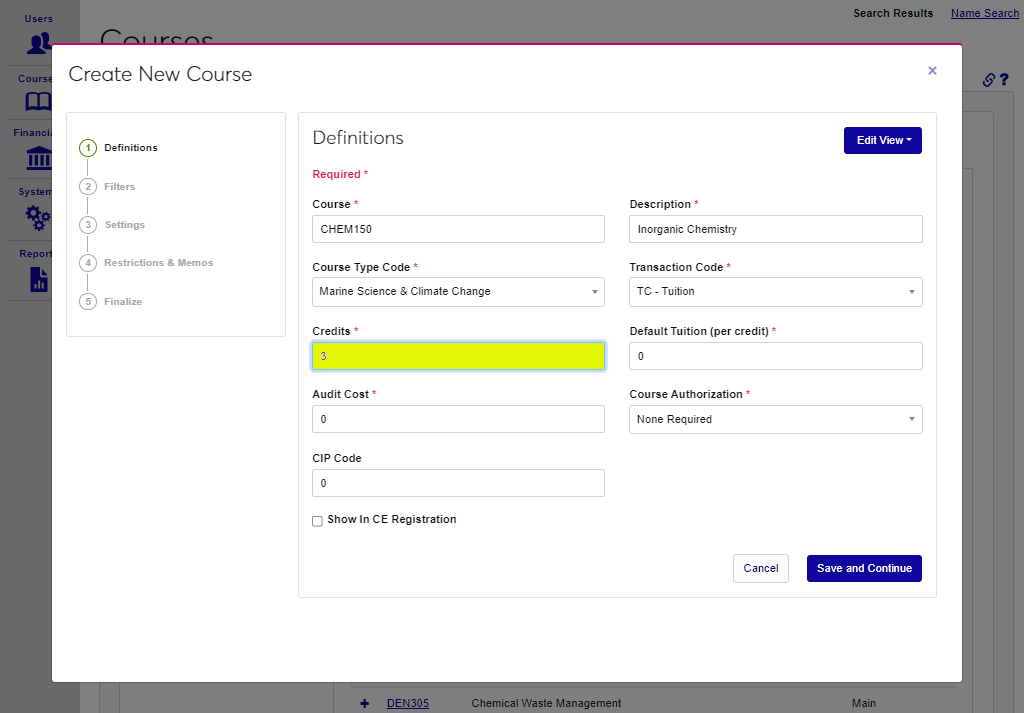
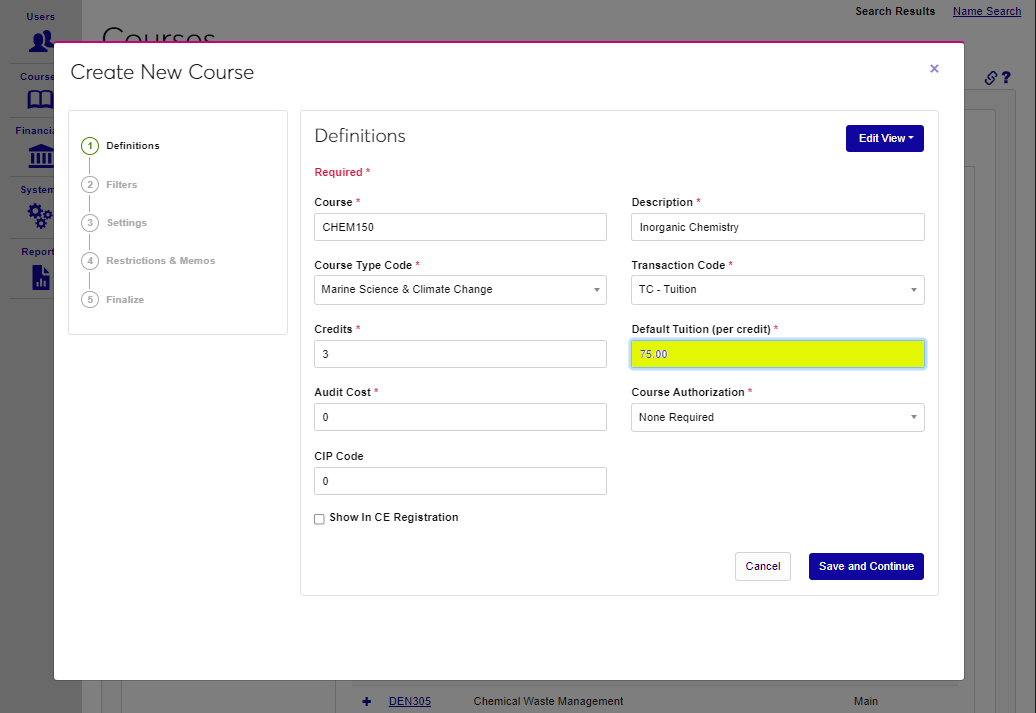
Enter the number of Credits that can be earned by completing the course. While many courses have a designated number of credits, some may use Total Clock Hours instead. This field has a seven-character limit and can hold decimals. The Default Tuition Per Credit is the amount that the student will be charged for taking the course. The amount entered in this field is multiplied by the number of credits in the Credits field to determine the tuition. For example, if 100 is entered in this field, a registrant would be charged $300.00 for the course. Schools that use a flat tuition amount per course, instead of per-credit charges, can leave a zero(0) in this field. This field has a seven-character limit and allows decimals.
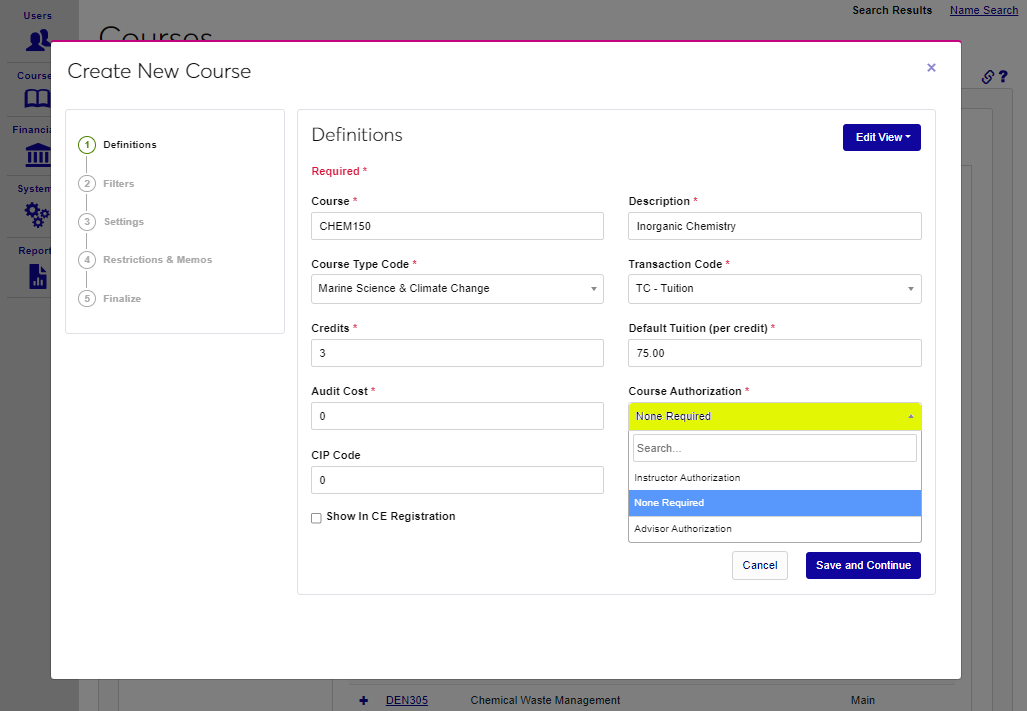
Audit Cost is the amount charged to a student who chooses to audit the course. This is the total amount charged and not a per-credit fee. Courses can be configured to require authorization before registering. Select Advisor Authorization to require the student's advisor to provide approval. Select Instructor Authorization to require that the instructor of the course approve each registration. If no authorization is required, select None Required.
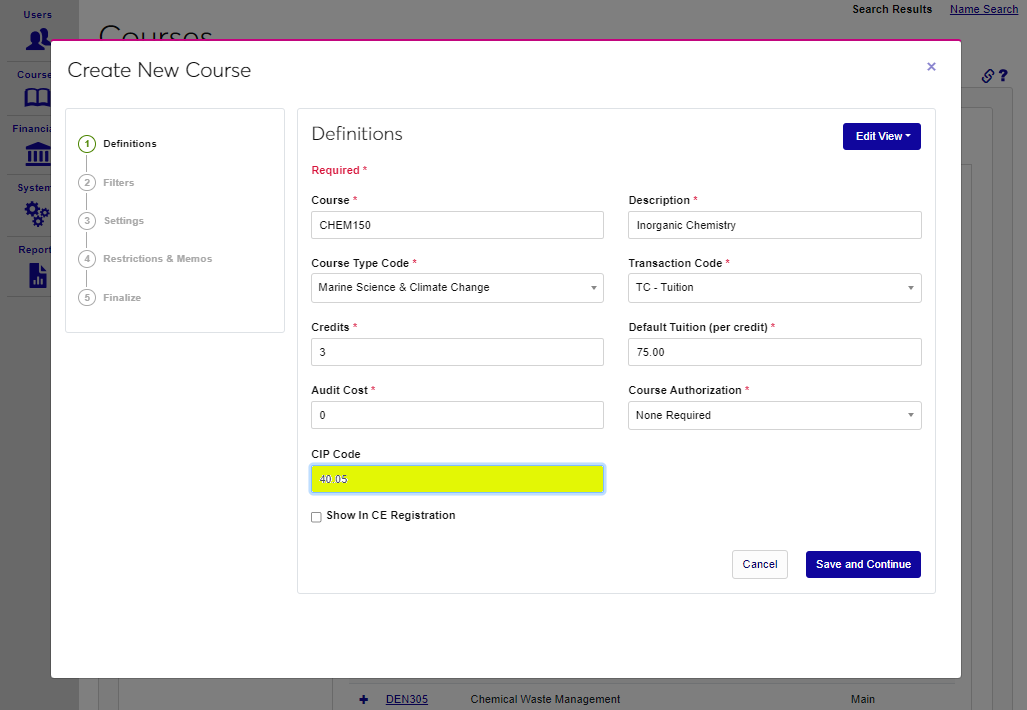
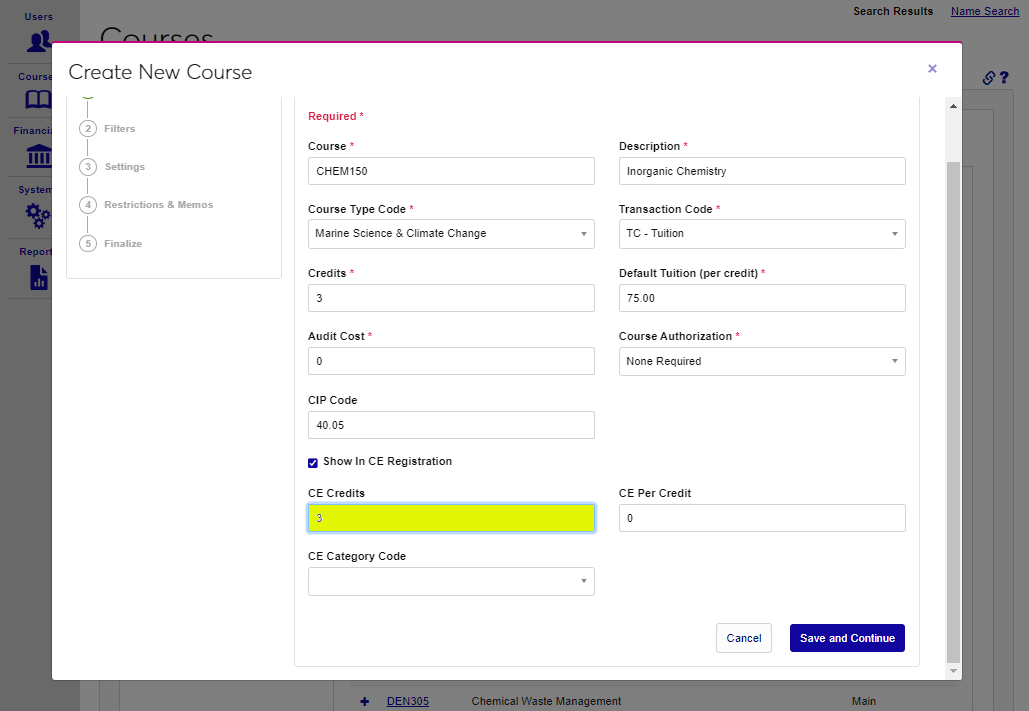
To ensure that course data is transferred to the National Student Clearinghouse, enter the CIP Code for the course. CIP codes, where needed, can be obtained through the National Center for Education Statistics website. Check the Show in CE Registration box to allow continuing education students to view the course in the CE course schedule and register for the course.
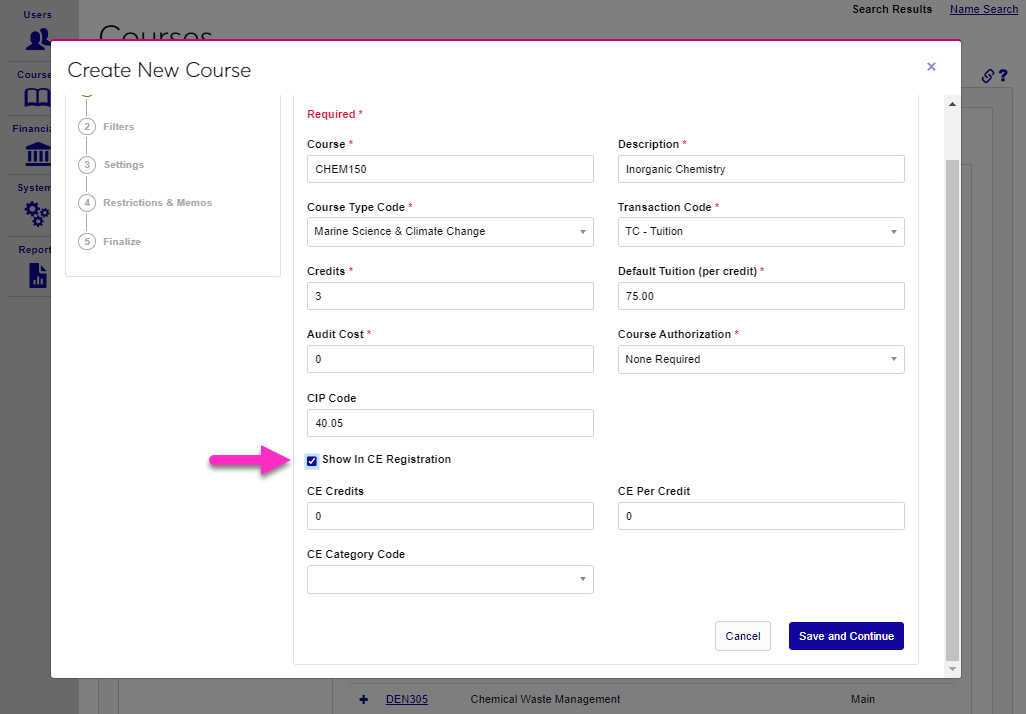
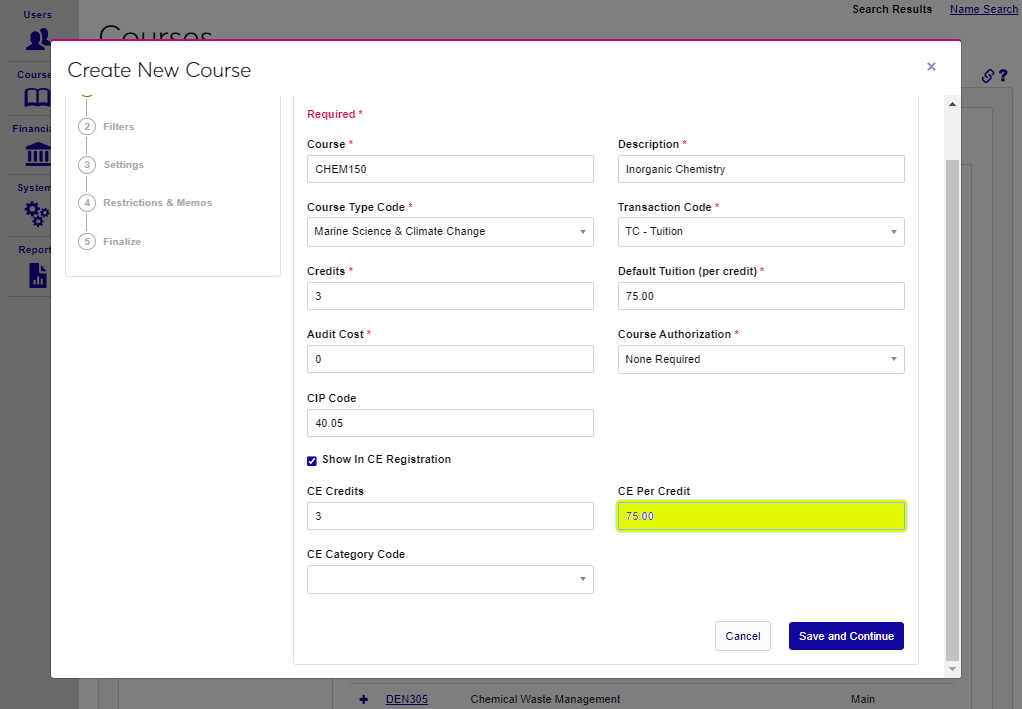
If the Show in CE Registration box is checked, fields to define the CE course further display. Enter the number of CE Credits that will be earned and the amount that the student will be charged for taking the course in the CE Per Credit field. The amount entered in this field is multiplied by the number of credits in the CE Credits field to determine the total tuition for the course. Schools that charge a flat tuition amount instead of per-credit charges can leave this field blank. This field has a seven-character limit and allows decimals.
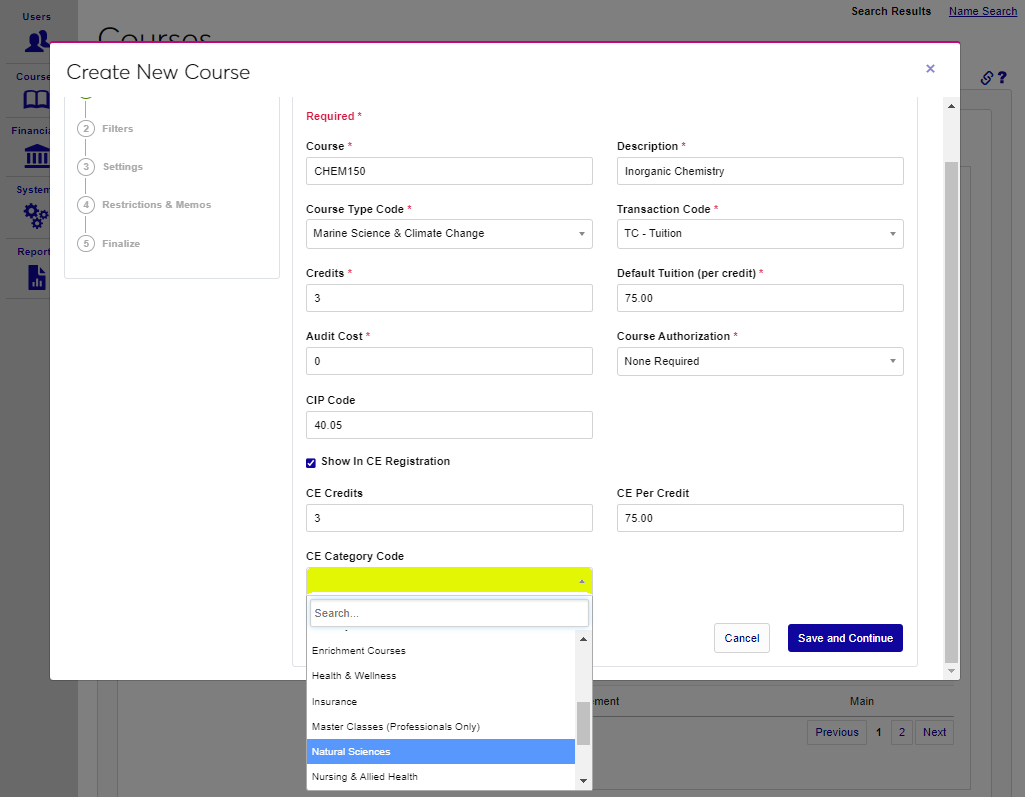
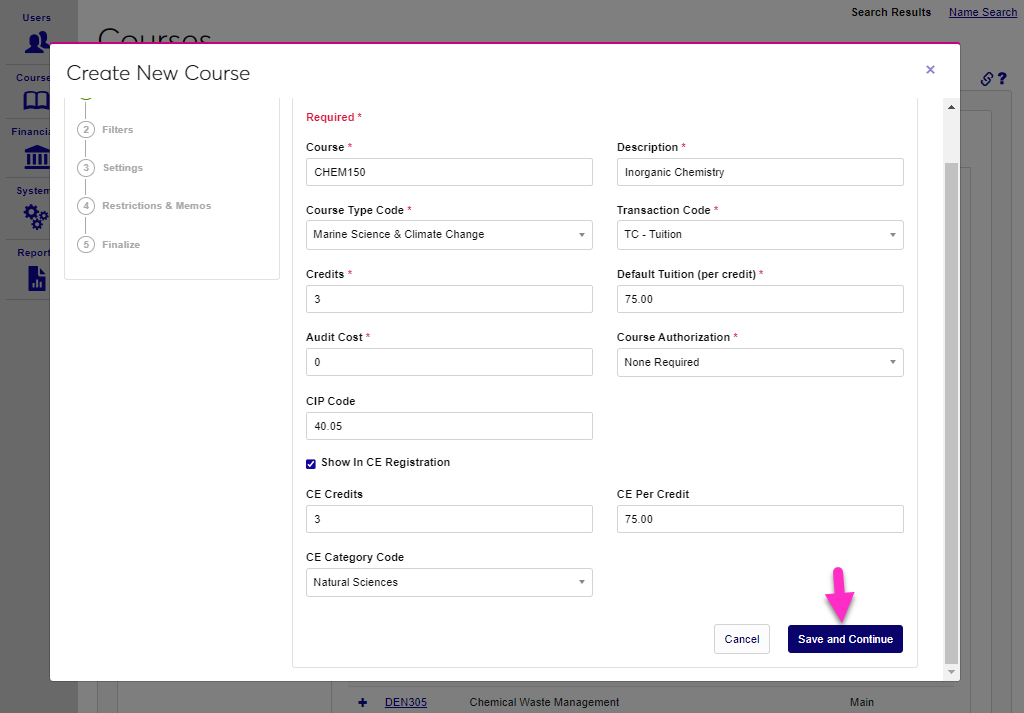
Select a CE Category Code to group the course with other pre-defined CE Course Types. The use of the CE Category Codes are explained in detail on the Table Maintenance page. Click Save and Continue to save the entered information and continue to the next page.
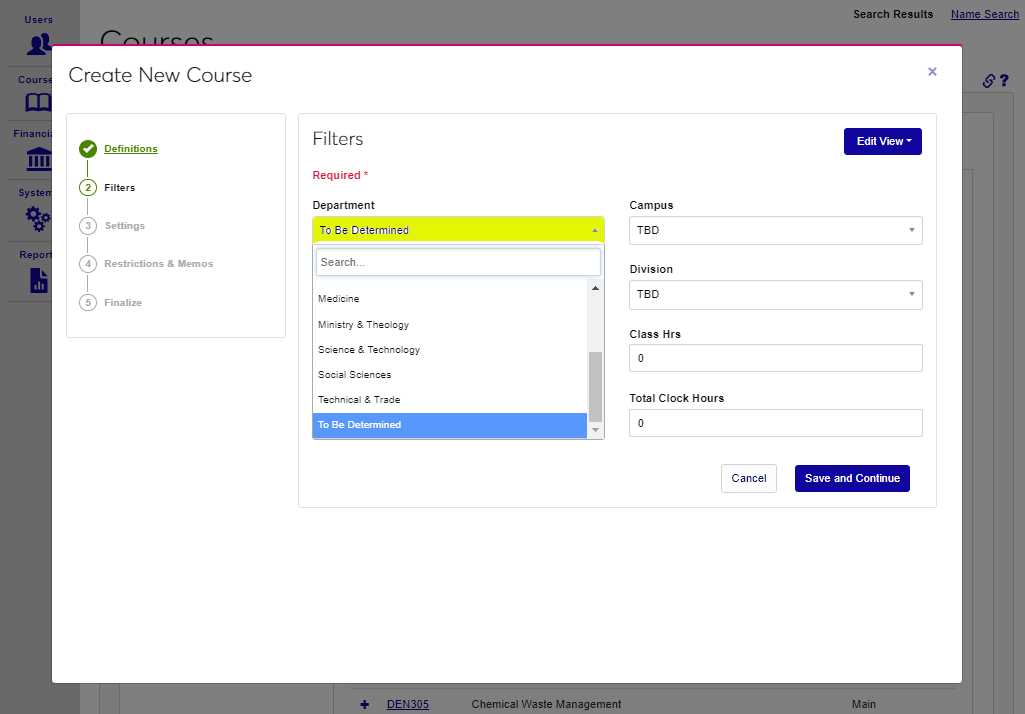
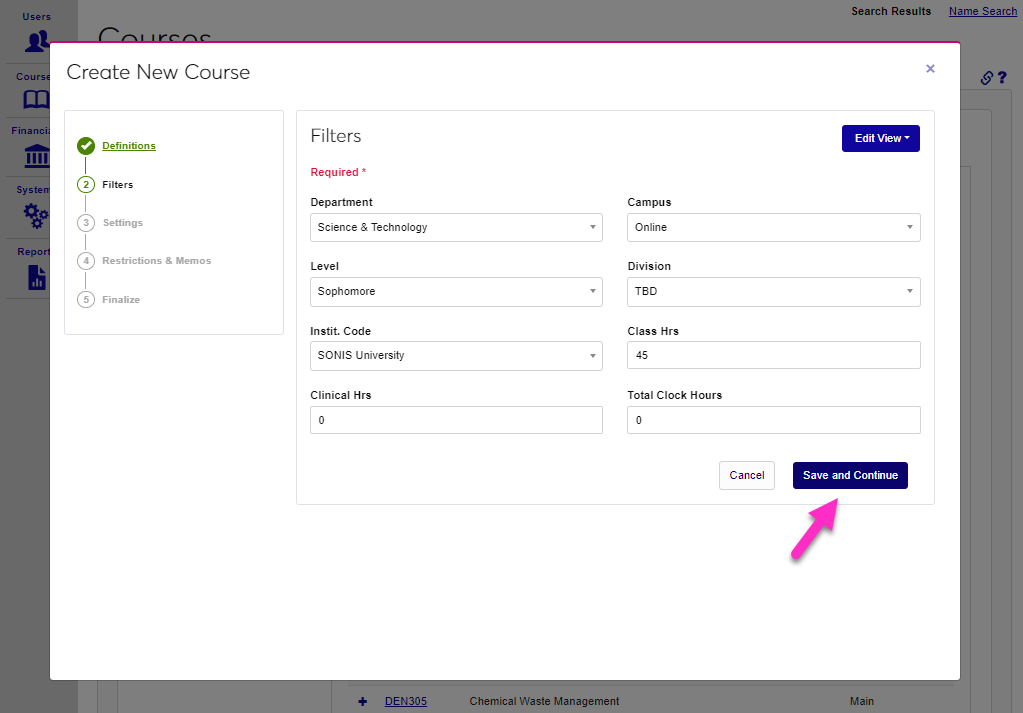
Filters
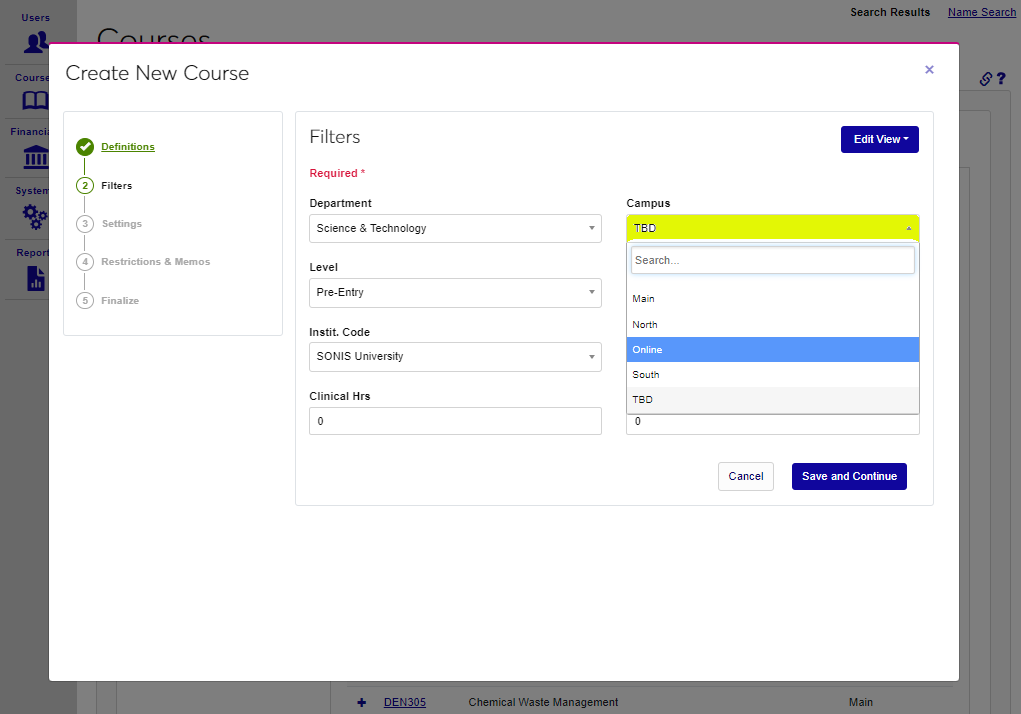
Now select a Department for the course. The department refers to the academic department the course is associated with. Select a Campus from the dropdown. The campus is the location where the course will be delivered or associated with. Schools that do not have academic departments and/or have not defined multiple campus types can leave these selections blank or as TBD.
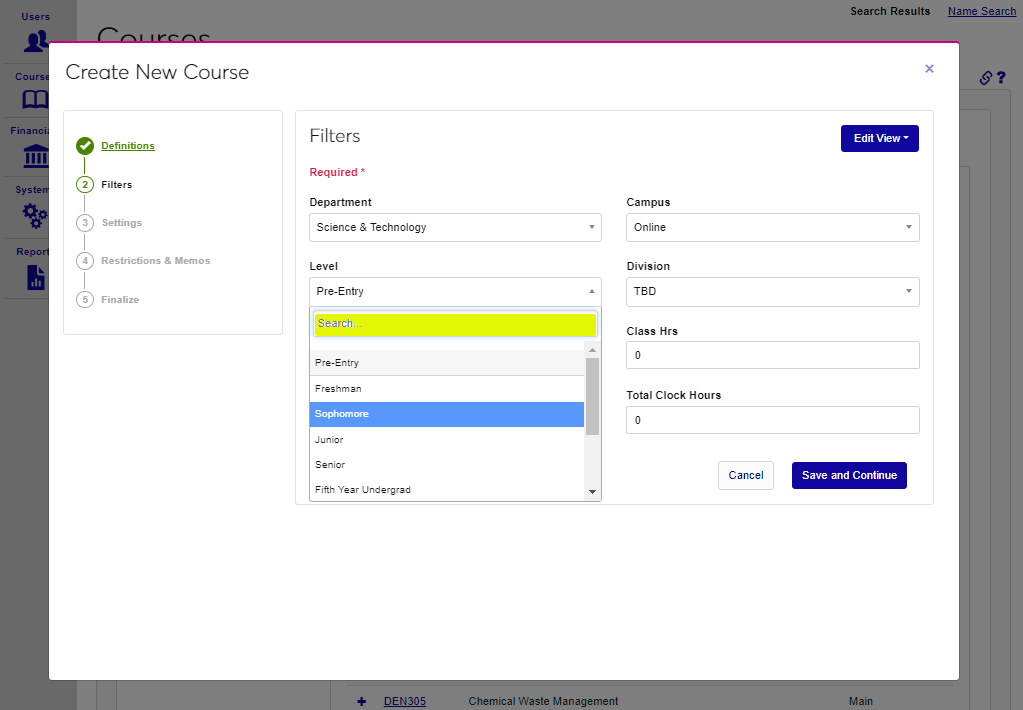
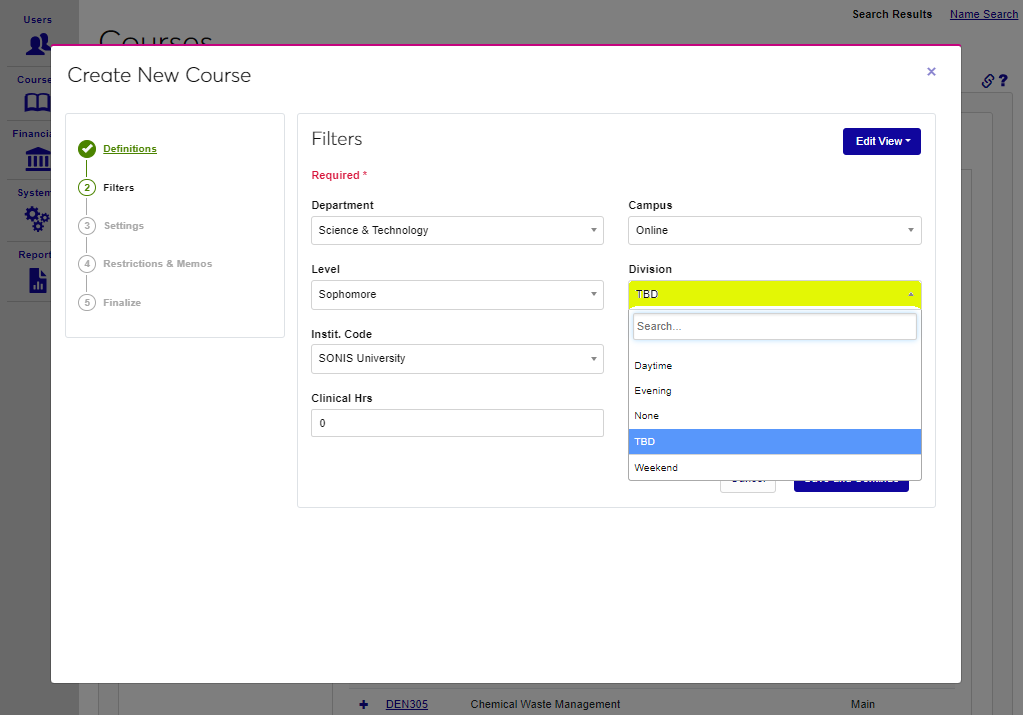
Select a Level for the course to indicate the level of student (freshman, sophomore, junior, senior, etc.) who the course is intended for. These settings do not restrict students associated with other departments, campuses, or levels from taking the course. Select a Division for the course from the dropdown menu. The Division module status is applied to students and was originally designed to separate students who take classes at different times such as daytime, evening, and weekend. However, SONIS member schools may customize this status to separate students into whatever categories suit their needs. For example, a school could have separate divisions for in-person students and distance learners. If the course can be taken by students in multiple divisions, or divisions are not being used, stick with the default TBD. Students are not prohibited from taking courses associated with other divisions.
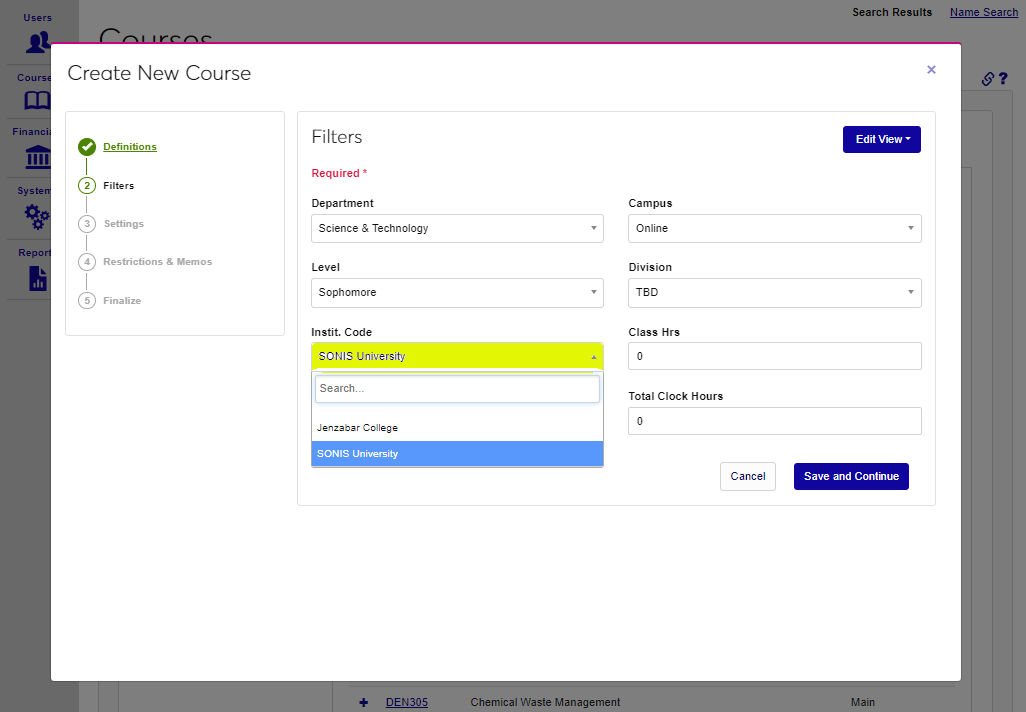
Select the Instit. Code to indicate which institution the course is provided by. Only the home institution and any affiliated institutions are listed.
Note
Affiliated courses are courses taken at another school that count for credit at your school. Institutions can be designated as an affiliate using the Institution/Add Edit utility.
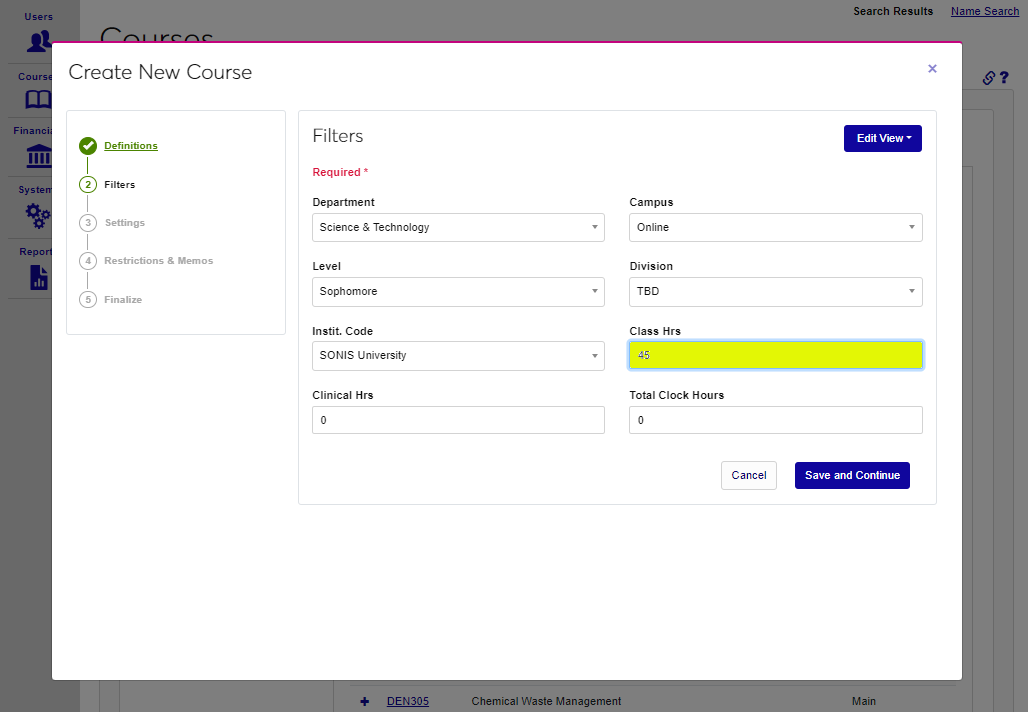
Class Hours is an informational field designed to store the total number of hours a student is expected to spend in the class per semester. The field holds seven characters. This field can be used for an alternate purpose if needed, as it doesn't display on the student's transcript.
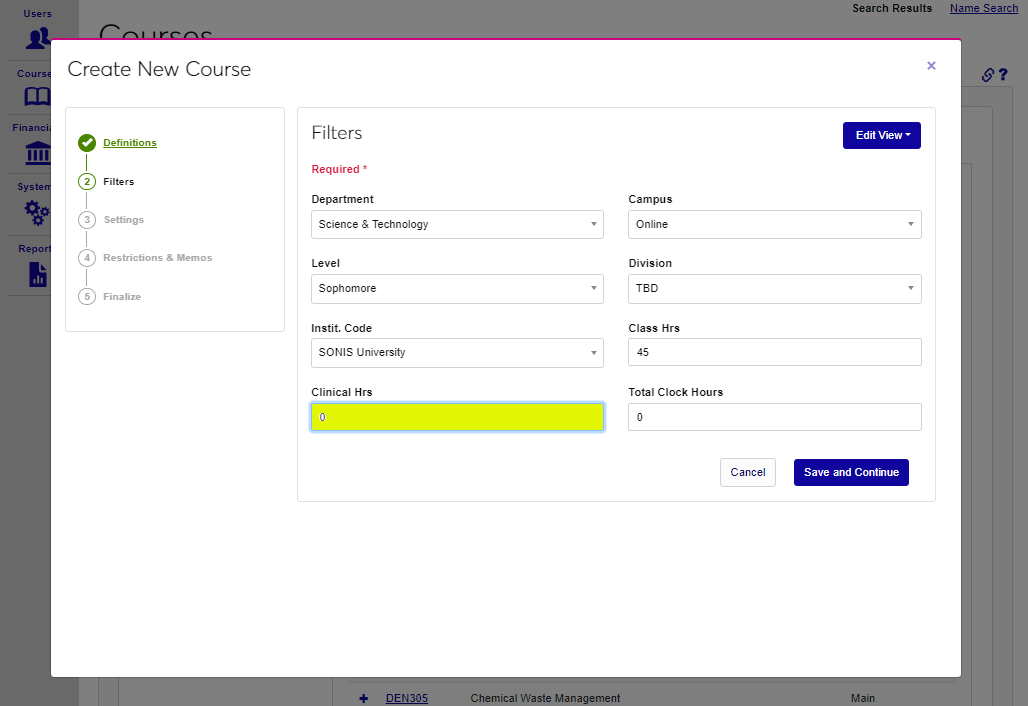
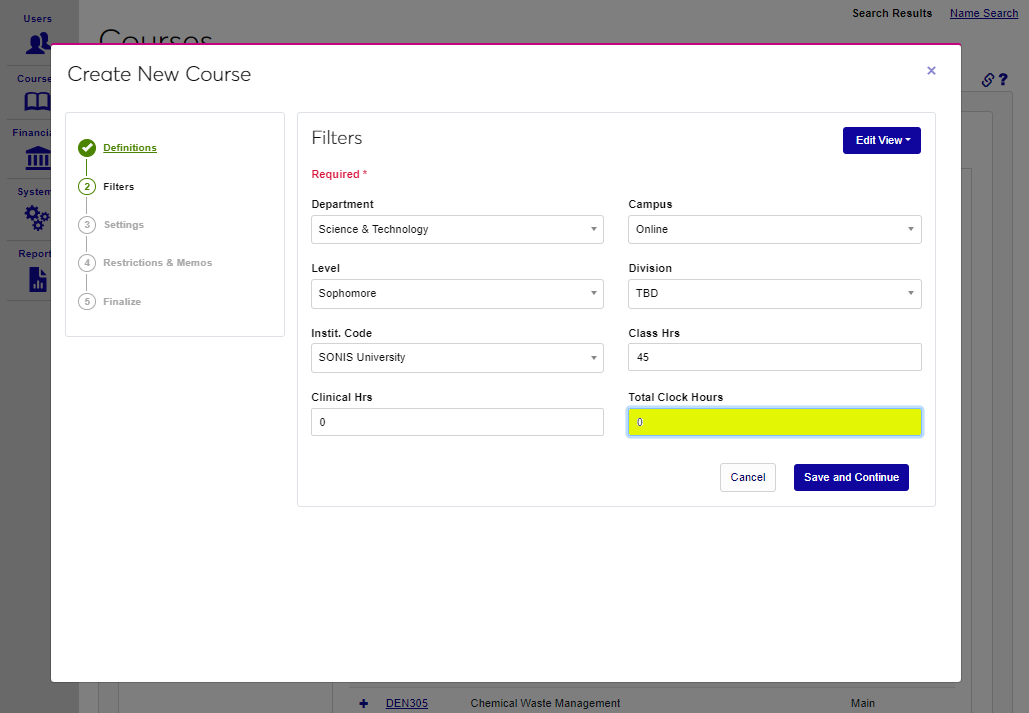
If the course has clinical hours required, enter the number of hours into the Clinical Hours field. This field has a seven-character limit and allows decimals. Clock hours can be used with, or instead of, Credits. Total Clock Hours is the total amount of time that the student will spend in the course. This field has a seven-character limit and allows decimals.
Click Save and Continue to save the entered information and move to the next step of the wizard.
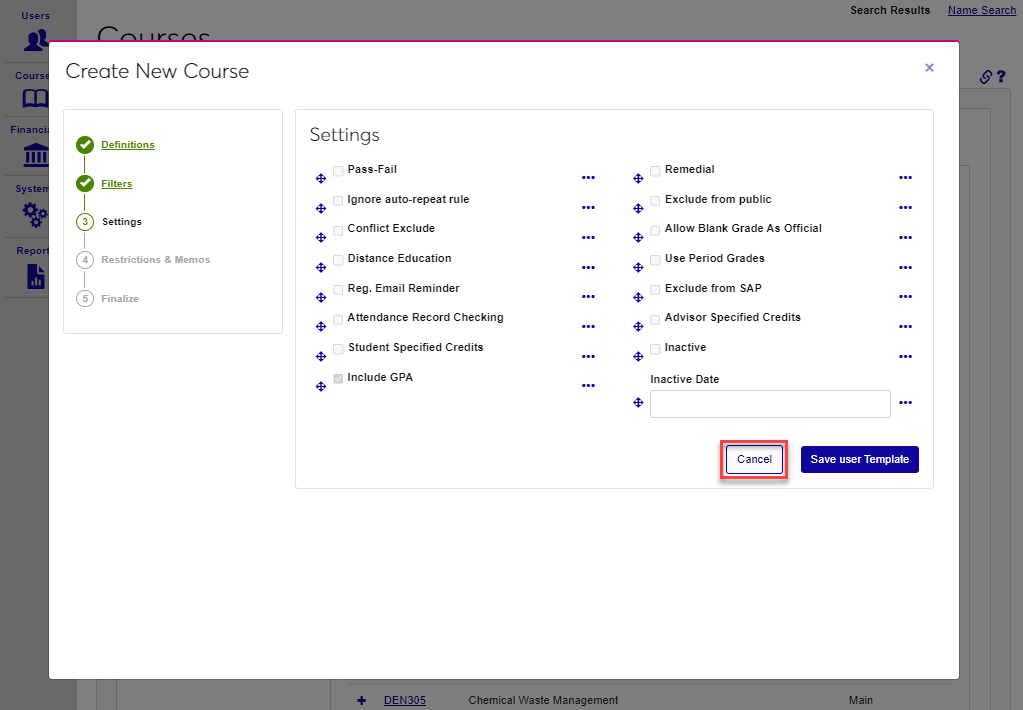
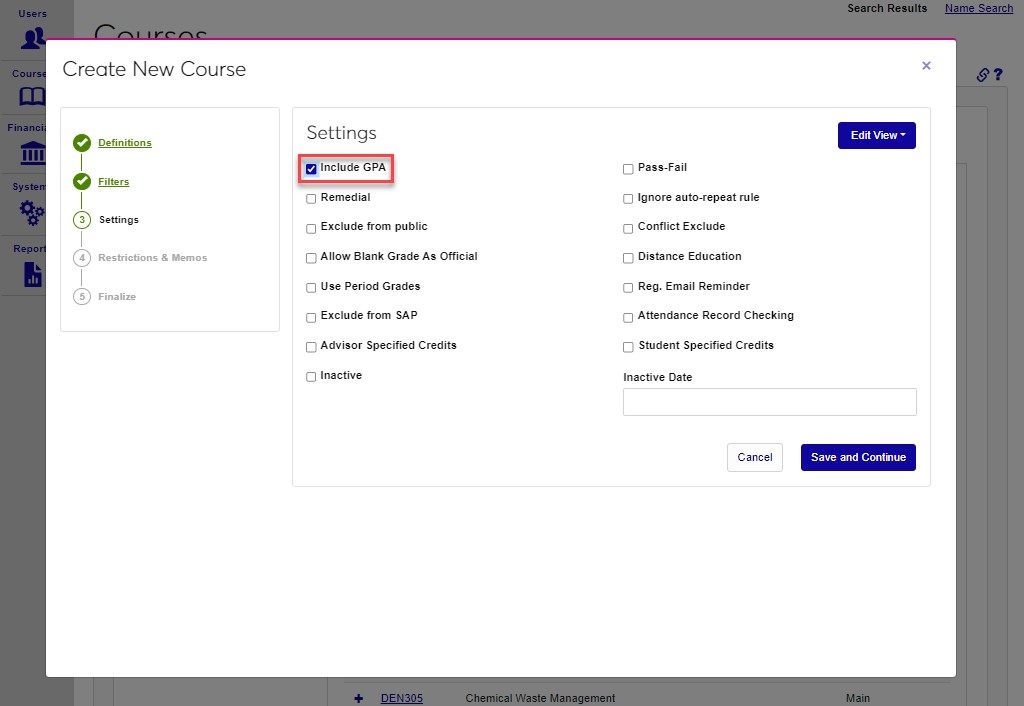
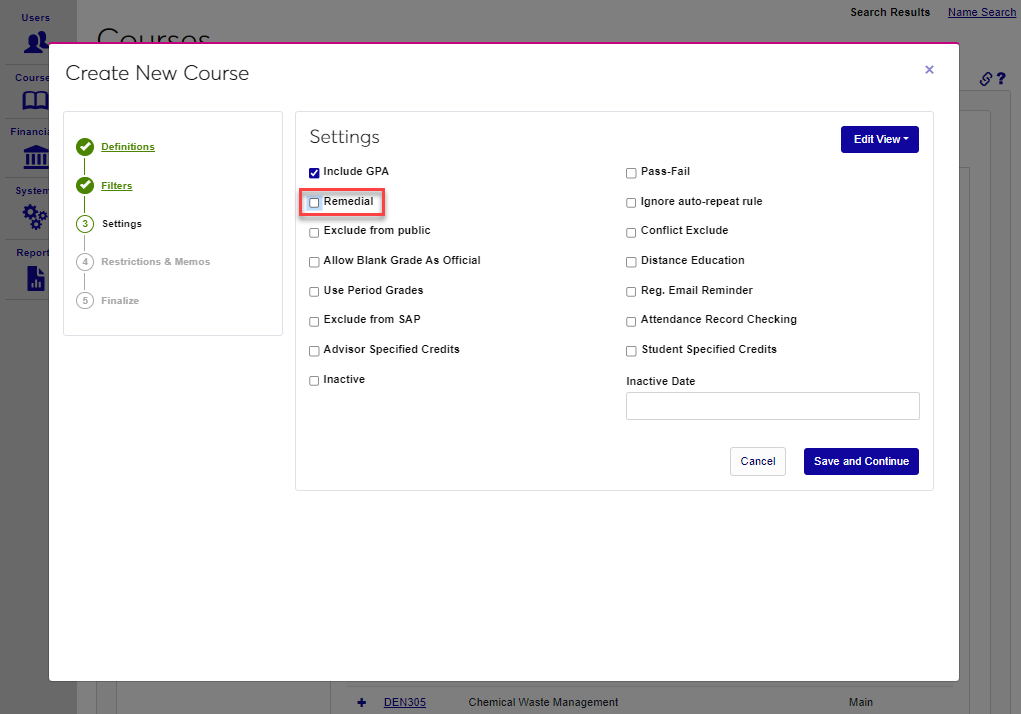
Settings
The Settings page provides a number of course control options. Depending on institutional choices, these may be different.
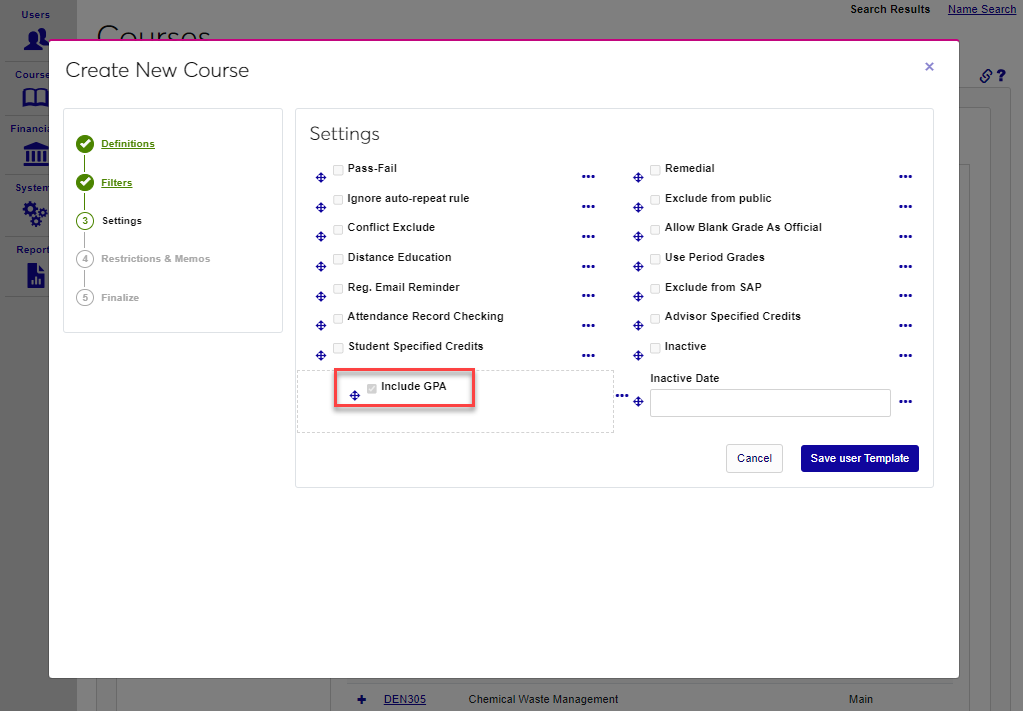
Check the Include GPA box if grades for the course should be included in each student's GPA calculation. Uncheck the box if completing the course should be excluded from GPAs. Check the Remedial box if the course is a remedial level course. Checking the Remedial option excludes the course from the student's GPA calculation, regardless of whether the Include GPA box is checked or not.
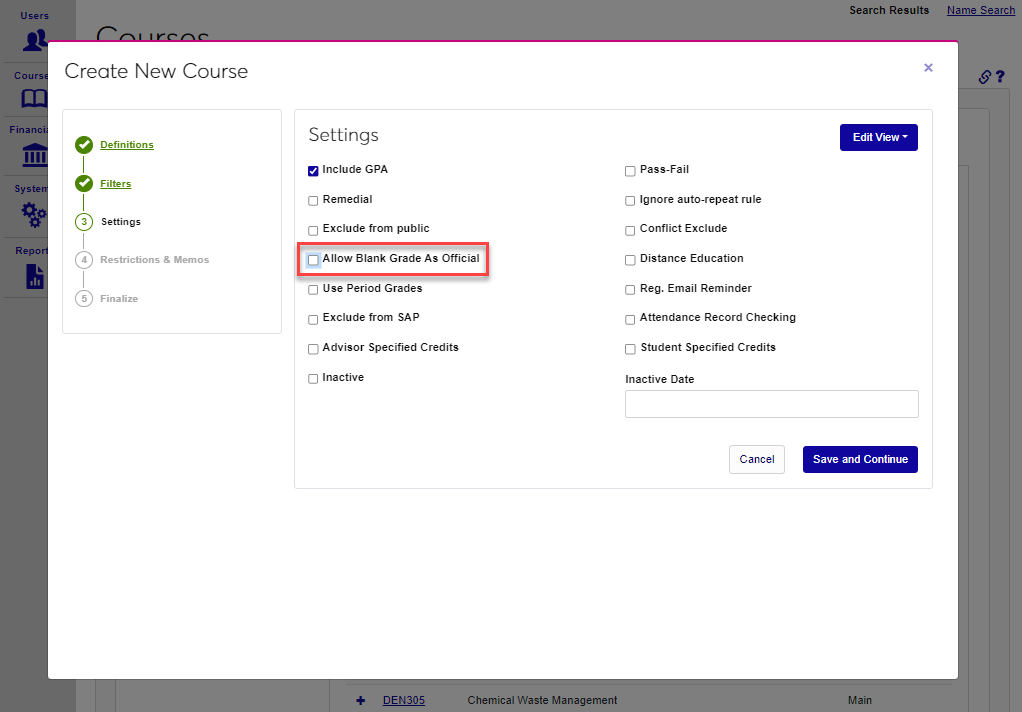
Check the Exclude from Public box to ensure the course will not appear on external SONIS pages such as the Courses by Semester page. Check the Allow Blank Grade As Official box to allow a student to be given a blank grade and have that blank grade to be marked as Official. Generally, this is not allowed. A school may want to check this option if the course is a lab with the grade tied to the primary course or another course type that doesn't give out a grade. Marking the blank grade as official prevents a completed course from being confused with an active course.

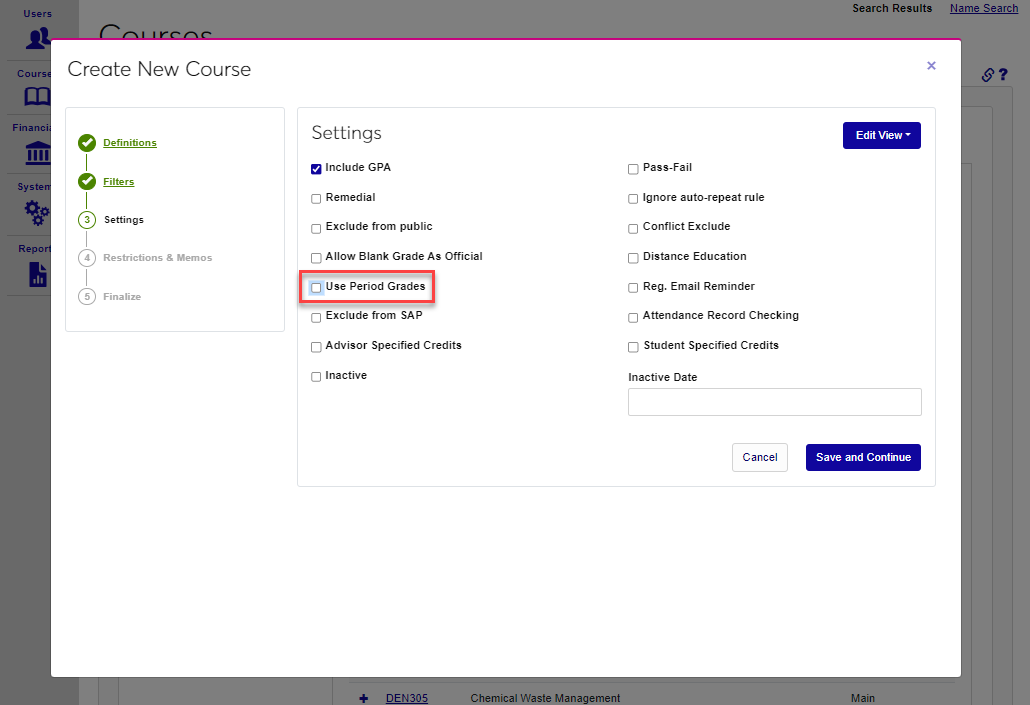
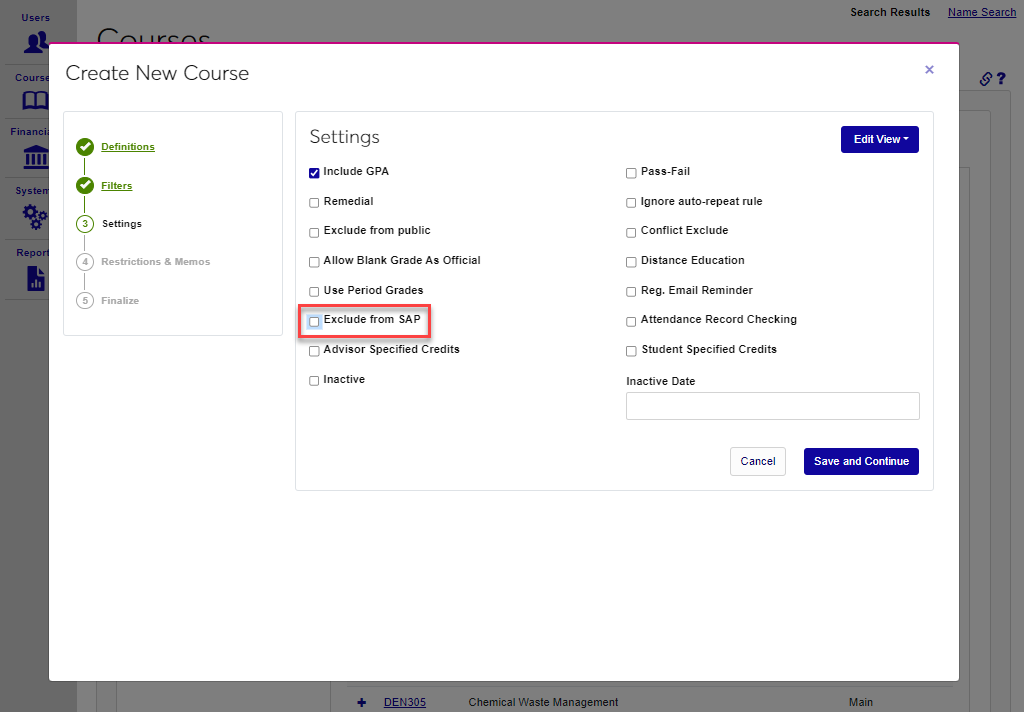
To grade based on Time Periods click the Use Period Grades box. Check the Exclude from SAP box to exclude the course from Satisfactory Academic Progress calculation. Courses marked Exclude from SAP will be excluded when calculating both attempted credits and completion percentage. This option does not affect GPA calculation or transcripts.
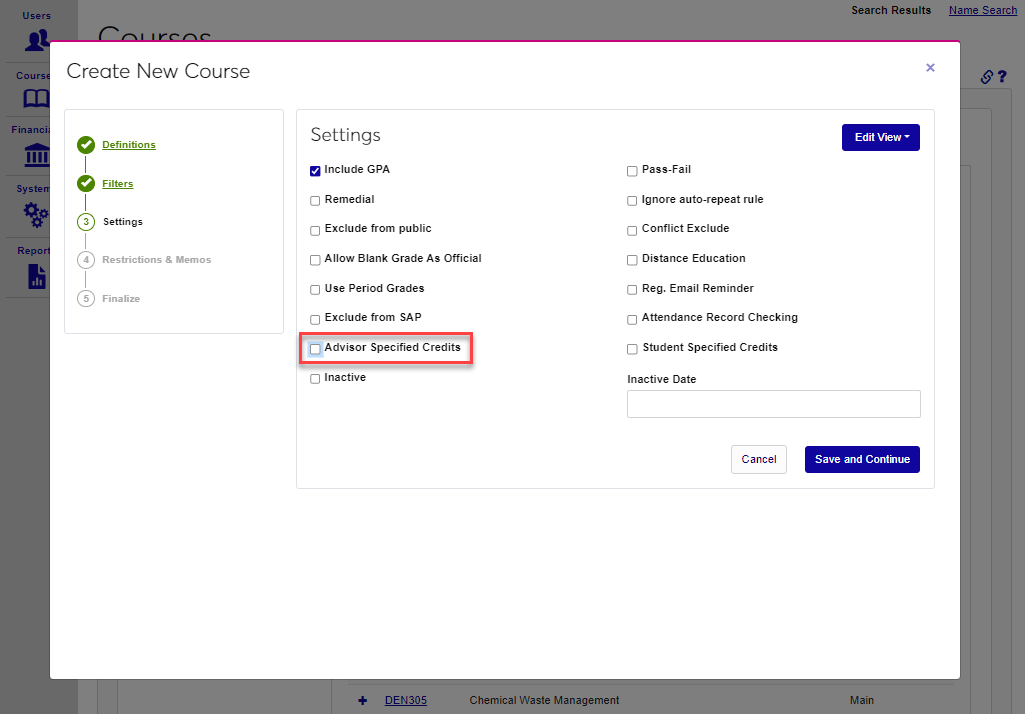
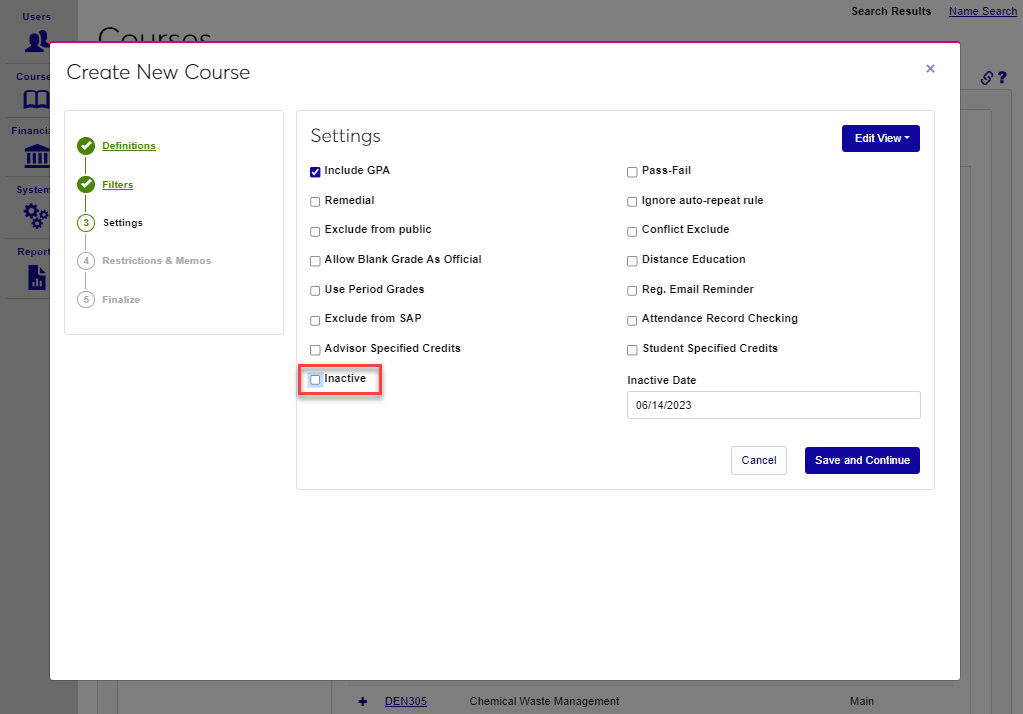
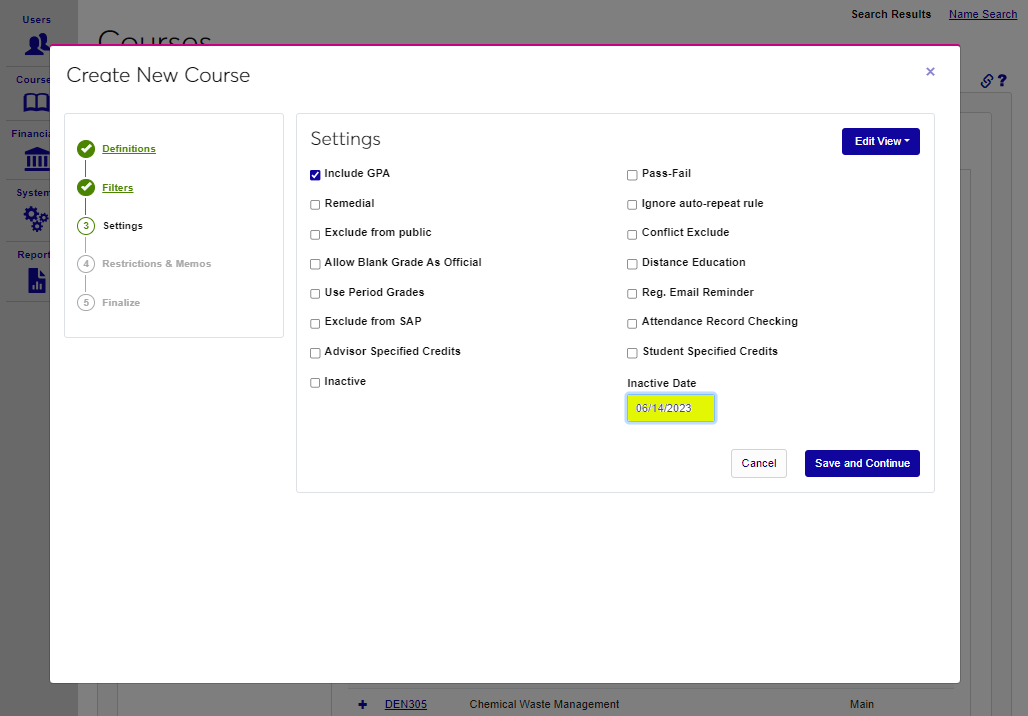
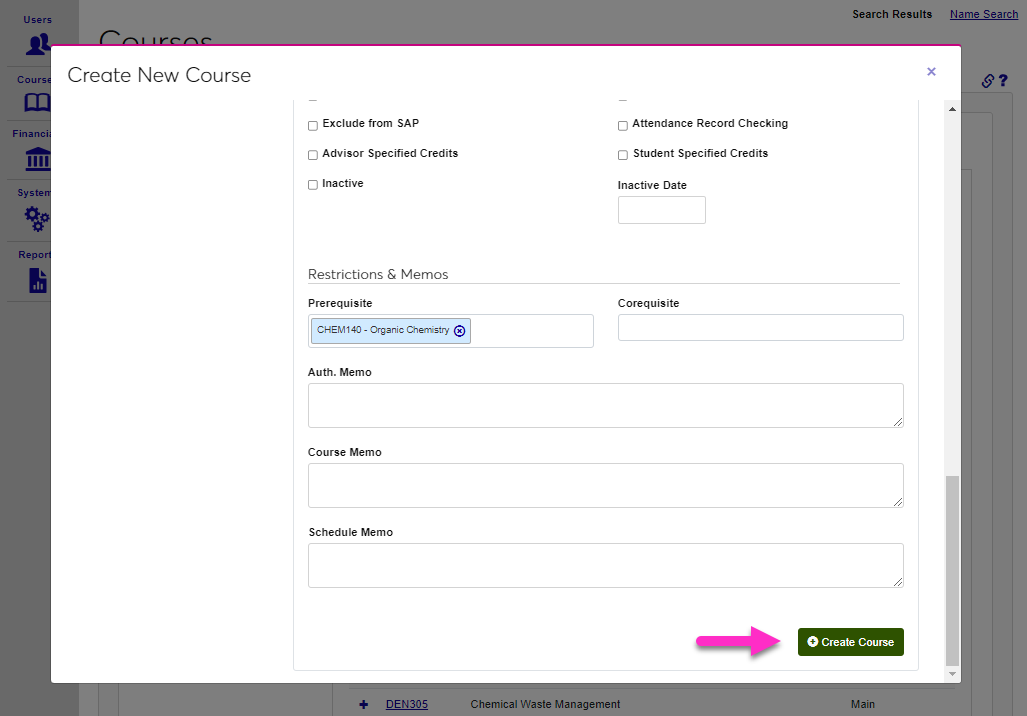
Check the Advisor Specified Credits box to allow Variable Credit Registration. The Inactive box is a way to disable the course and prevent new sections from being created. When the course is marked as inactive, enter an Inactive Date for record-keeping purposes.
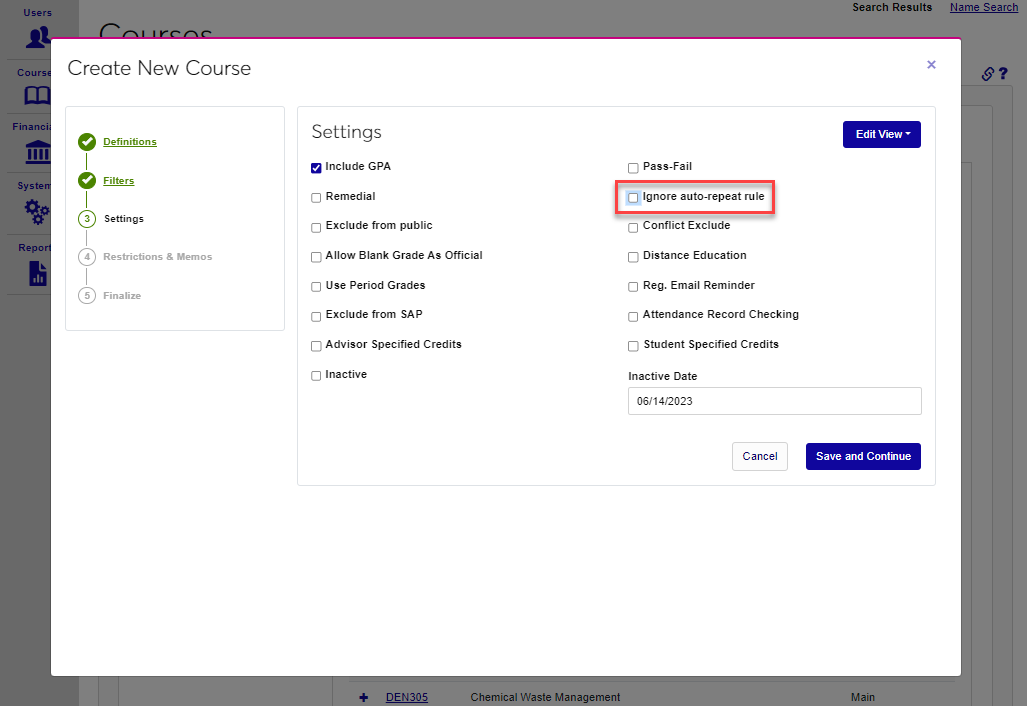
Check the Pass-Fail box if the course can only be passed or failed and cannot be assigned a letter grade. Schools can provide the option to register for courses as Pass/Fail to students and/or advisors even if the Pass-Fail box for the individual courses is unchecked. Click here to learn more about this option. If auto-repeat options are used at the school, but should not apply to this course, check the Ignore auto-repeat rule box.

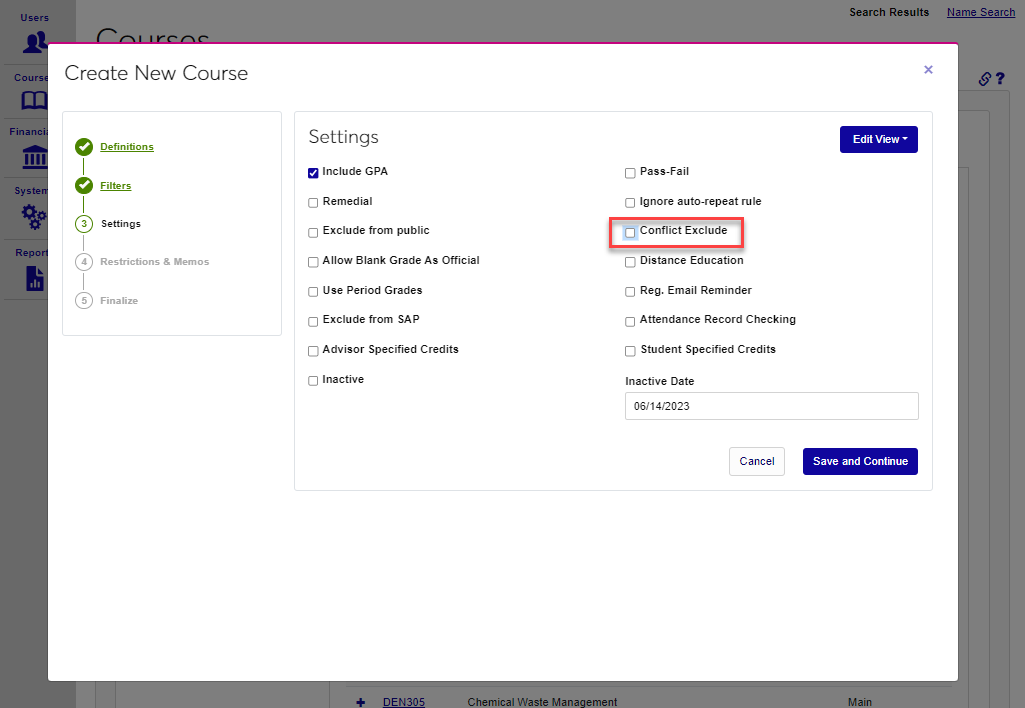
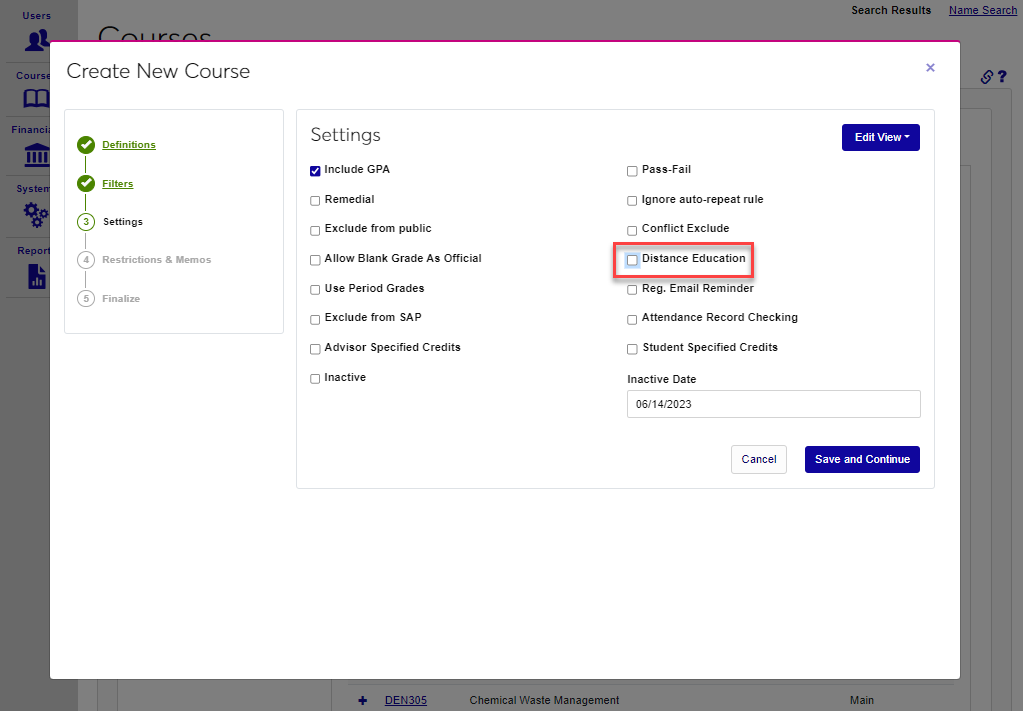
If the Conflict Exclude box is checked, all conflicts — including program, level, date, and time conflicts, etc. — will be ignored when registering a student for the course. Check the Distance Education box to label the course as a distance education course for reporting purposes.
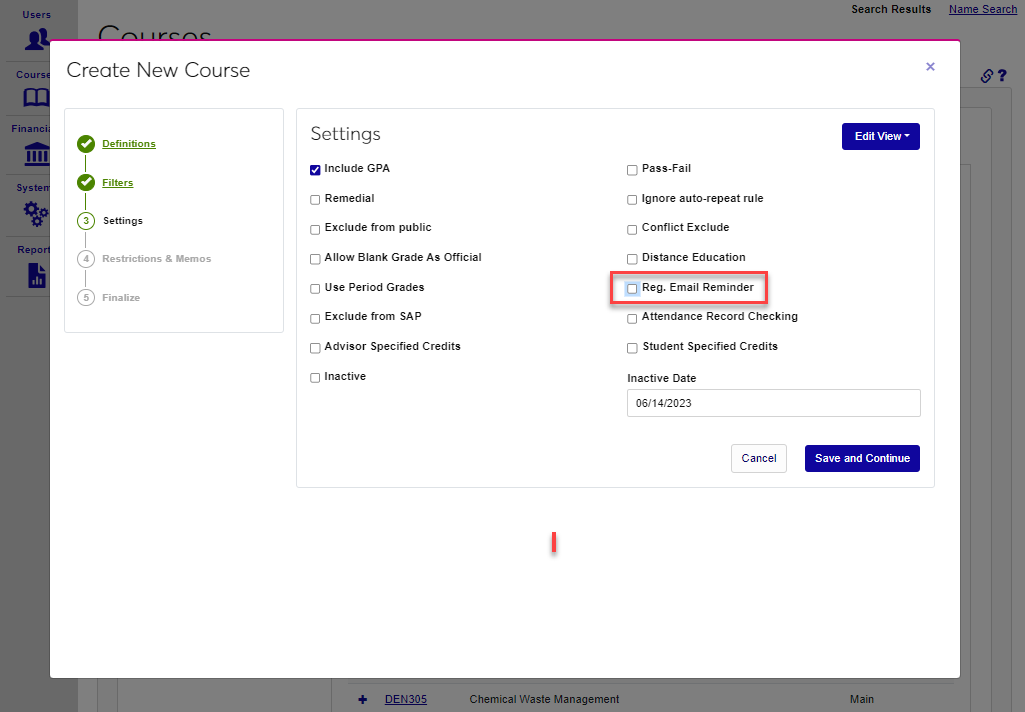
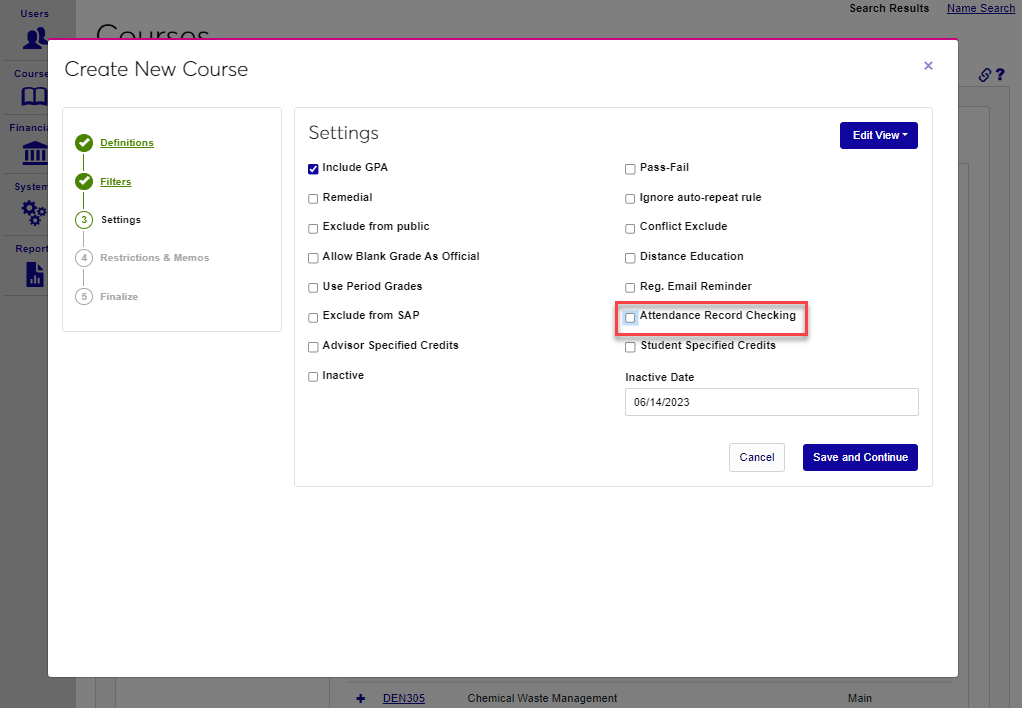
If the Reg. Email Reminder box is checked, students who register for the course will receive a reminder. Reminders can be set to occur a given number of days before the course begins, depending on school preferences. The number of days before a course begins that the reminder will be sent is created using the Registration Email Reminders utility under the Systems menu. If the Attendance Record Checking box is checked, the lead faculty and other group members will be alerted when daily attendance is not submitted. This notifier is set up using the SONIS Timed Task Scheduler. The box is also used by the Bulk Attendance process.
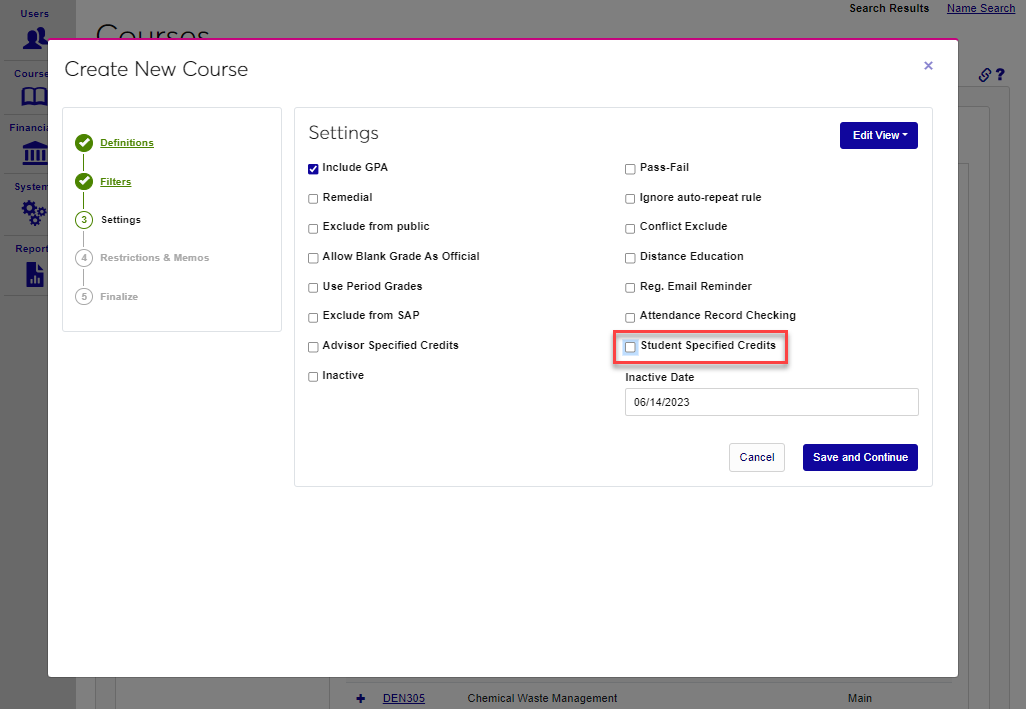
Check the Student Specified Credits box to allow Variable Credit Registration. The Inactive box is a way to disable the course and prevent new sections from being created. If the Inactive box was selected, enter an Inactive Date to record the date the course was deactivated.
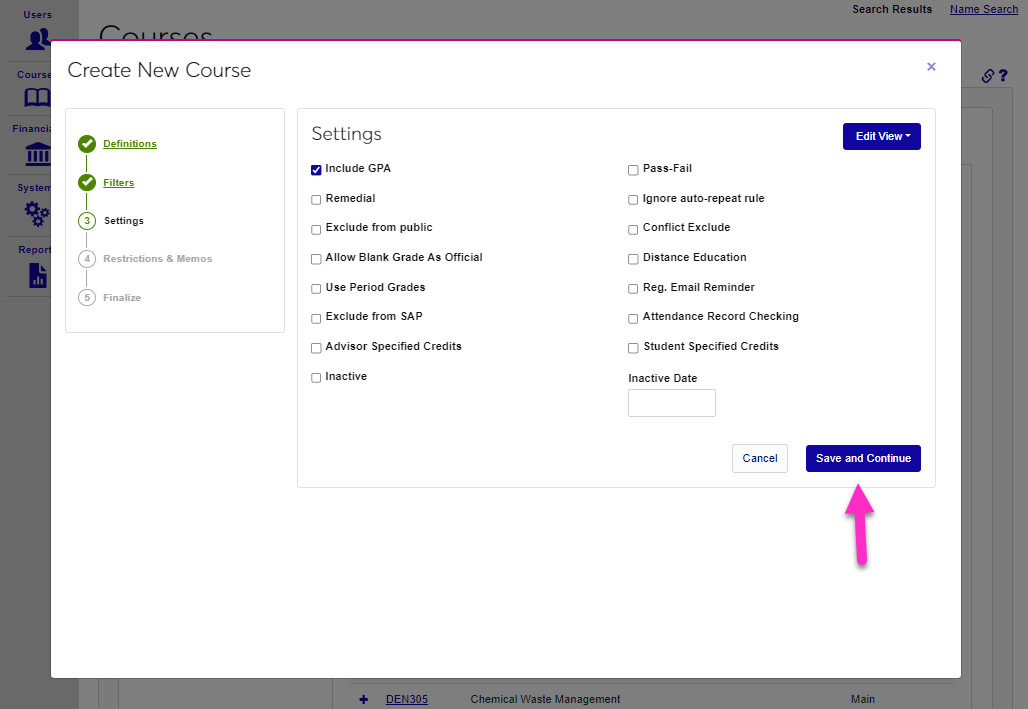
Click Save and Continue to save the entries and move to the next step.
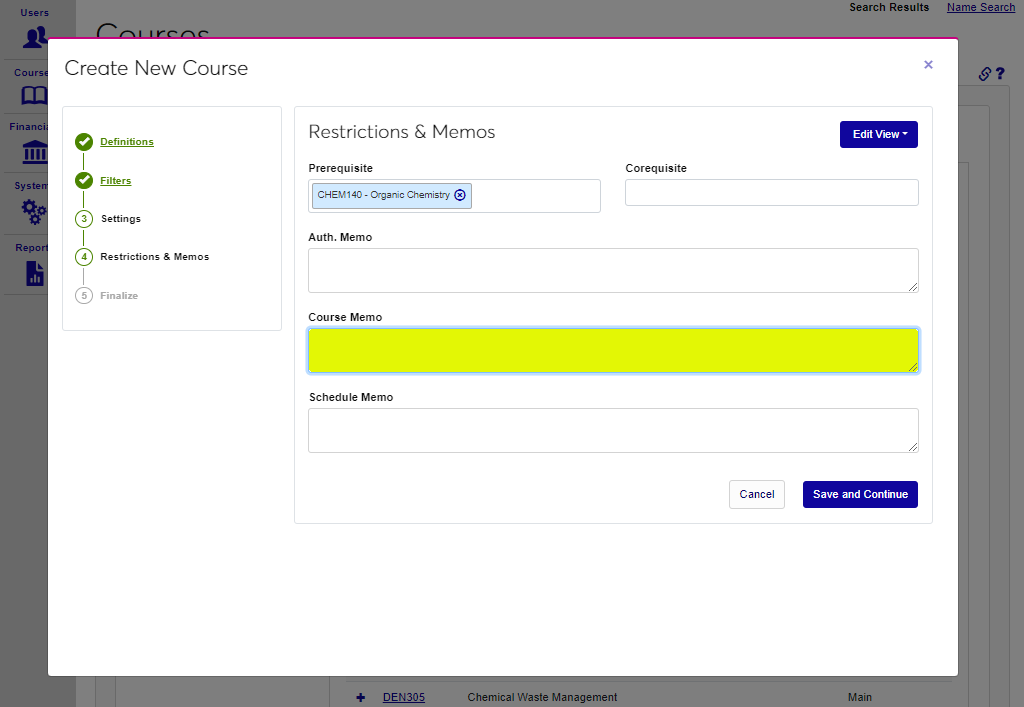
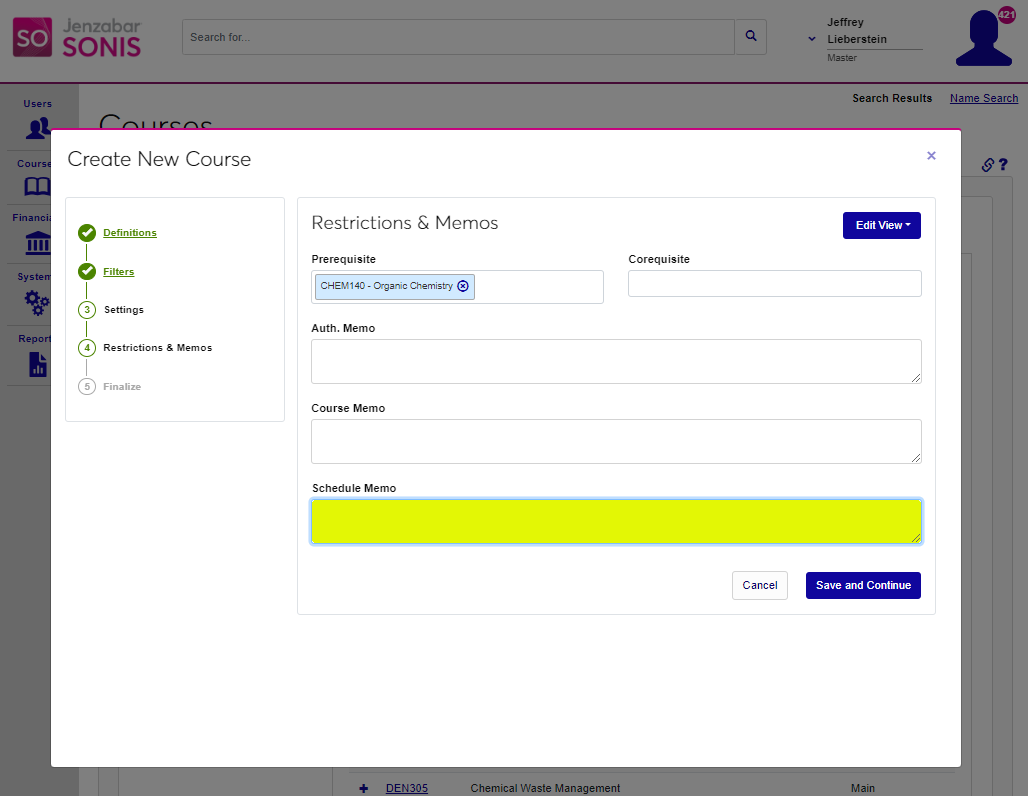
Restrictions & Memos
Administrators can designate a Prerequisite or a Corequisite for the course. Prerequisites are courses that must be completed before a student can register for the course. Corequisites are courses that must be taken during the same semester or time period, for example, a lab or an internship.
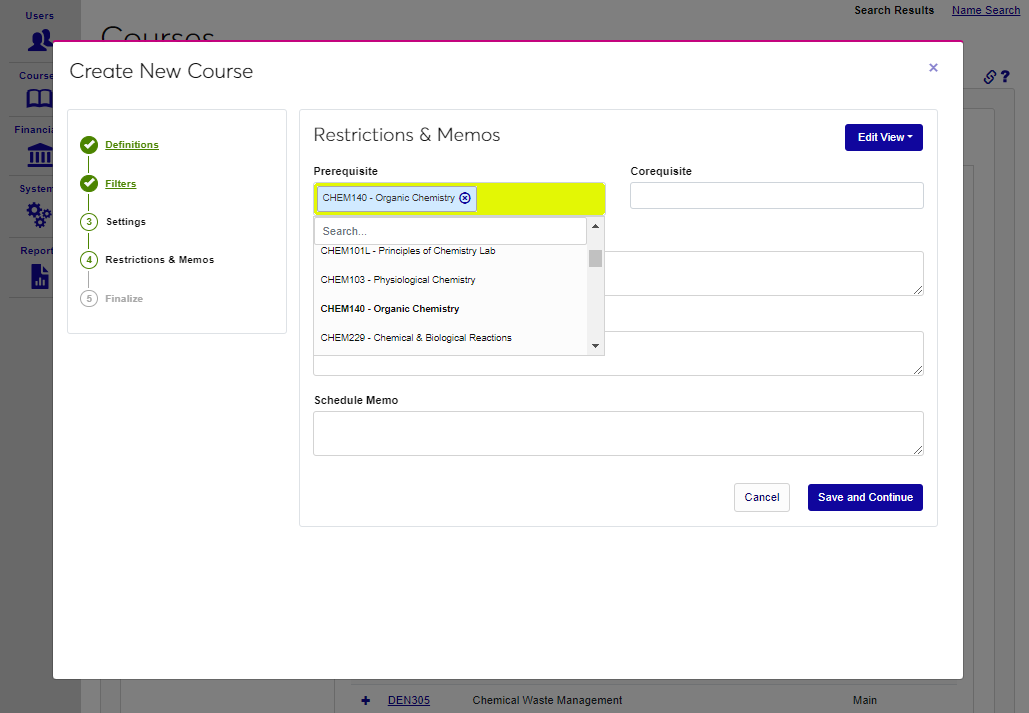
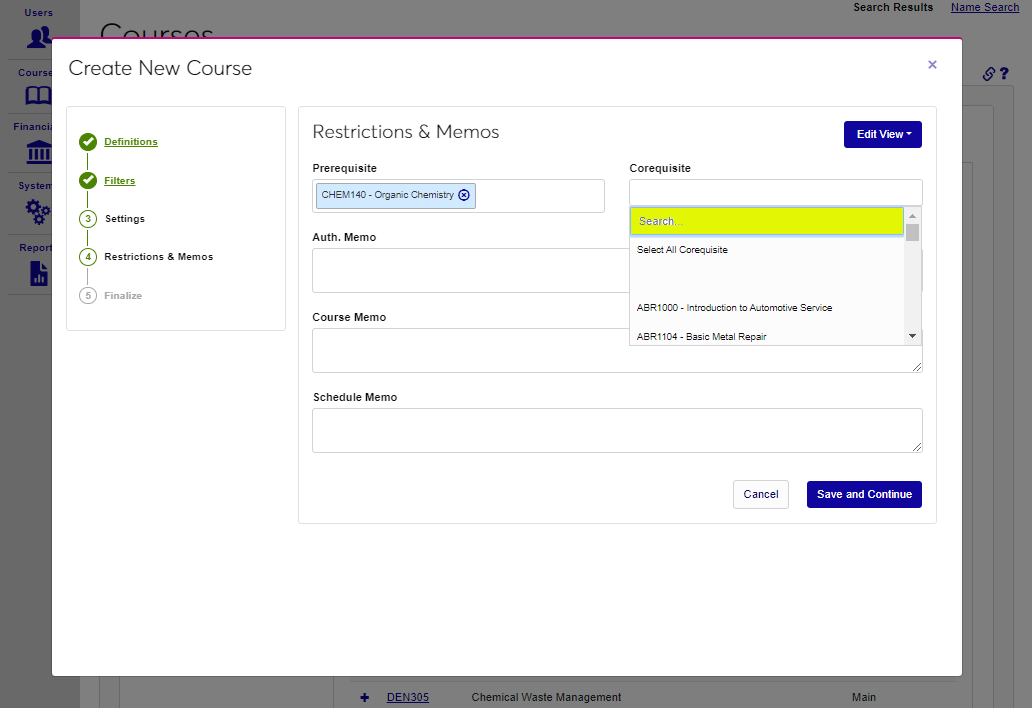
An Authorization Memo can be included that describes who the course is intended for to assist an advisor or instructor in deciding when to provide authorization. This memo will appear when registering a student for the course.
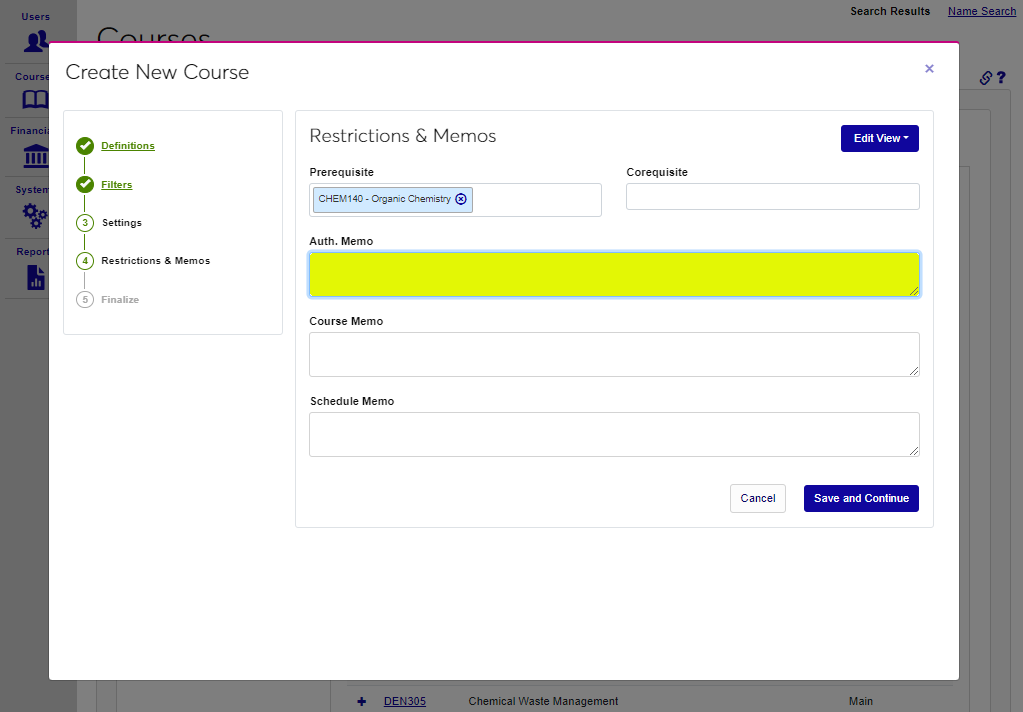
Course Memo and Schedule Memo fields are included to provide additional information about the course.
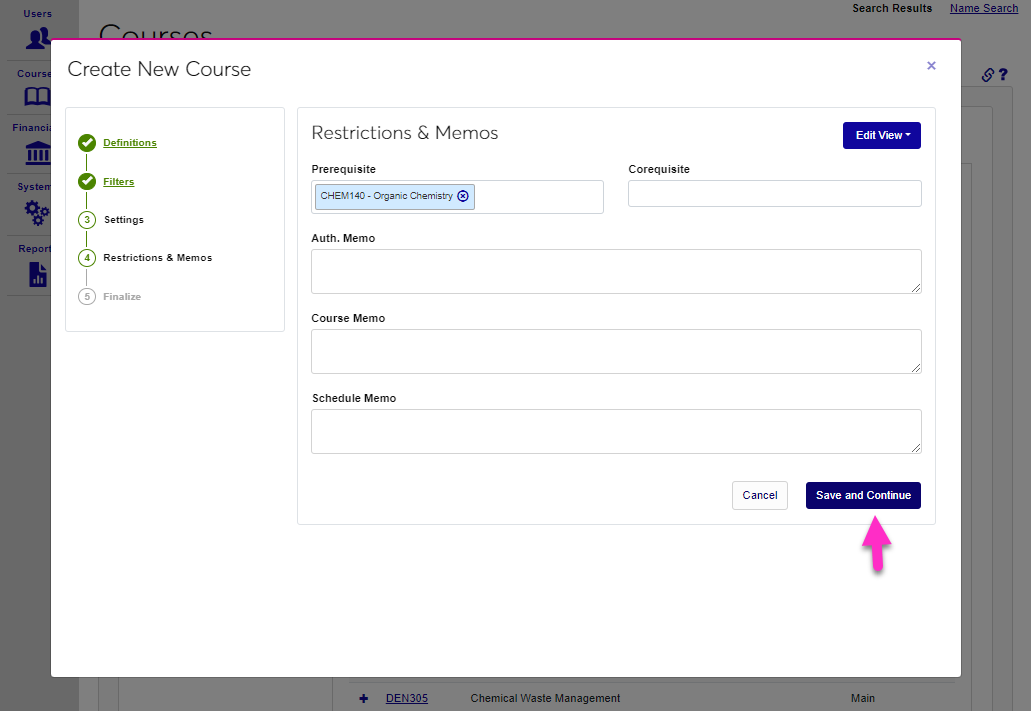
Click Save and Continue to move to the next step.
Finalize
The Finalize step provides the opportunity to review all entered settings and make any desired changes prior to creating the course. Click Create Course after reviewing to add the course to course dataset.
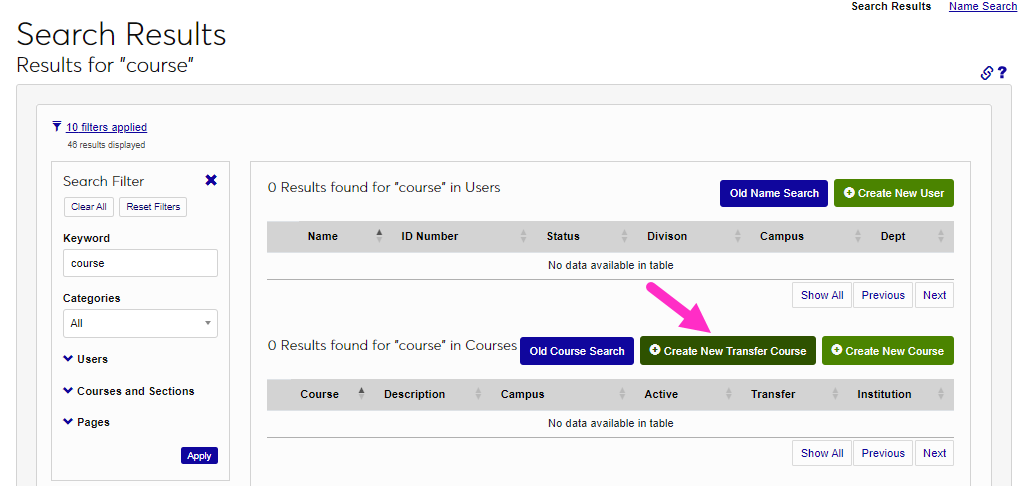
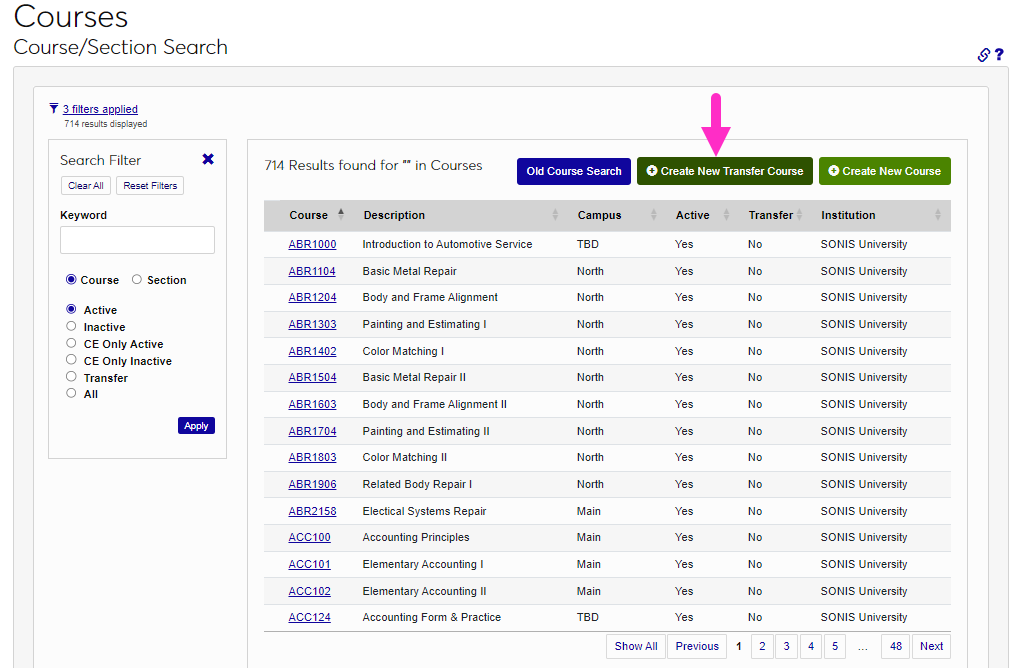
Using the Transfer Course Creation Wizard
To begin using the Transfer Course Creation Wizard, select it from the Search Results or Course Search page.
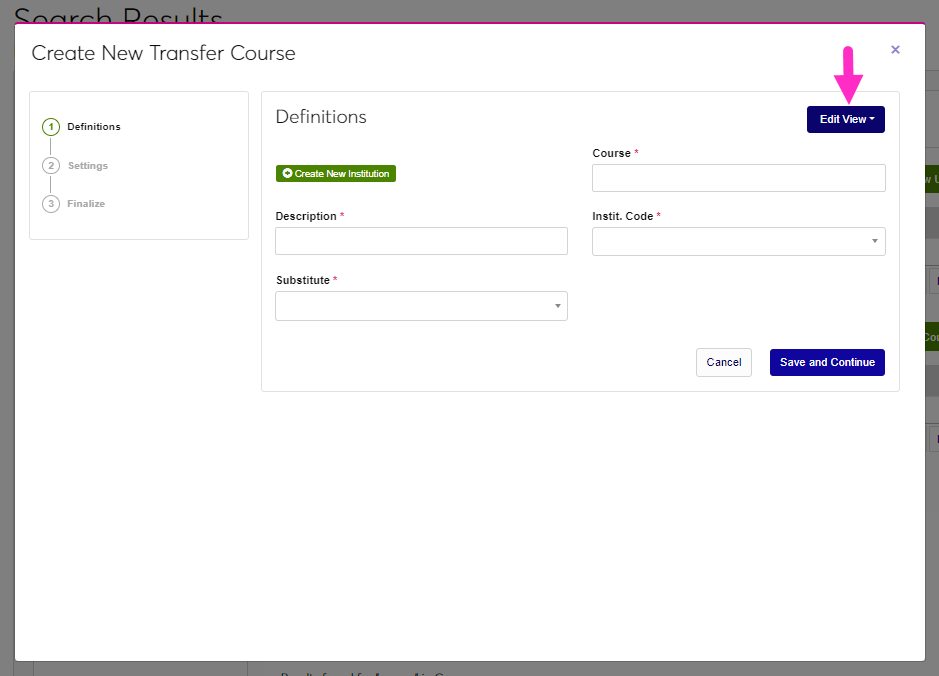
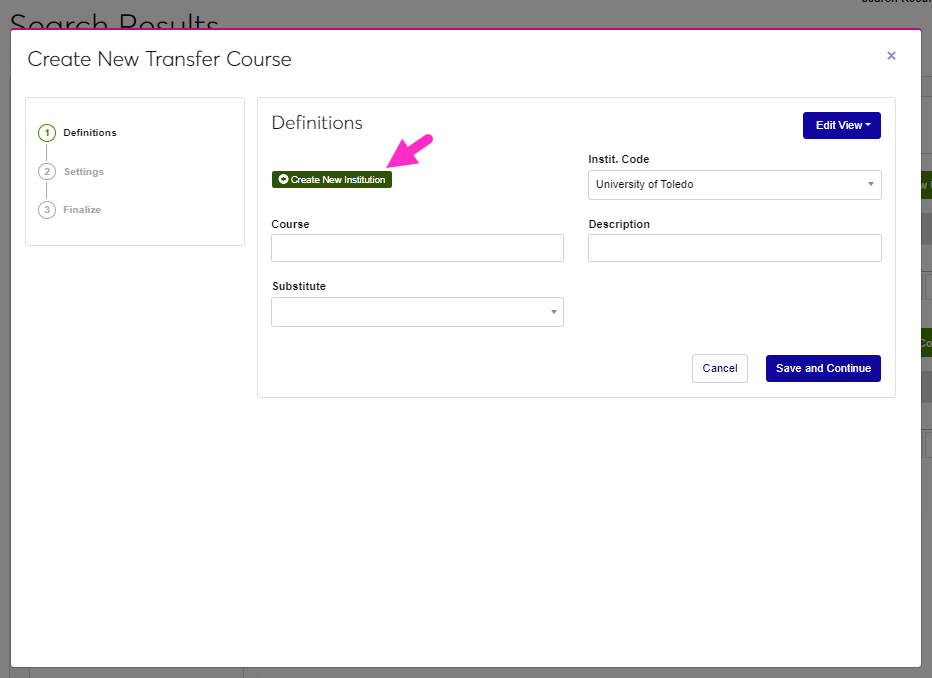
Editing the Template
Administrators with associated permissions can modify the displayed elements by clicking the Edit View button. This will modify the wizard for all institutional users. After clicking Edit View, click User Edit.
To move an element, click on the arrow icon and drag the element to the desired location. Release the mouse button to move the element into the new spot. Click the ellipsis to display the Show/Hide and Required options and click each to toggle between show and hide. The Required option cannot be changed and does not display for elements that are not required.
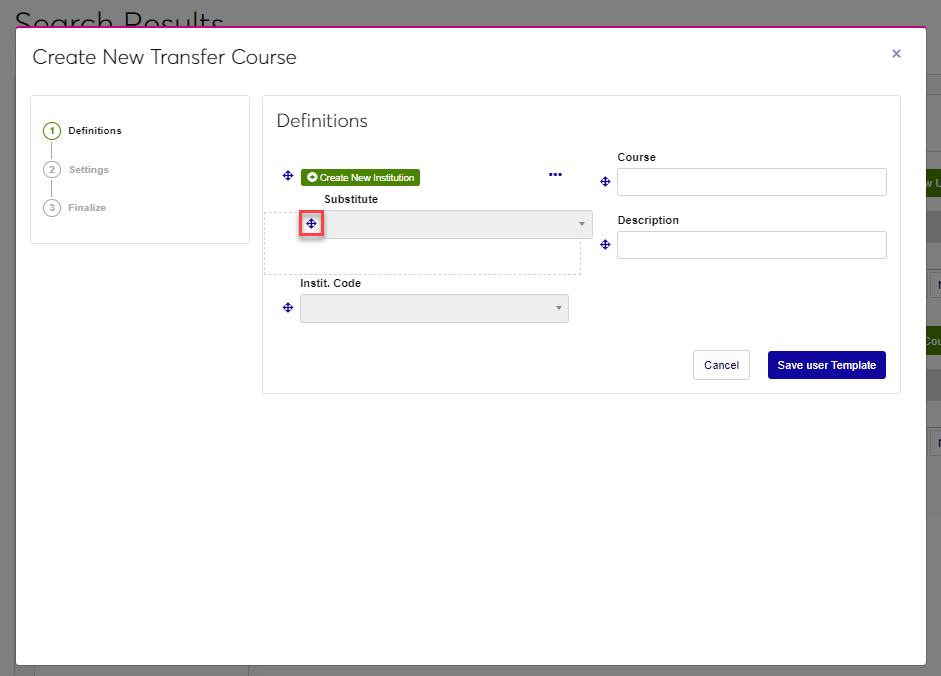
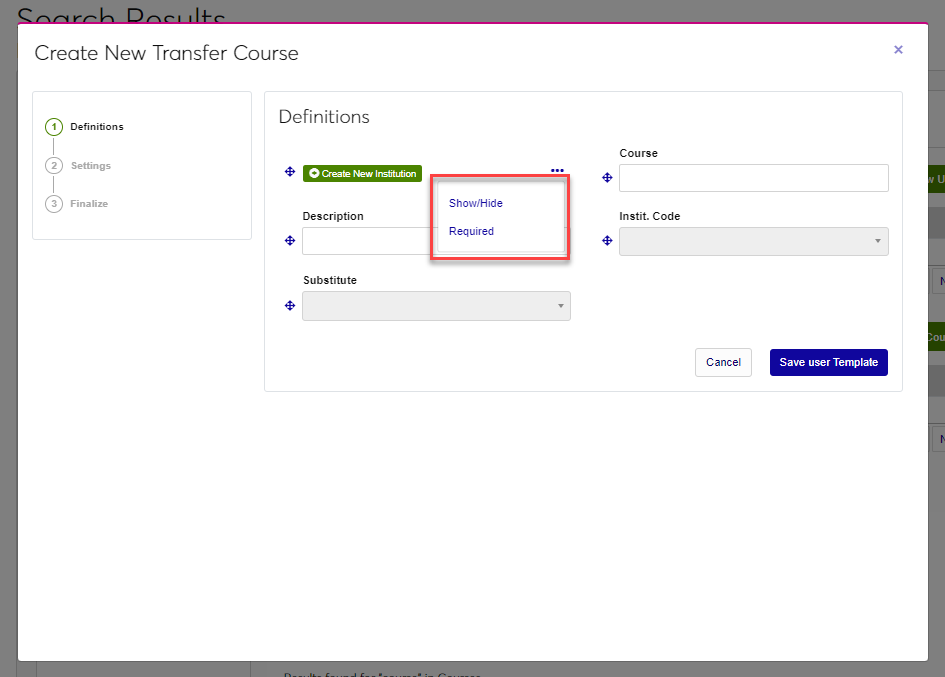
Click Cancel to leave without saving changes or Save User Template to save the edits.

Create New Institution
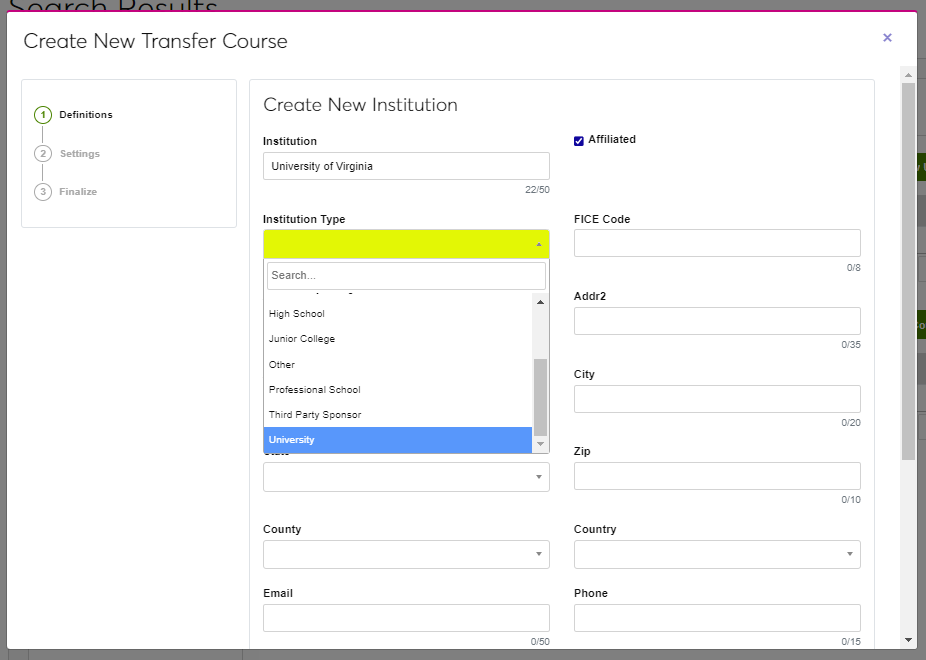
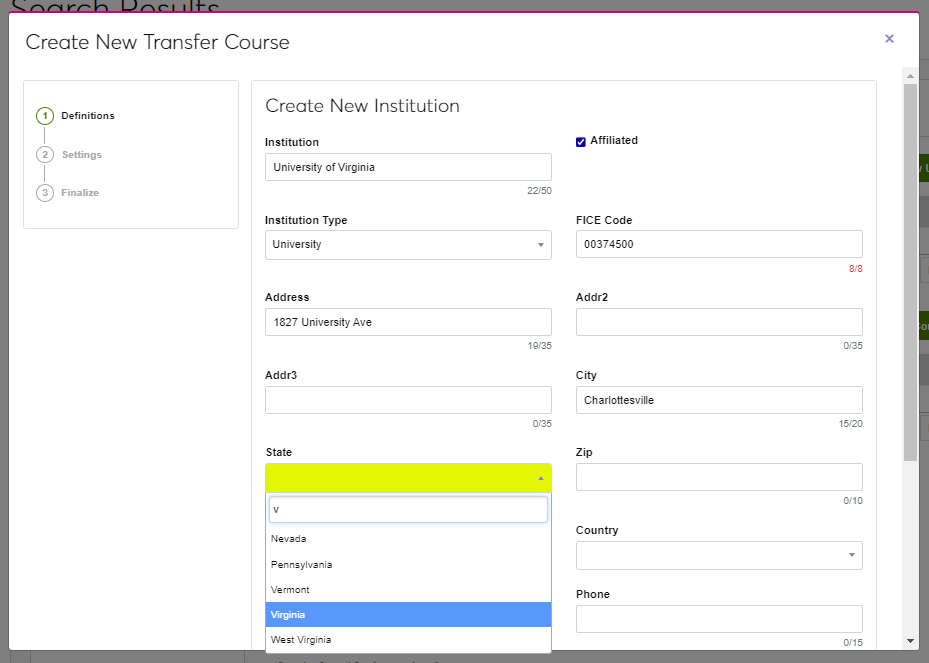
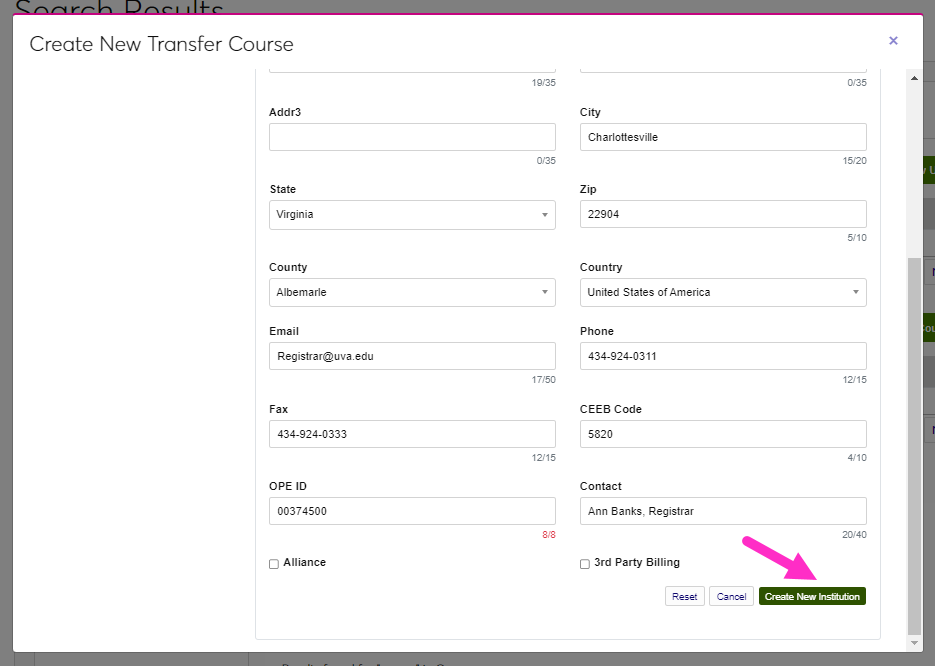
If transfer courses have never been articulated for the institution at which the course was taken, the institution must be created. Click Create New Institution. The institution creation page requires the same information that the Institution Add/Edit utility does. Begin by naming the institution in the Institution field. This field accepts up to 50 alphanumeric characters and symbols.
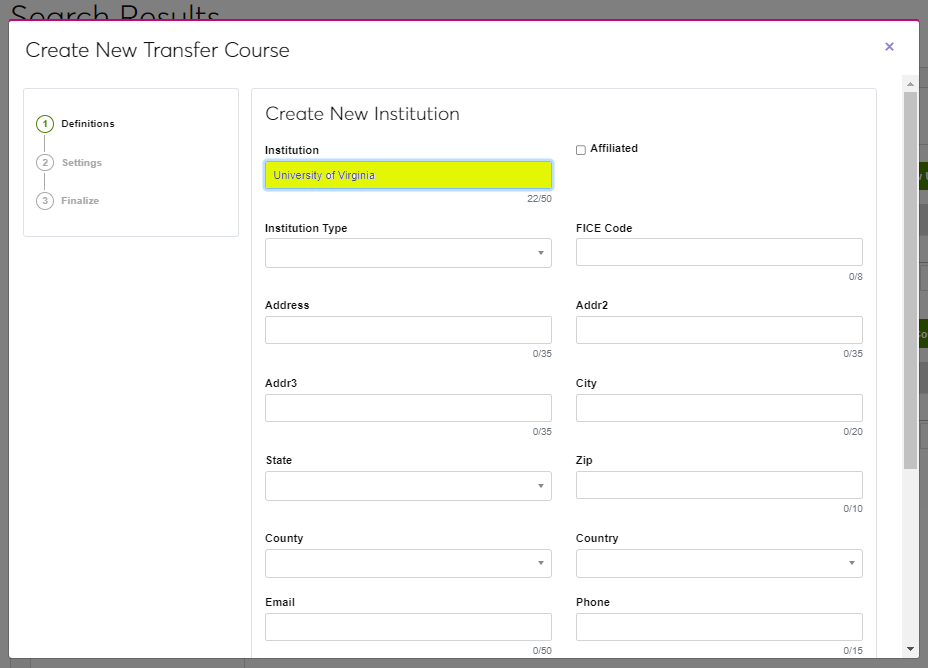
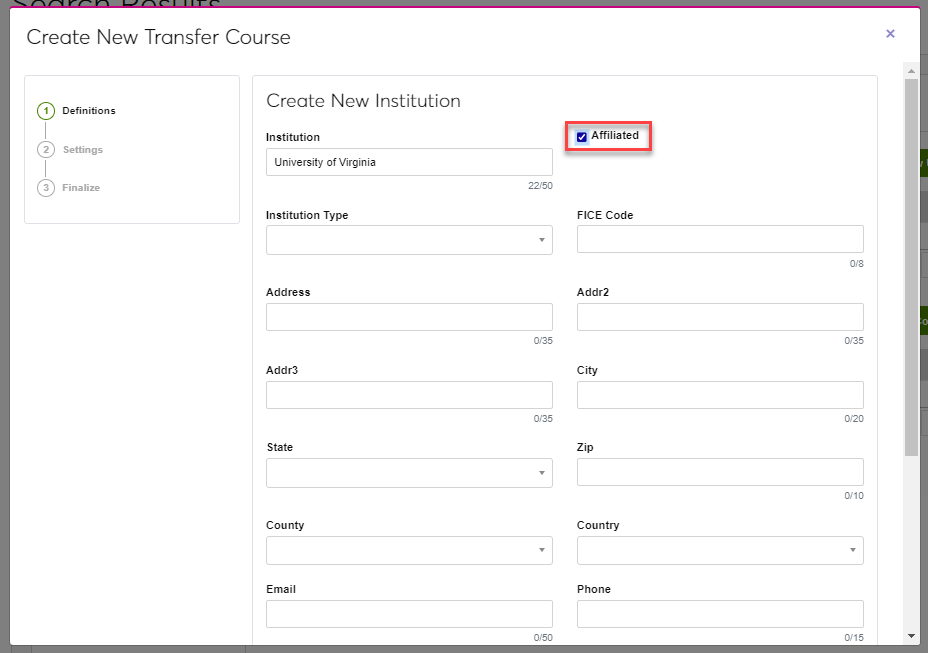
Check the Affiliated box to designate the institution as an affiliated school. Affiliated institutions are those where courses are shared, perhaps under a formalized articulation agreement. For example, a nursing school or other specialized STEM school may use local community colleges for English and other liberal arts courses required for an associate or bachelor's degree. Select an institution type from the Type field. This list is populated by the Institution Type table in Table Maintenance.
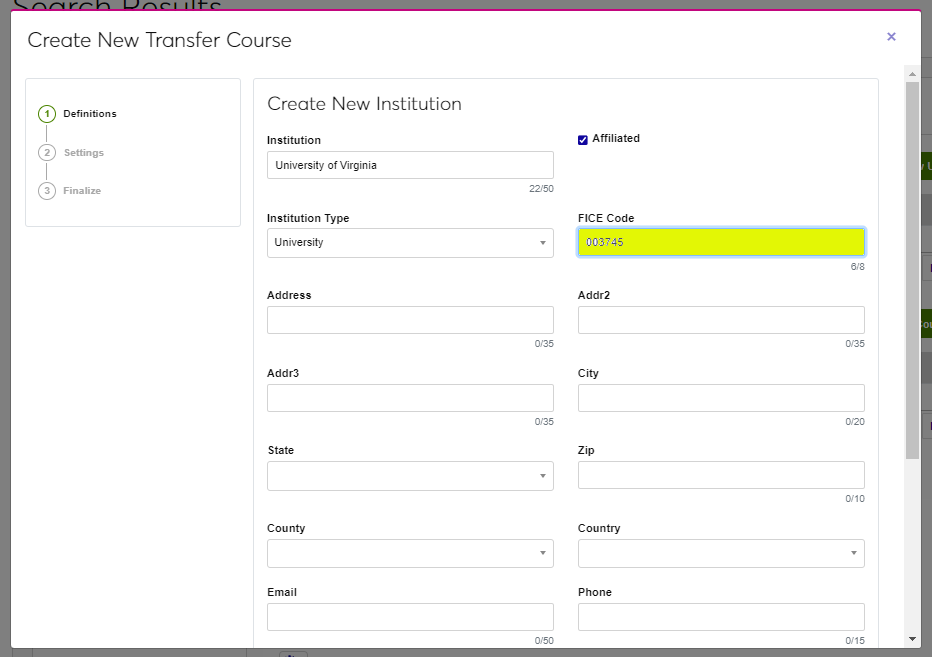
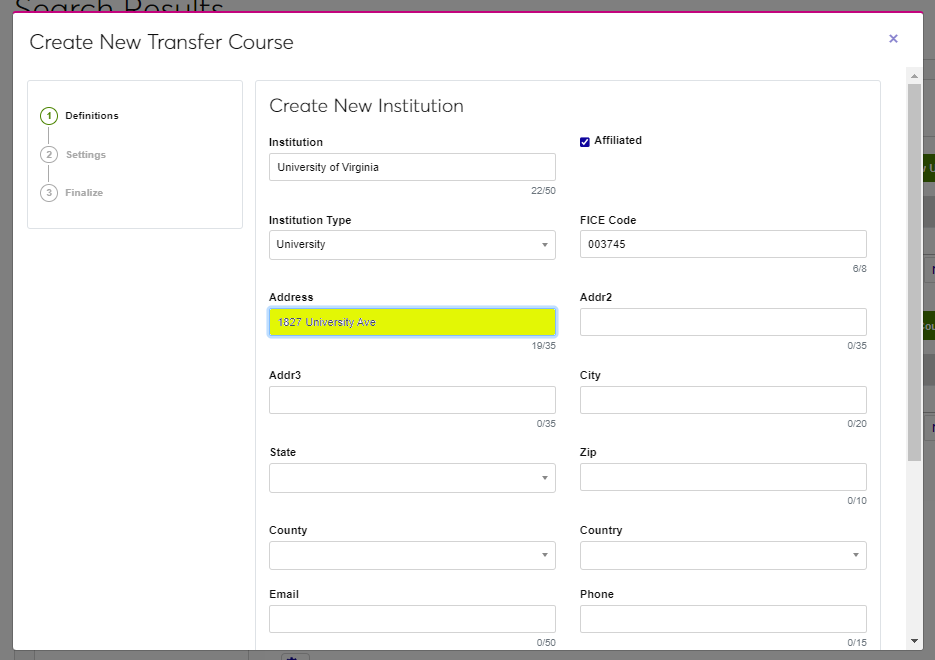
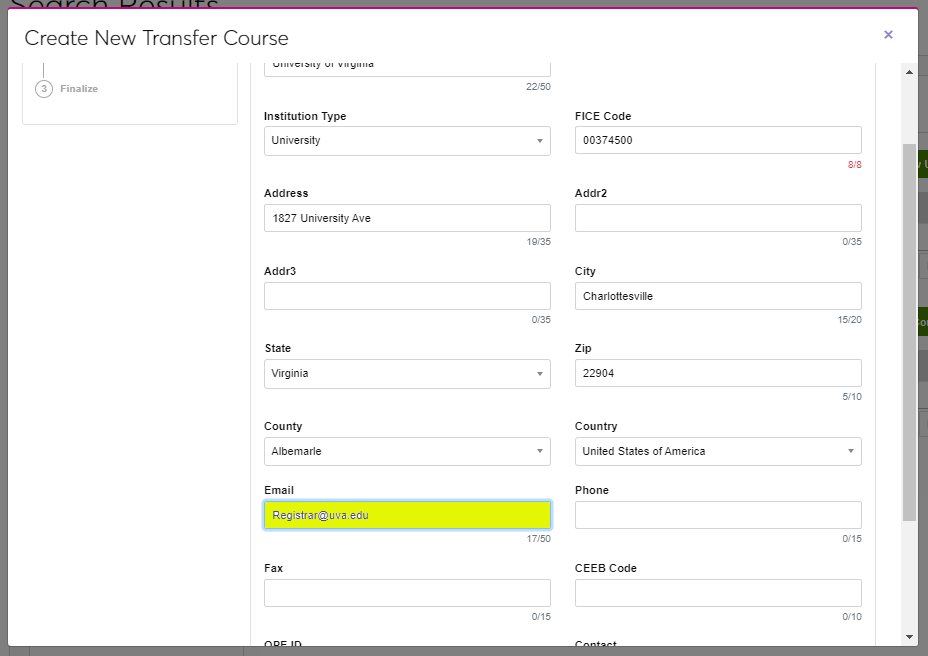
Although FICE Codes are no longer required for Federal reporting, they are still used by some states. If necessary at your institution, enter the FICE Code of the institution being created. This is a six digit code that is generally the first six numbers of the institution's OPE ID. Enter the institution's street address in the Address field. Two additional address fields are available for addresses that are too long for a single field.
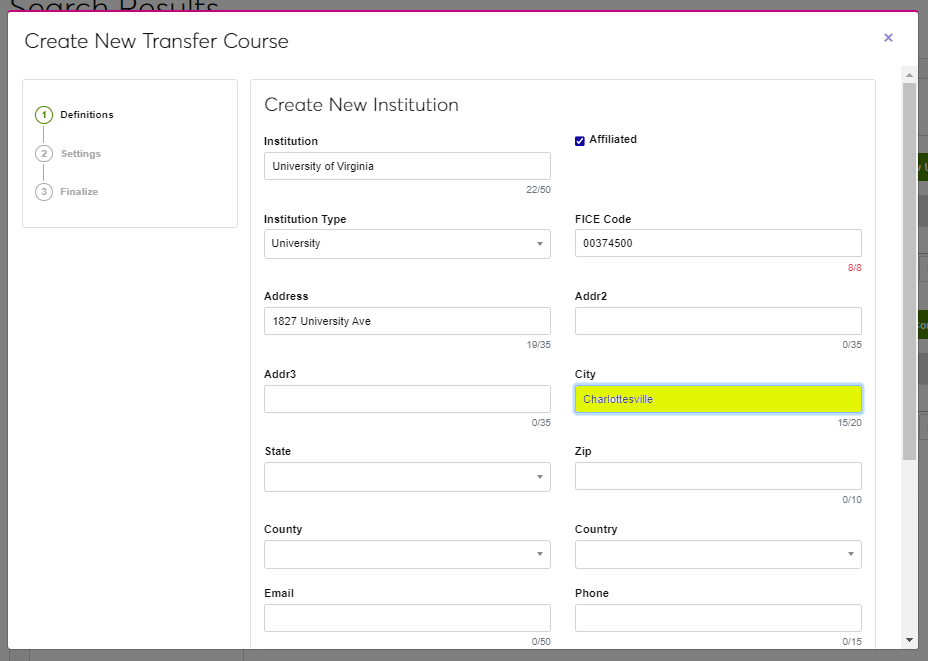
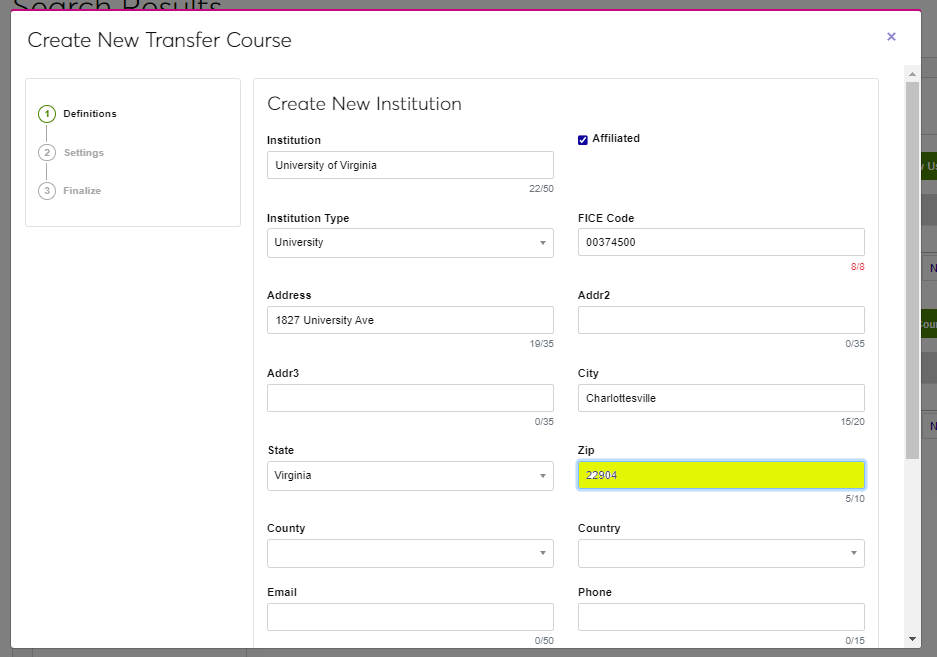
Fill in the City, State, and Zip Code fields to complete the street address.
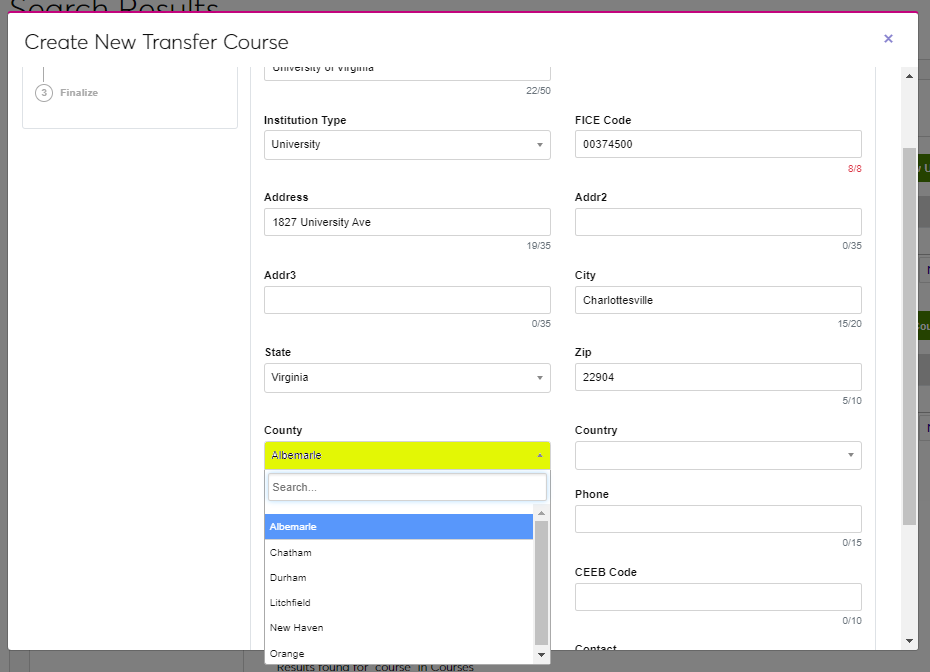
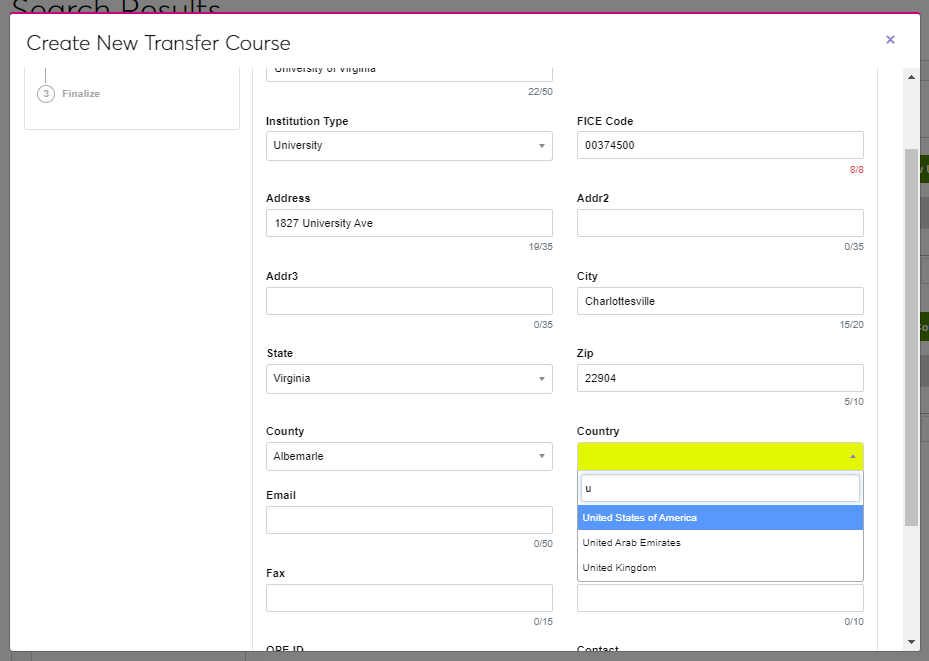
Select the County and Country where the school is located. Counties and countries are created in the County and Country tables.
Enter a contact Email address and Phone number.
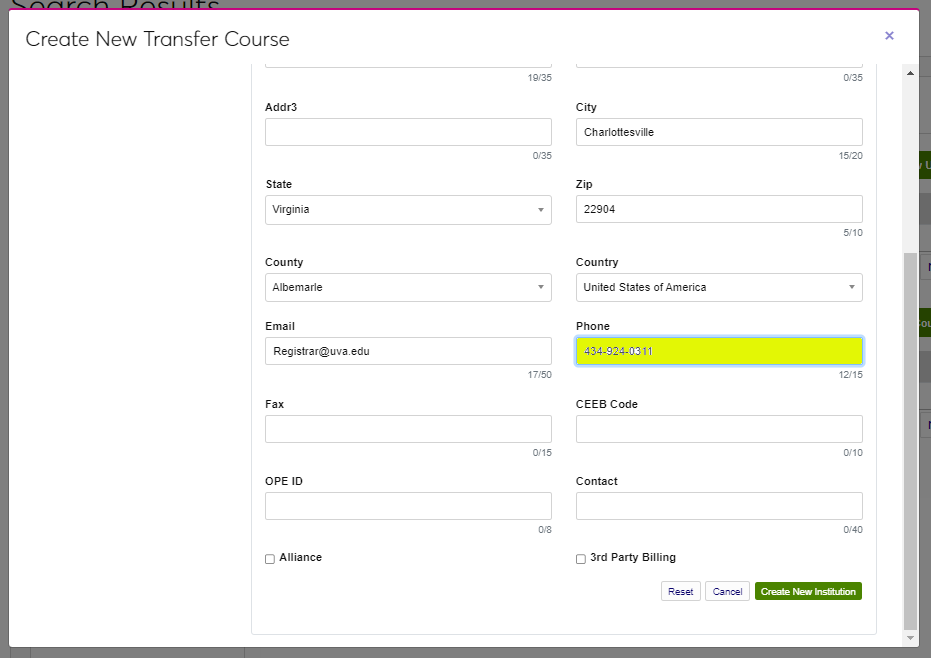
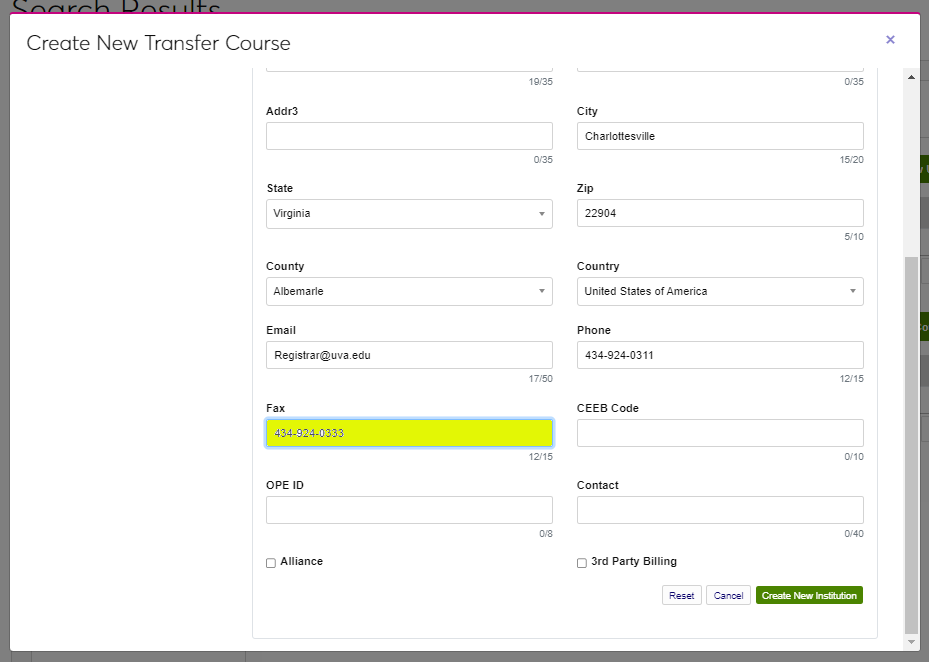
If faxing is used by your institution, enter the Fax number of the institution being created. Enter the institution's CEEB Code. The College Entrance Examination Board code is a standardized ID number that is assigned to a high school, college, or university by the Educational Testing Service.
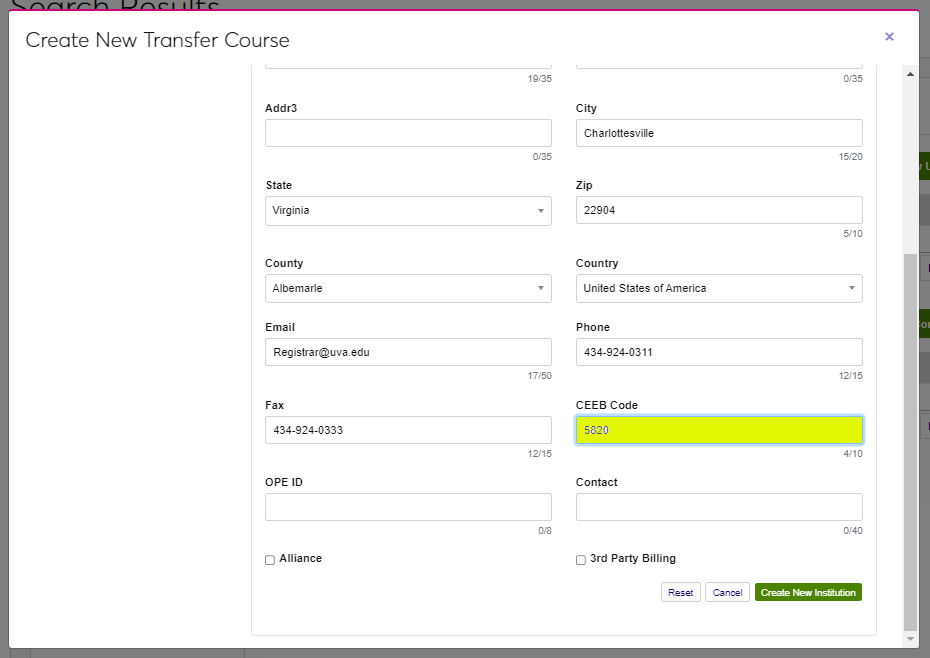
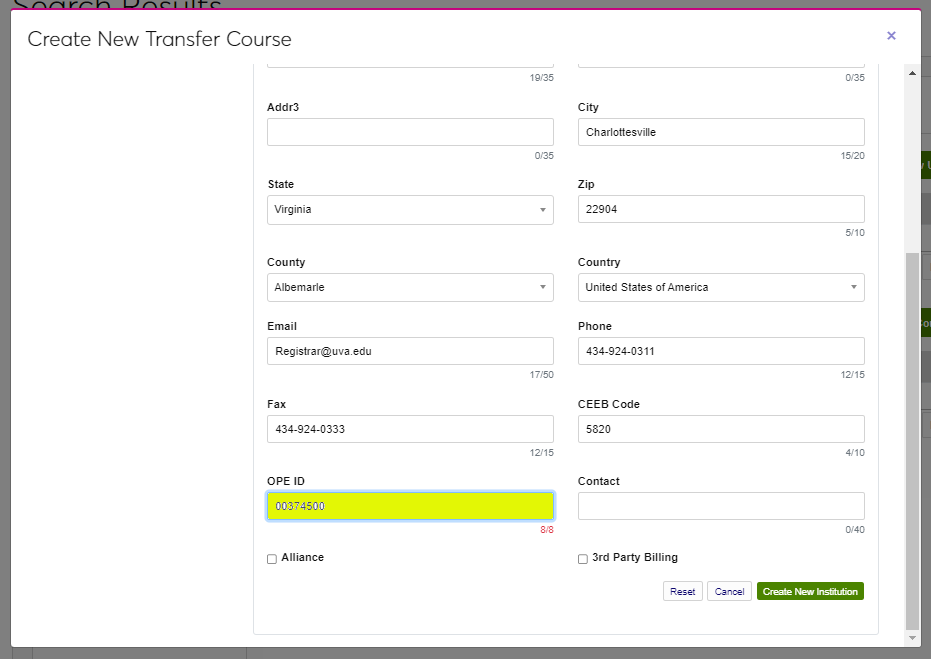
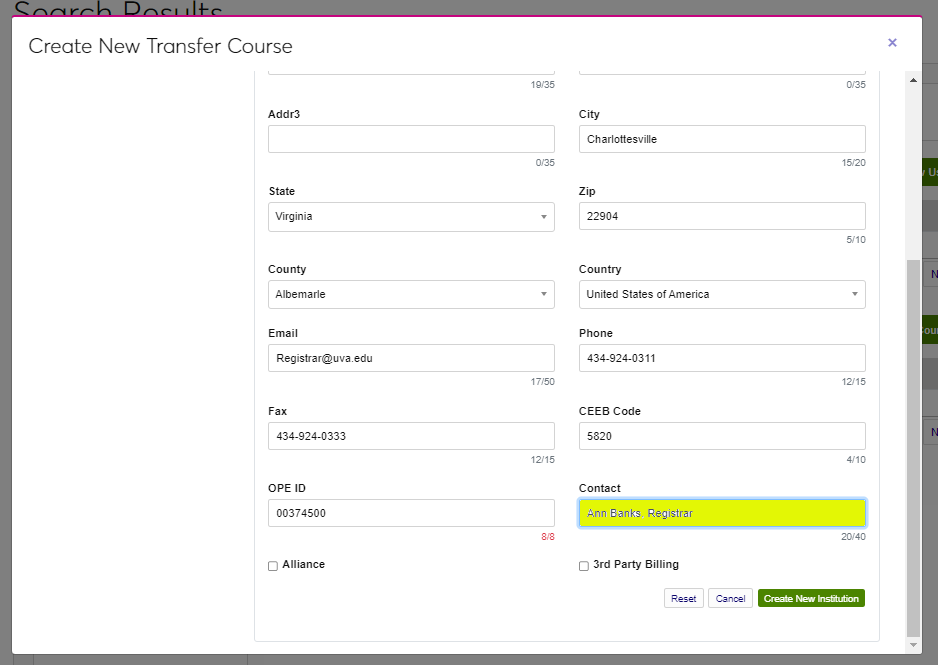
Enter the institution's OPE ID, an identification number used by the U.S. Department of Education's Office of Postsecondary Education to identify schools with students that are eligible to participate in Federal Student Financial Assistance programs under Title IV regulations. This is a 6-digit number followed by a 2-digit suffix used to identify branches, additional locations, and other entities that are part of the eligible institution. Enter the name of the person who should be the point of contact in the Contact field.
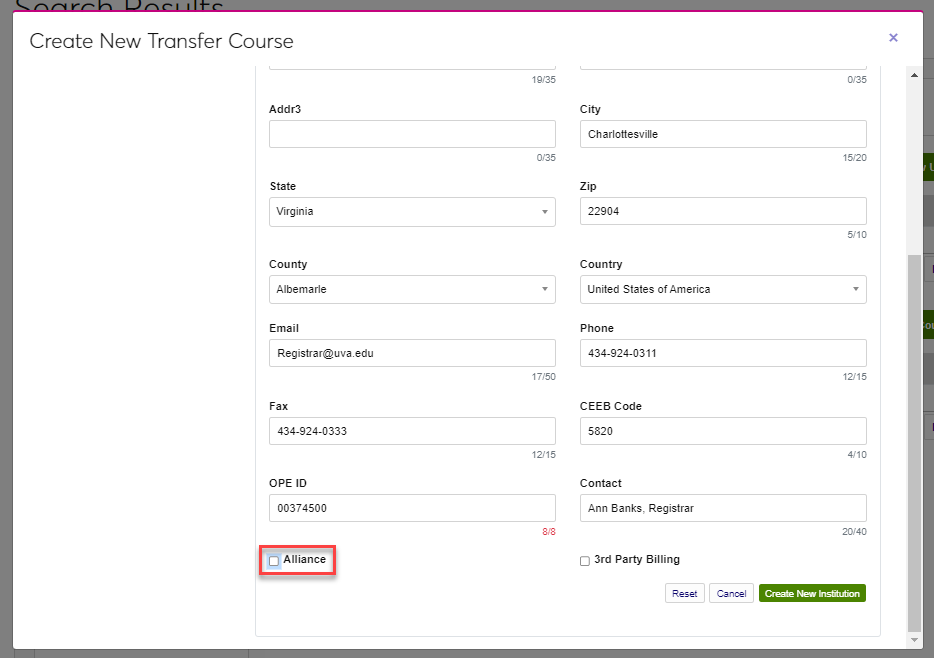
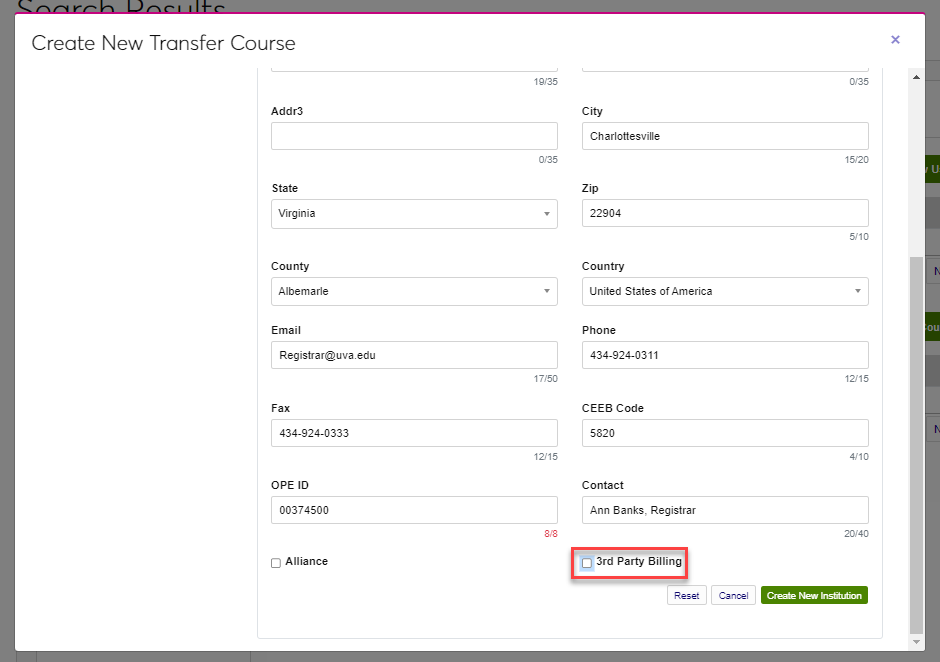
Check the Alliance box if the institution is an alliance institution. This designator is used primarily by Oklahoma Tech centers to identify partner institutions for Career Major Course purposes. Check the 3rd Party Billing box to indicate this is an institution that can be billed on behalf of students.
Click Create New Institution to create the institution and proceed to creating the transfer course.
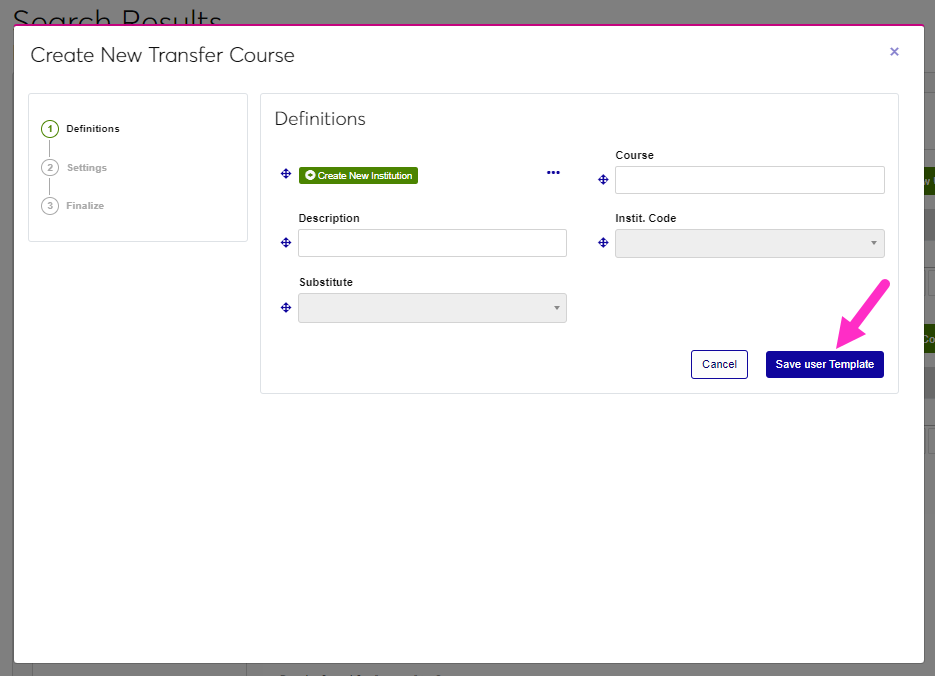
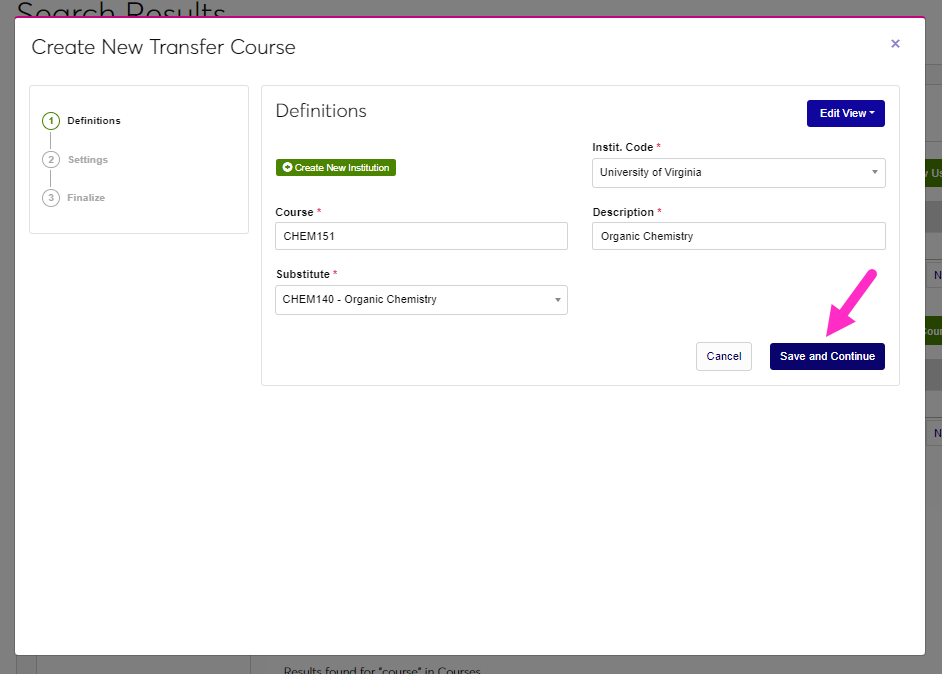
Definitions
Begin by searching for and selecting the name of the school the transfer course was taken at in the Instit. Code menu.
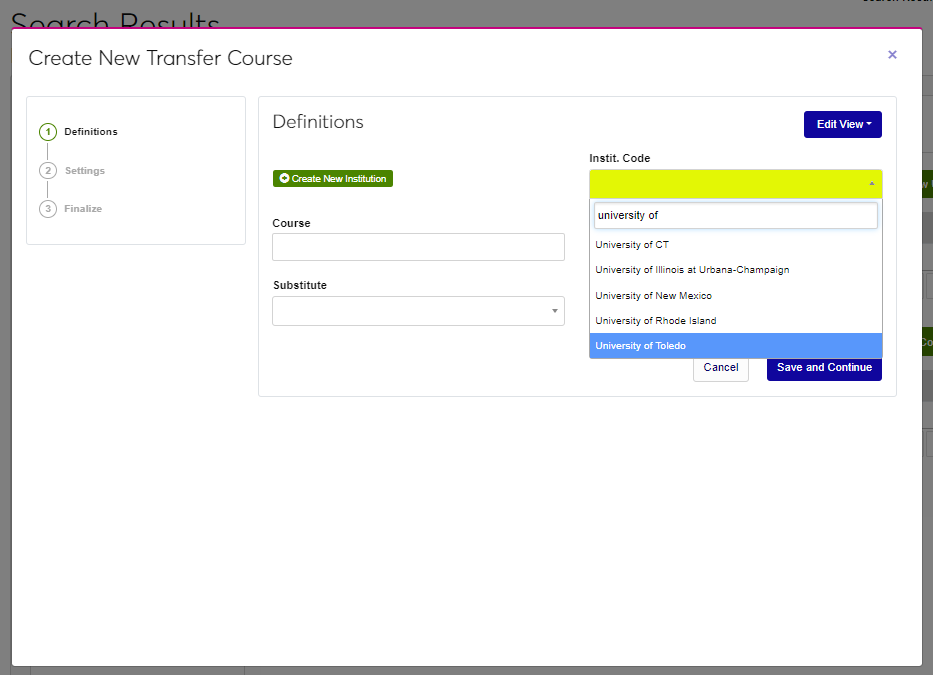
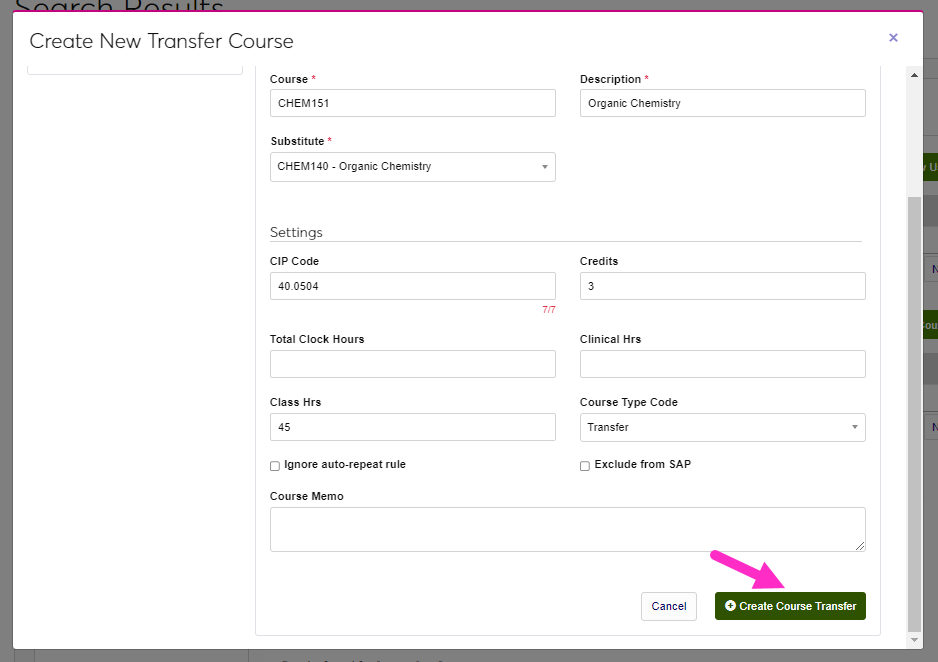
Enter the course abbreviation and number in the Course field. This field accepts up to 10 alphanumeric characters. Enter the full name of the course in the Description field. This field accepts up to 100 alphanumeric characters and symbols.
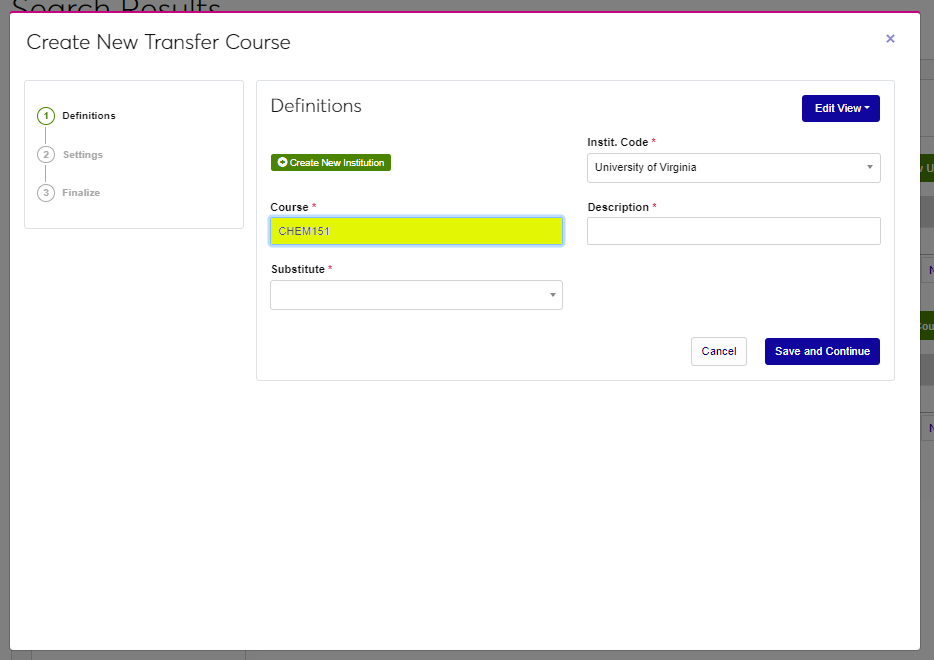
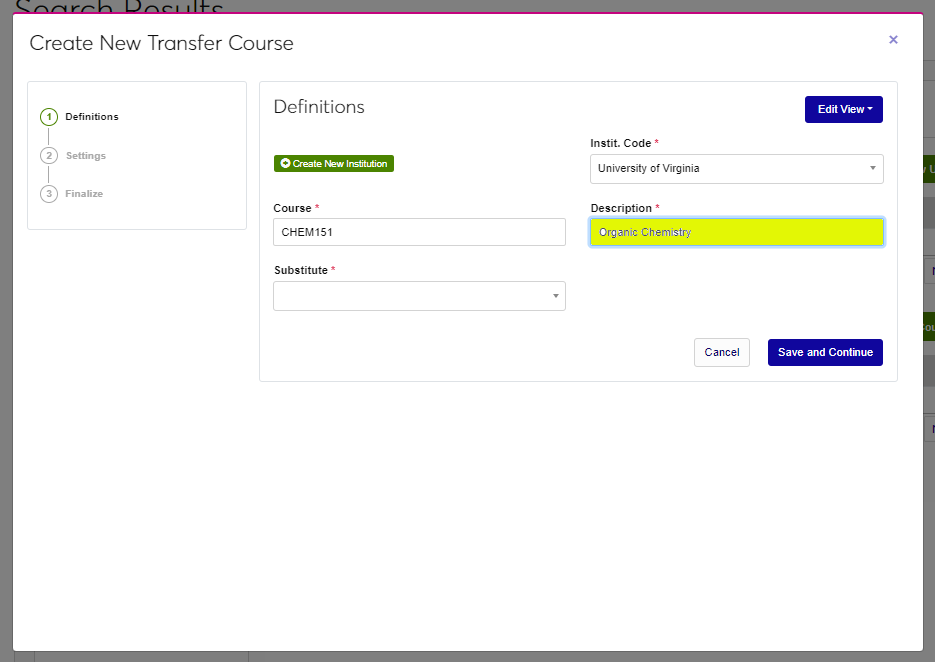
Select the course equivalency from the Substitute menu.

Click Save and Continue to proceed to the next step.
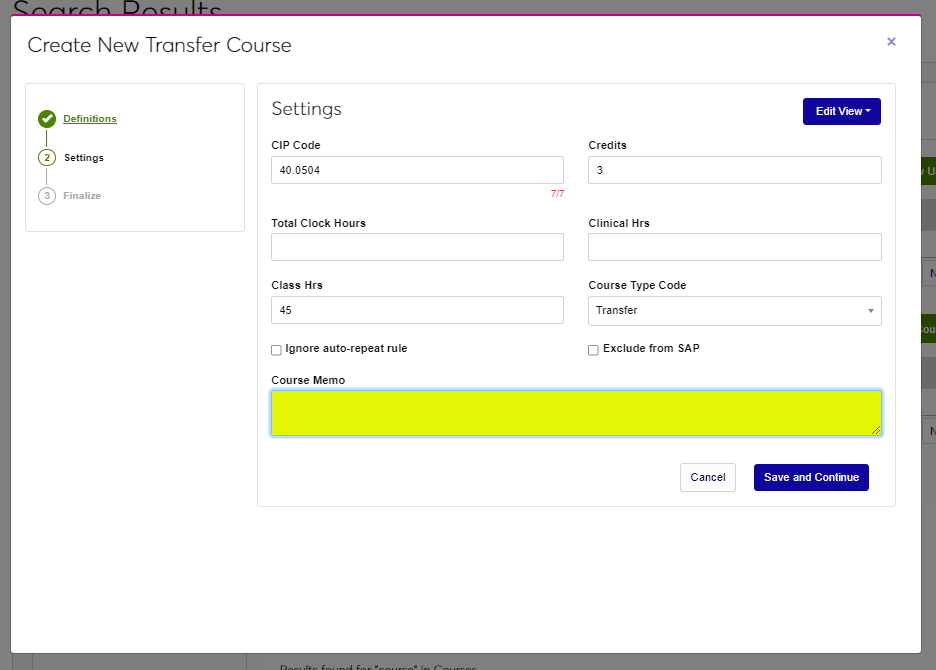
Settings
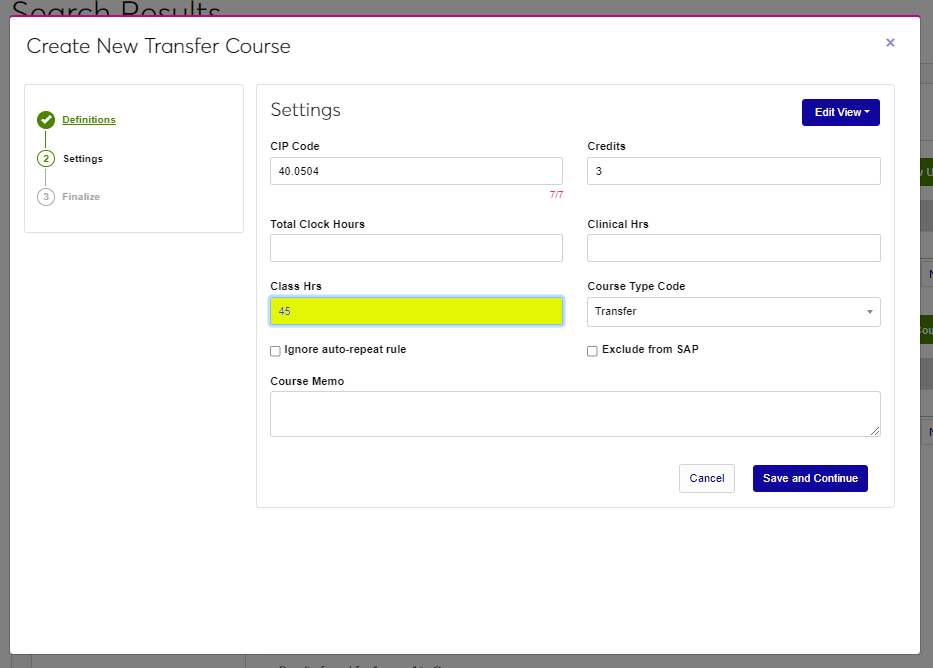
Enter the CIP Code for the course and the number of Credits the course was worth.

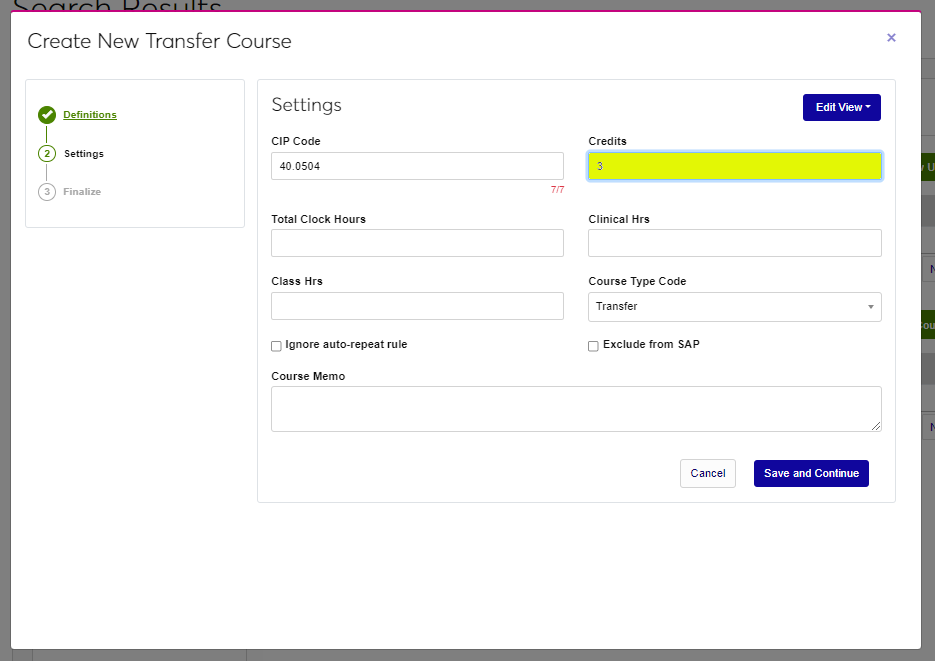
If applicable, enter the Total Clock Hours and Clinical Hours.
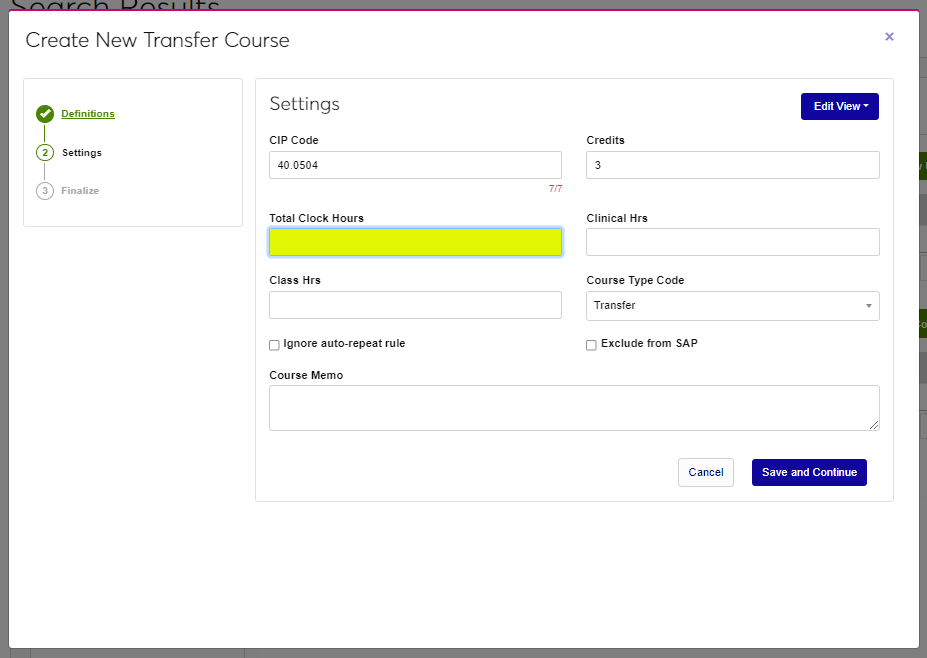
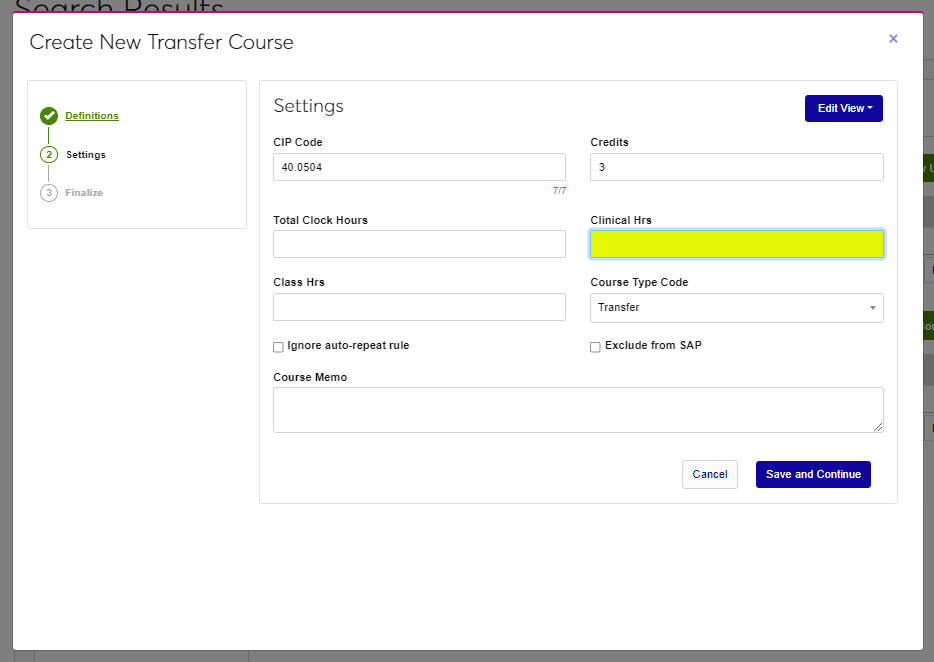
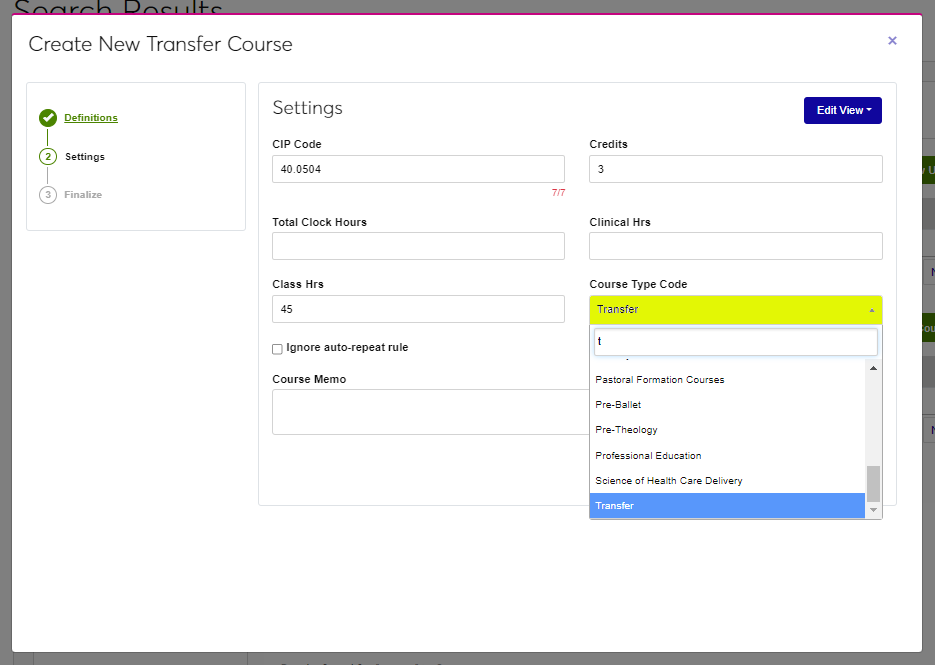
Enter the Class Hours. Select the Course Type Code from the menu.
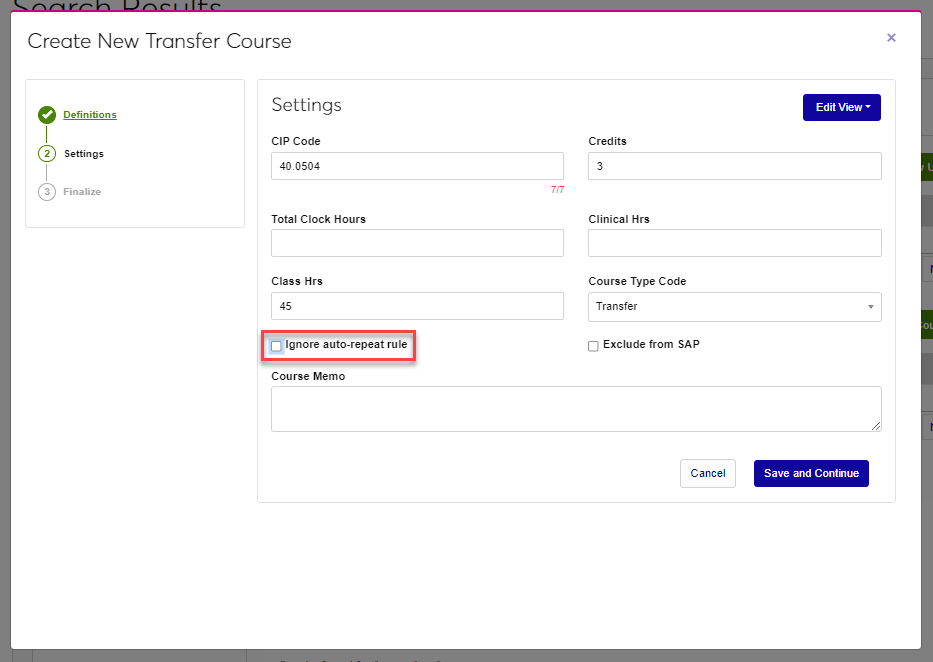
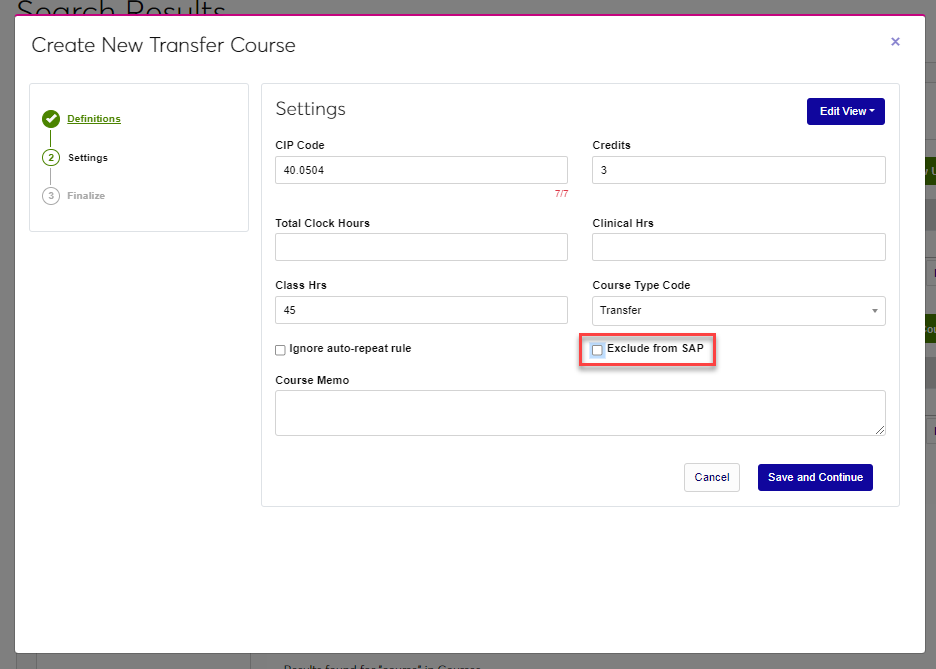
If Auto Repeat rules are used, but should not be for this course, click the Ignore auto-repeat rule box. If the course should not be included in Satisfactory Academic Progress calculations, click the Exclude from SAP box.
Enter any additional information about the course in the Course Memo field. Click Save and Continue to move to the next step.

Finalize
To finalize creation of the course, review the entries and click Create Course Transfer.
Using the Create New Section Wizard
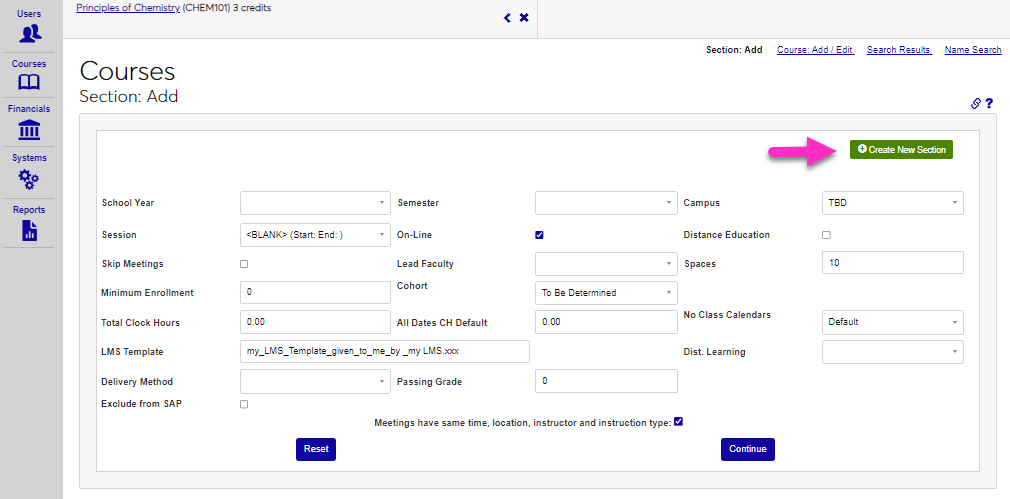
To create a section using the Create New Section wizard, enter the Sect: Add page from the Courses menu and click Create New Section. As with the Course Creation wizard, the available fields may be edited for all users by an administrator.
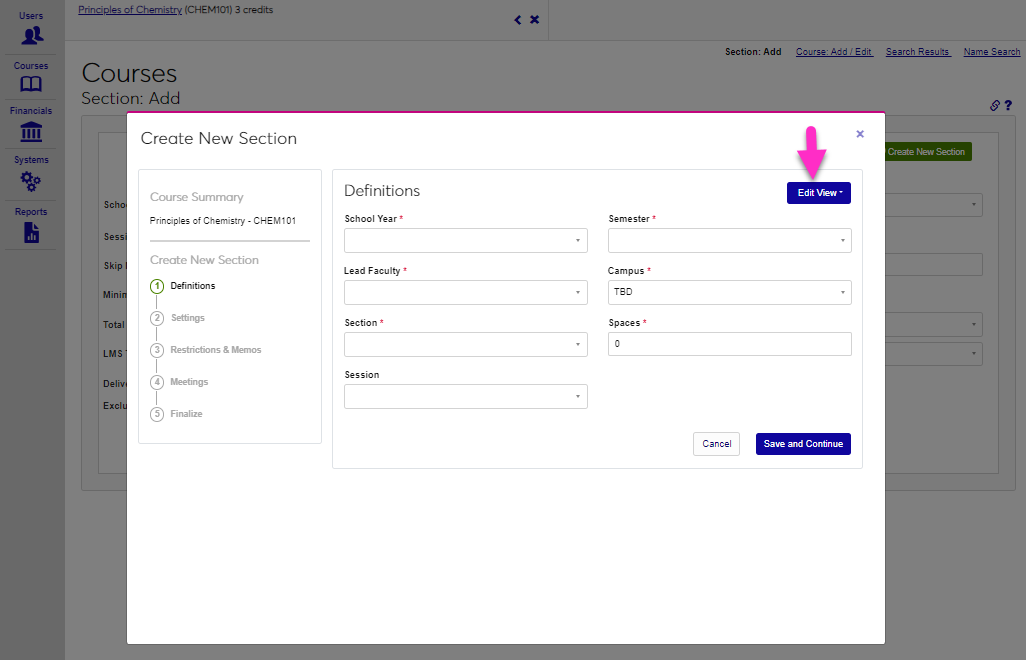
On the upper left of the wizard, a summary of course information is displayed. Confirm the desired course is selected before proceeding. Like the Course Creation wizard, the wizard is divided into five sections, or steps.
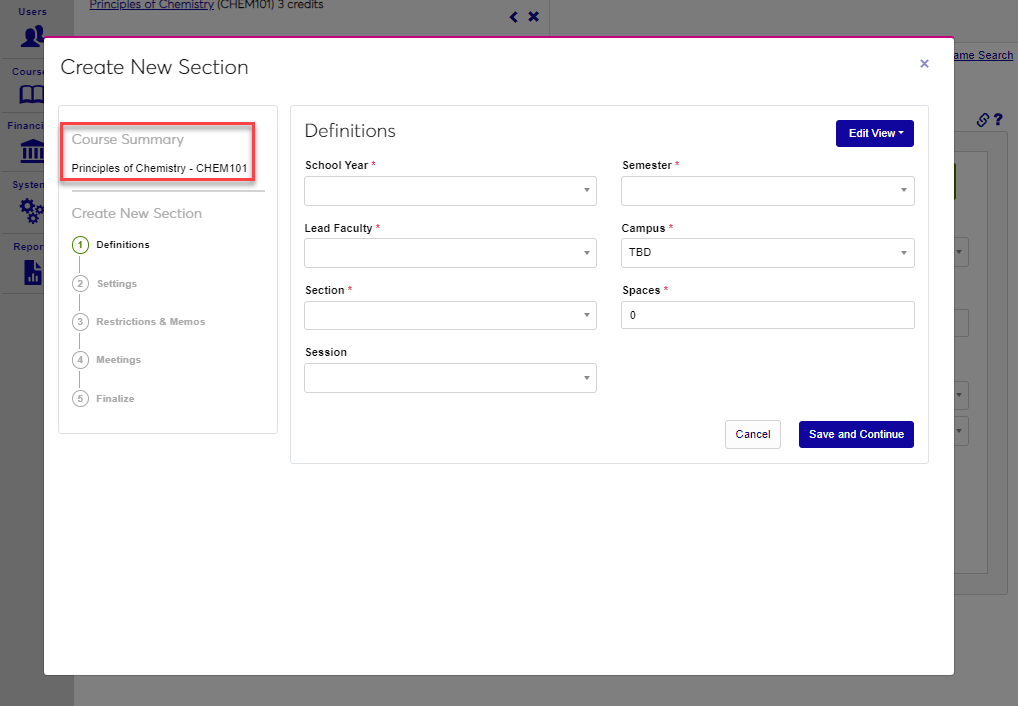
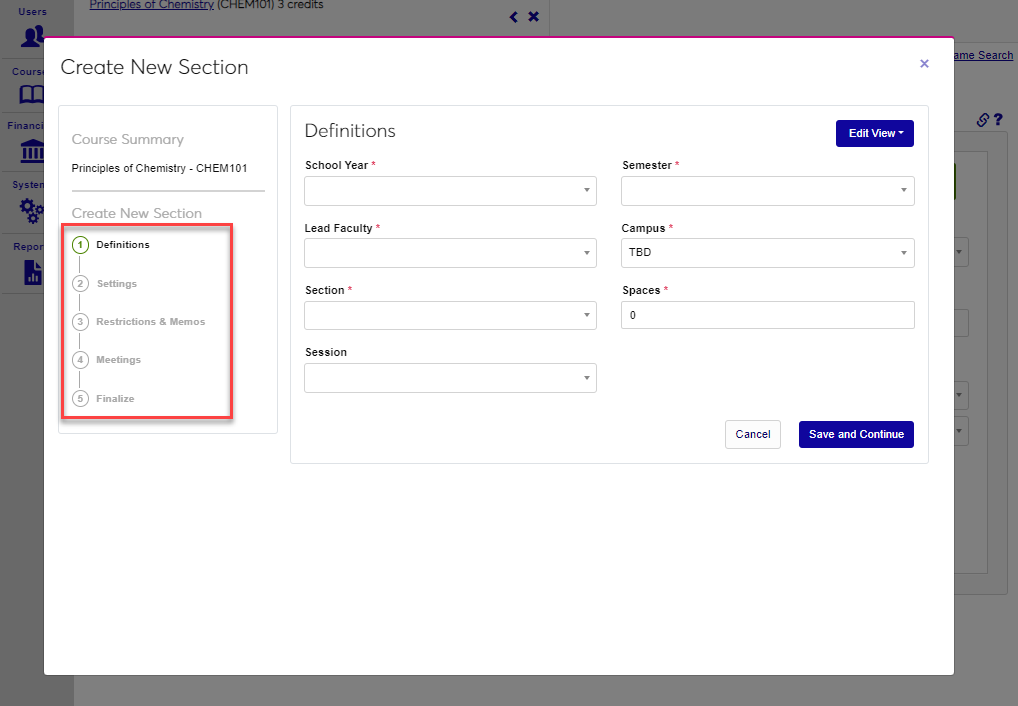
Definitions
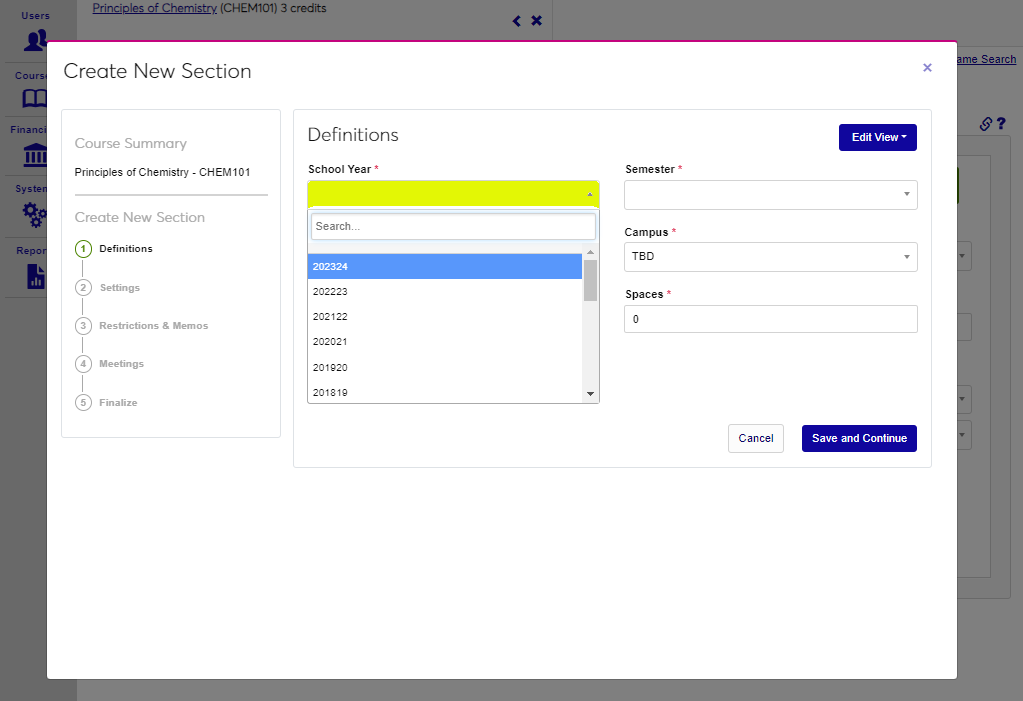
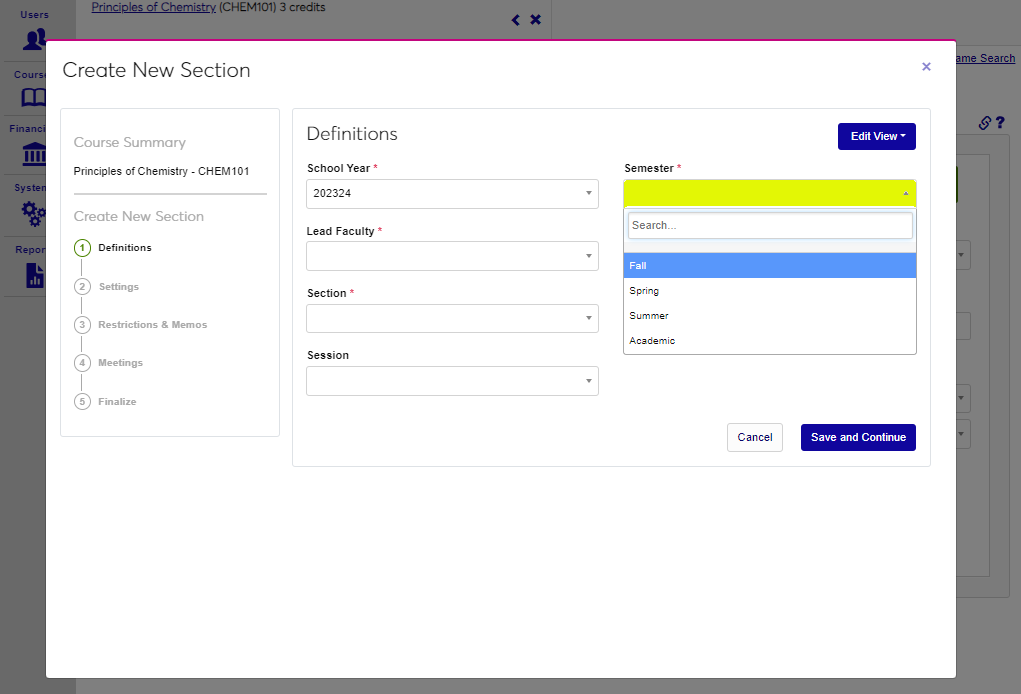
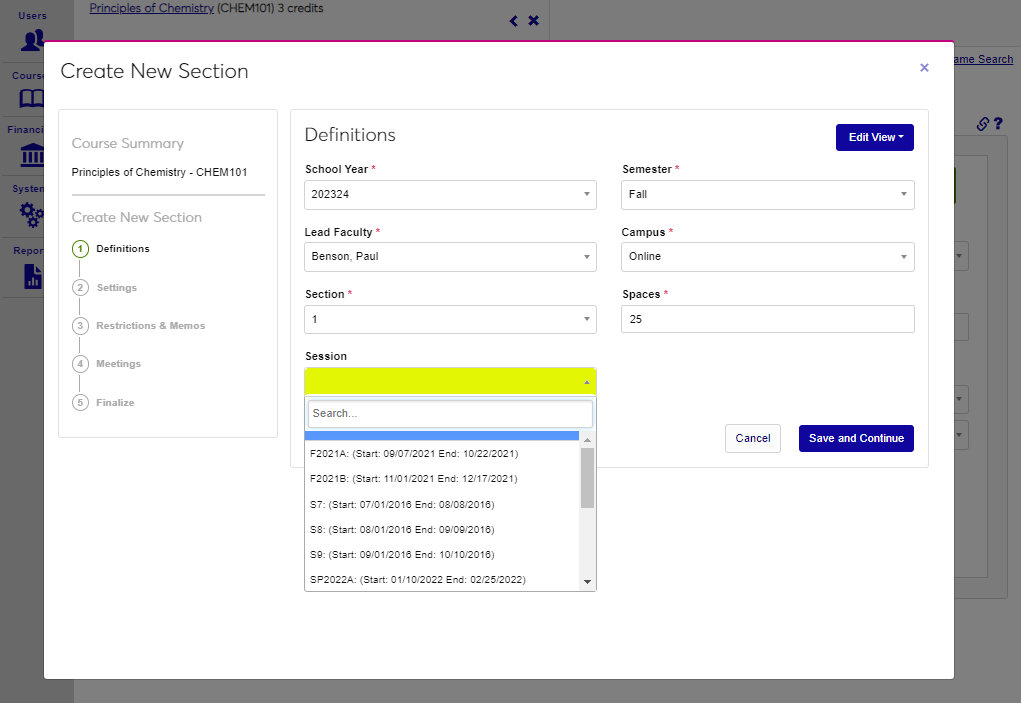
Select the School Year and Semester the section being created will be offered during.
Assign the Lead Faculty member and the Campus the course will be delivered at or through.
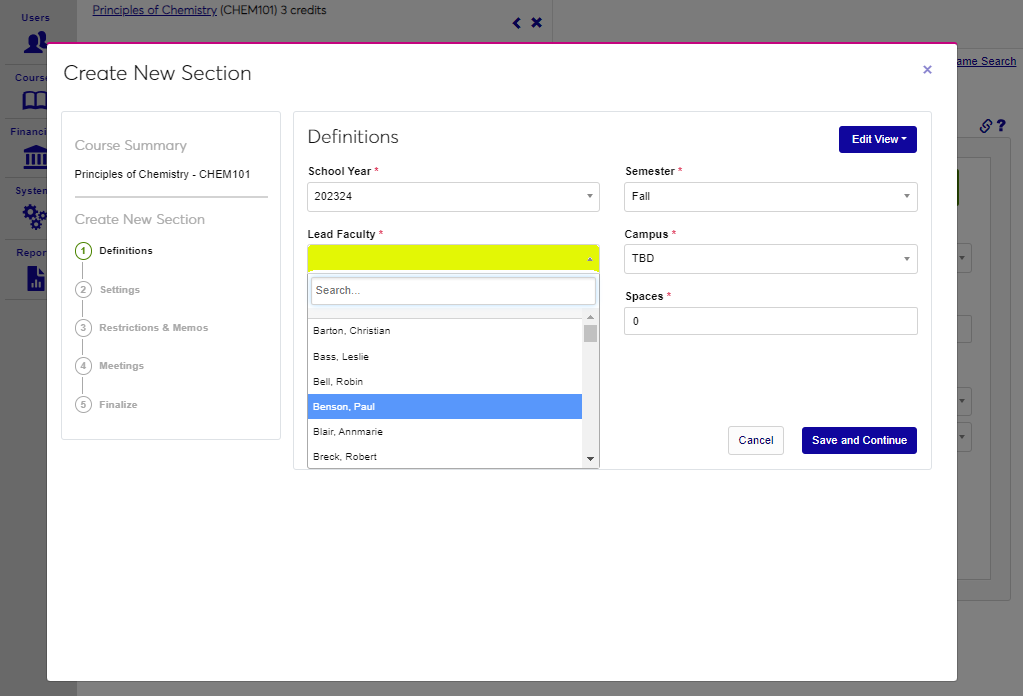
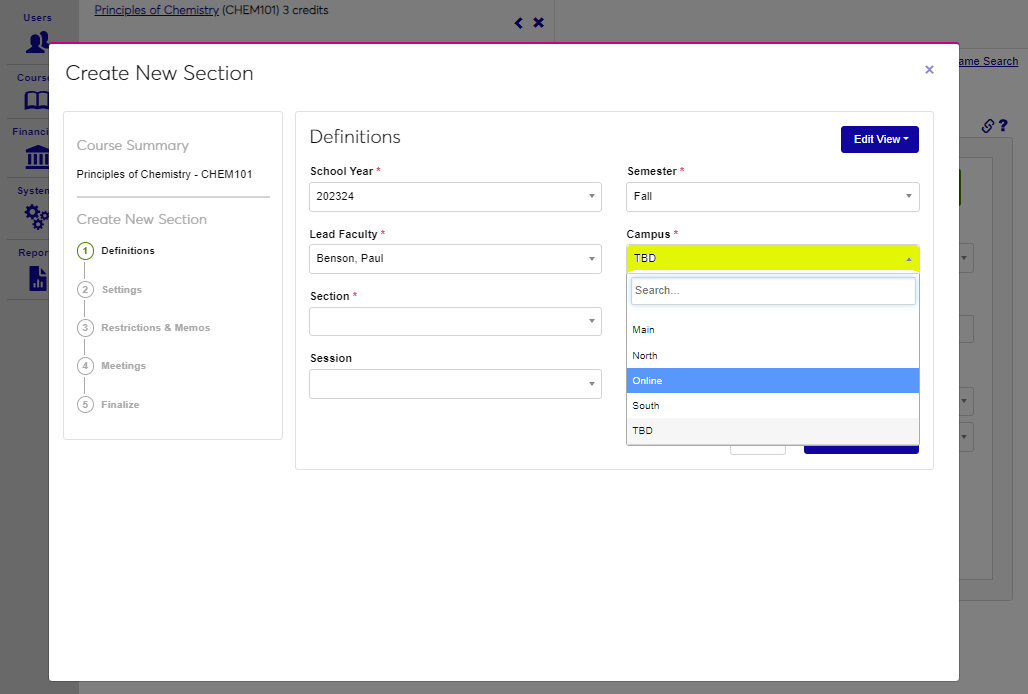
From the Section dropdown select the number of section this course will be. Enter the number of available seats in the Spaces field.
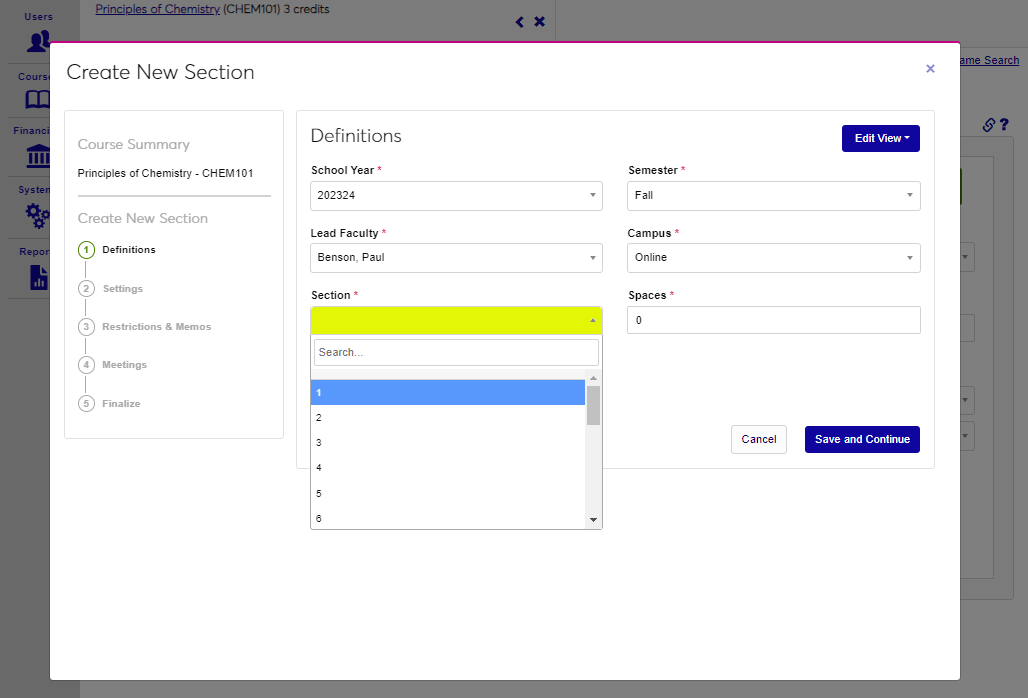
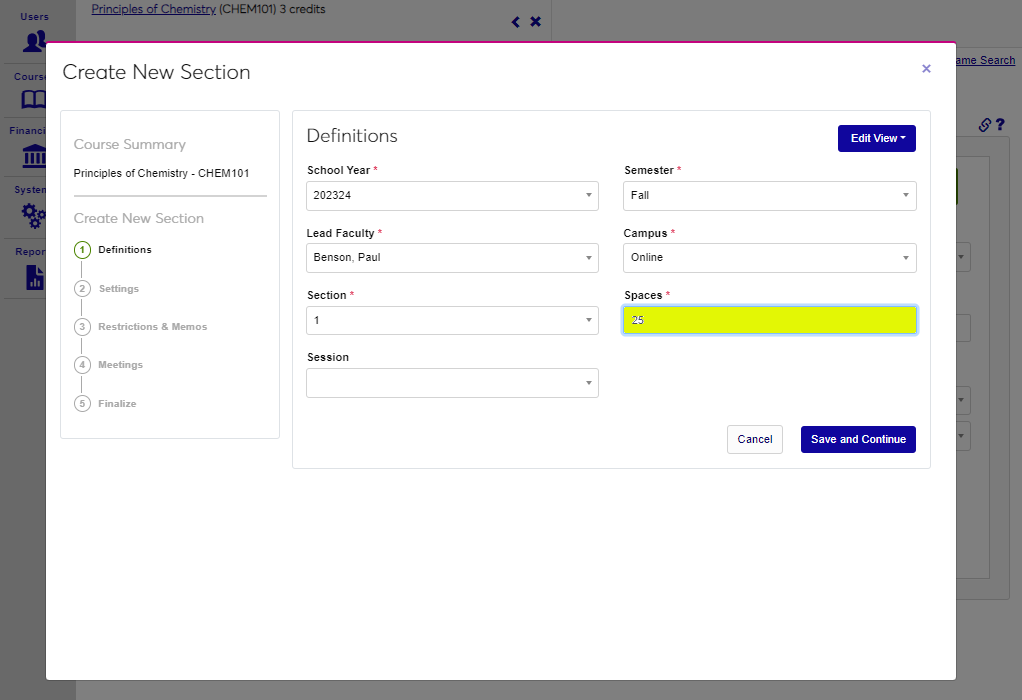
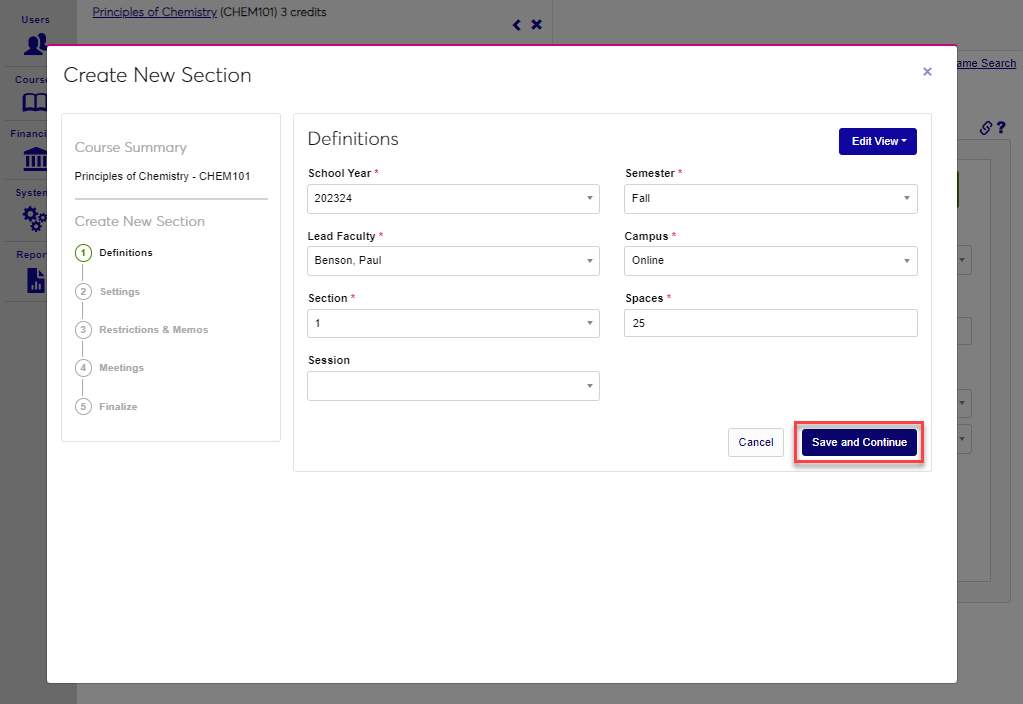
If appropriate, select the Session for the section. Click Save and Continue to move to the next step.
Settings
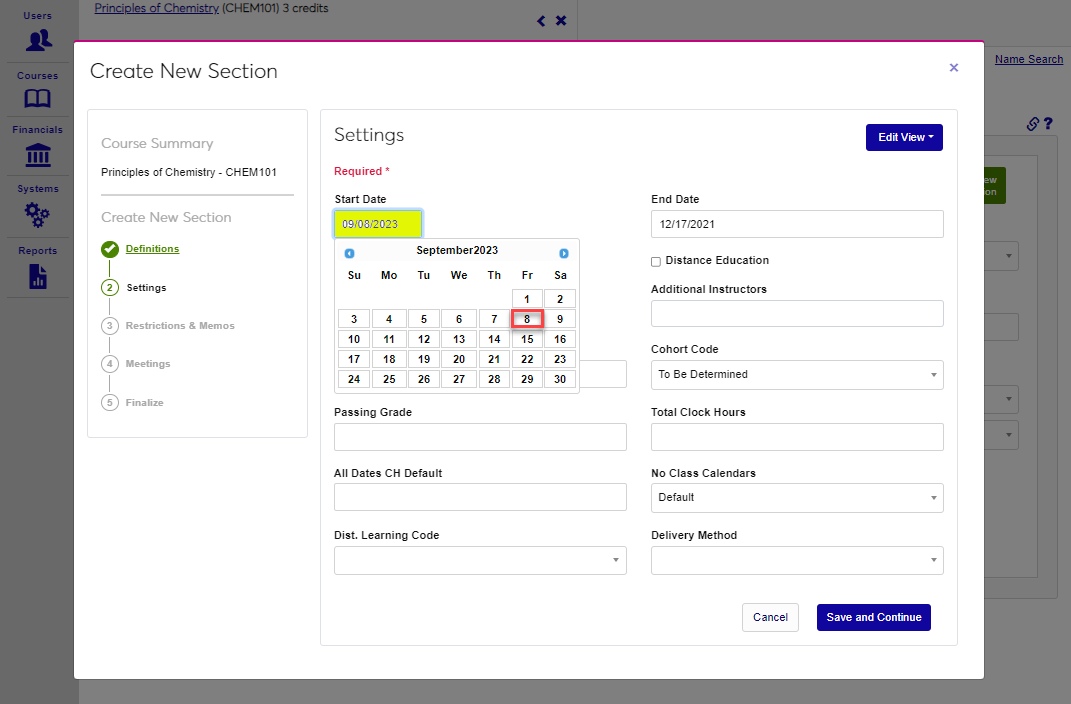
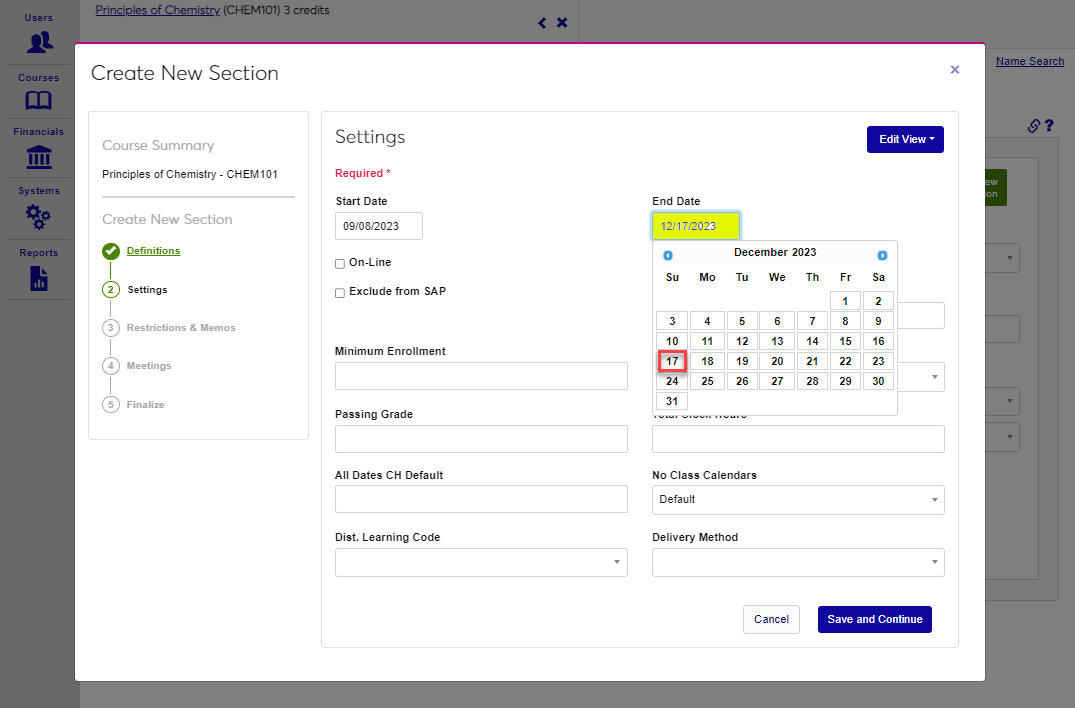
The Start Date for the selected semester automatically populates. If this date is not the date the section being created begins on, simply click in the field and enter the appropriate date, or select it from the calendar tool. The End Date for the selected semester automatically populates. If this date is not the date the section being created ends on, simply click in the field and enter the appropriate date, or select it from the calendar tool.
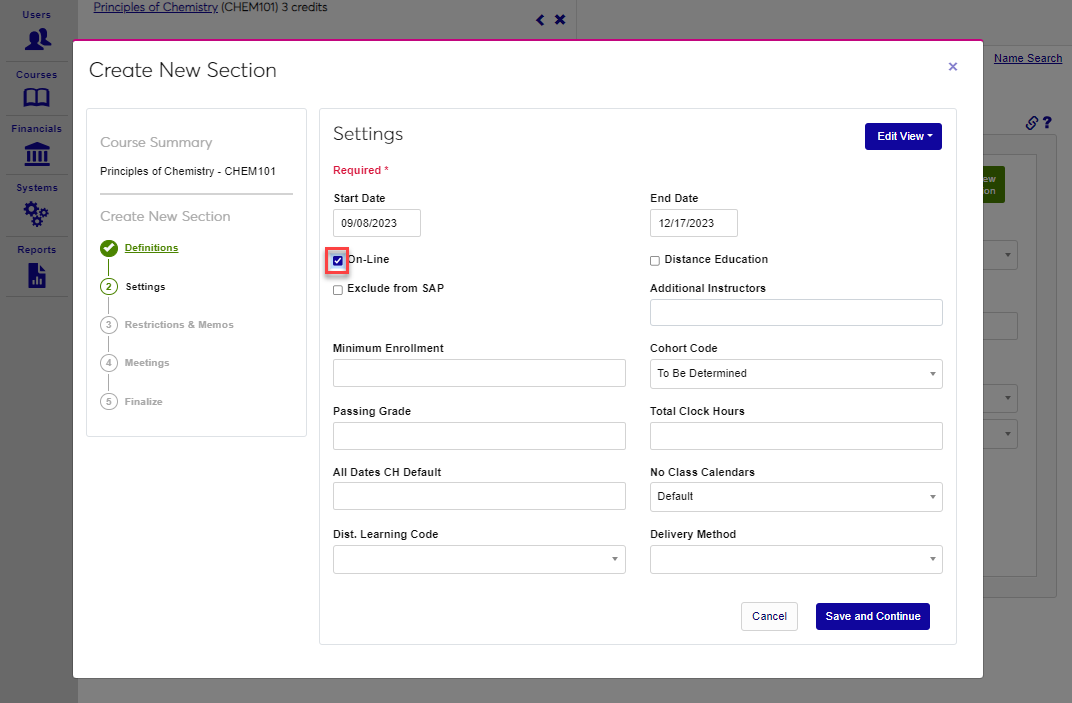
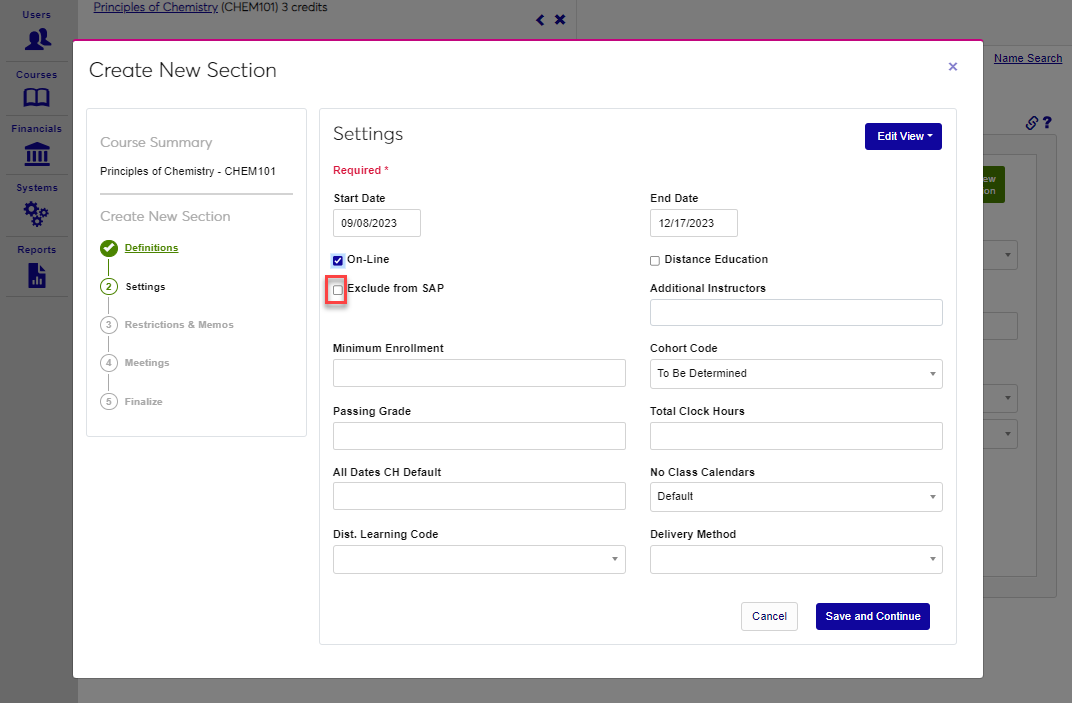
If the section will be delivered online, click the On-Line box. If it should not be included in Satisfactory Academic Progress reviews and/or calculations, click the Exclude from SAP box.
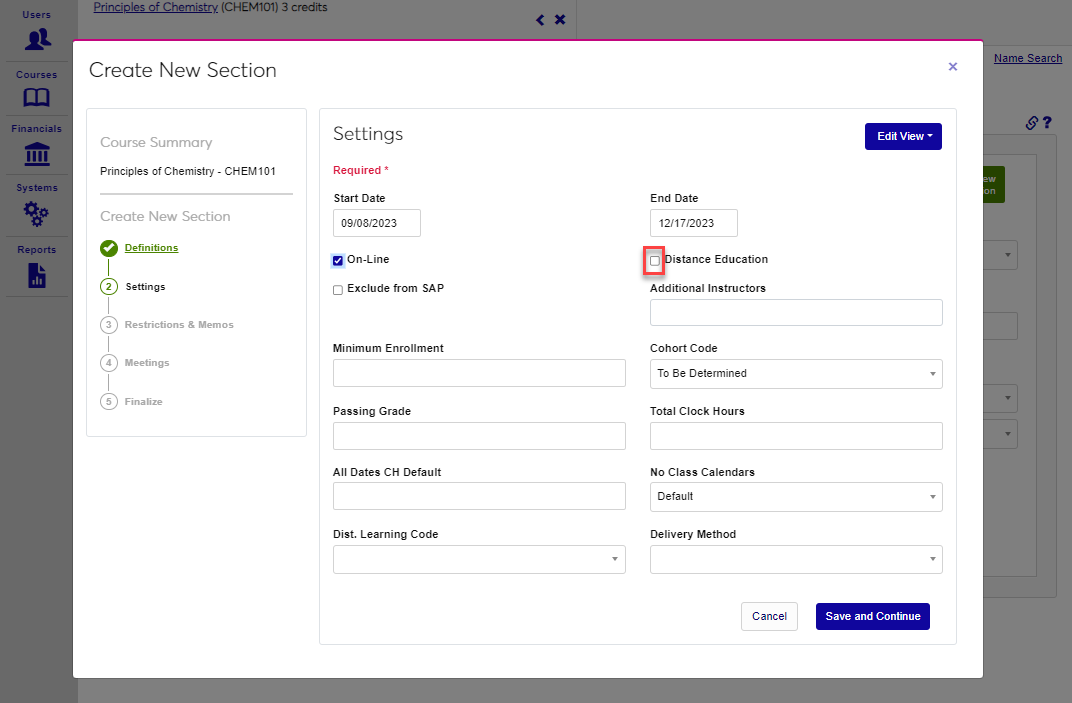
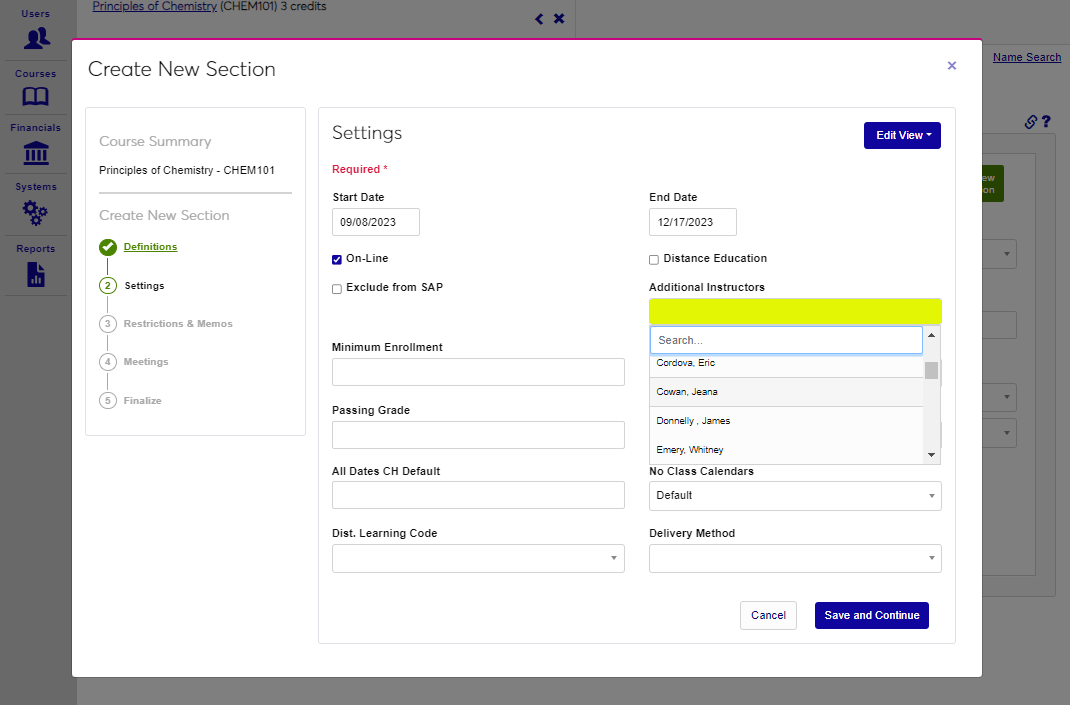
If the section is classified as Distance Education, click the box. If any additional instructor(s) should be associated with the section, select the name(s) from the dropdown menu.
If the section must have a specific number of registrants to run, enter that number of students in the Minimum Enrollment field. If a student cohort should be associated with the section, select it from the Cohort Code dropdown menu.
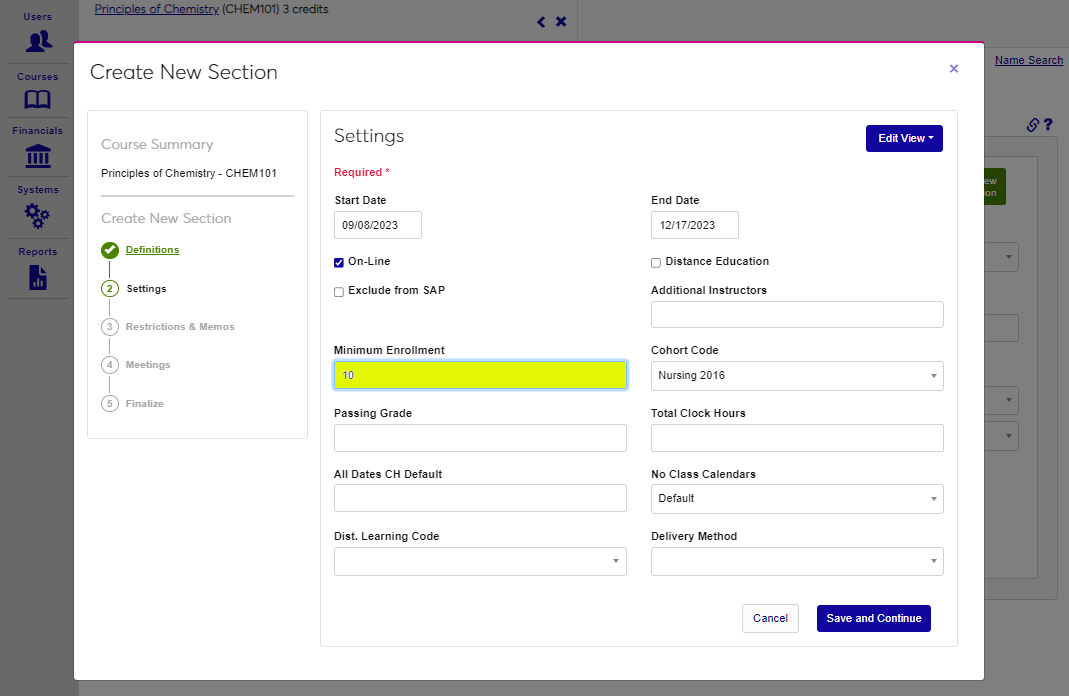

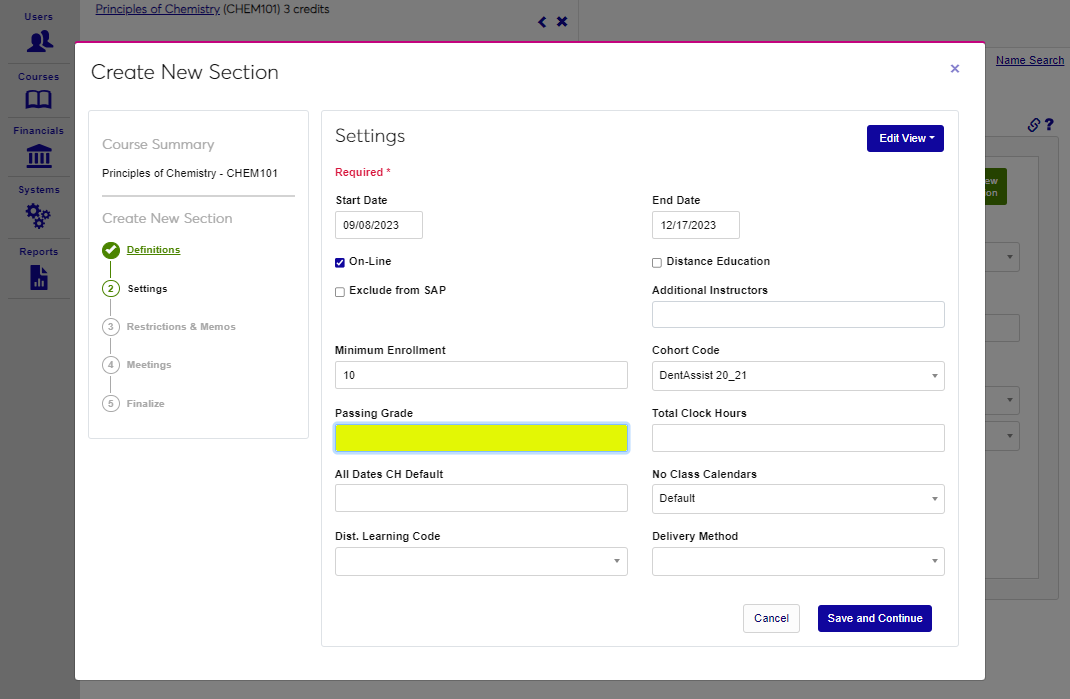
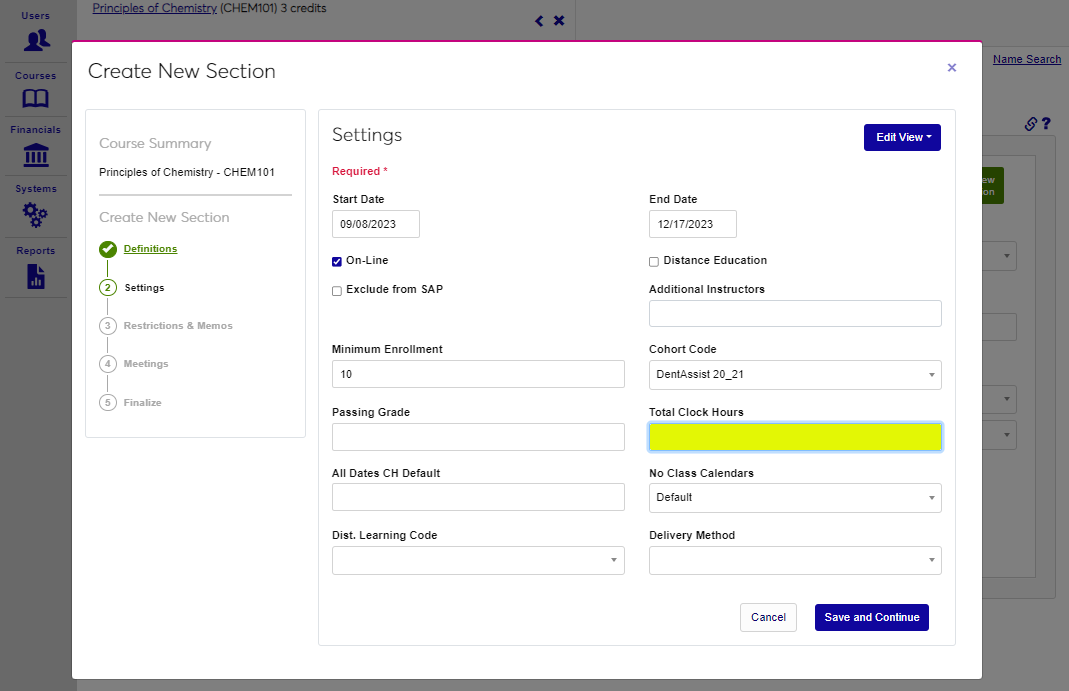
If a passing grade for the section is different than the standard institutional grading scale, enter the minimum grade necessary to pass in the Passing Grade field. If this is clock hours course, enter Total Clock Hours in the provided field.
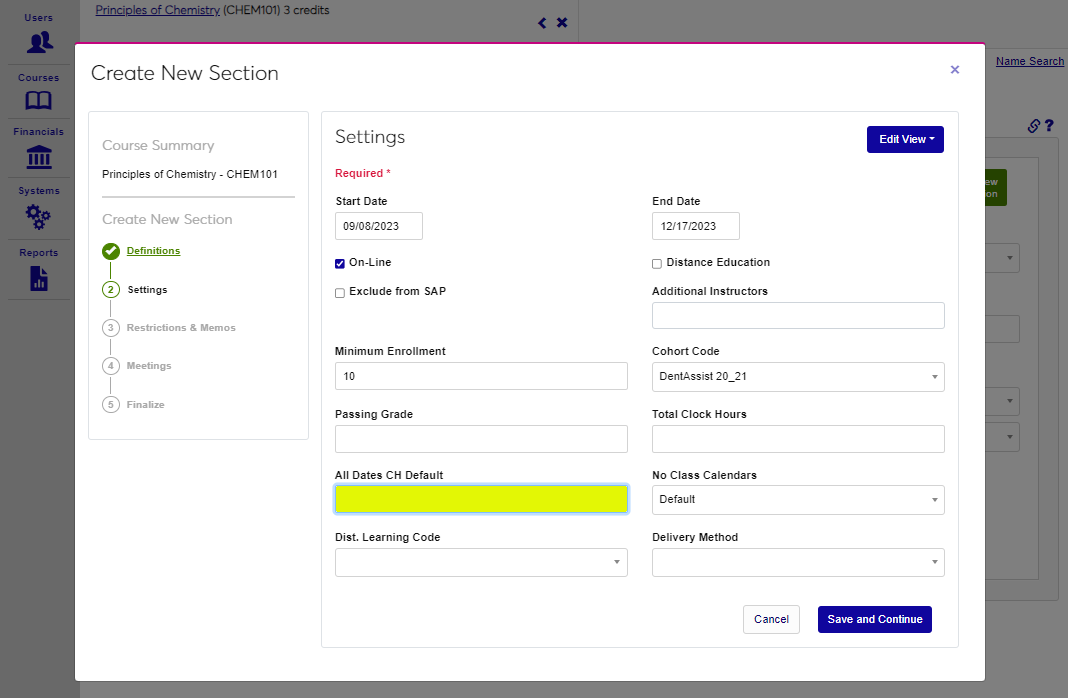
If a clock hour section should have all dates defaulted to a single date, enter the date in the All Dates CH Default field. Select the calendar that should be used for determining when the section will not be meeting from the No Class Calendar dropdown menu.

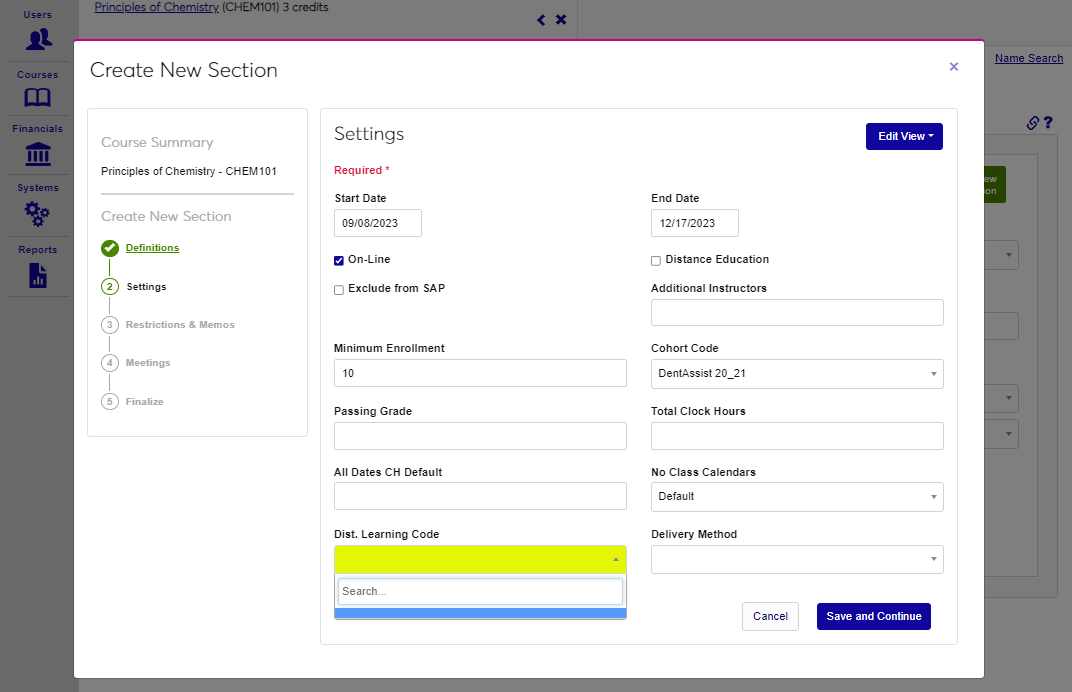
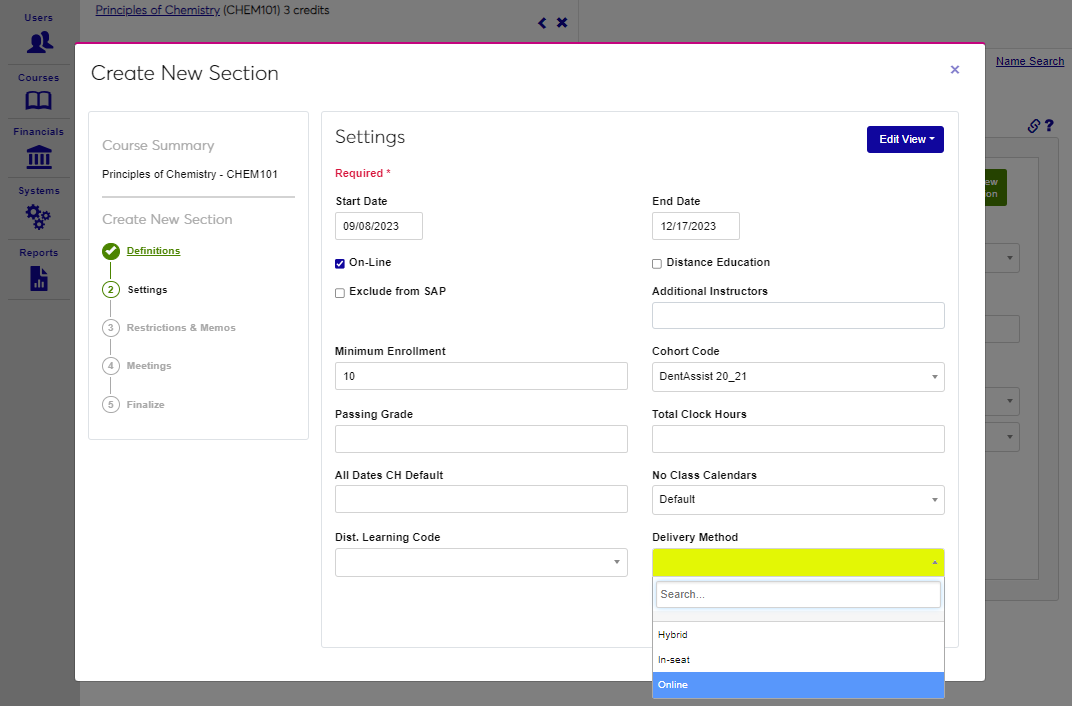
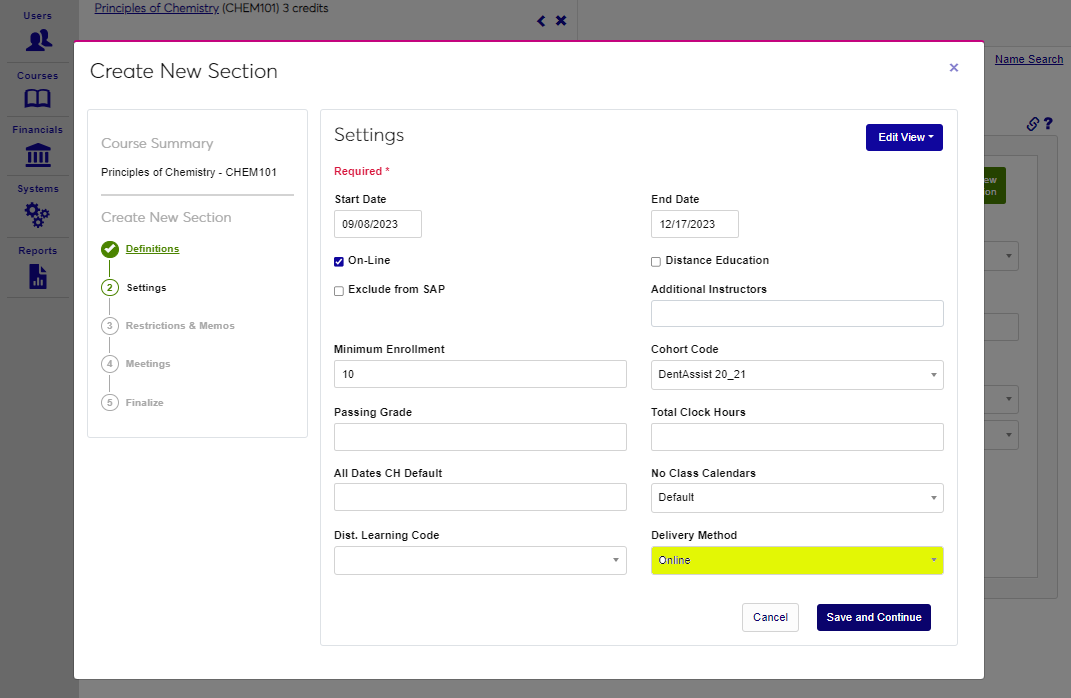
Select a Dist. Learning Code from the dropdown, if appropriate to the section. Select the way the course will be provided to students from the Delivery Method menu.
Click Save and Continue to save the entered information and proceed to the next step.
Restrictions & Memos
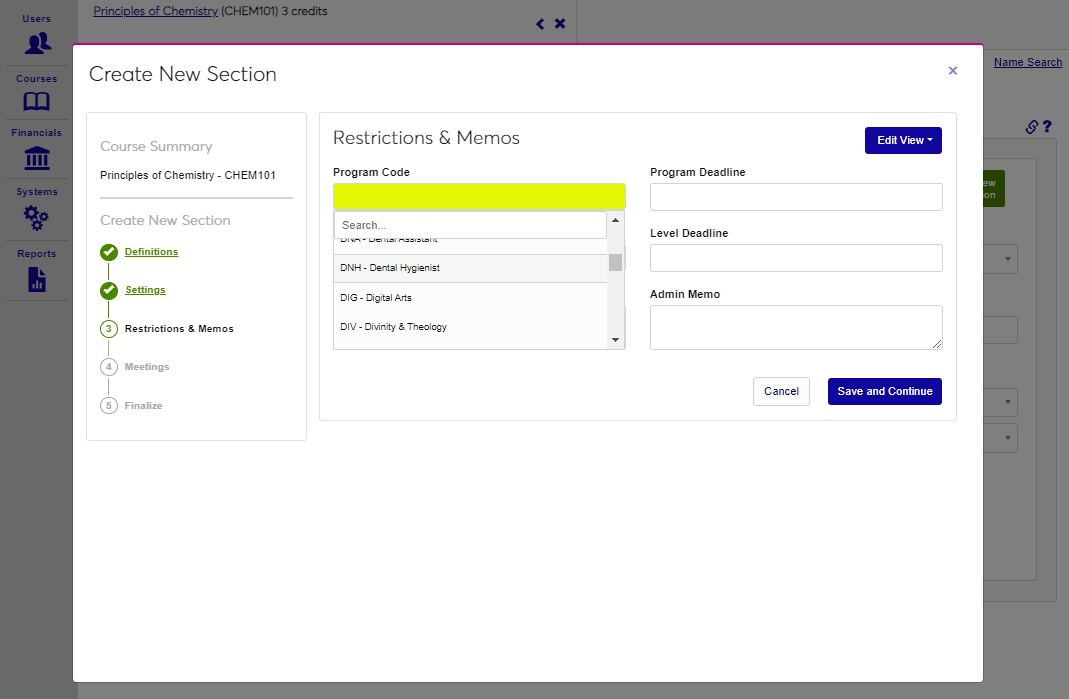
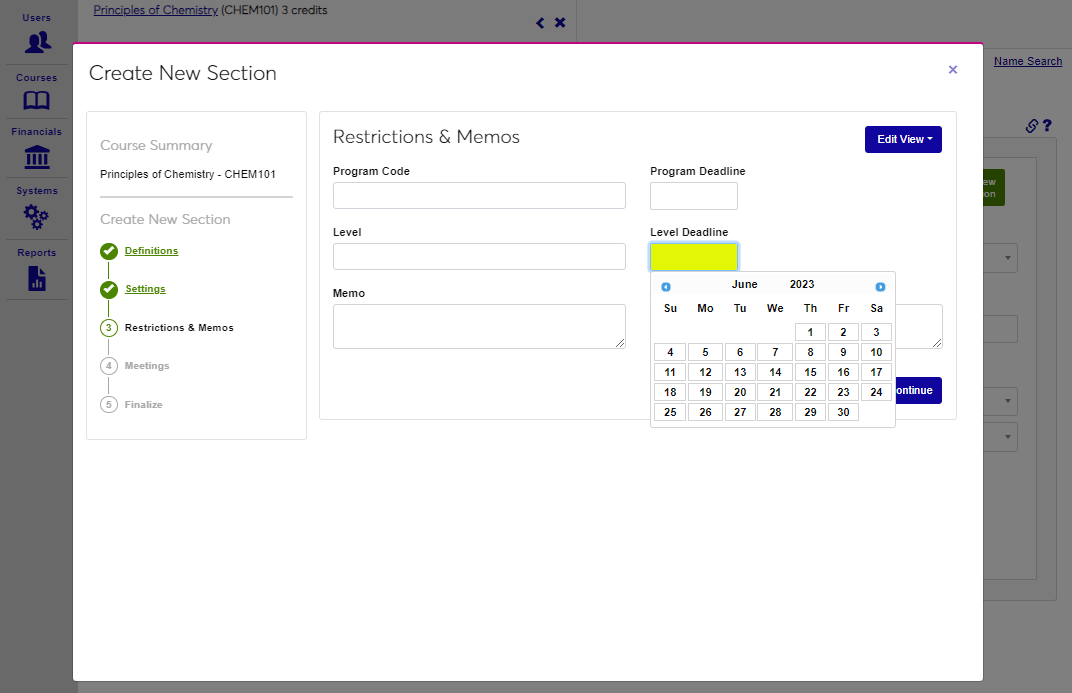
In this section, restrictions to enrollment and administrative notes are entered. If the section may only be taken by students in a specific program, select the Program Code from the dropdown. Enter any associated deadline date in the Program Deadline field.

If the student must be at a specific Level, pick it from the dropdown menu. Enter any associated Level Deadline.
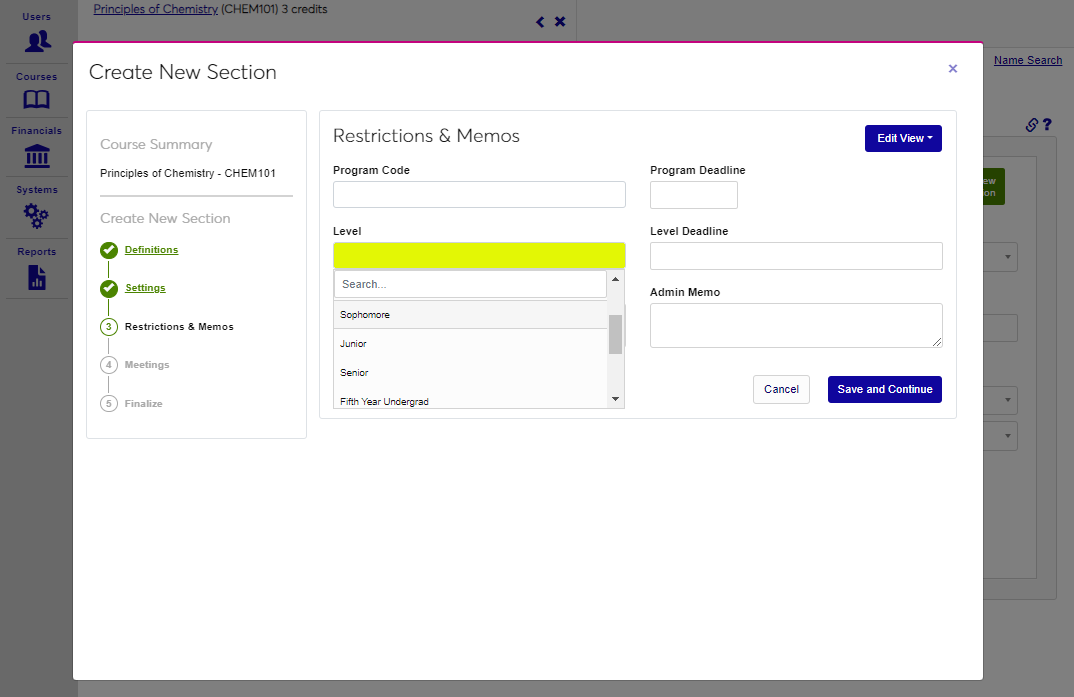
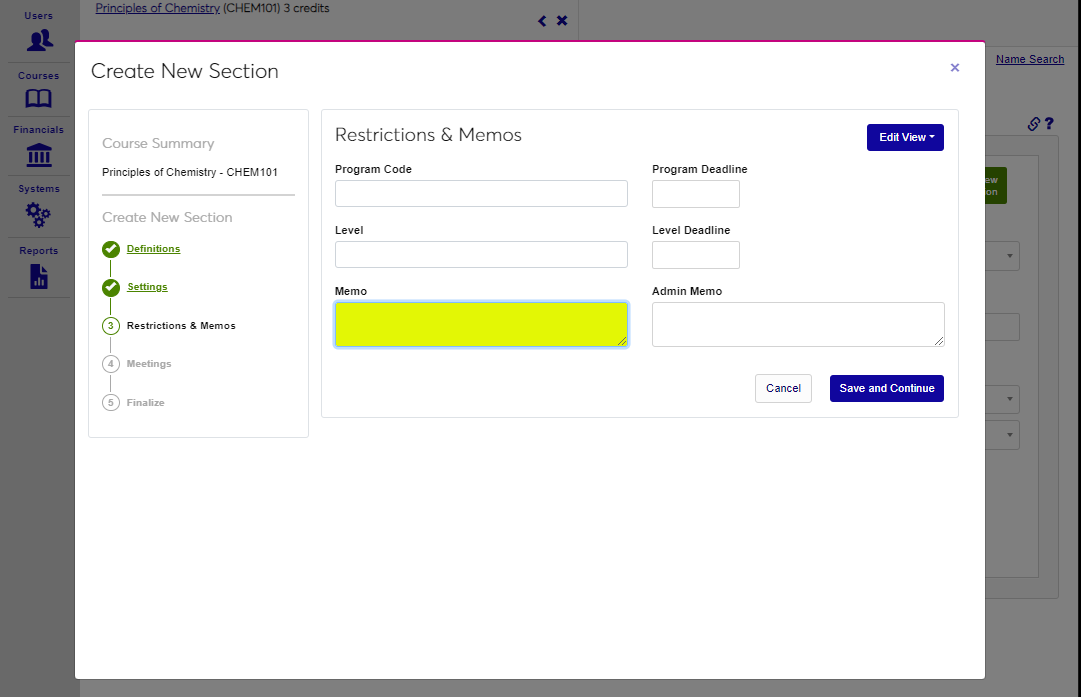
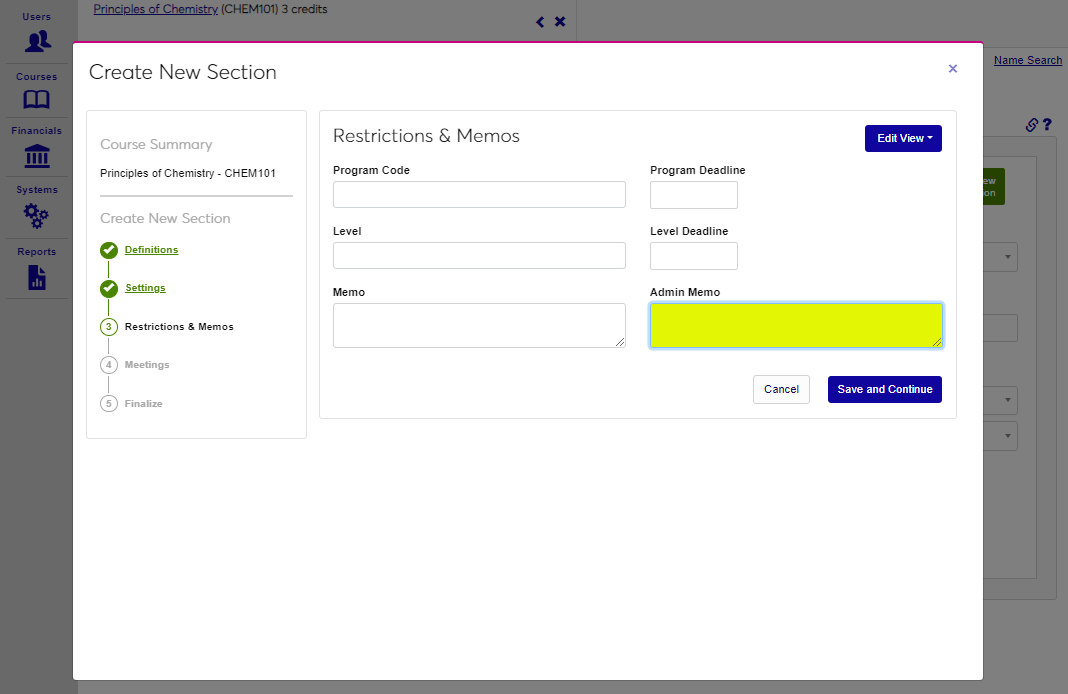
The Memo and Course Memo fields are provided to give information to advisors and schedulers about the course.
Click Save and Continue to save the entered information and proceed to the next step.

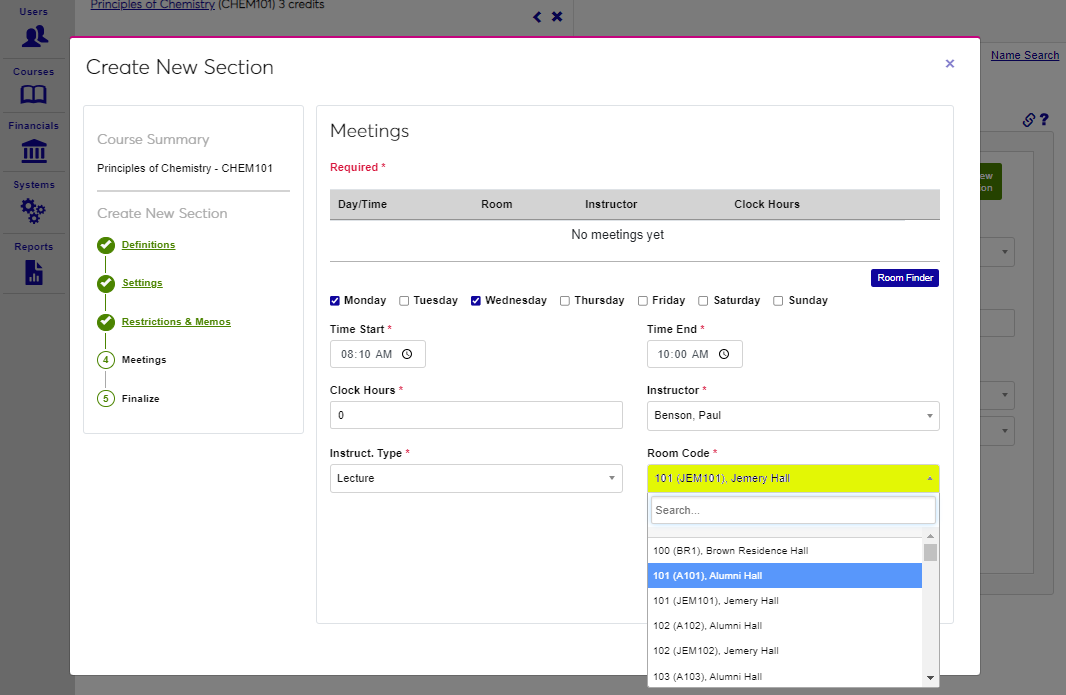
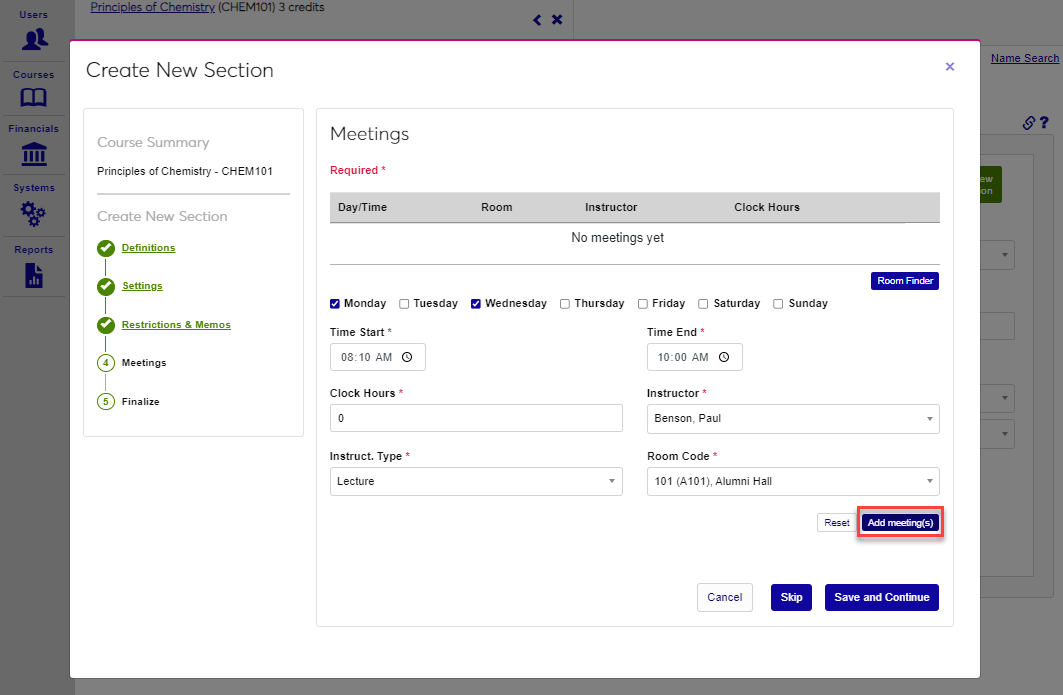
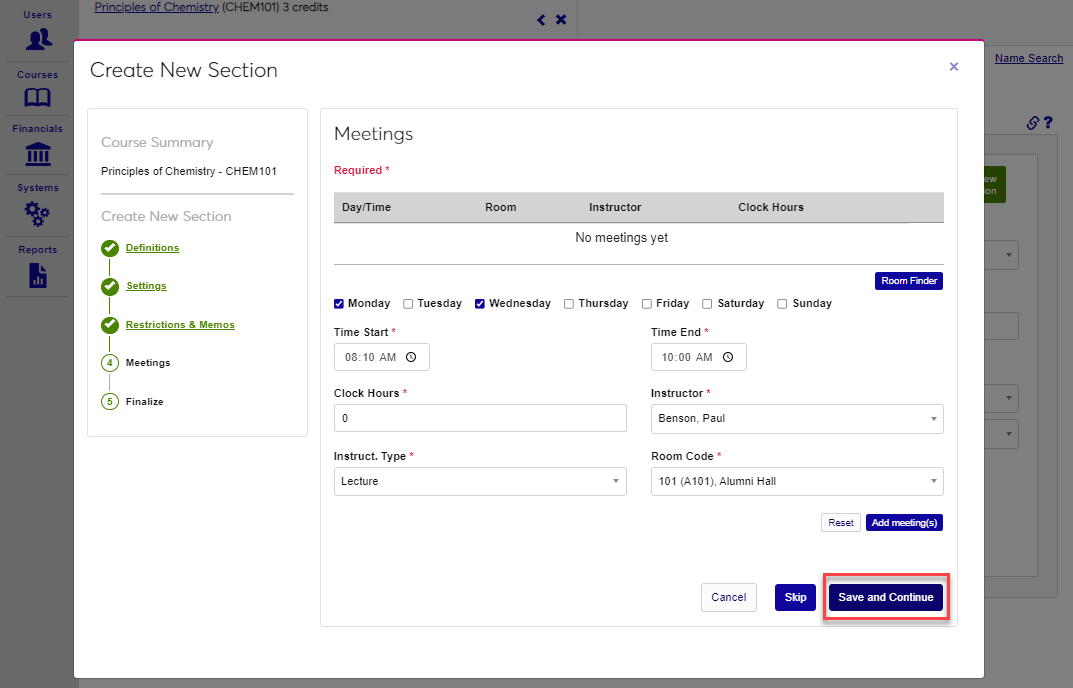
Meetings
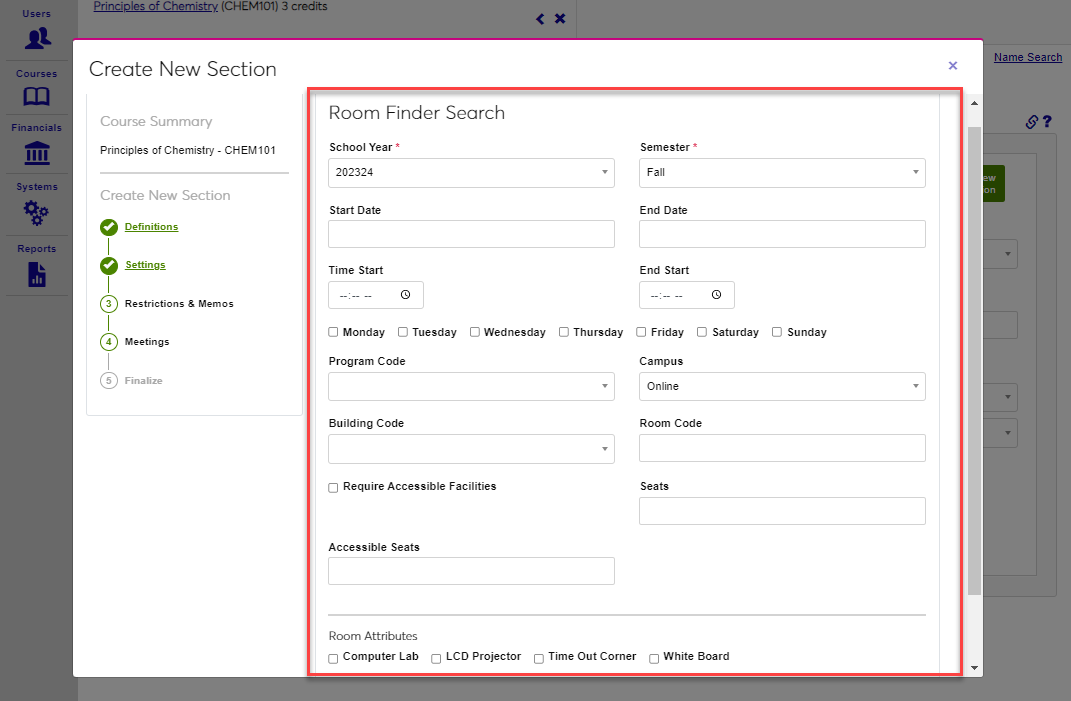
On this page, the meeting times for the section are defined. A link the Room Finder is provided. Click Room Finder to open the utility and find a room using the filters. More information on using the Room Finder can be found here.
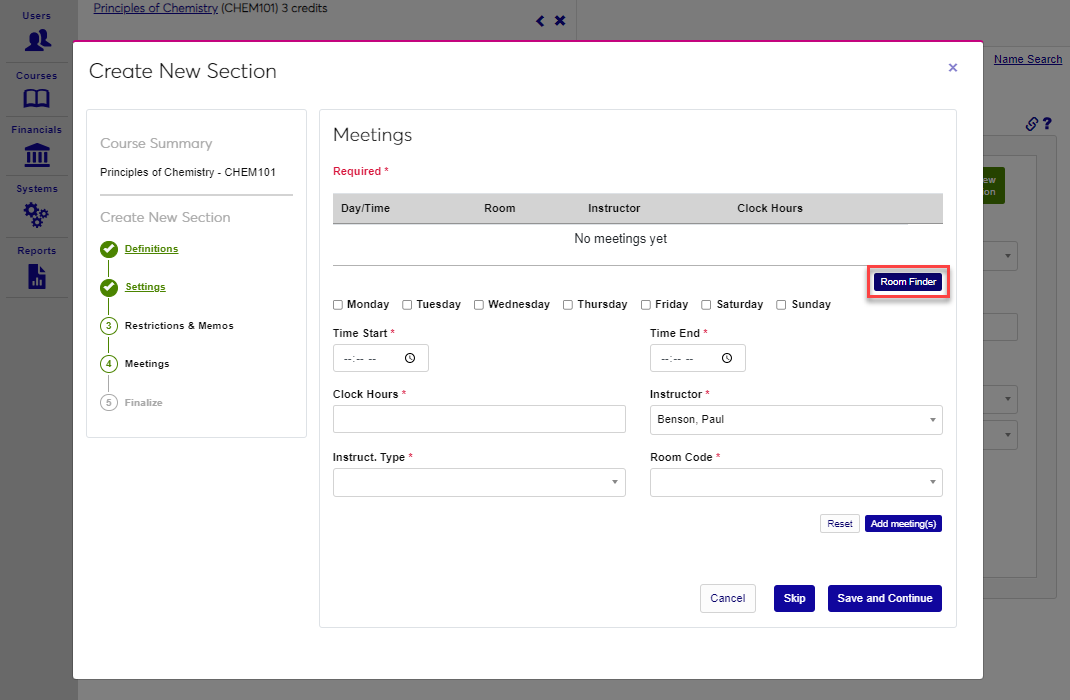
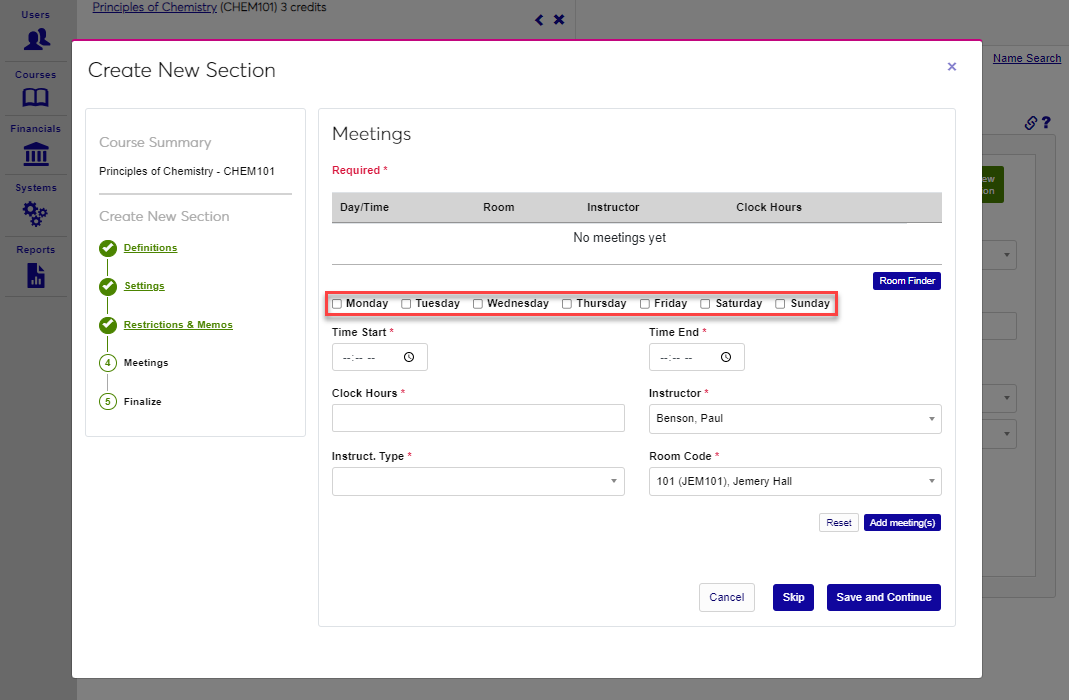
Select the day(s) the course will meet on by checking the corresponding box(es).
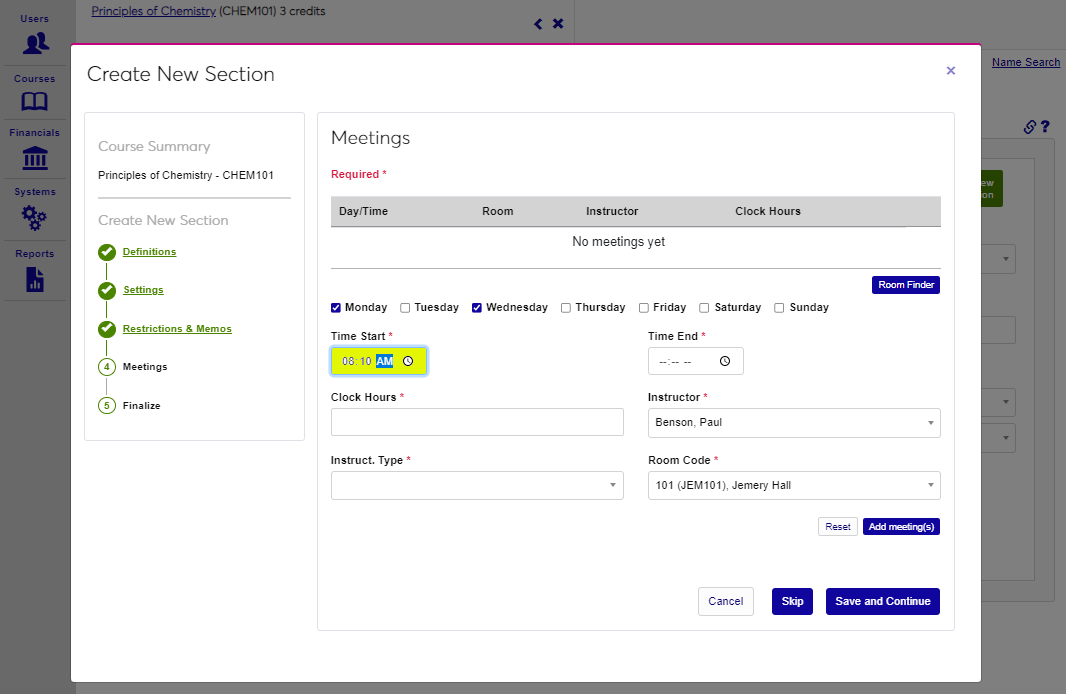
Enter the Time Start and Time End either by typing the hour, minute, and AM/PM or clicking the clock icon to open a time picker menu.
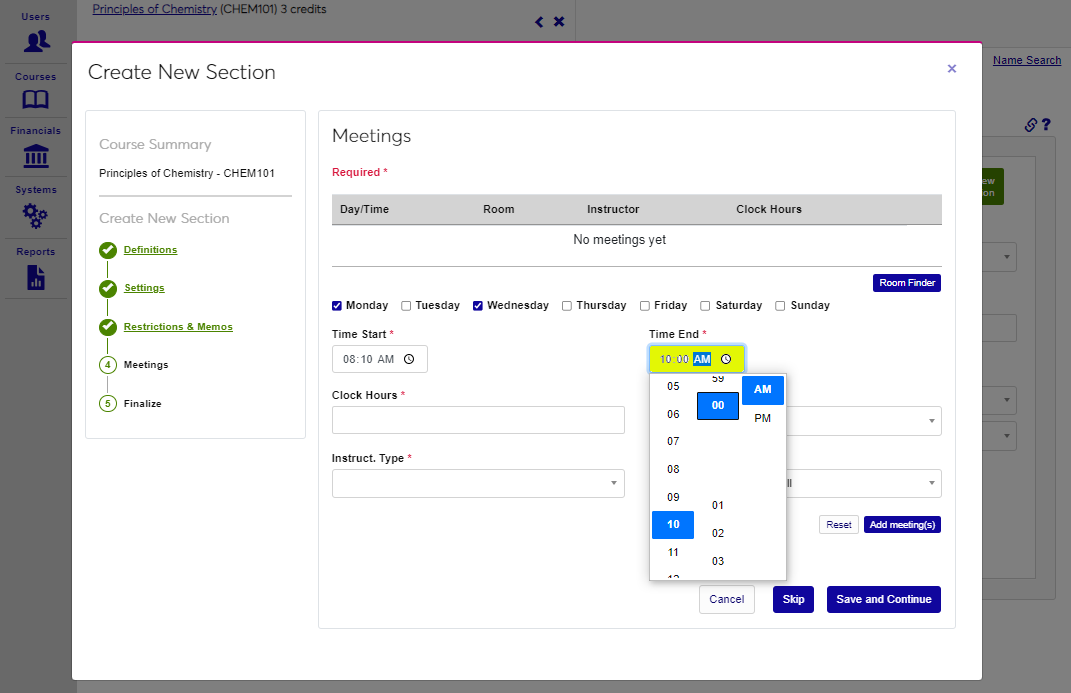
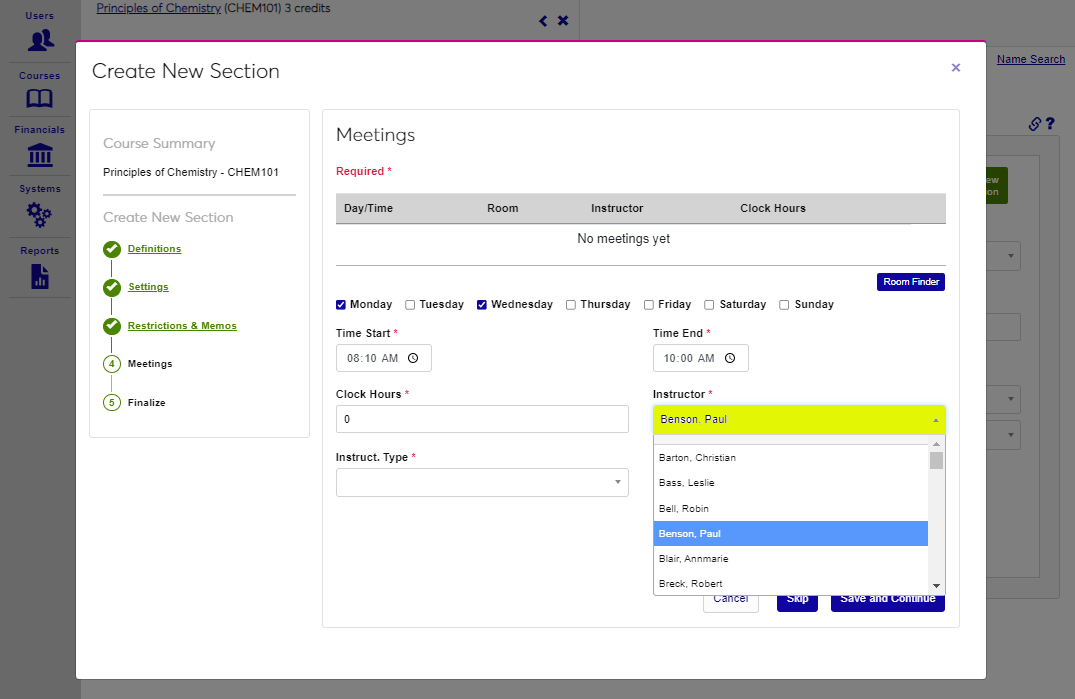
Enter the number of Clock Hours, if appropriate. Enter a zero if no clock hours are associated with the section. If the lead instructor for the section is different than indicated on the master course, change it by selecting a different Instructor from the dropdown menu.
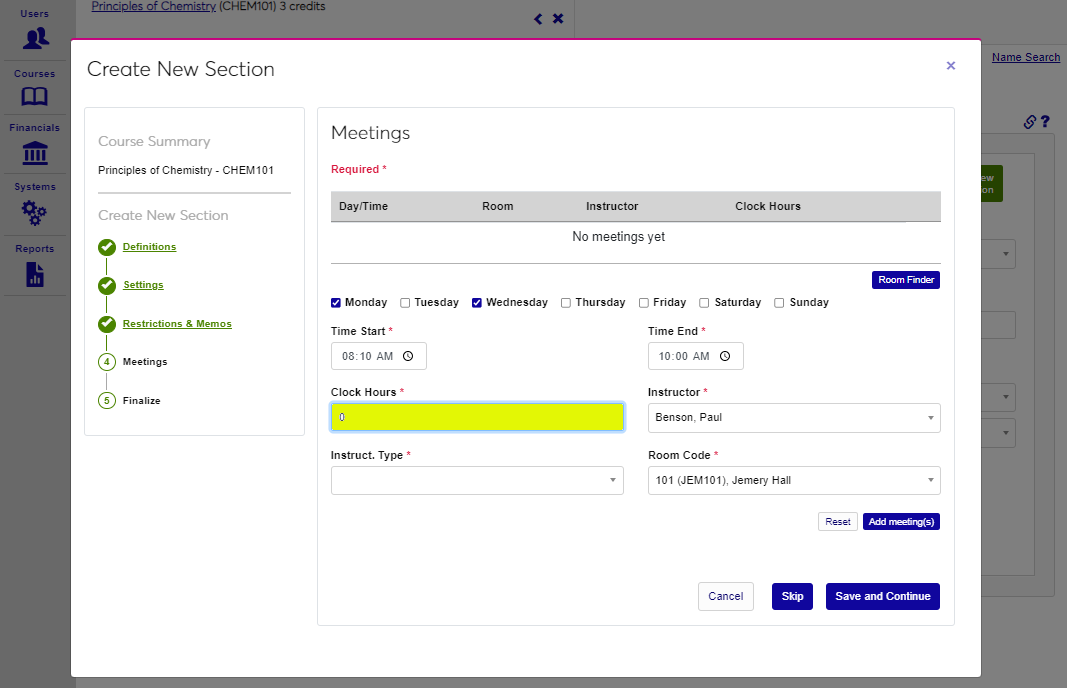
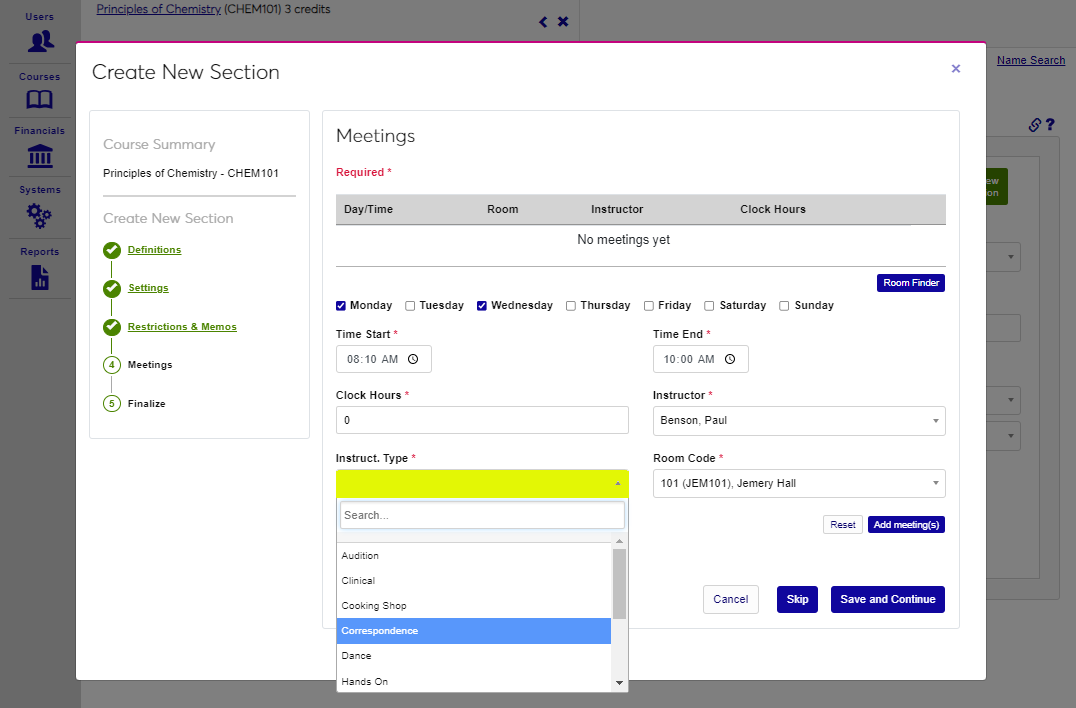
Select the Instruct. Type by choosing an instructional type from the dropdown. Select the desired Room Code from the dropdown.
Click Add Meeting to add this meeting and enter another, or click Save and Continue to save the meeting information and move to the final step in the wizard.
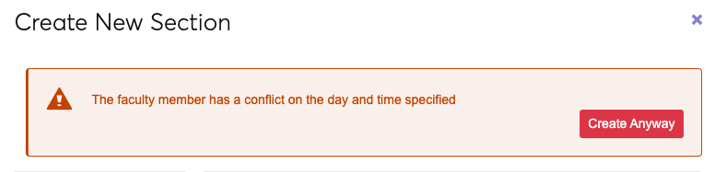
Scheduling Conflicts
If creating the section causes a scheduling conflict for the assigned instructor, a warning message will display when submitting the section. To ignore the conflict and create the section anyway, click Create Anyway. There are no special user permissions associated with this option.