Enrollment Data Collection
Overview
The Enrollment Data Collection utility is a Jenzabar SONIS feature that allows institutions to collect a wide array of enrollment data that can then be used for state reporting, analytics, or other functions. A separate setup utility allows for alternate data collection, either on a field by field basis, or with an extended file that can collect additional fields. Once the report has been created, it can be viewed through the Reports hub.
Setup
There is no setup required to use the standard collection file, but an Address Type must have previously been set as a the Data Capture Default in Table Maintenance.
Some users may wish to capture alternate data, either by altering the calculations and/or output for an individual field or fields or by adding additional fields to be collected. These changes must be made in coordination with SONIS Support. The Enrollment Data Collection Setup utility in the Systems hub lists every page that's included in the standard report.
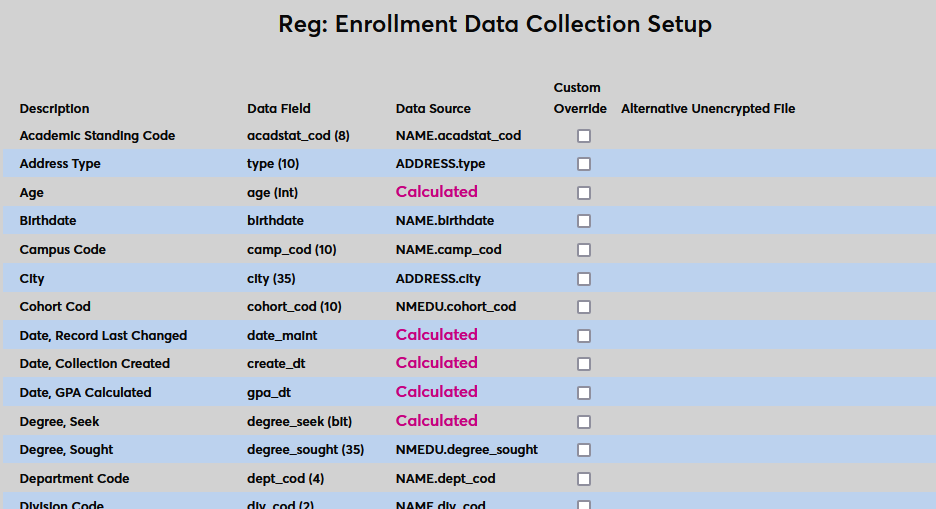
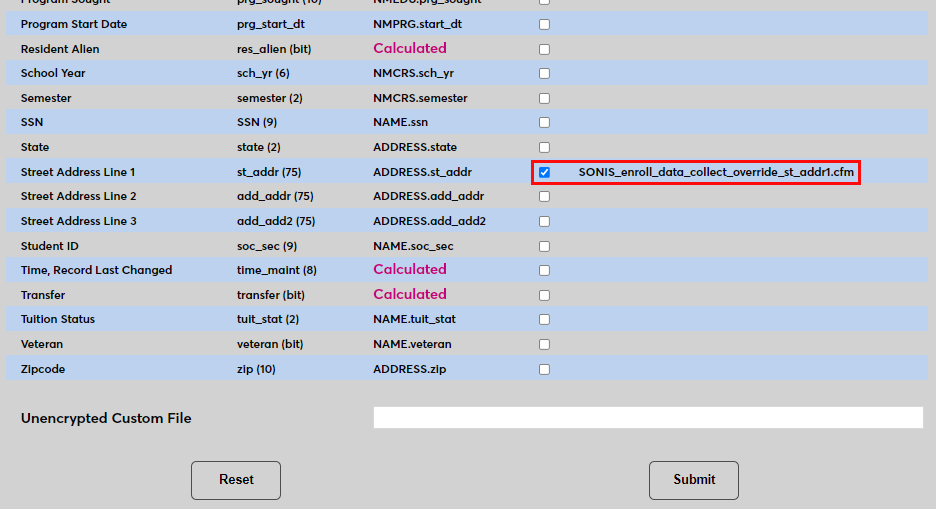
To change how an individual field is collected or how it's displayed, work with SONIS Support to create a custom file. Once the file has been created, it should be placed in the institution's SONIS build and the database entry for the field should be altered to point to the new file. When both pieces are in place, check the Custom Override box for the field to be replaced and click Submit.
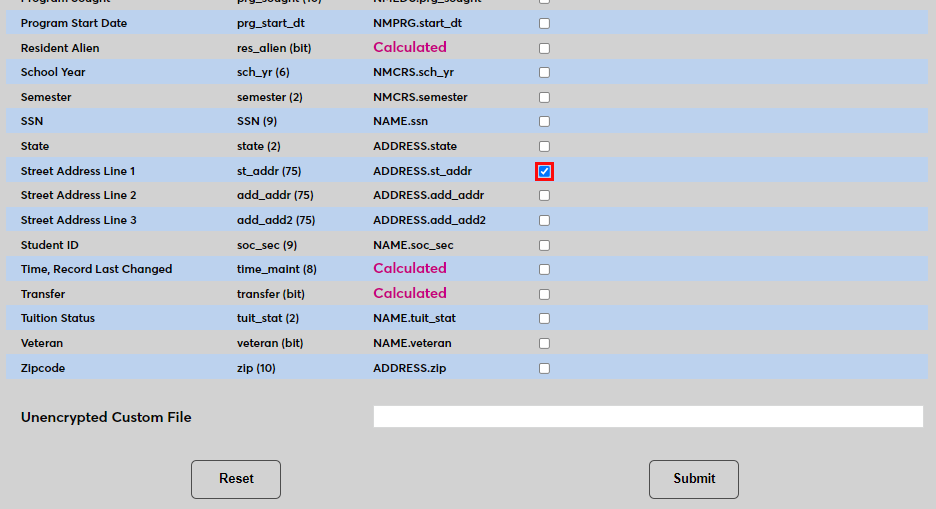

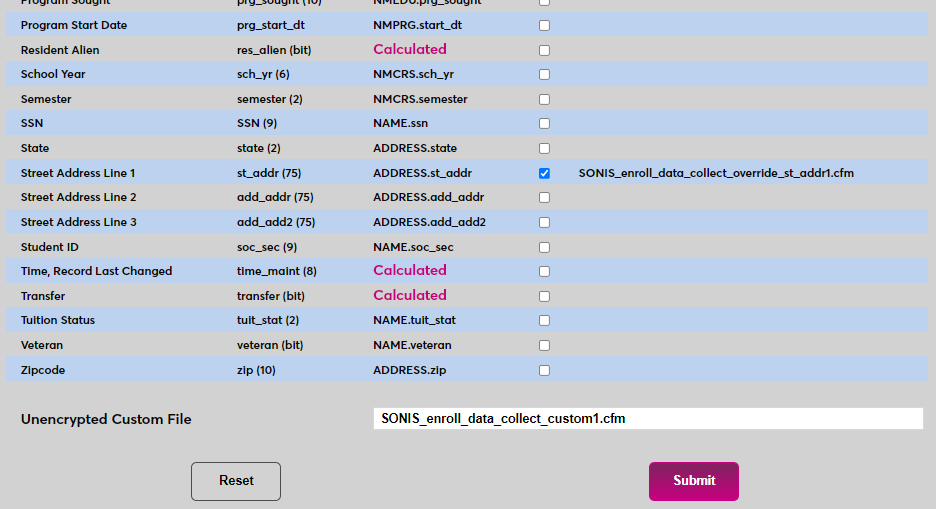
Once the file has been replaced, the new file will be listed on the page in the Alternative Unencrypted File column.
The other option is to create an extended file that collects additional fields. The first part of the process is the same. Work with SONIS Support to create a custom file and place it in the institution's SONIS system. Once this has been done, copy the name of the file into the Unencrypted Custom Field field at the bottom of the page and click Submit.

Creating Snapshot
Once any necessary setup changes have been made, navigate to Enrollment Data Collection in the Systems hub. Select a School Year and a Semester to query.

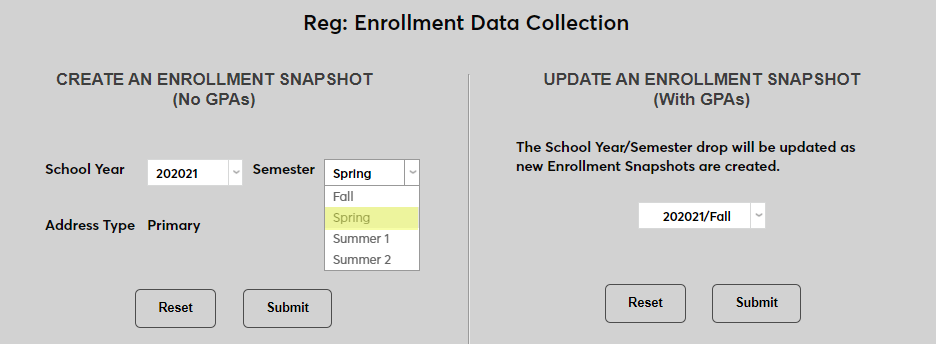
Click Submit to create the data file. This process may take a few minutes.

If an enrollment collection file for that school year and semester already exists, SONIS will display a warning message. Select Yes to overwrite the existing file or No to keep it.

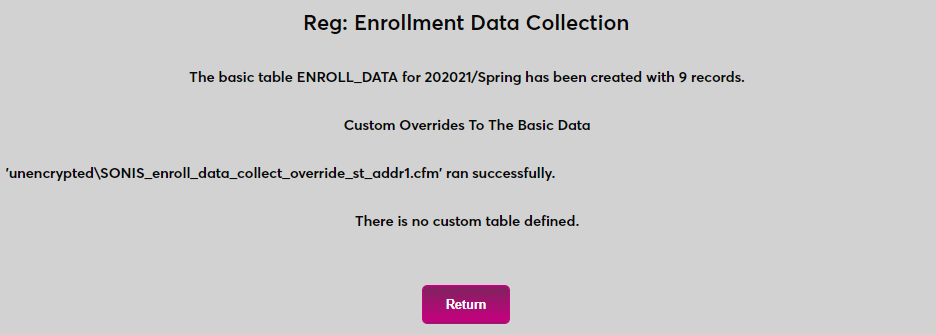
If there are custom files in place, they will be listed on the results page. Click Return to continue.
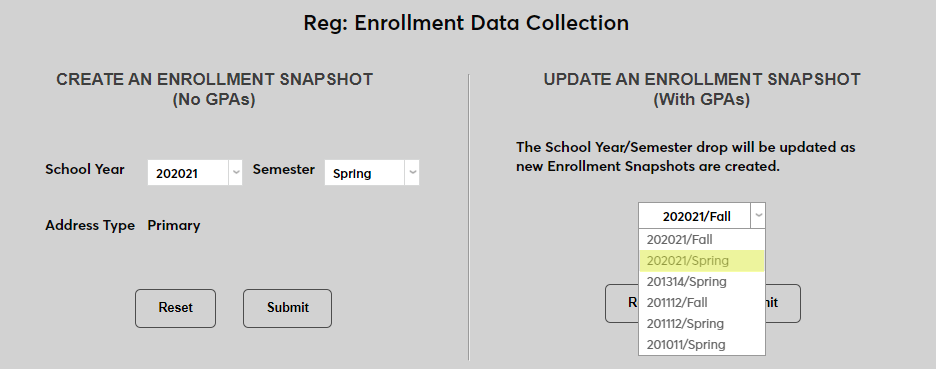
The original snapshot file does not include GPAs. These processes are separated to conserve system resources. To add GPAs to the file, select the snapshot from the menu on the right side of the page and click Submit.

Viewing Report
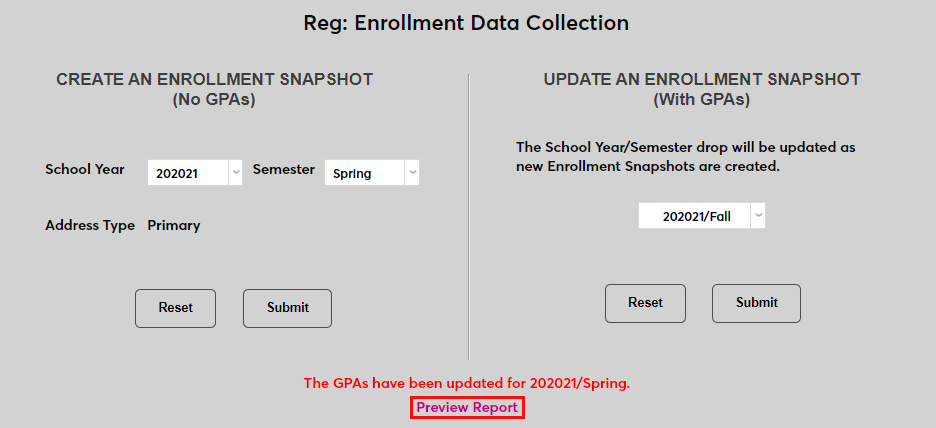
Once the GPAs have been added to the snapshot file, click Preview Report.
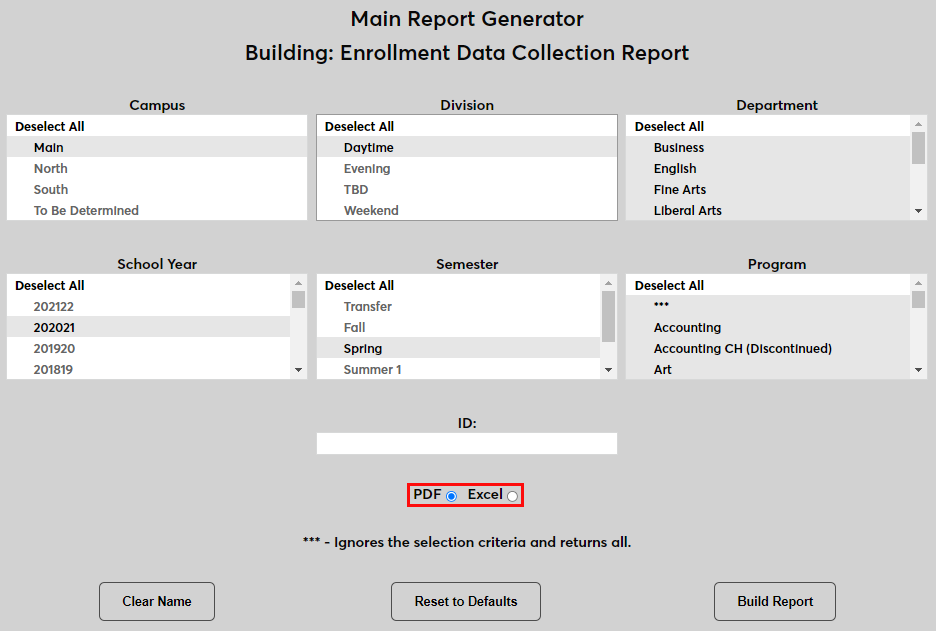
The administrator will be taken to the report generator page where they can use any or all of the Campus, Department, and Program menus to narrow down the report. An ID field is available as well to view an individual SONIS user.
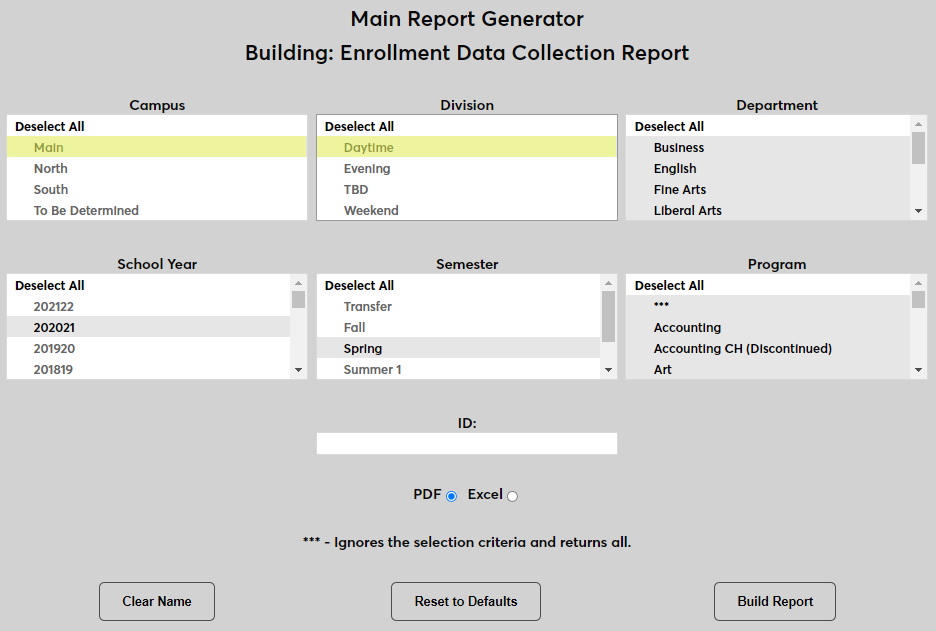
Ensure that the selected School Year and Semester match the school year and semester of the created file. Attempting to view a school year and semester that doesn't match an existing file will result in an error.
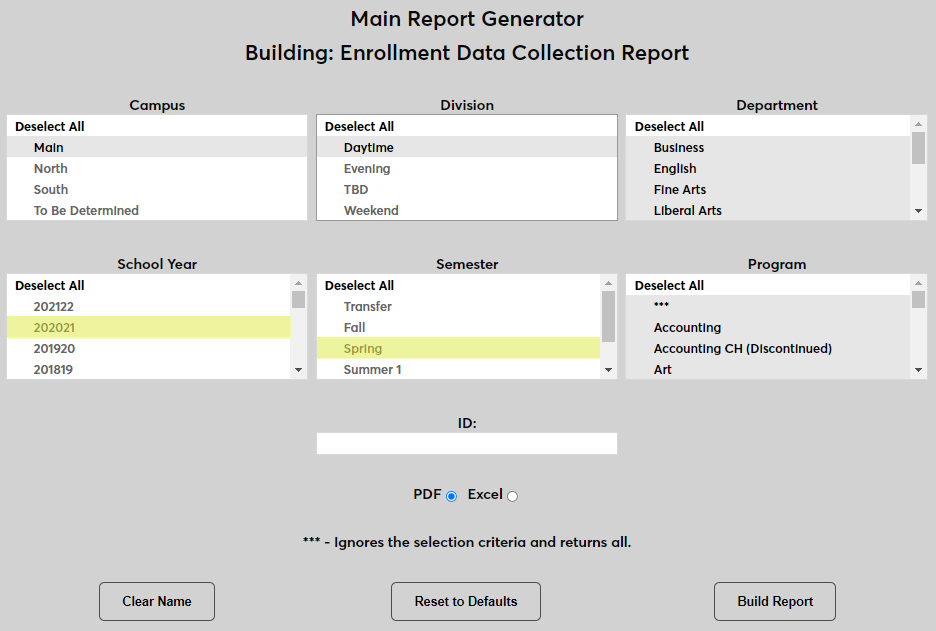
Choose whether to view the report as a PDF or an Excel file and click Build Report to continue.
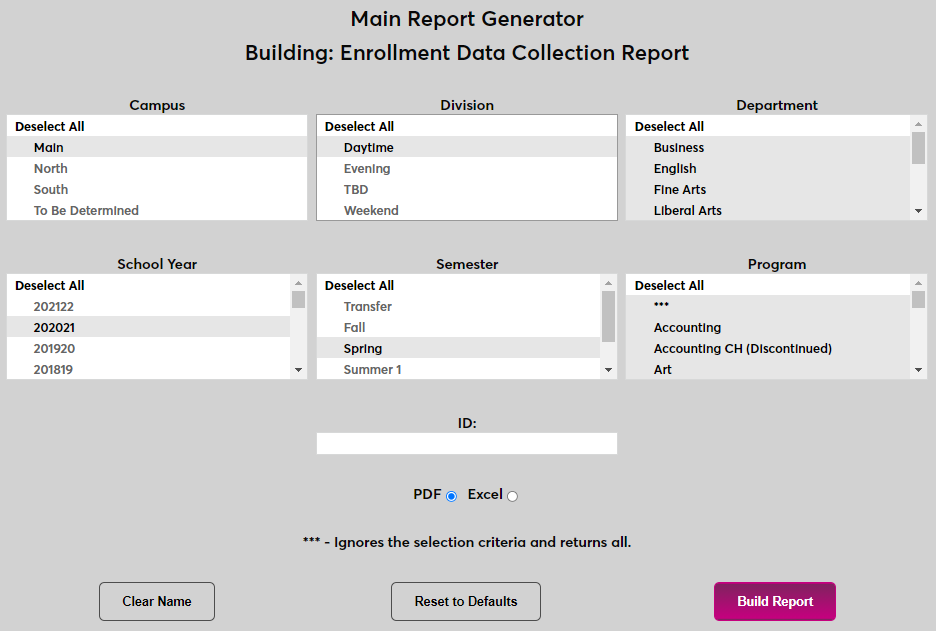
Click Preview Report to open the file.

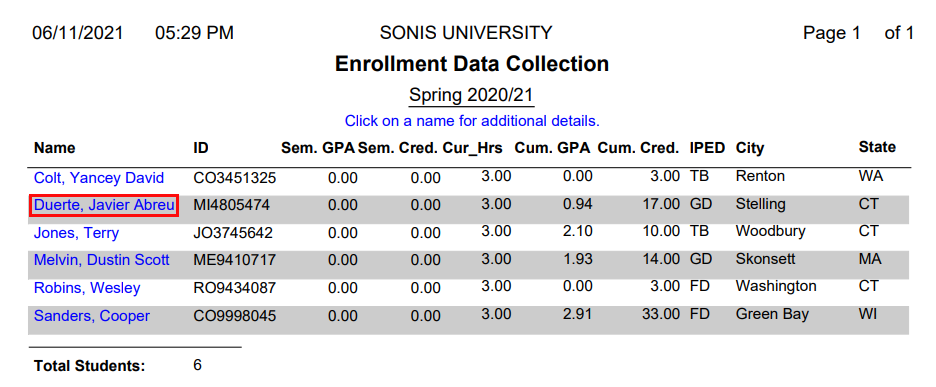
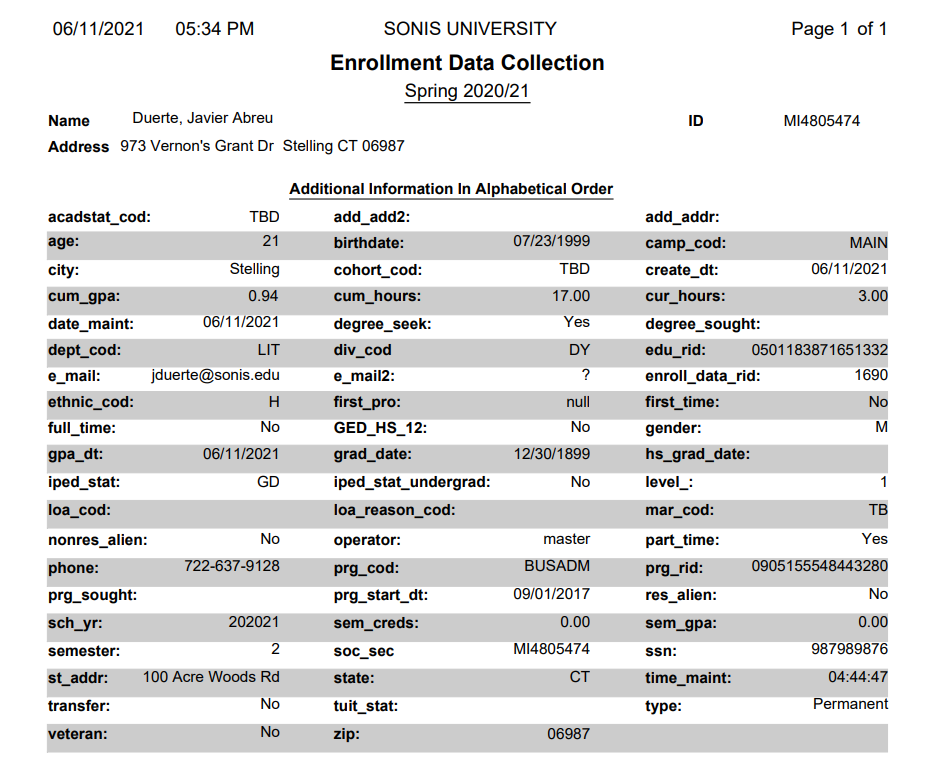
The PDF version of the report lists each student separately. Click on the name of a student to drill down and view additional data.