Education
Overview
If a student or applicant has attended other education institutions and submitted a record of their attendance to a Jenzabar SONIS member institution (for example, via an official transcript), this information can be recorded on the Users hub Education page. An institution search and checklist item addition are provided to reduce data entry.
Recording Institutional Attendance
Navigate to the student's Education page from the Users hub. Click the Add button.

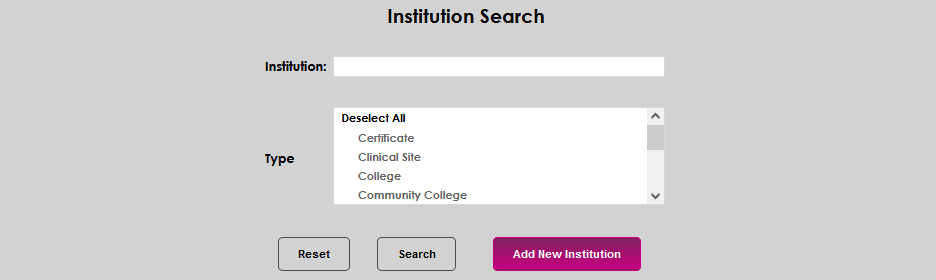
Two options are provided for identifying and selecting the institution. To search for the school by its name, type the name in the Institution field. To execute the search, either use the Enter key on the keyboard, or click Search.
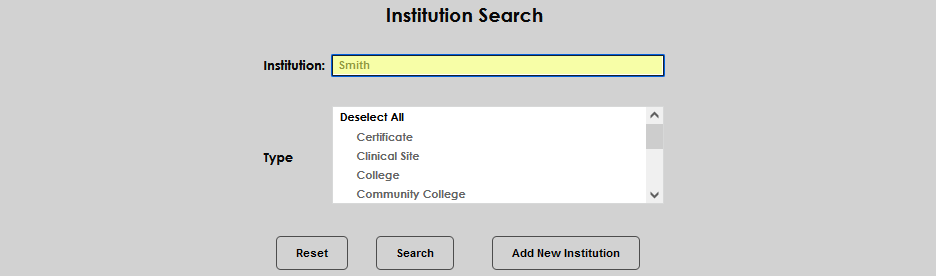

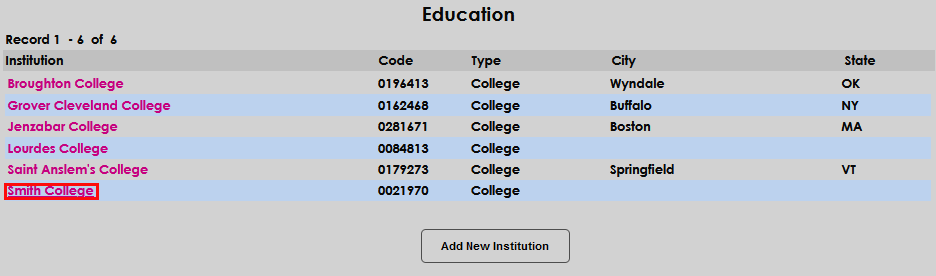
All institutions that meet the search criteria are then displayed. If the desired institution is displayed, click the name to begin adding the specific details associated with the student's institutional attendance. If the institution is not displayed, return to the search page using the browser back button and search by Type. Ensure the Institution field is blank, select the correct Type of institution and click Search or the Enter key on the keyboard to execute the search.


If the correct institution is displayed, select it by clicking the name. If the institution is not displayed, follow the directions below to add the institution.
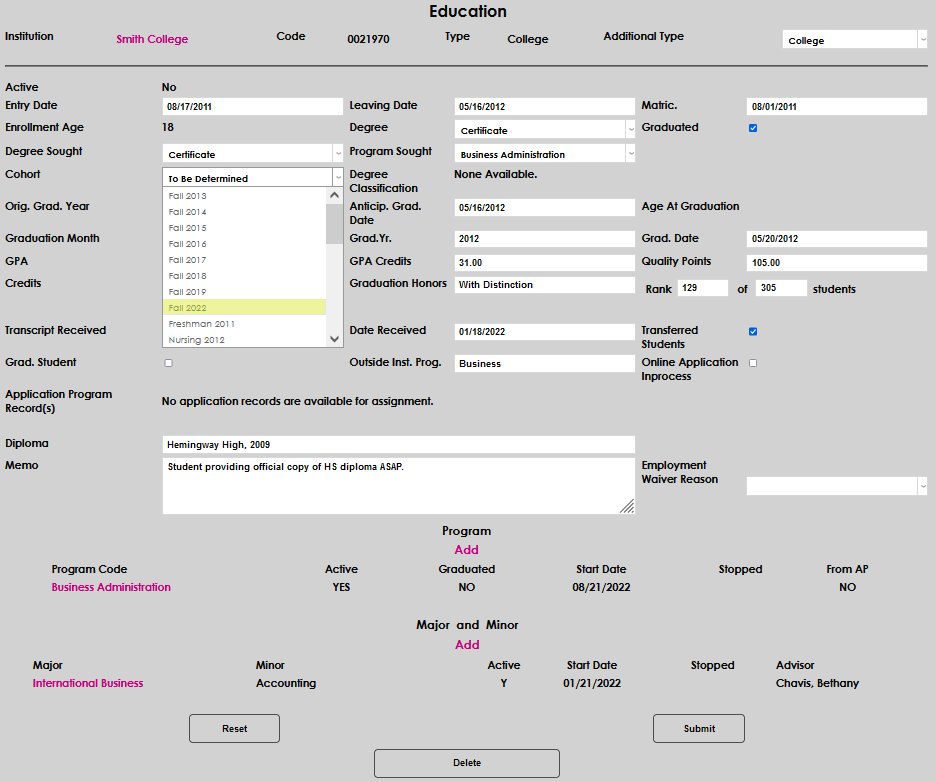
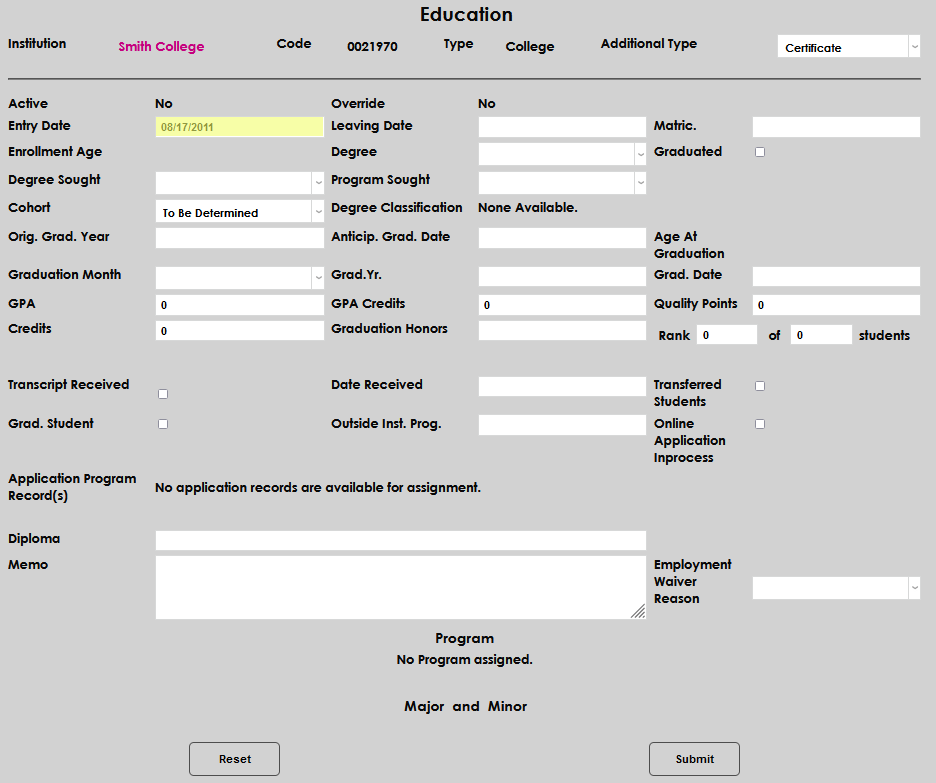
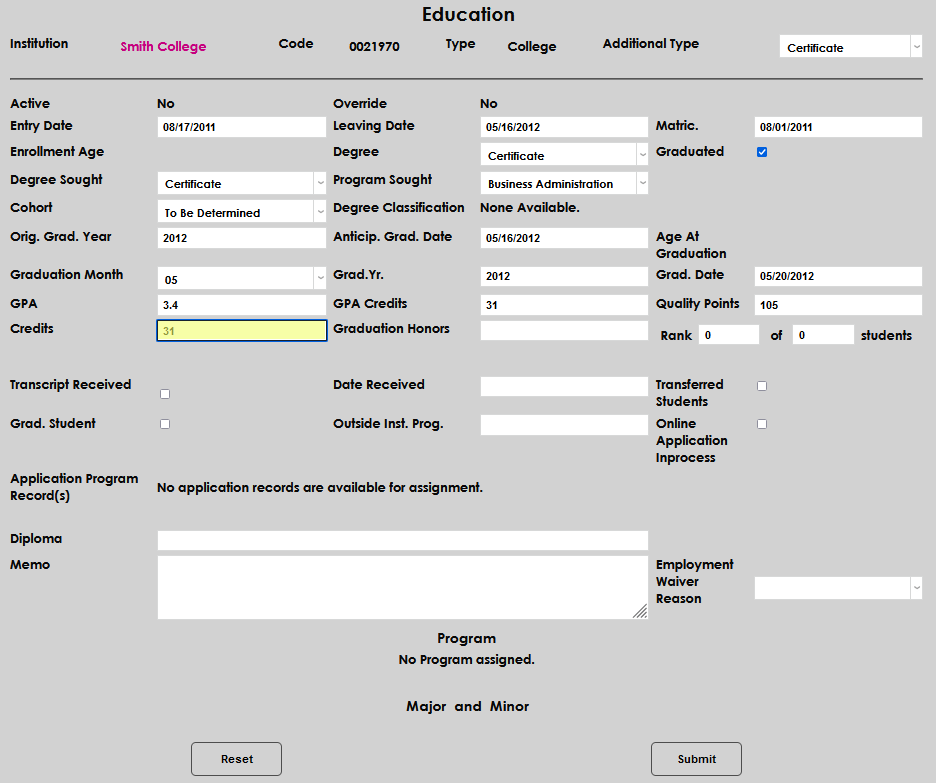
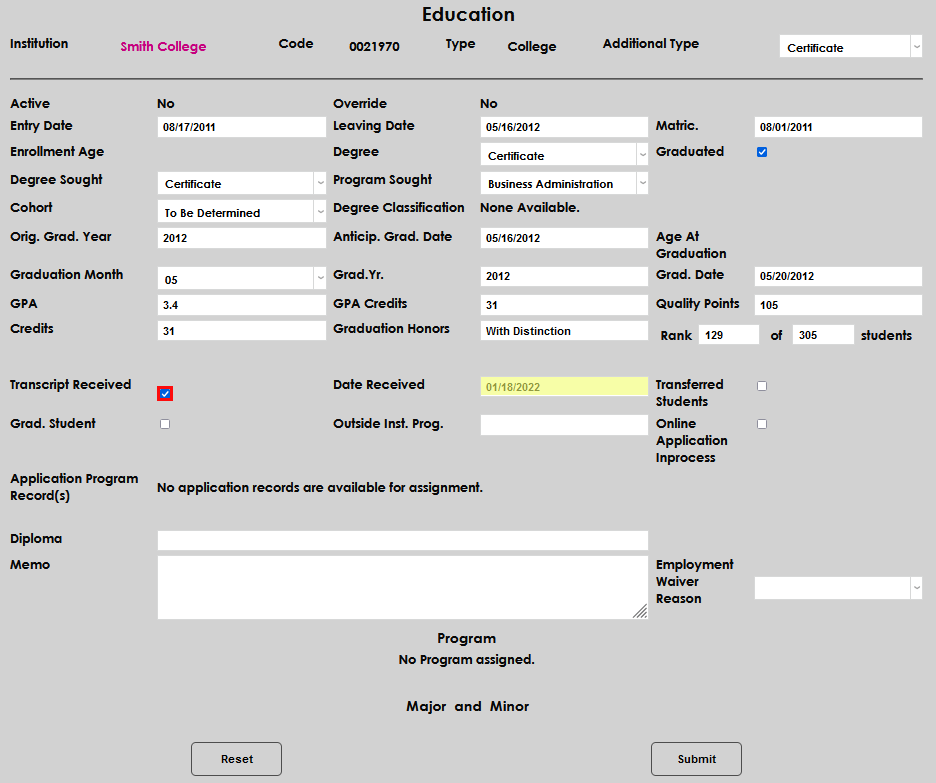
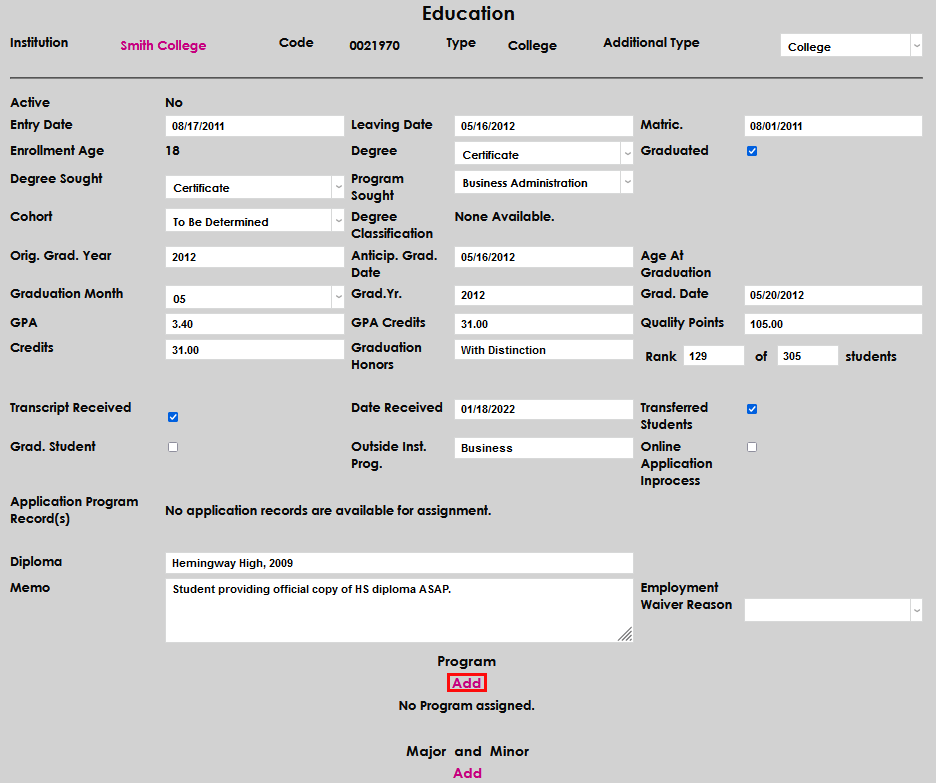
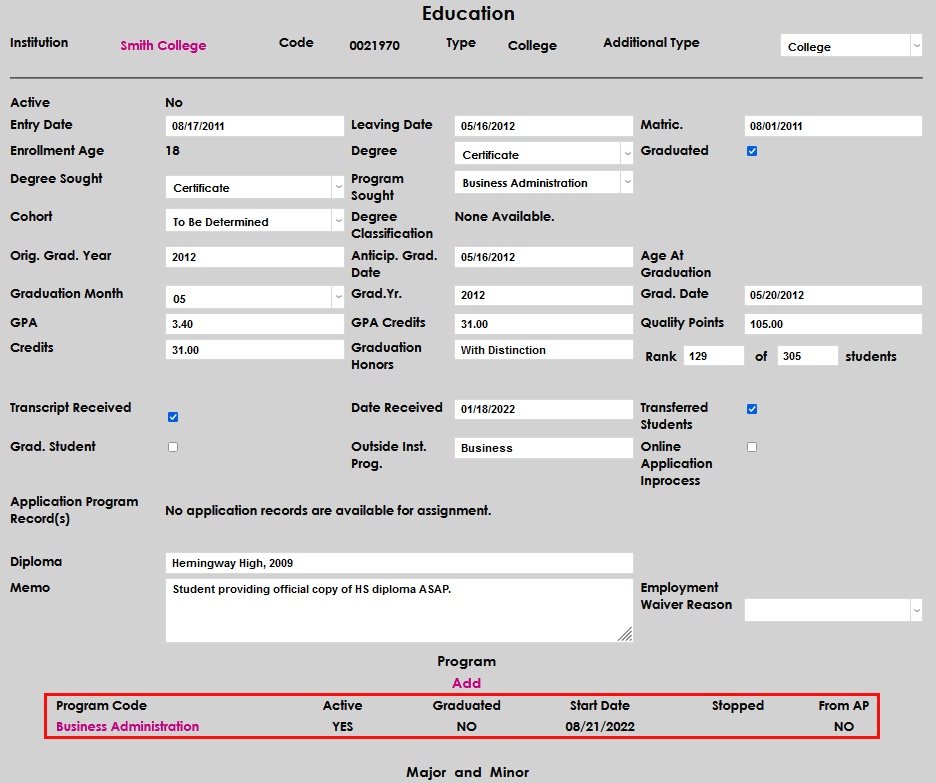
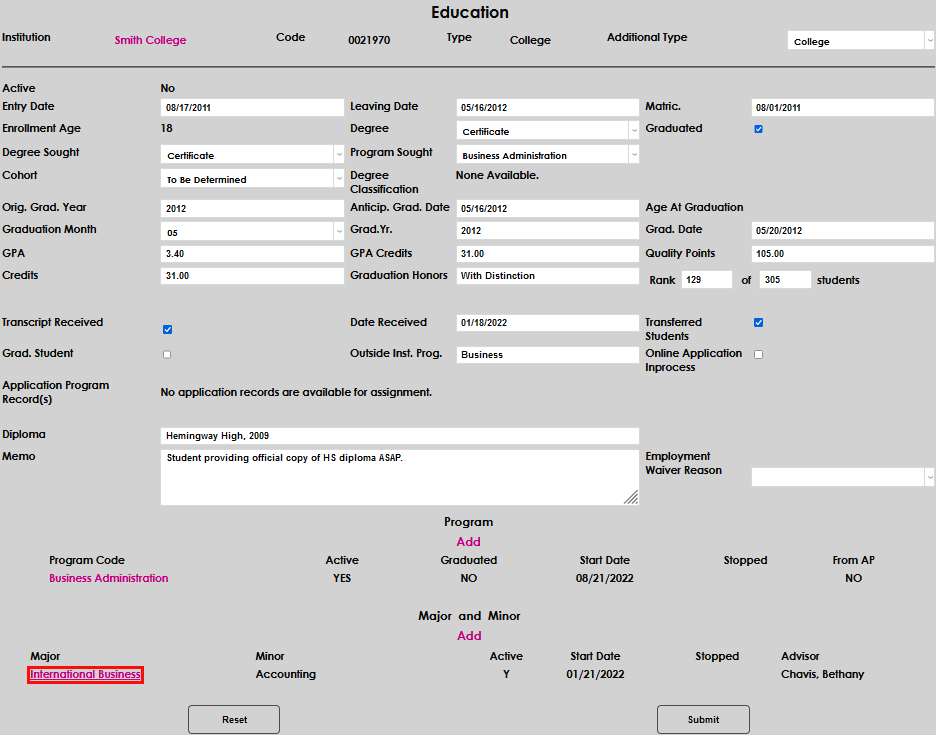
Enter the date the student entered the institution in the Entry Date field. If the exact date is not displayed on the transcript, it is generally acceptable to use an approximation based upon the beginning of the first period of attendance (for example, if the first record on the transcript is fall semester 2011, use a month and day that generally correspond with a fall semester beginning).
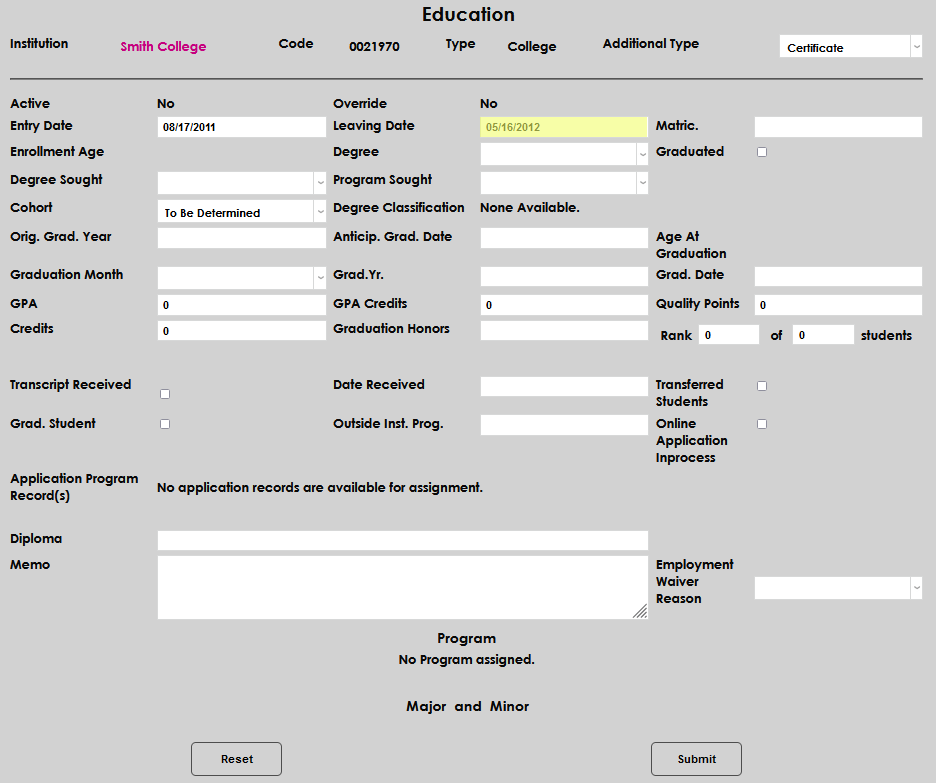
Enter the date the student ceased attending the institution in the Leaving Date field. If the exact date is not displayed on the transcript, it is generally acceptable to use an approximation based upon the ending of the last period of attendance (for example, if the last record on the transcript is spring semester 2012, use a month and day that generally correspond with a spring semester ending).
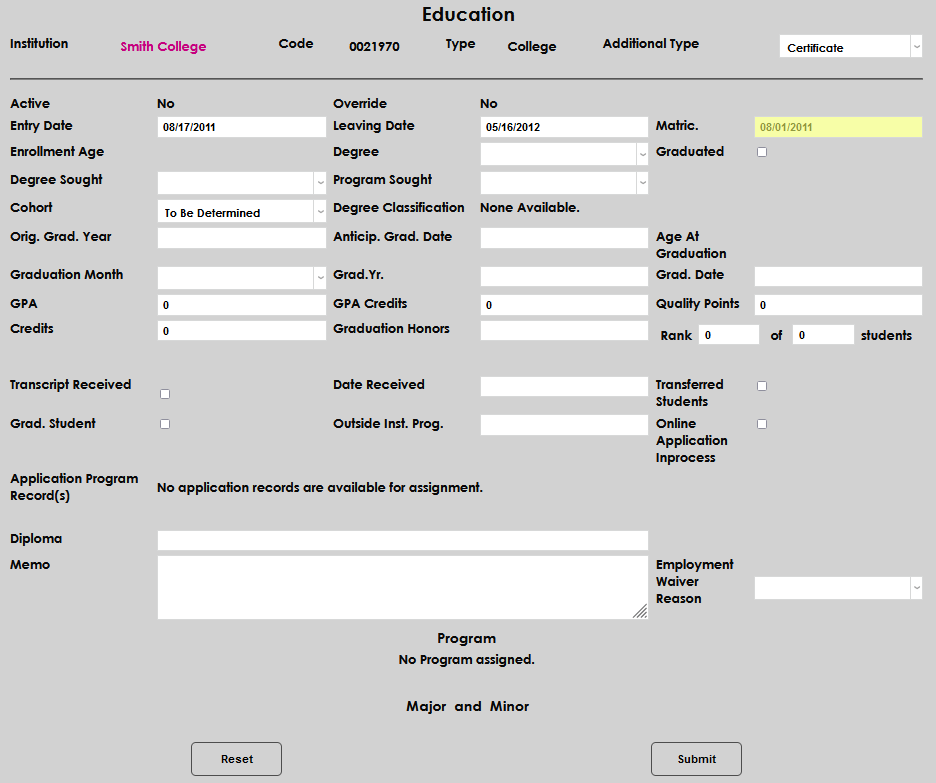
Enter the date the student was accepted to the institution in the Matric. field, if available.
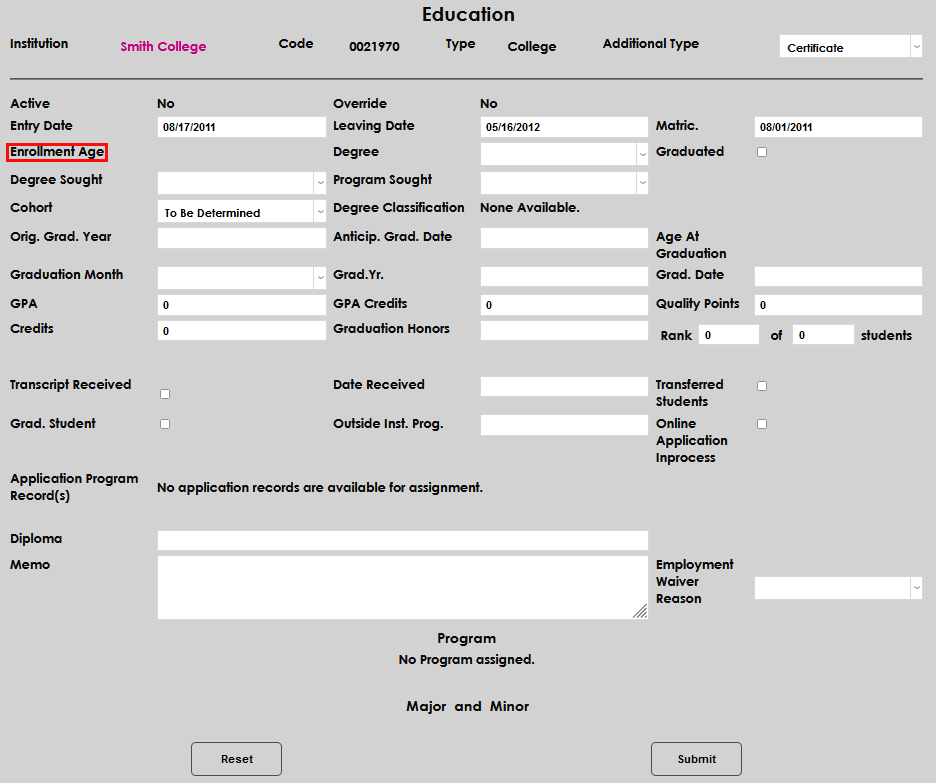
The Enrollment Age section will calculate and autofill after the entries for this education record are saved.
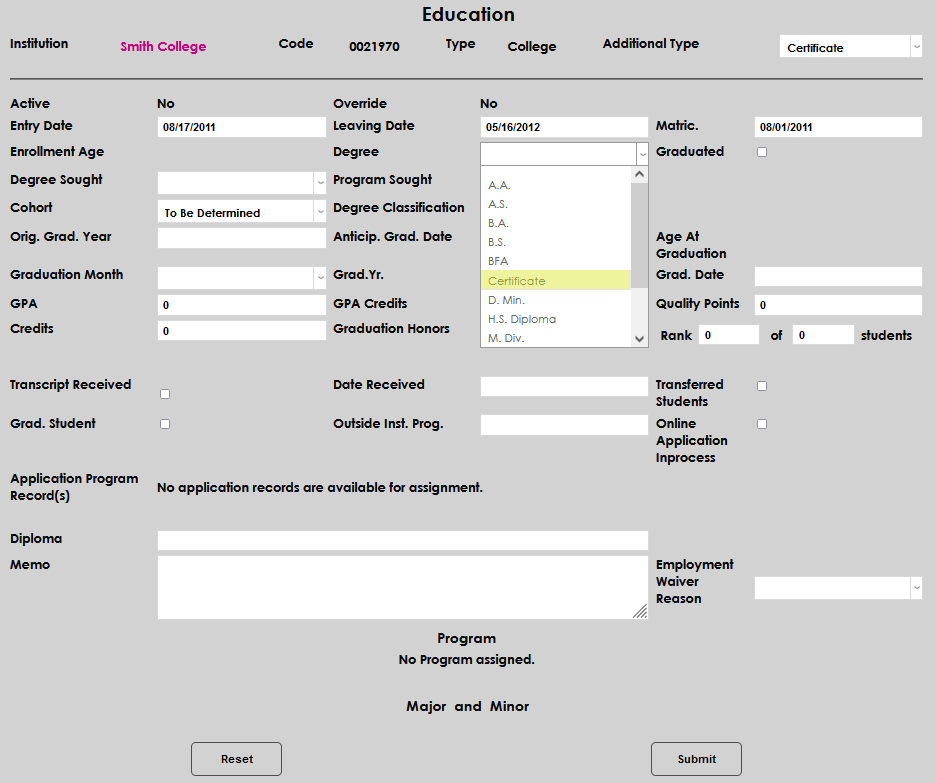
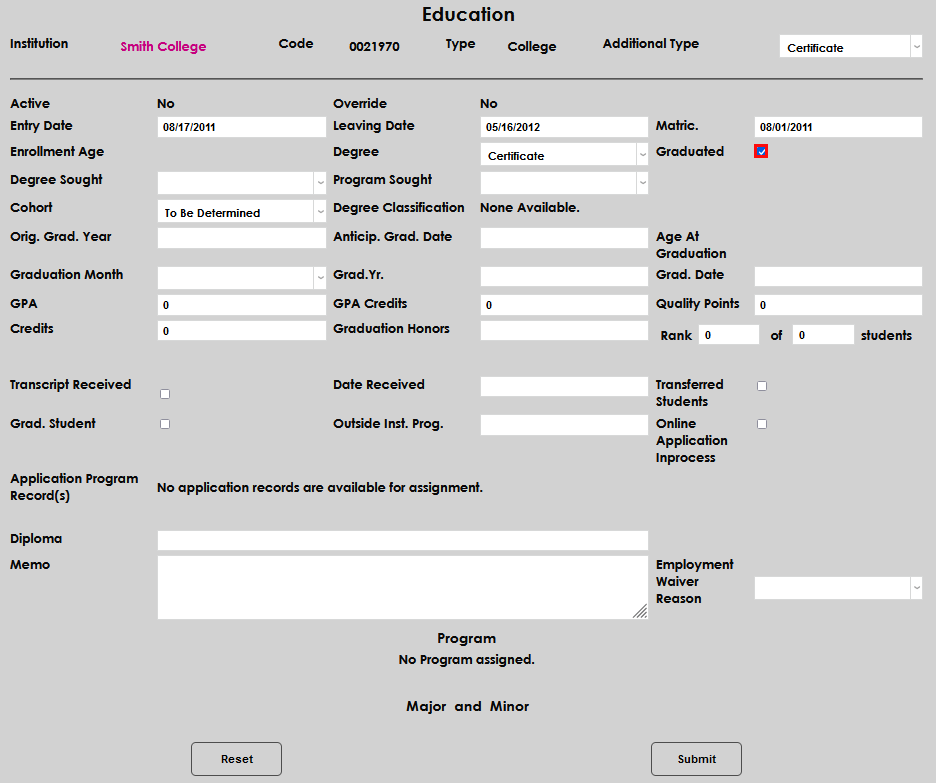
Using the Degree dropdown, select the credential earned by the student, if applicable. If an earned credential was selected, select the Graduated checkbox.
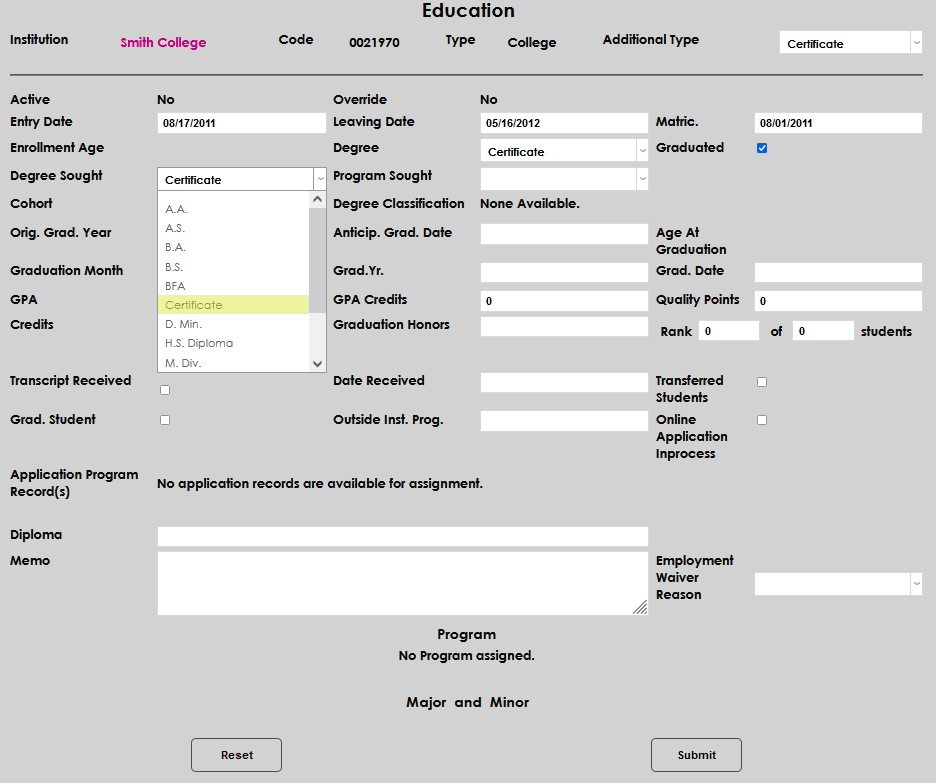
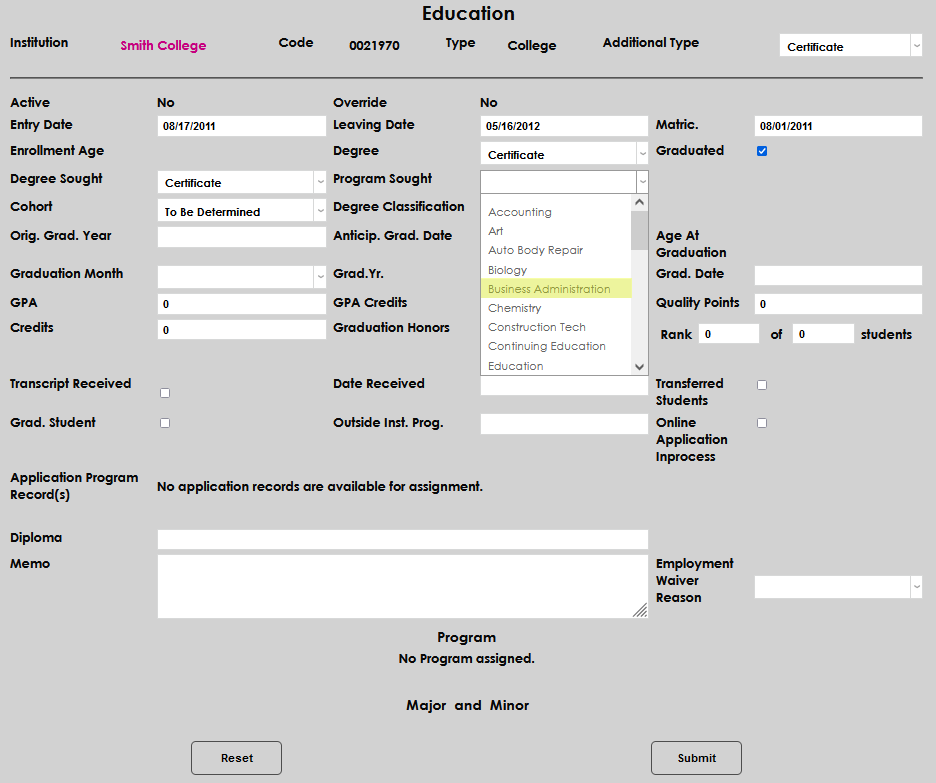
Using the Degree Sought dropdown, select the credential the student was pursuing, if available on the documentation, then select the program pursued from the Program Sought dropdown.
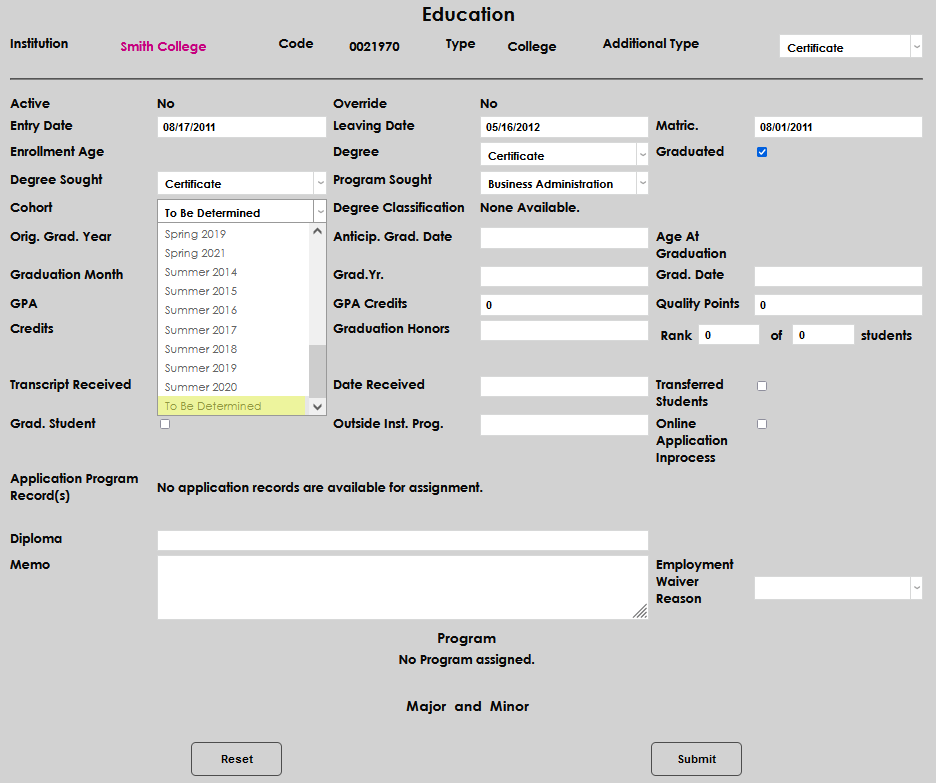
Select the Cohort that the student will belong to. If not yet determined, choose To Be Determined.
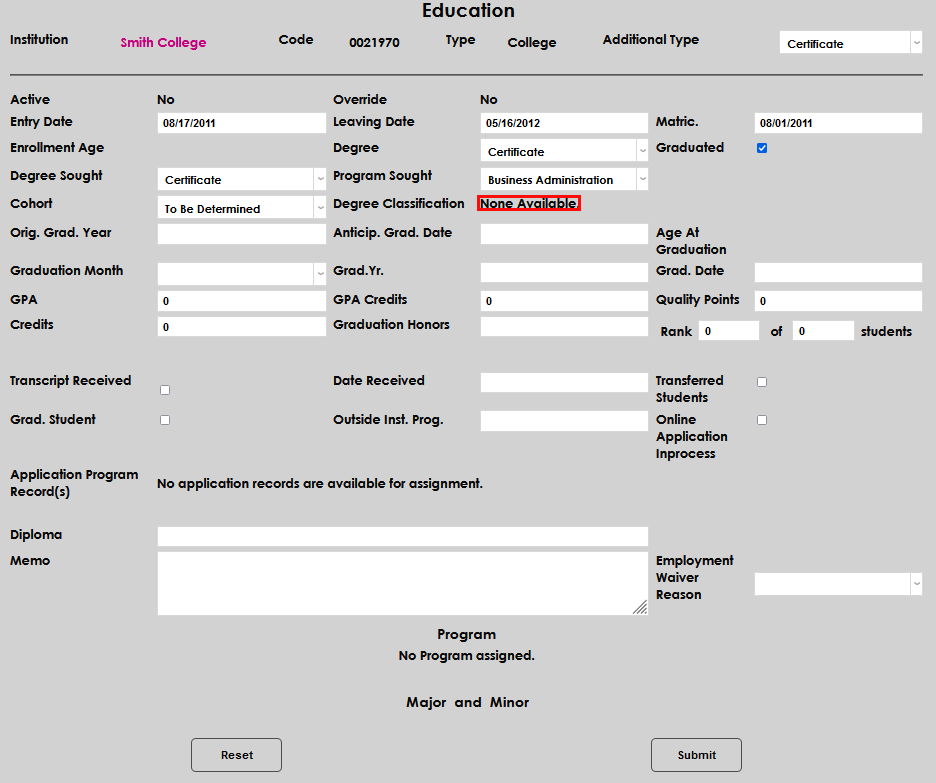
If not yet displaying a degree classification, Degree Classification will populate automatically when this has been determined via other processes.
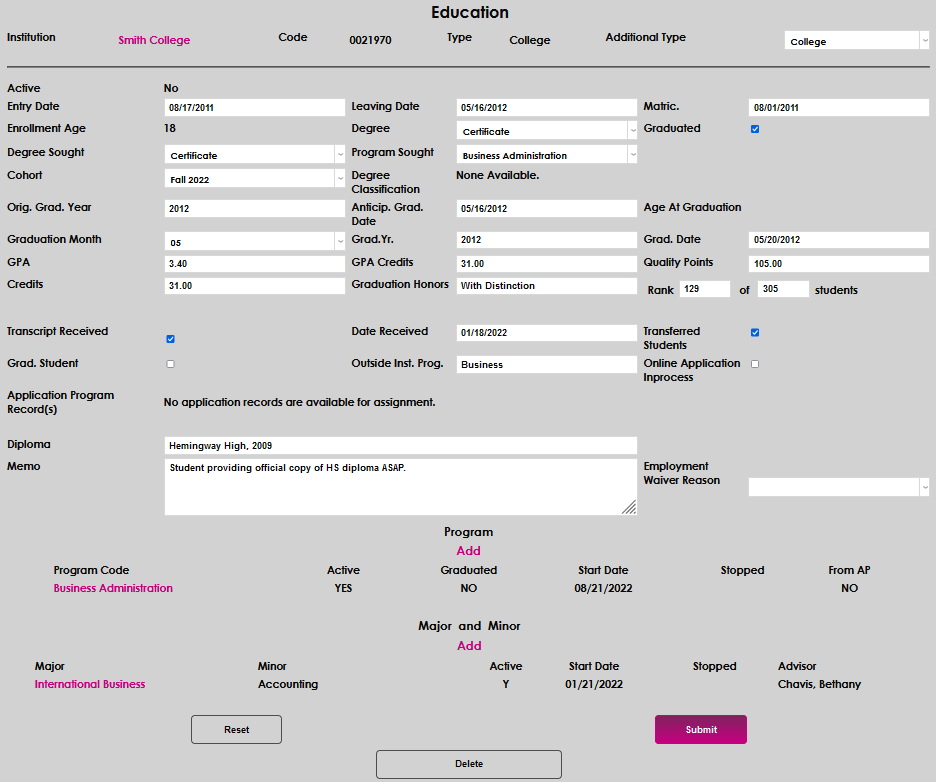
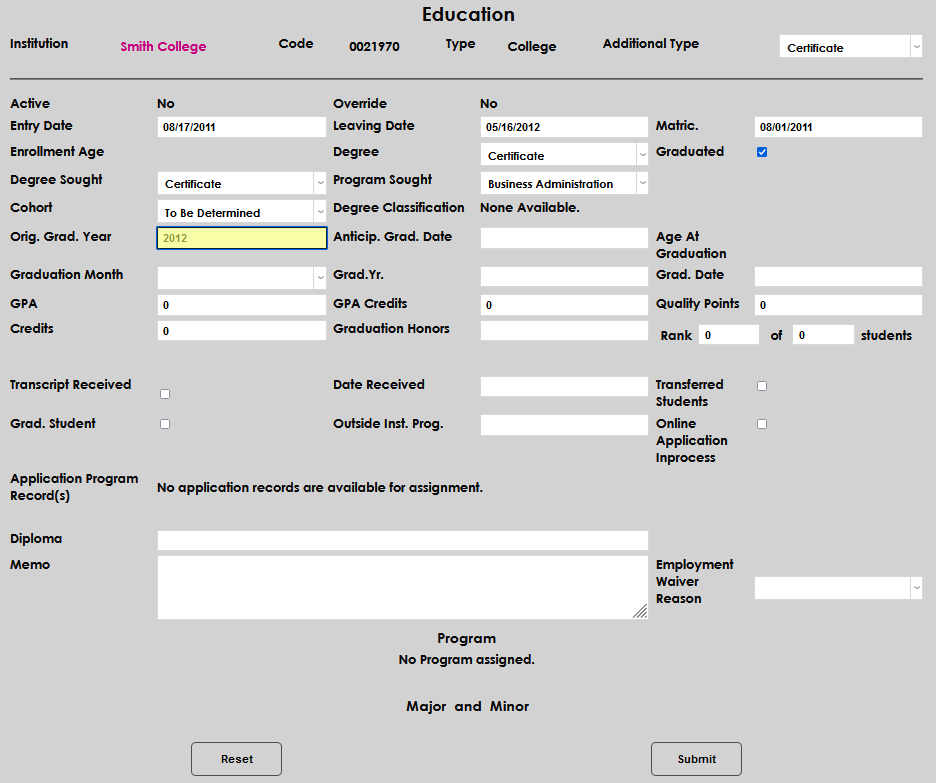
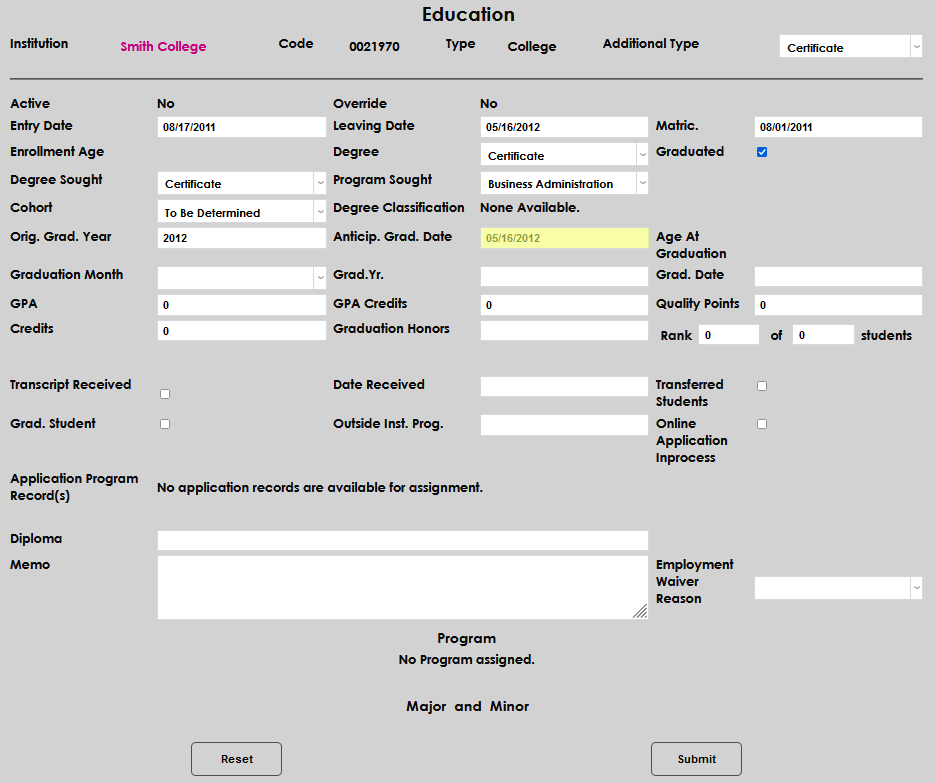
Enter the Original Graduation Year and the Anticipated Graduation Date, if available.
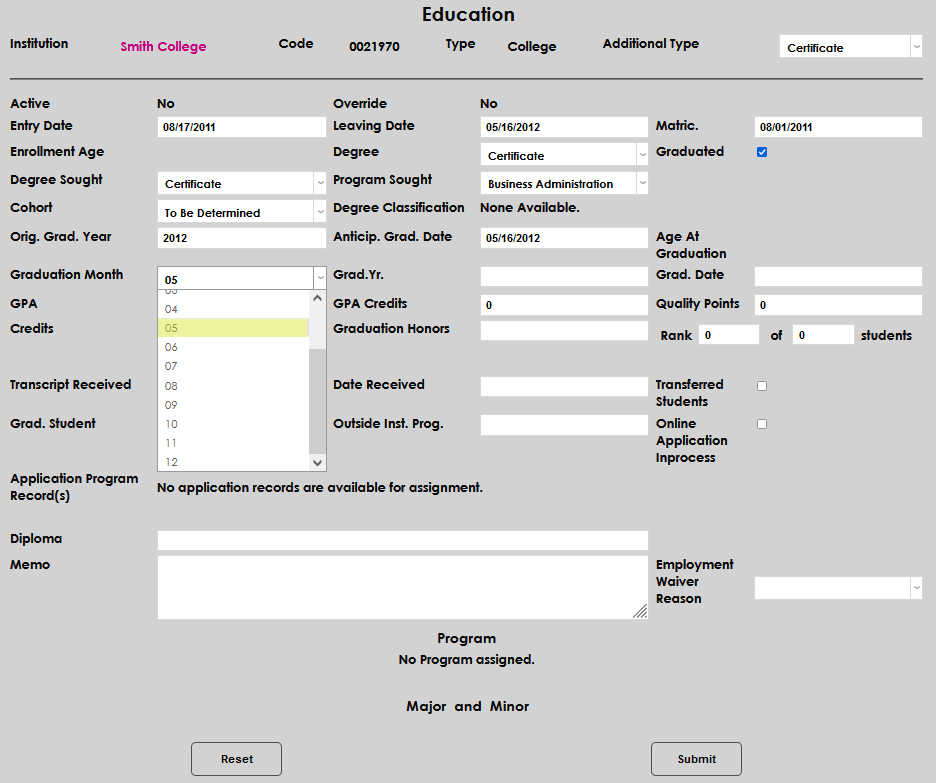
Enter the Graduation Month by selecting it from the dropdown and type the Graduation Year into the corresponding field.

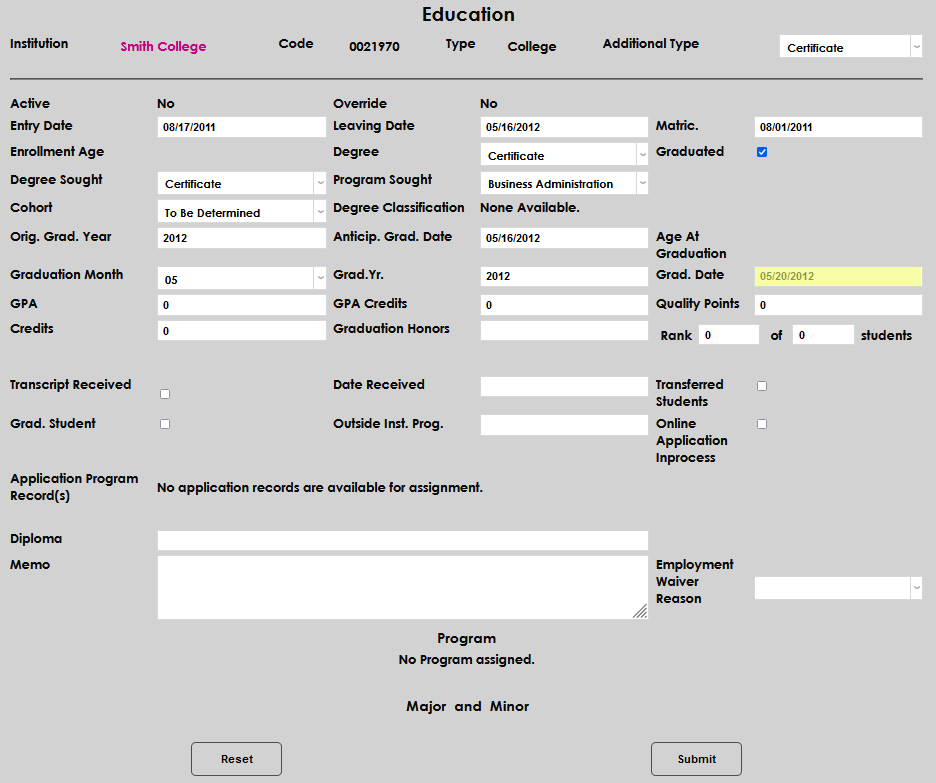
Enter the date graduated, if applicable, in the Graduation Date field.
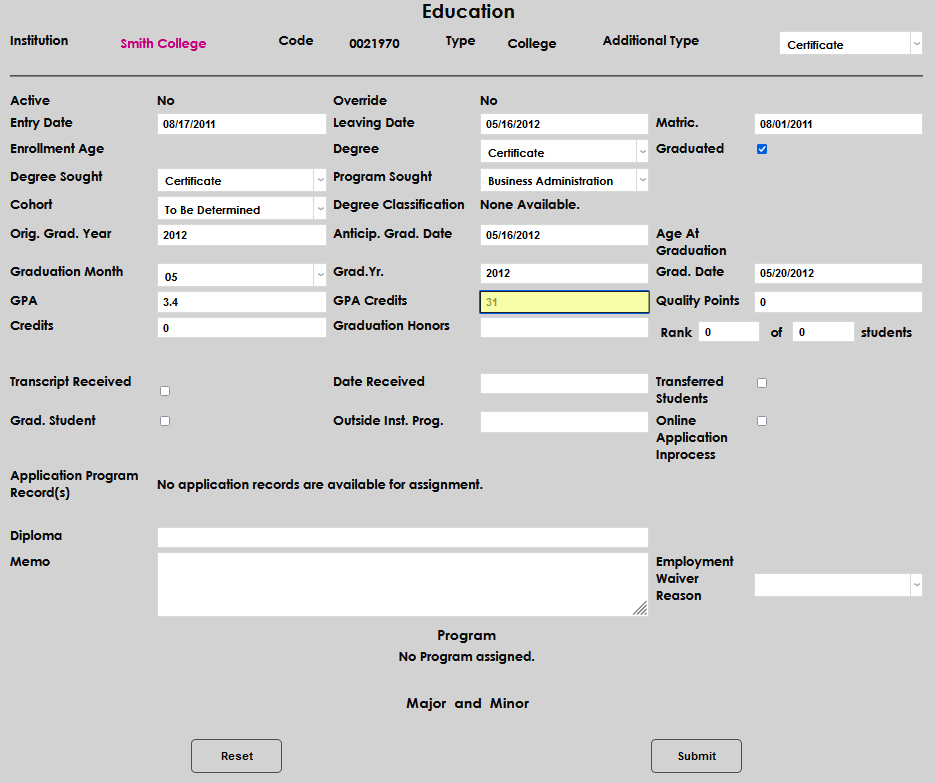
Enter the GPA and GPA Credits.

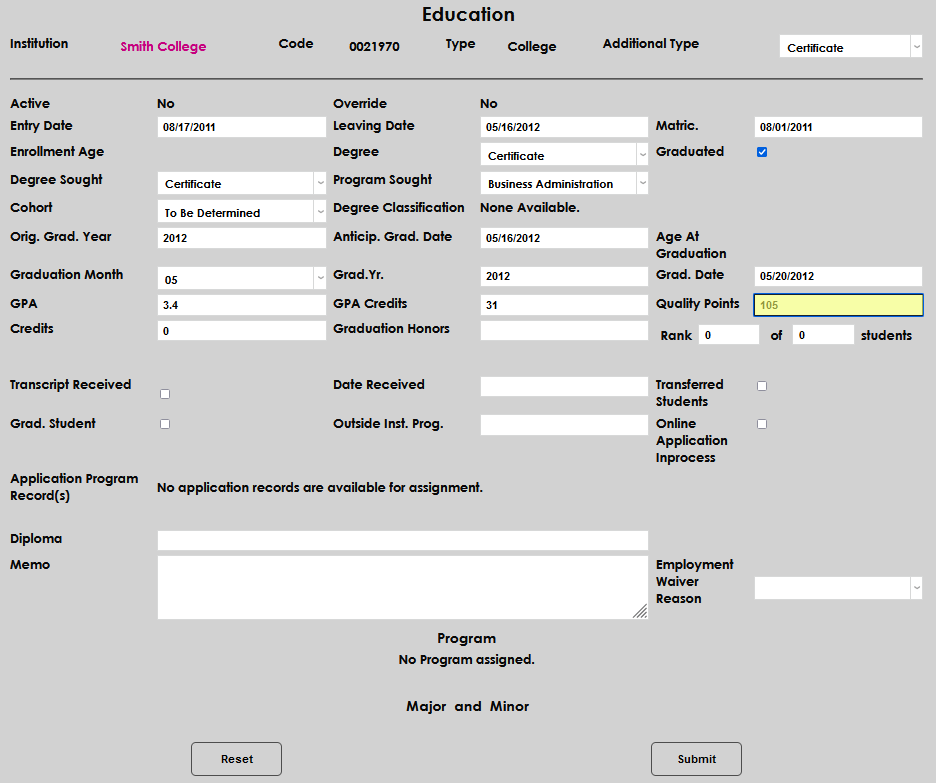
Enter the Quality Points and Credits.
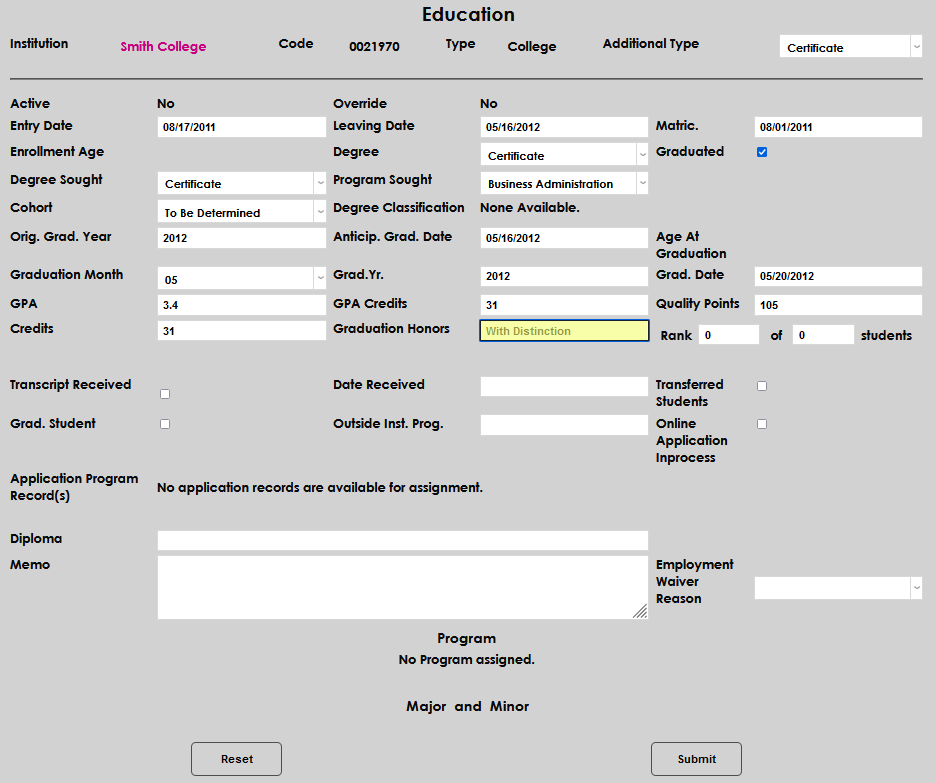
If honors or distinctions are listed on the documentation, enter these in the Graduation Honors field.
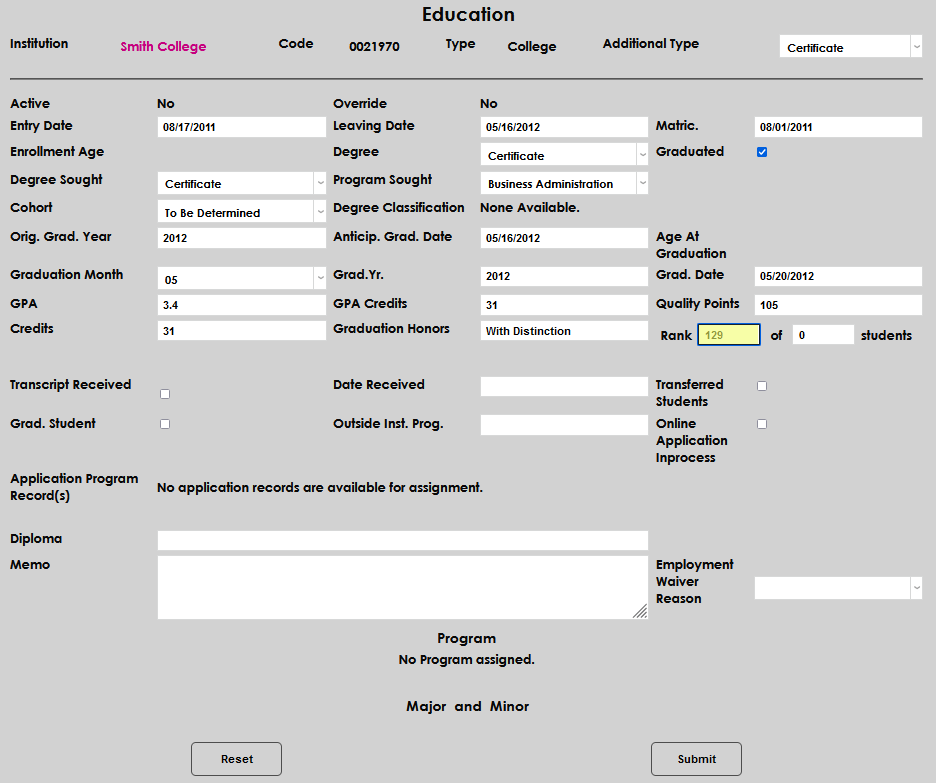
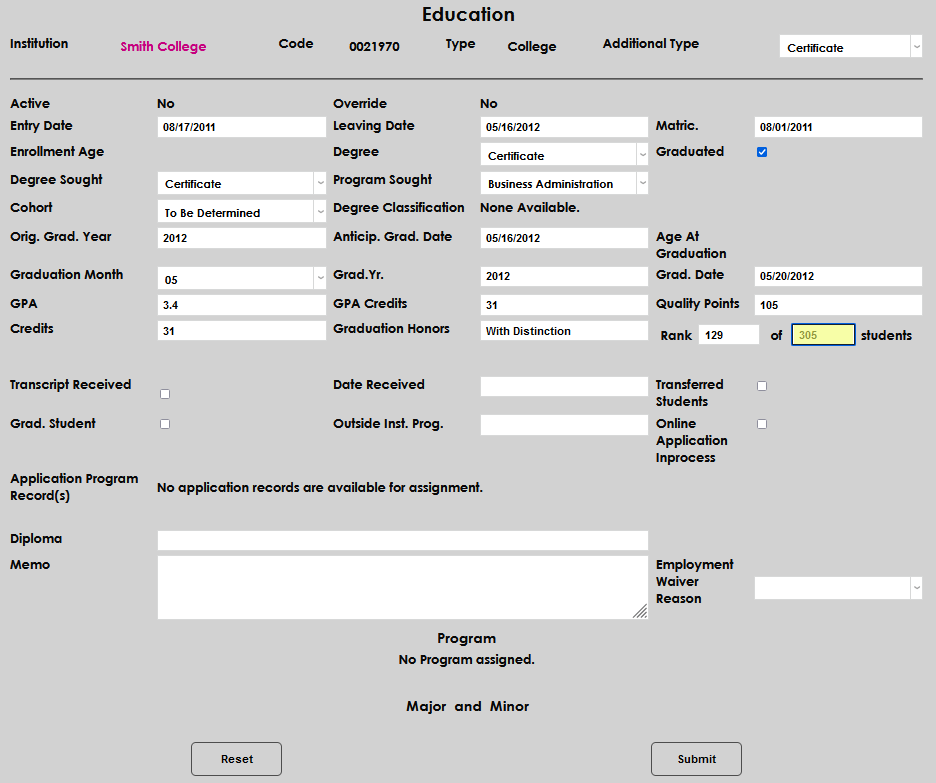
If provided, enter the student's class Rank as a part of the total number of Students.
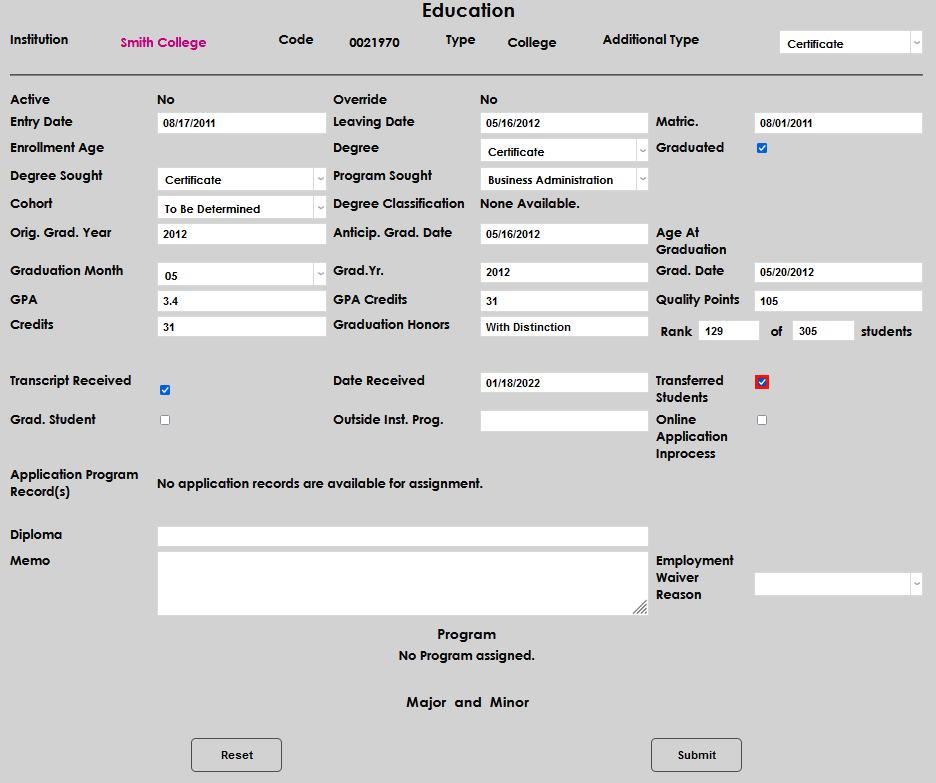
If the official transcript has been received, check the Transcript Received box and ensure the auto-populated Date Received is correct.
Check the Transferred Students box if the student will be considered a transfer student at the institution.
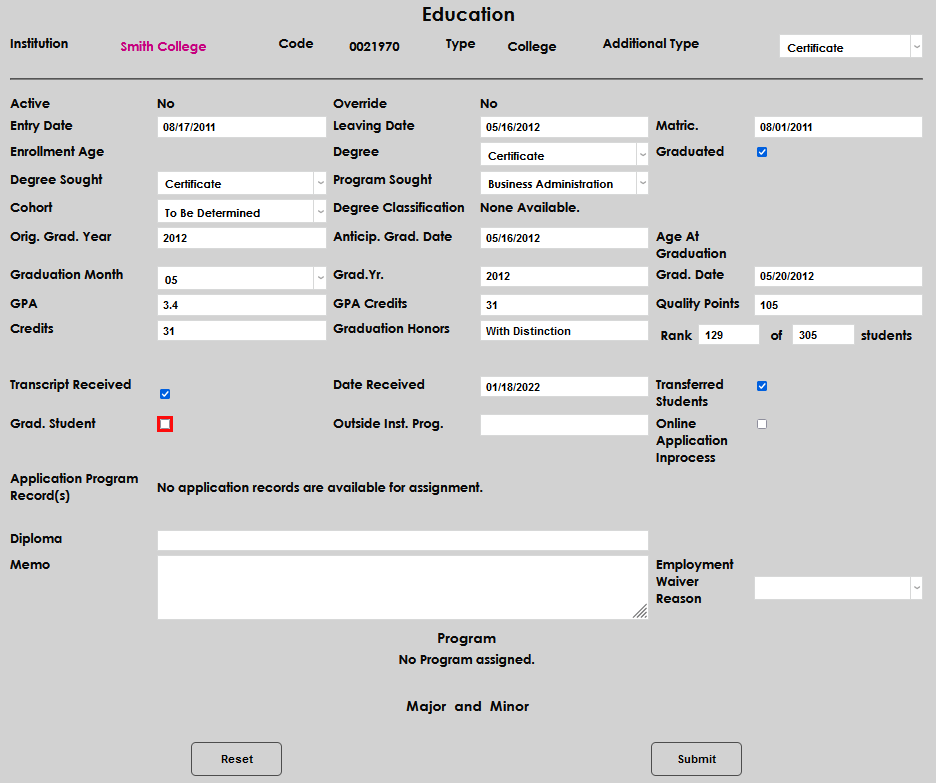
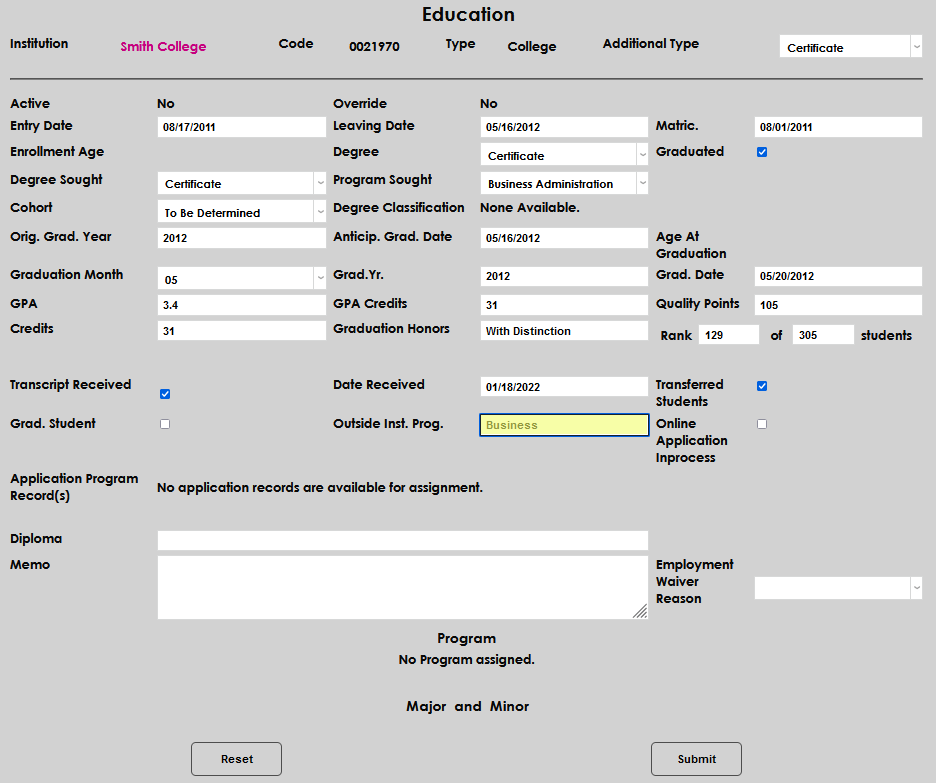
If the student is a graduate student, check the Grad. Student box. Enter the name of the program the student was pursuing at the previous institution, if available on the documentation.
If the student has an application in progress, click the Online Application Inprocess box.
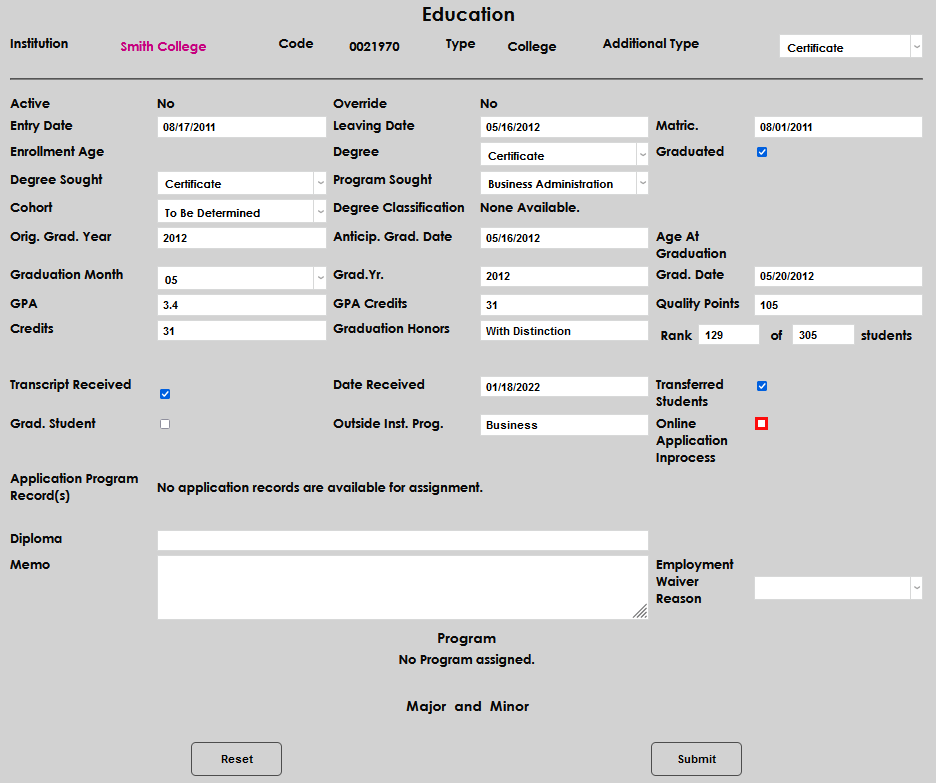
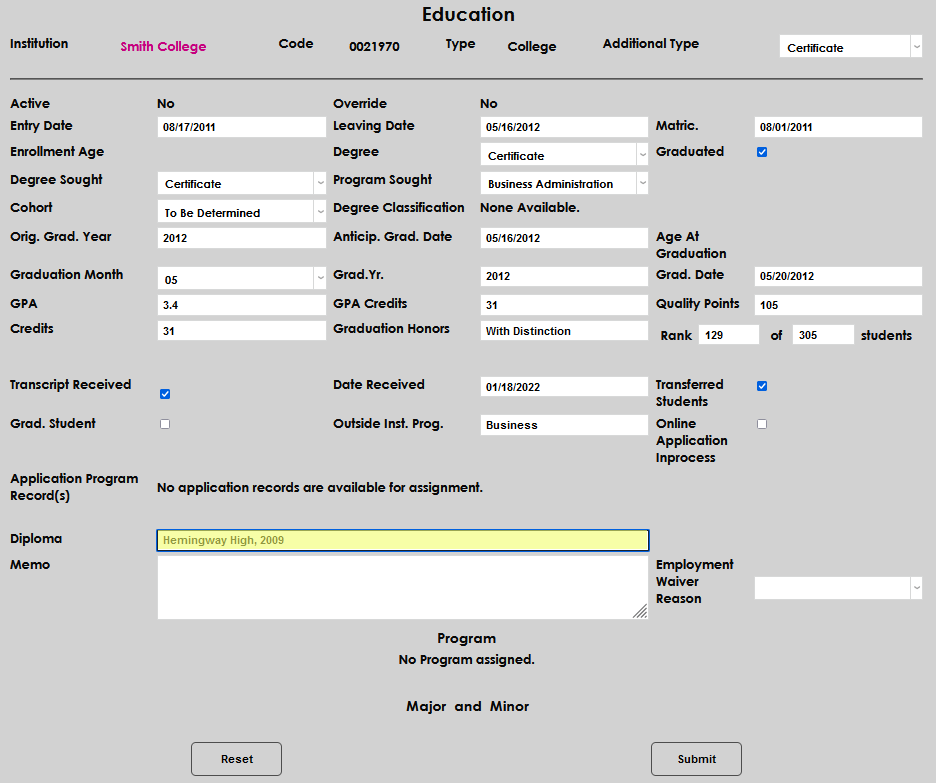
If program application materials have been received, they will display and be available to assign. Enter any diploma information in the Diploma field.
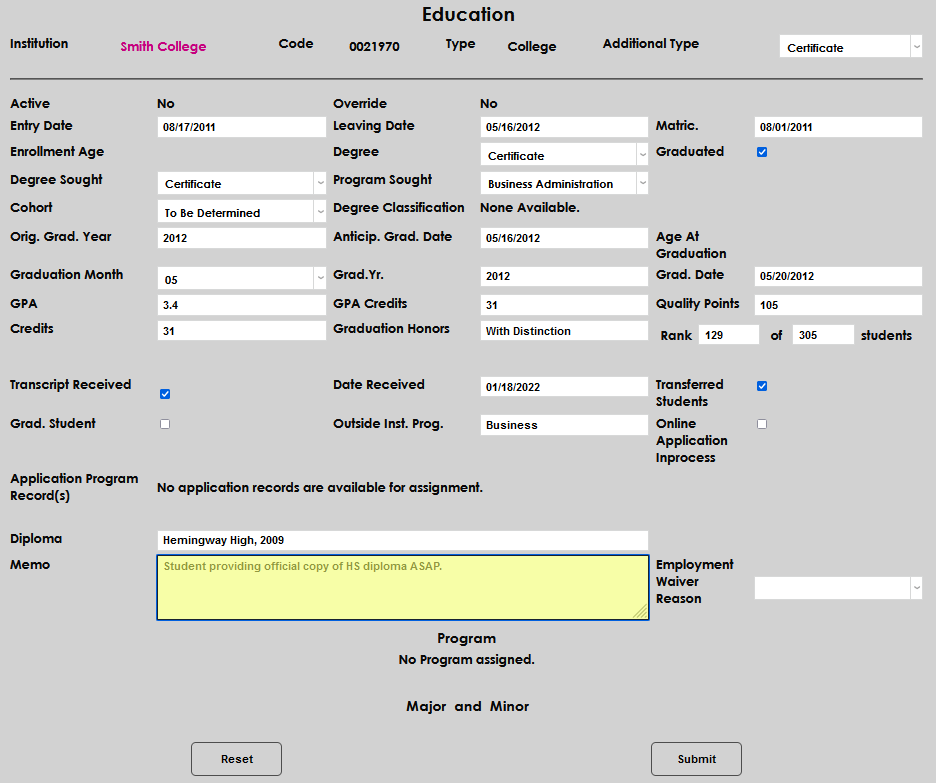
A Memo field is provided for any additional details to be added.
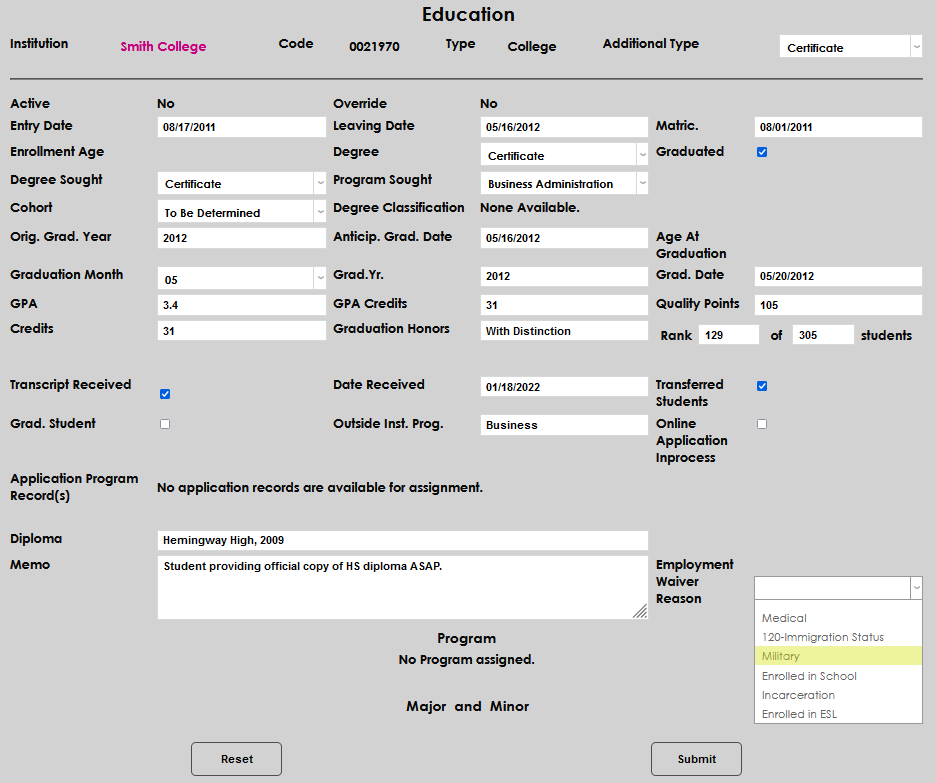
The Employment Waiver Reason field is used to record any reason why the student should not be followed for post-degree employment tracking. If a reason is not selected, the student will display on the Career Services Graduate Placement report. Click Submit to save the entered information.

Adding Program and Major/Minor
After submitting an Education record, options to add a Program and Major and Minor become available on the education screen. To access these options, click the name of the institution that was recorded.

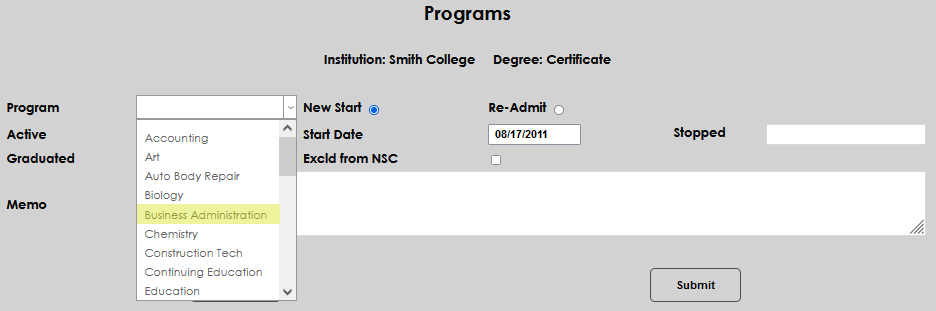
Near the bottom of the page, click Add to begin adding a Program.
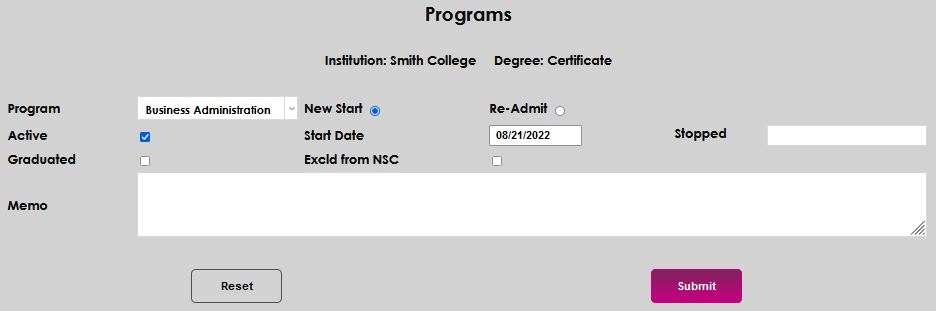
When the Programs page opens, select the Program the student will be pursuing, or that should be associated with the Education record, from the dropdown menu.
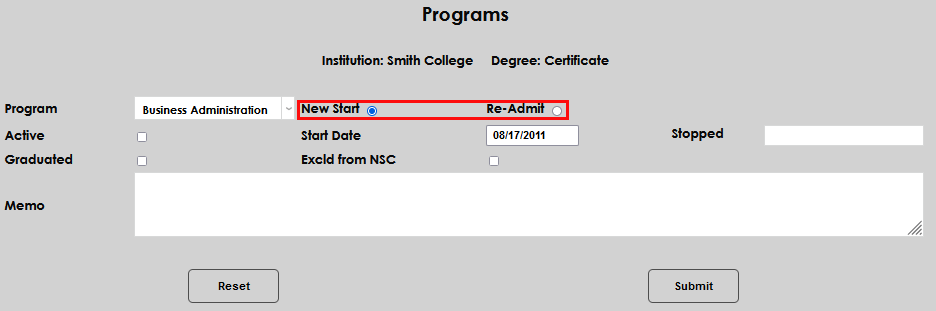
Select the radio button for New Start if this is the first time the student will be pursuing the selected program, or the Re-Admit button if the student previously pursued the program and is beginning again.
Check the Active button if this program should be set as the student's active program.
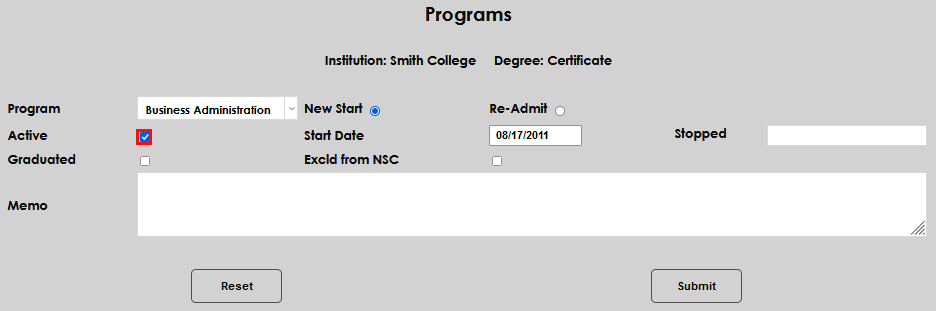
Enter the date the student will begin, or began, the program in the Start Date field.

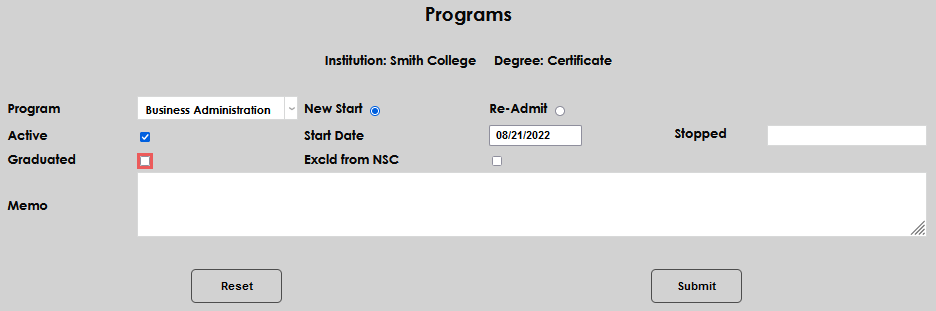
If the student stopped or graduated from this program, enter a date in the Stopped field and/or click the Graduated box.
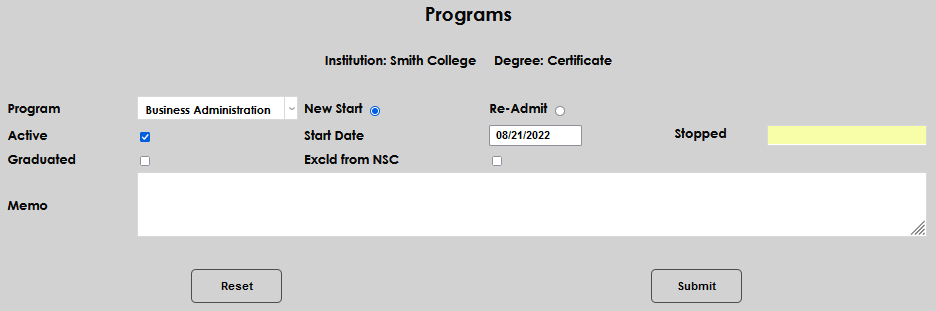
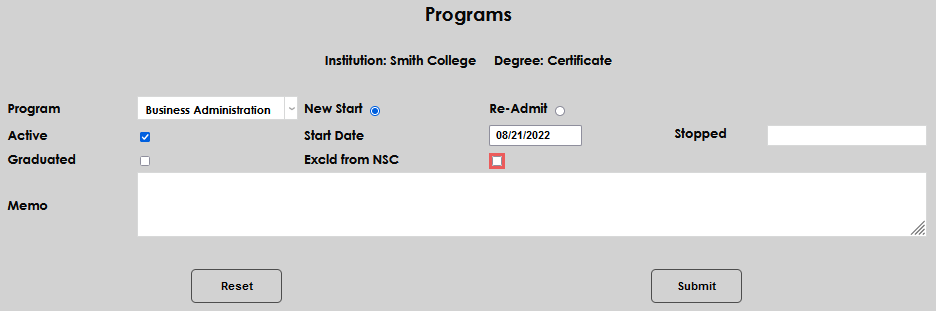
If the program record should be excluded from National Student Clearinghouse reporting, click the Excld from NSC box.
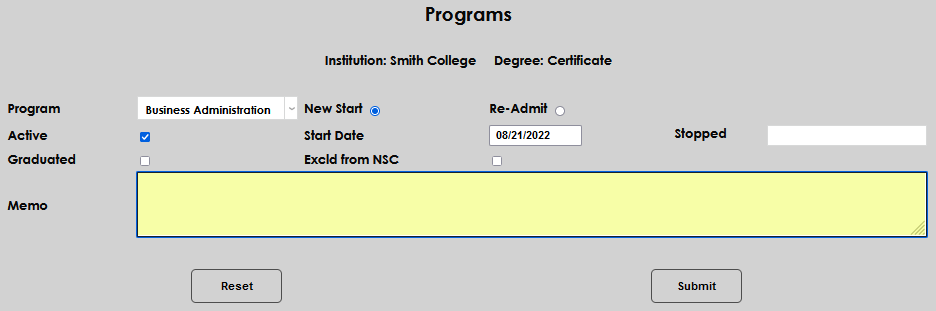
Enter any other details that should be shared in the Memo field and click Submit to save the entries.
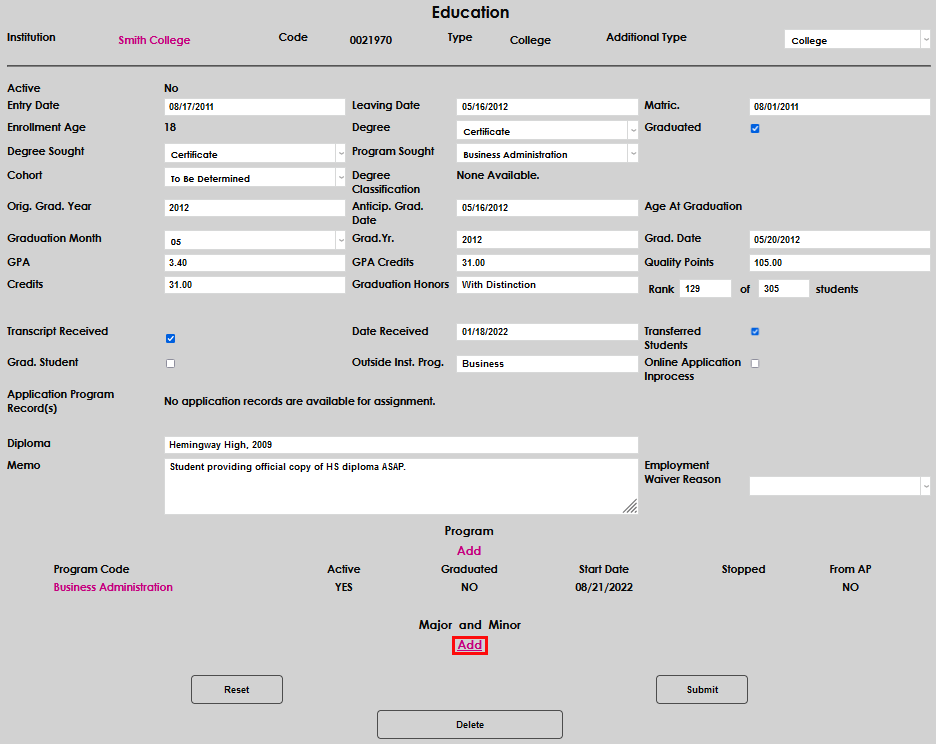
After submitting, the added Program will display at the bottom of the Education record page.
Next, add a Major and Minor, by clicking Add.
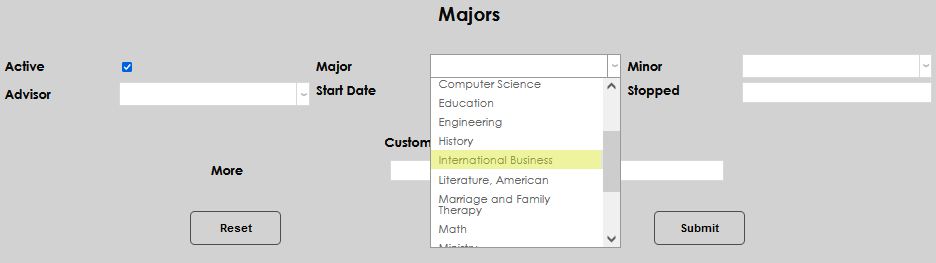
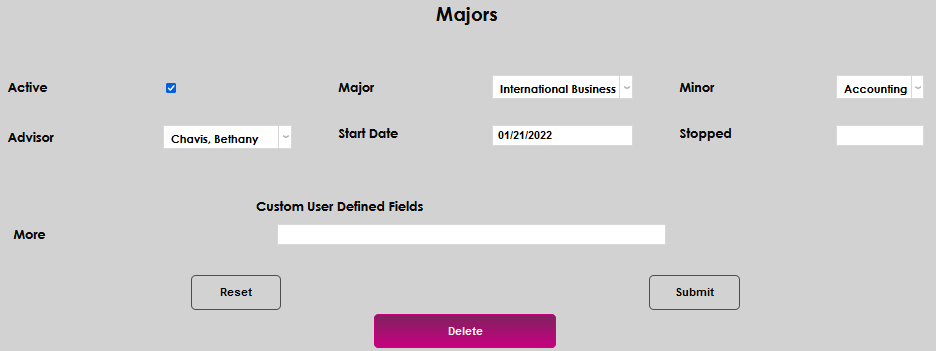
The Majors page will open. Click the Active box if this will be the student's current major and minor.
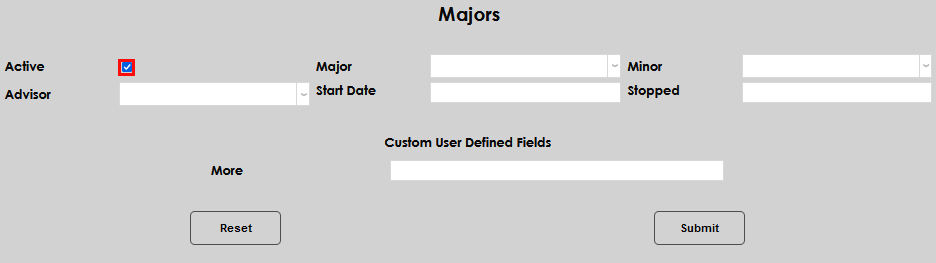
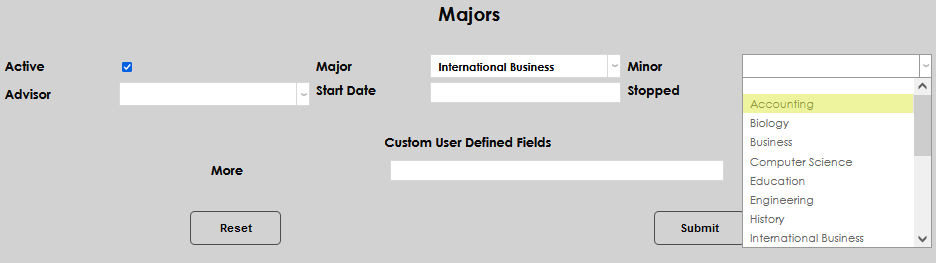
Select the Major and Minor from the dropdown menus. A minor is optional and need not be selected if the institution does not offer minors, or the student has not declared one.
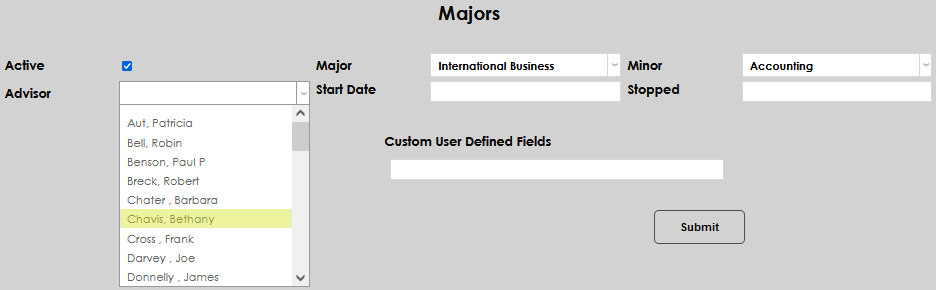
Some schools may assign a major advisor that is not the same as the student's primary academic advisor stored in their Advisors record. To set a major specific advisor, select an advisor from the Advisor dropdown menu. Alternately, schools can choose to select the same academic advisor already assigned to the student so it will display on this page as well. The field is optional.
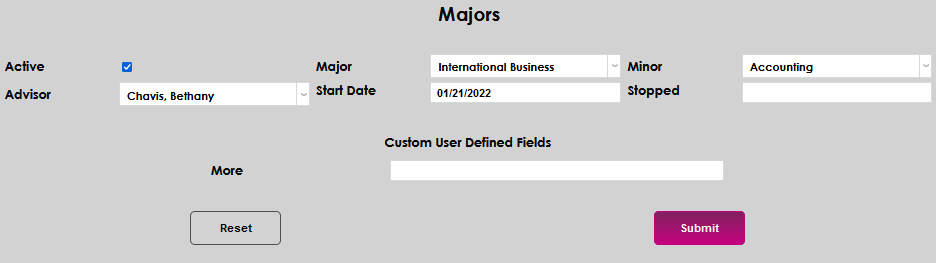
Select a Start Date for the major.

Click the Submit button to assign the major and/or minor to the student's Education record.
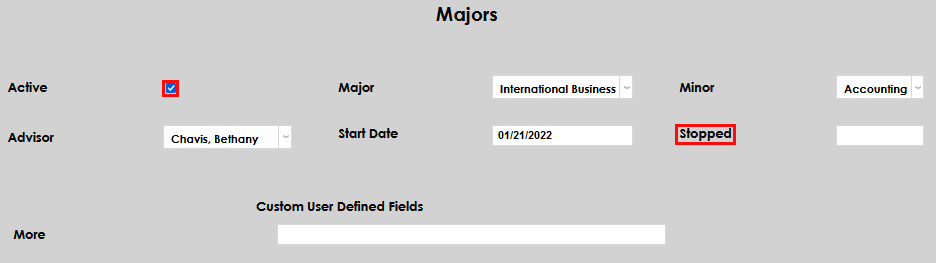
Once a major has been assigned, click on the name of the major to make changes.
When editing a major, all fields can be altered. The primary change most schools will make is to mark the major as inactive by removing the Active checkmark and add a Stopped date.
Additionally, a major assigned in error can be deleted altogether.
Adding Institutions
If searching for an institution does not yield the desired result, clicking Add New Institution allows the administrator to add a new institution record by directly linking to the Systems hub utility Tbl: Institution Add/Edit.
Full instructions on Institution Management are provided. Once the institution is added, return to the Education page and proceed with adding the student's education record.
Viewing and Editing Records
To view the details of an existing record, and/or to edit the entered information, simply click the name of the institution.

Any of the fields can be edited by clicking on them, updating the value, and submitting the change(s) by clicking Submit.