Status Indications
Overview
Status Indications are a Jenzabar SONIS feature that allow administrators to tag students with a status in the system that may affect their participation in certain school activities. These statuses can be created, edited, and assigned by administrators and viewed by faculty and students, as appropriate.
Creating/Editing Indicators
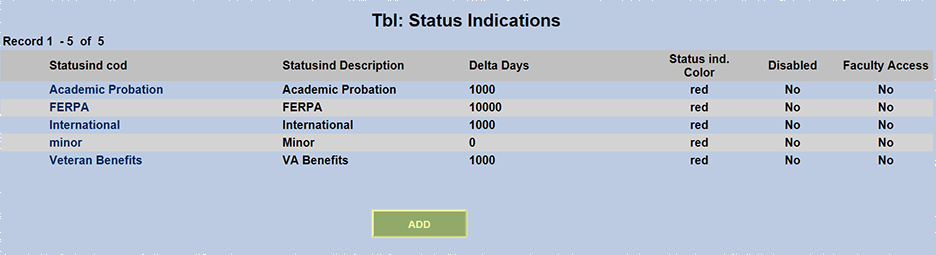
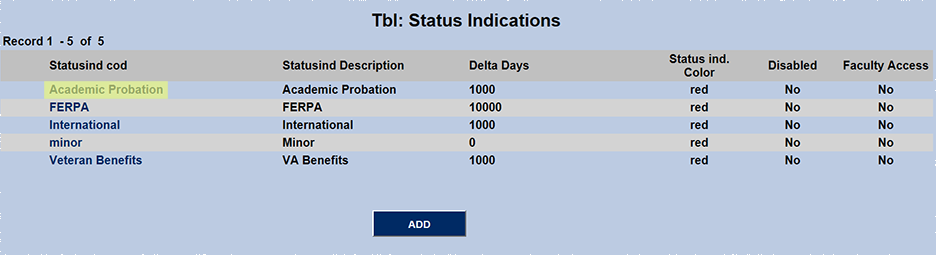
To create a new status or edit an existing status, navigate to the Status Indications page in the Systems hub. Click Add to create a new status or click on an existing status to edit it.
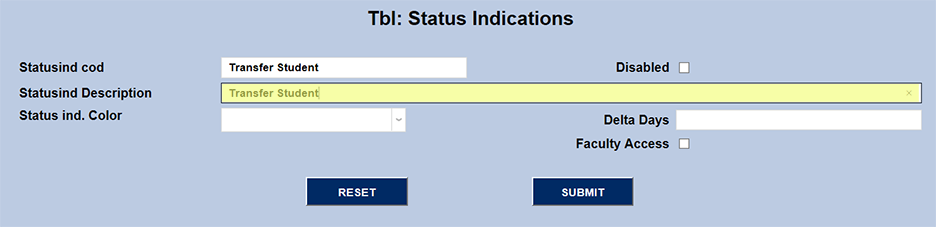
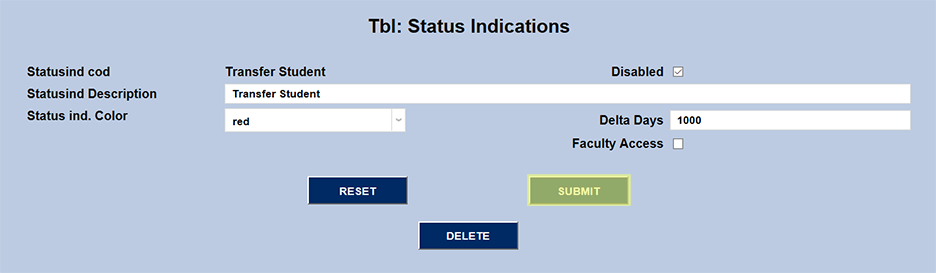
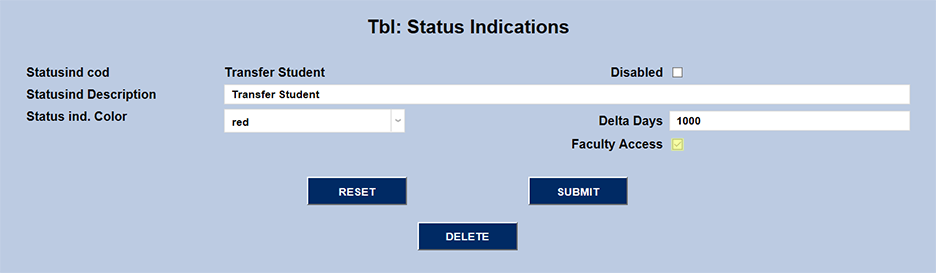
First, provide a Status Indication Code that the system will use to recognize the indicator. This code can not be edited once it's in place. Next, provide a Description for the indicator. This can match the Code exactly or not depending on institutional preference.
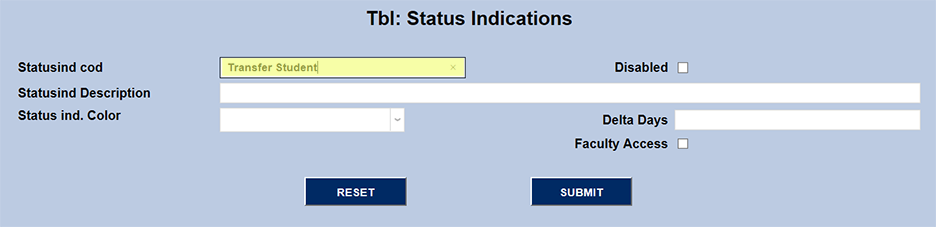
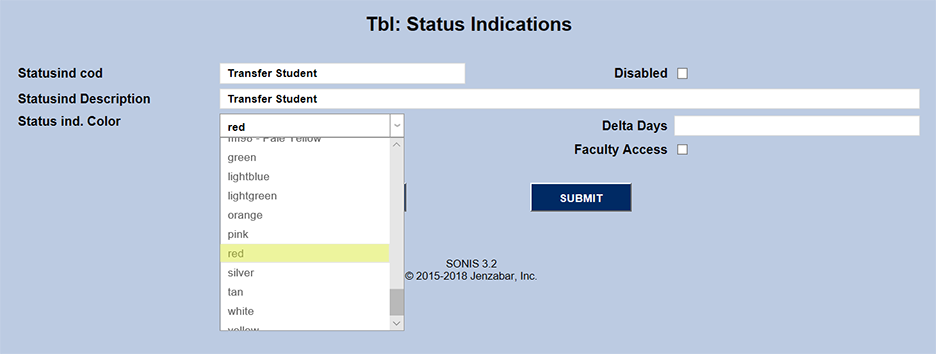
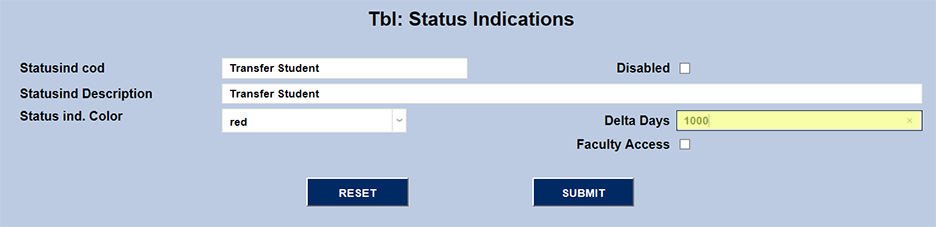
Pick a Color for the status indicator's appearance in the SONIS system. Administrators can also set a number of Delta Days for the status. This number sets a timeframe for the status to be associated with a student. After the number of days chosen have passed, the status will automatically drop off. If no Delta Days number is entered, the Delta Days number will automatically be set to 0 and the indicator will drop off the following day.
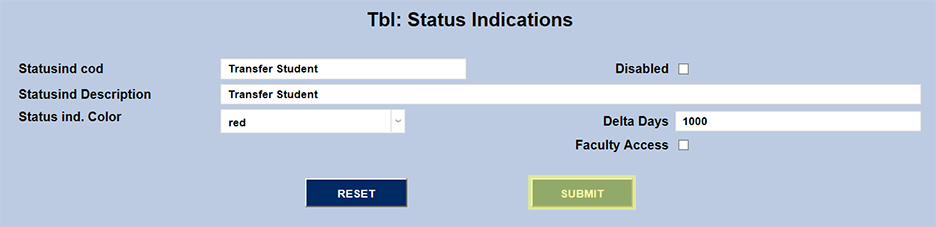
Click Submit to save the changes and create the new indicator.
Assigning Indicators
Single Student
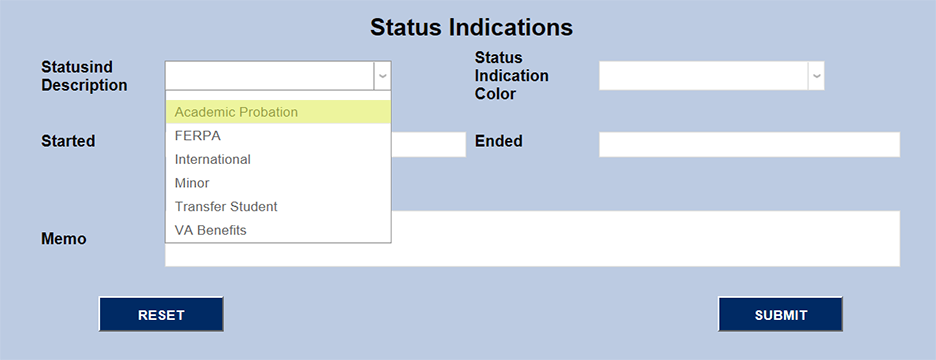
To assign a status indicator to a specific student, search for and select the student using the Name Search and navigate to the Status Indications page. Click Add to assign a new status indicator.

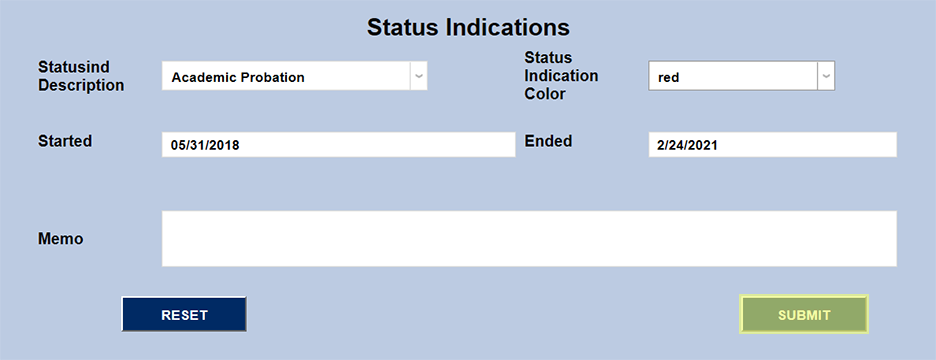
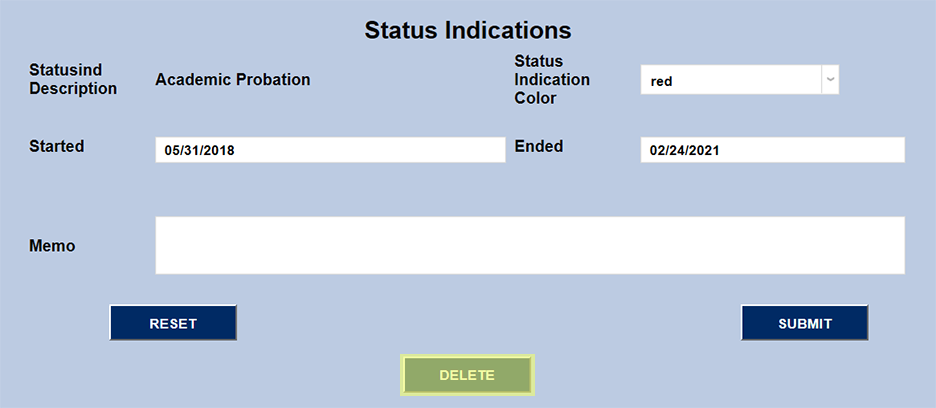
Select the appropriate status indicator from the dropdown menu on the left.
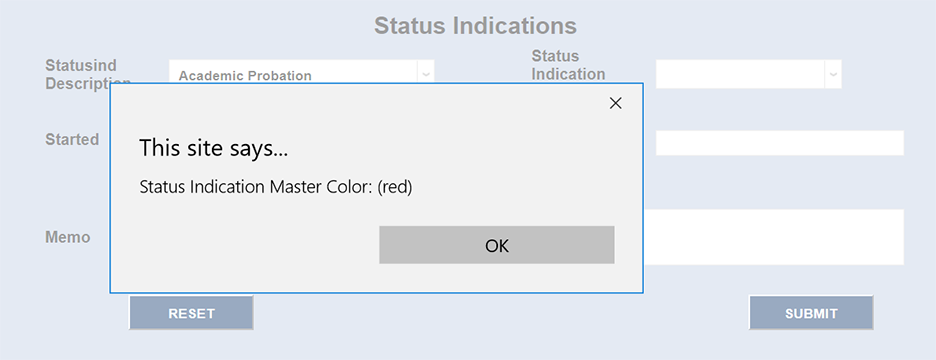
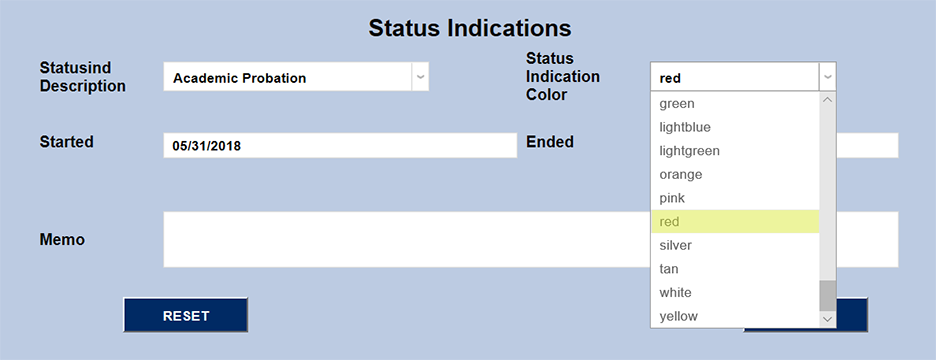
If the status indicator has a display color set, a pop-up will appear. If so desired, the color can be changed for the selected student using the dropdown menu on the right.
The Started and Ended date fields will be automatically populated based on the current date and the number of Delta Days entered when setting up the indicator, but both can be altered as needed.
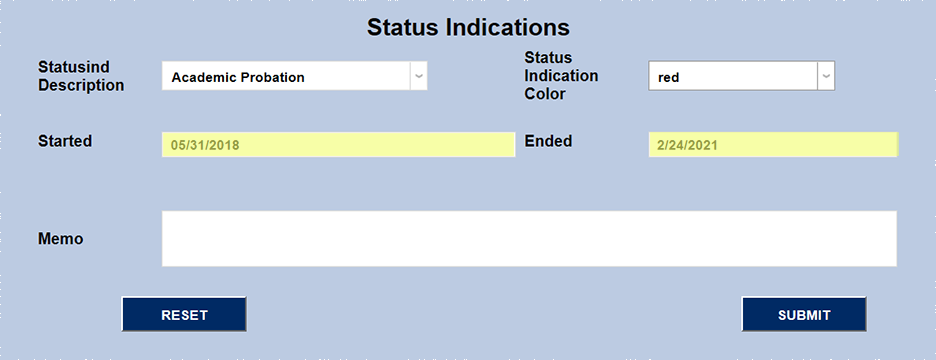
The administrator also has the option of adding a Memo to make note of additional details connected to this status. Once the indicator is set up, click Submit to add this indication to the student's record.
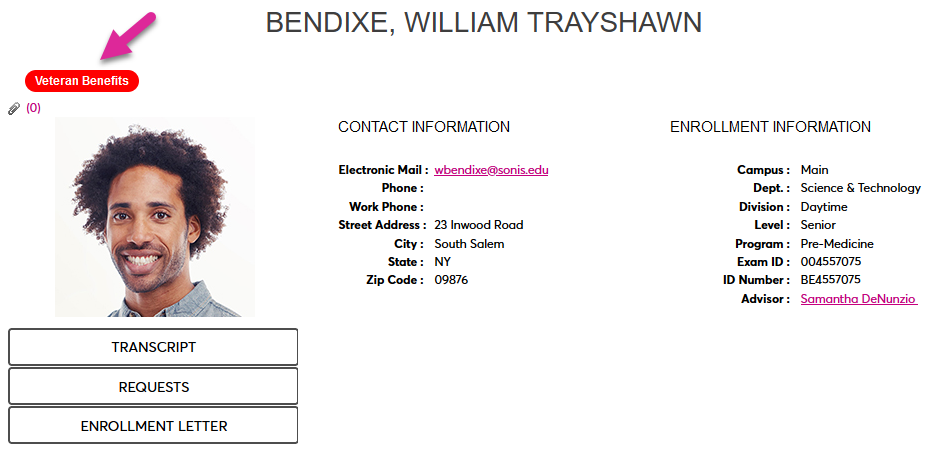
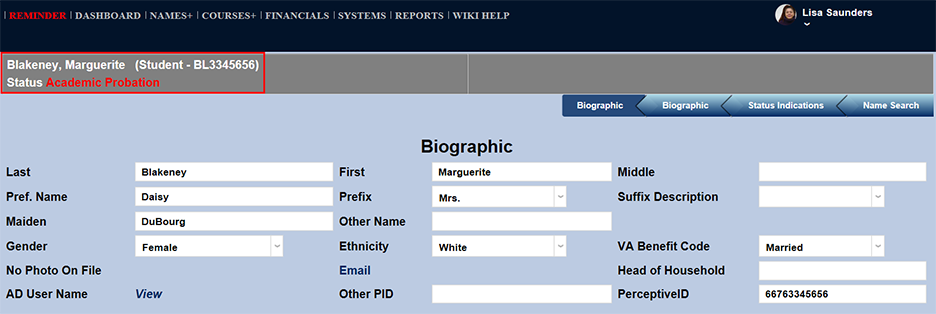
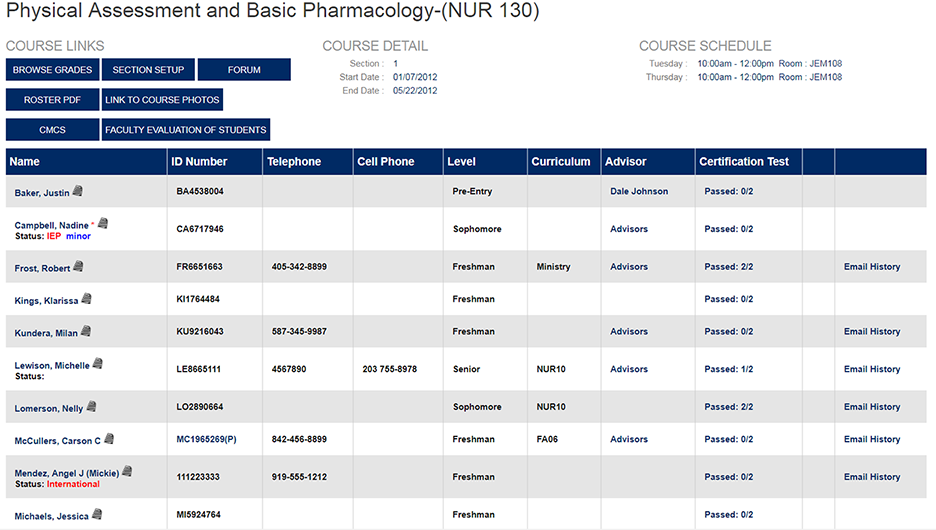
The status indication will display at the top of each page when a student is selected.
Query Builder
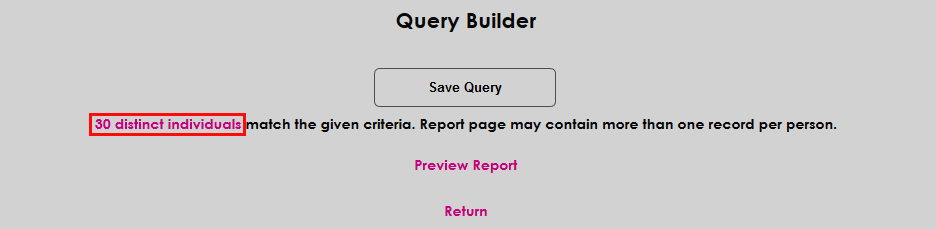
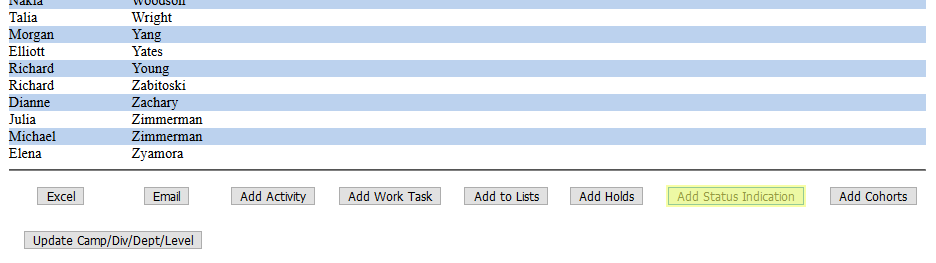
Indicators may also be added to students in bulk based on Query Builder results. Run a query and click on the list of students.
Once the list of students has been pulled up, click Add Status Indication at the bottom of the page.
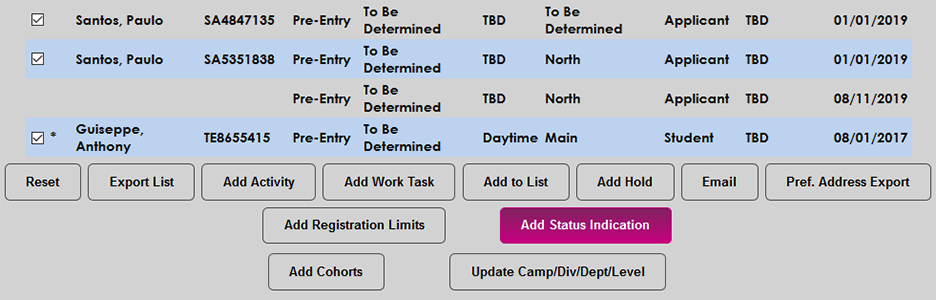
Query Builder 2.0 offers the same option. Publish and view a Query Builder 2.0 report and click Add Status Indication at the bottom of the page. In both cases, simply proceed with the normal process to add a query as detailed above. The indicator will be added to all students in the report.
Linking Status Indications
Status indicators can be linked to other SONIS functions so that an indication will be added automatically when either an activity is created or when a hold is added.
Activities
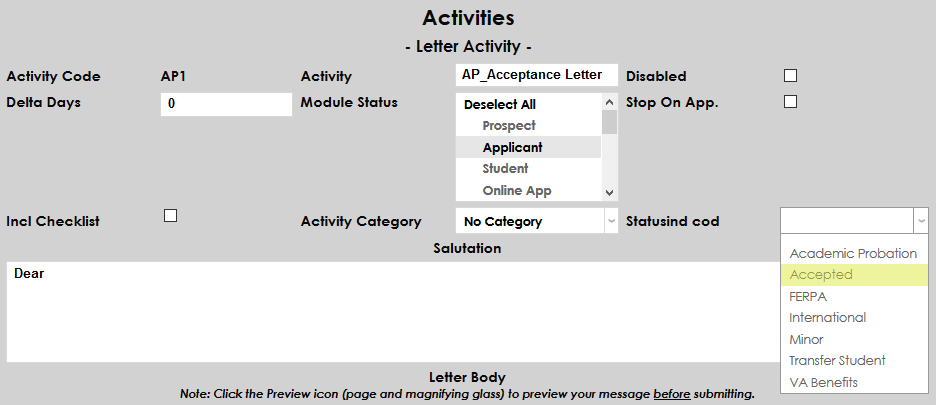
Activities are a SONIS feature that makes it easier to track a school's correspondence with students. To link an activity to a status indication, edit the activity and select a status indication from the Status Indication Code dropdown menu. Click Submit to save the change.
Caution
Once this link has been created, assigning the specified activity to a student will also assign the linked status indication.
Holds
Holds are a way to restrict student access to certain parts of the SONIS system. They can also be linked to status indications.
Caution
Once a hold type has been linked to a status indication, adding a hold of that type to a student's records will also add the linked status indication.
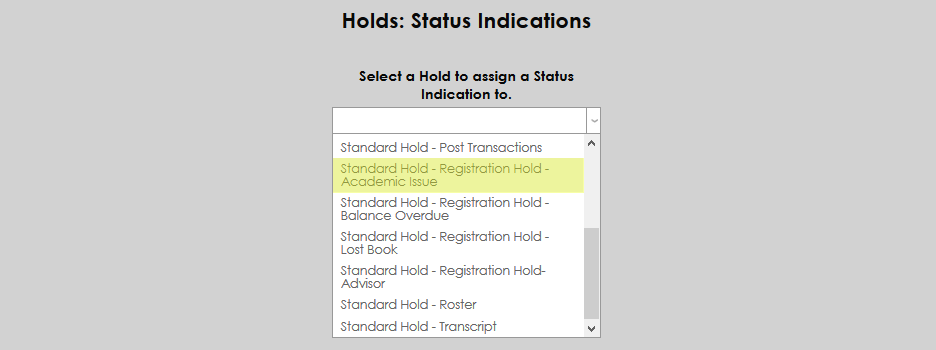
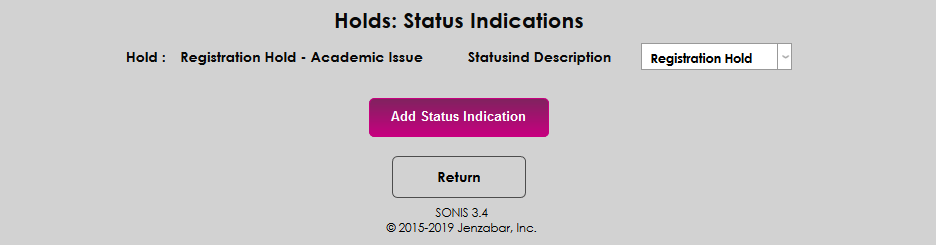
To set up these links, navigate to the utility created just for this function under the Systems hub called Holds: Status Indications. Select a hold from the dropdown menu to begin.
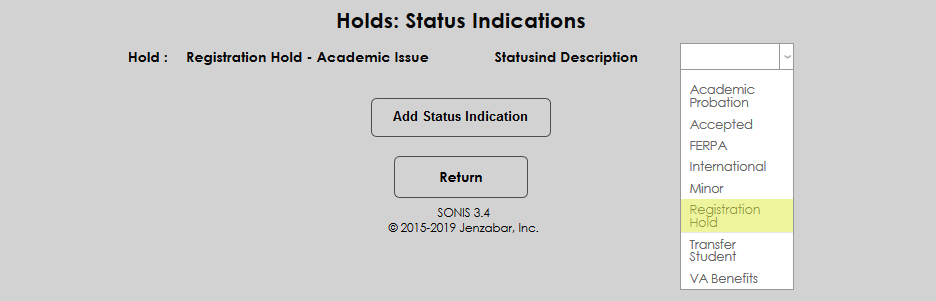
On the following page, select a Status Indication Description from the dropdown menu and click Add Status Indication.
Removing and Editing Indicators
To remove or edit a status indicator, navigate to the Status Indications page with a student selected and click on the status indication that should be changed. From here, the status indication can be edited or deleted from the student's record.

Disabling Indications
If a status indication is not currently in use and should not be available to assign to students, it can be disabled. Simply select the indicator from the list and check the Disabled box. Click Submit to save changes. The status indicator will not be available to assign to students until it is enabled again by unchecking the disabled box.

Faculty Portal
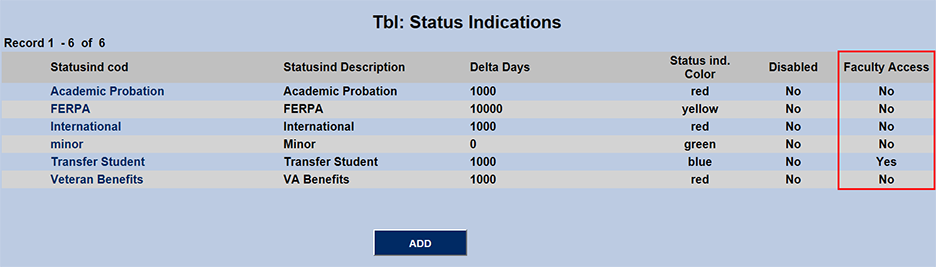
While status indications are only viewable by administrators by default, some institutions may find it necessary for faculty to view status indications as well. When accessing the Status Indications page, the far right column will show whether faculty has access to view each status indication or not.
To allow faculty to view a status indication, select the status indication from the list and check the Faculty Access box. Click the Submit button to save changes.
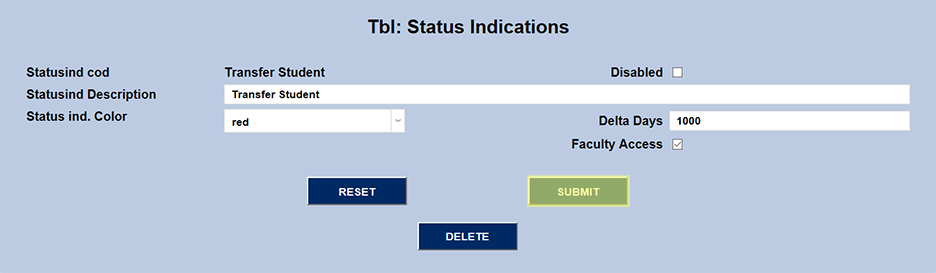
Once this change has been made, faculty will be able to view the appropriate status indication for any students they interact with through the SONIS system.
Student Portal
At times, it may benefit a student to be aware of a particular status indication that they have been assigned. For this reason, status indications can also be displayed in the Student portal. To display a status indicator for students, check the Student Access box.
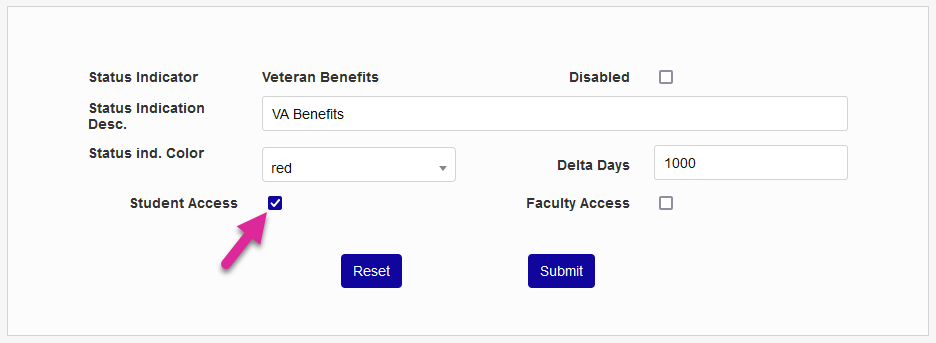
Once the Student Access box has been checked for a particular status indicator, students with that indicator will be able to see it on their Bio page.