Special Needs
Overview
Special Needs is a page in the Users hub that can serve many different purposes depending on the needs of the institution. Many institutions use the Special Needs page to define physical disabilities that require students to live in special dormitory rooms or to enroll in classes with ADA-approved entrances. Some students also require special testing accommodations such as extra time, digital testing, translations, etc. This field can help administrators track which students will require those accommodations.
Special Needs Page Setup
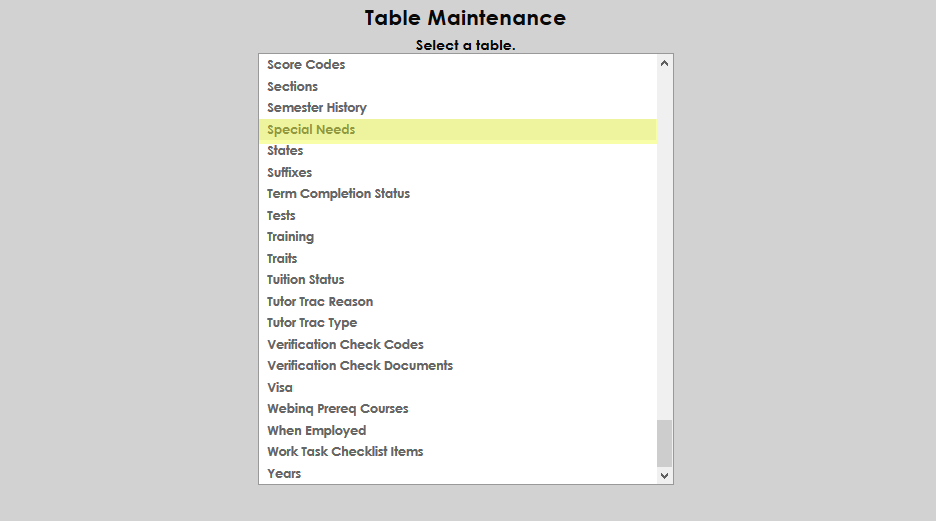
To add categories of special needs, go to Systems, Table Maintenance, select Special Needs.
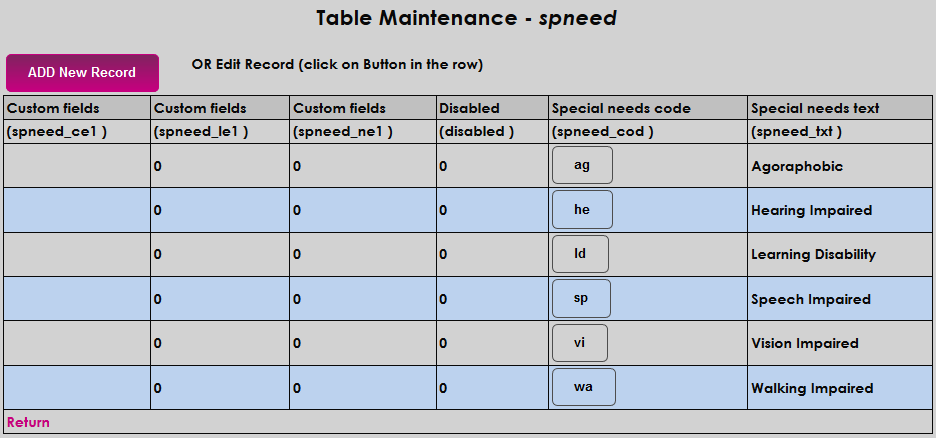
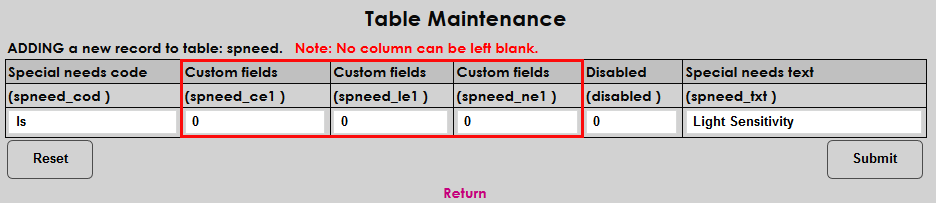
The Special Needs Table Maintenance page allows the administrator to add that will appear in the dropdown menu when students access the Special Needs Records page. To add a new category of record, click the Add New Record button.
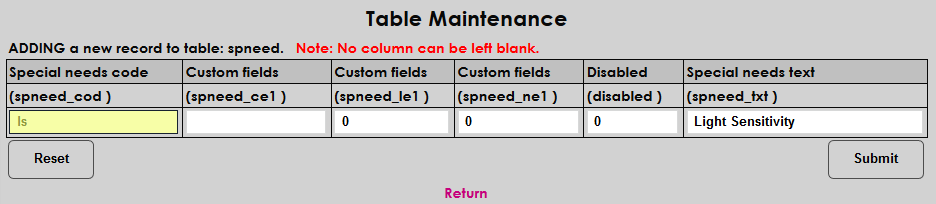
When creating a new Special Needs Category, begin by naming the special need in the Special needs text field. This field has a 20 character limit.
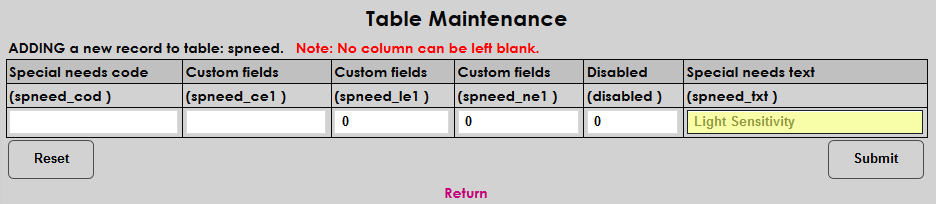
Next, input a Special needs code. This is usually a 2 character version of the text field.
The middle 3 fields can be utilized to input custom information about the different Special Needs categories. The first Custom fields column has a character limit of 10. The second column is for a binary value. The third column has a limit of 8 characters. The information put into these 3 fields will not appear anywhere else in the system.
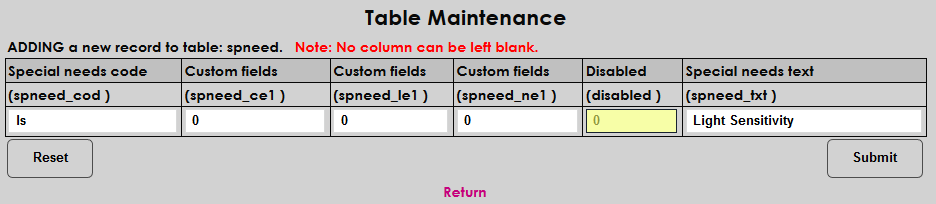
The Disabled column is binary, with 0 indicating active and 1 indicating disabled. If a category is disabled, the records remain in the system but can no longer be assigned to students.
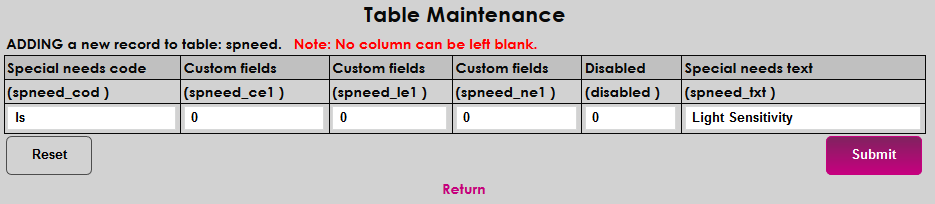
Once all the information has been filled out, click Submit to add the new category to the Special Needs table.
Creating Record
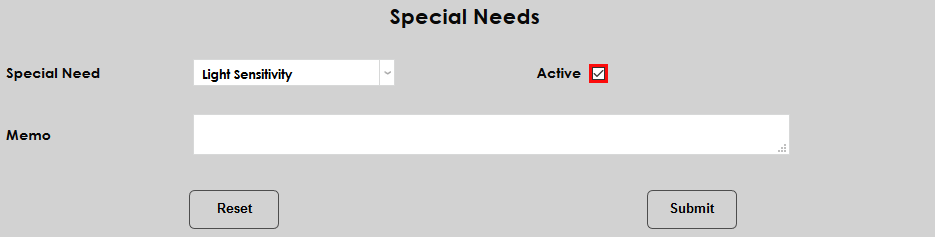
To create a new Special Needs Record for a student, go to the Special Needs page in records and click the ADD button.

Select a category from the dropdown list.
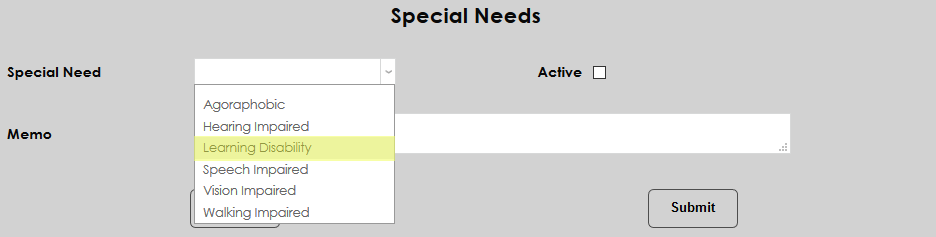
Check the Active box to indicate current applicable special need.
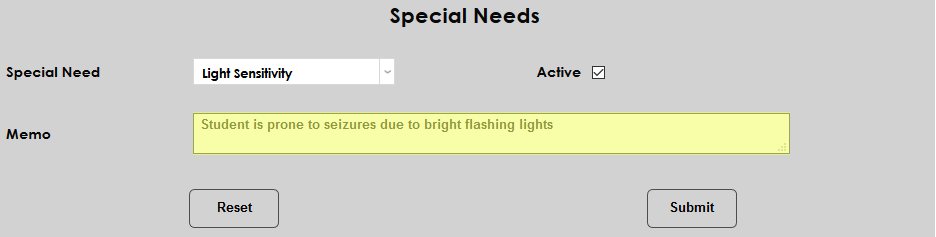
Additional information can be added in the Memo field.
Click Submit to finalize the entry.
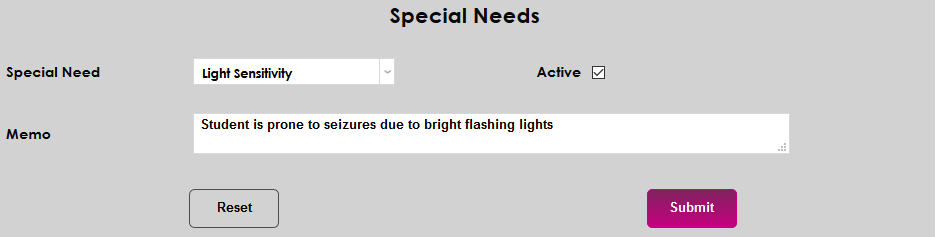
Multiple special needs can be added for a student.
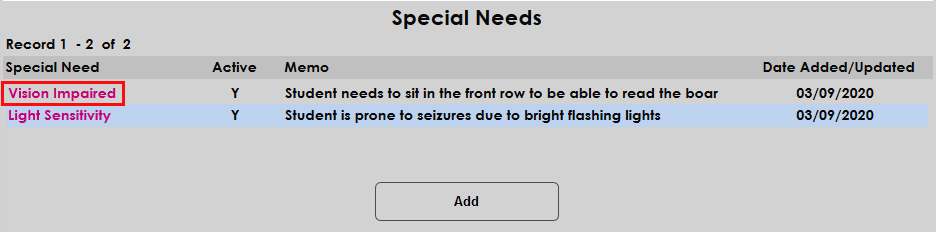
Editing Record
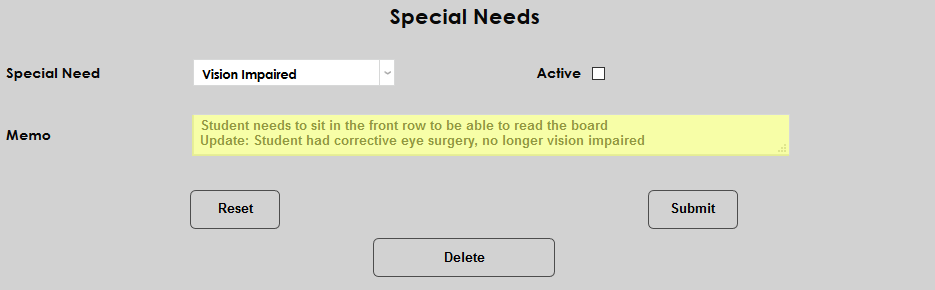
If a Special Need record needs to be edited, start by selecting the record to edit it.
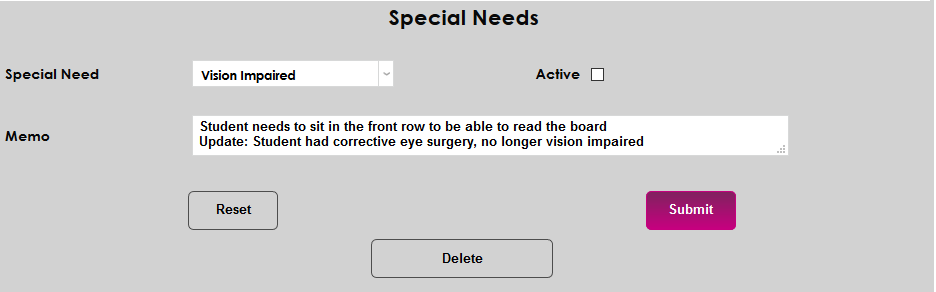
Notes can be added to the Memo field at anytime. If a special need is no longer applicable to a student, uncheck the Active checkbox. The special need record will remain in the student’s records for reference.
Click Submit.
Additionally, a special need assigned in error can be deleted altogether. To permanently delete a special needs record, click on the record. Then, click the Delete button.
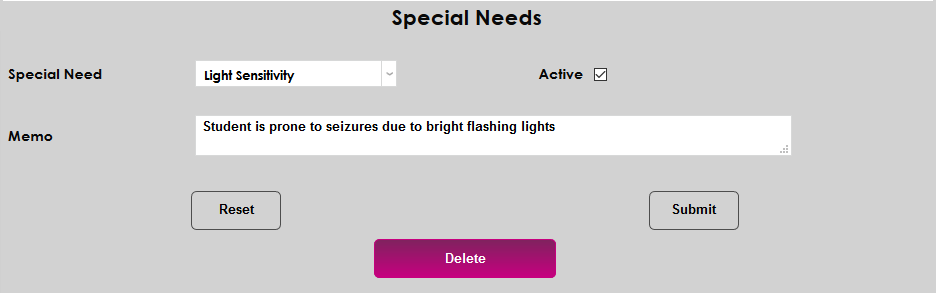
Click Confirm Delete. The special need will no longer exist in the student’s record.
