Bulk Sponsor Assignment
Overview
Sponsors are users connected to but not employed by the school who advise and look after enrolled students. Often, these users are connected to an organization that's paying all or a portion of the student's tuition such as an employer, a church, or a civic group. Sponsors have a Constituent status in Jenzabar SONIS and can log in to the system through the Sponsor Portal to view student information. The Sponsor Assignment utility allows administrators to assign sponsors to students in bulk. The utility can also be used to make sponsors inactive or to replace them.
Add/Replace Sponsor
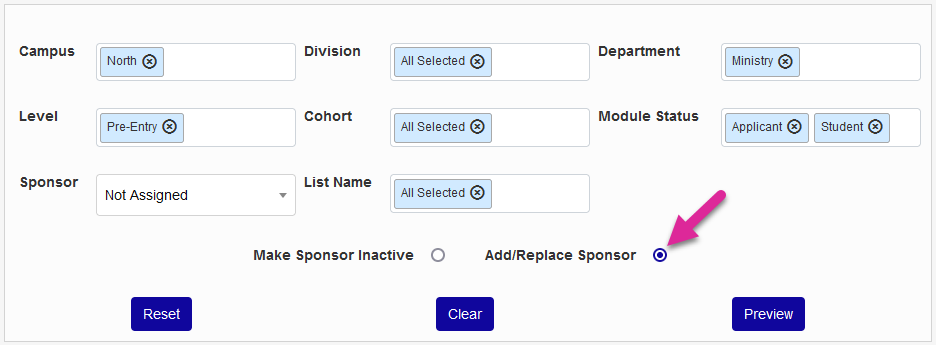
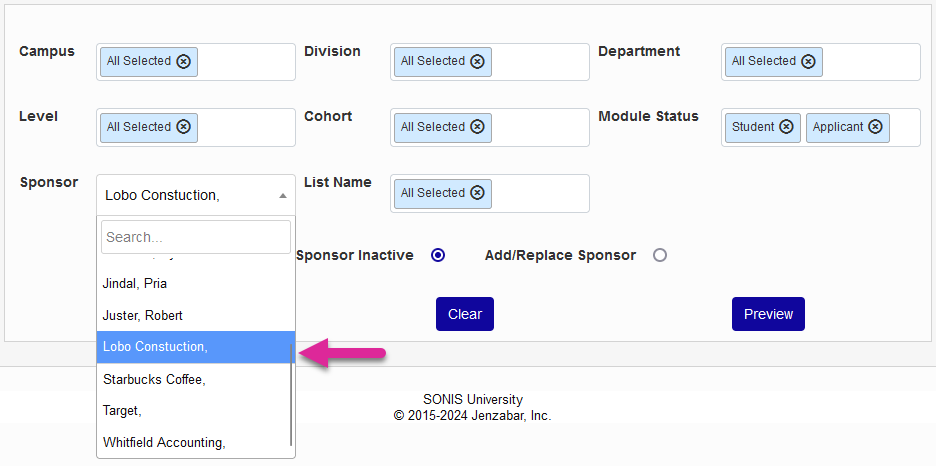
To add or replace sponsors, begin by using the various filters to narrow down the list of students. The list of of students can be narrowed down using any combination of Campus, Division, Department, Level, Cohort, and Module Status filters. Administrators can also select an existing Sponsor to select only students assigned to that sponsor and/or a List Name to select only students on that list.
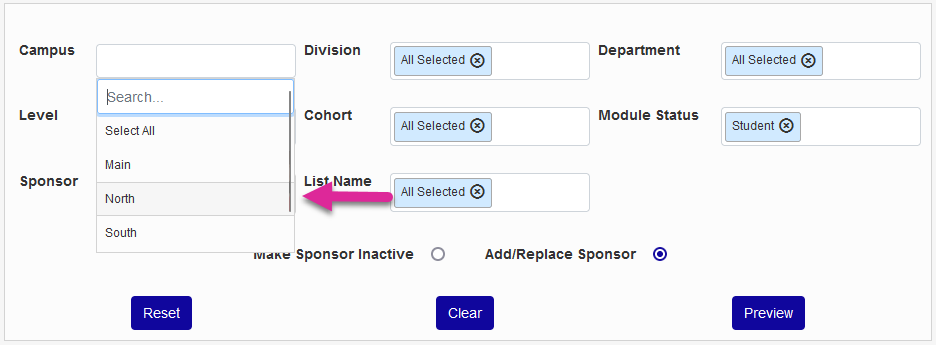
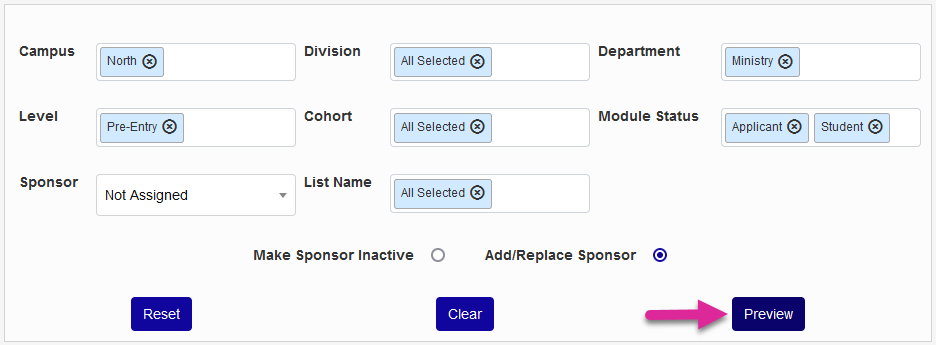
Once the needed filters have been chosen, leave the Add/Replace Sponsor button selected and click Preview to continue.
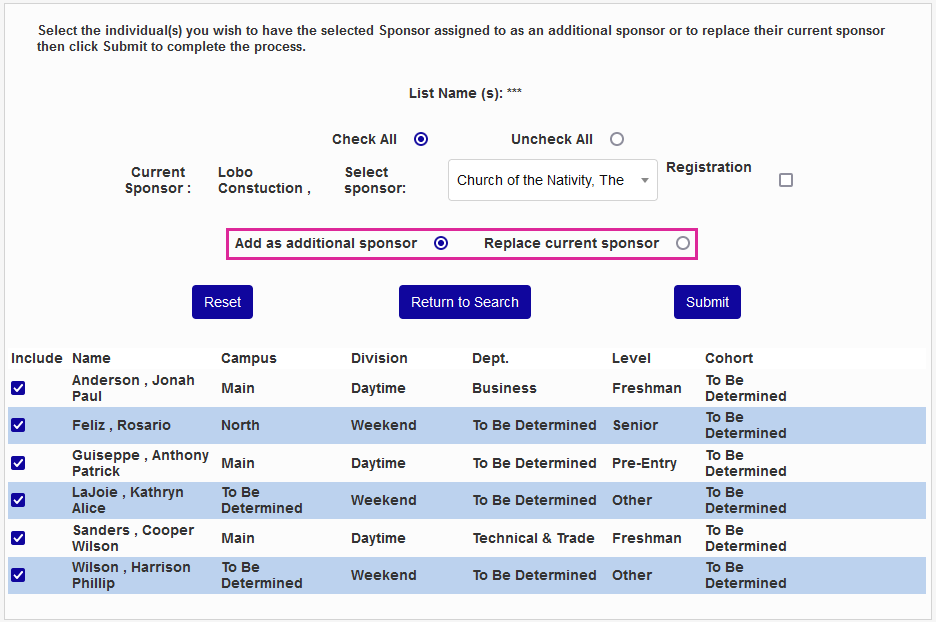
On the following page, select a Sponsor to Assign.
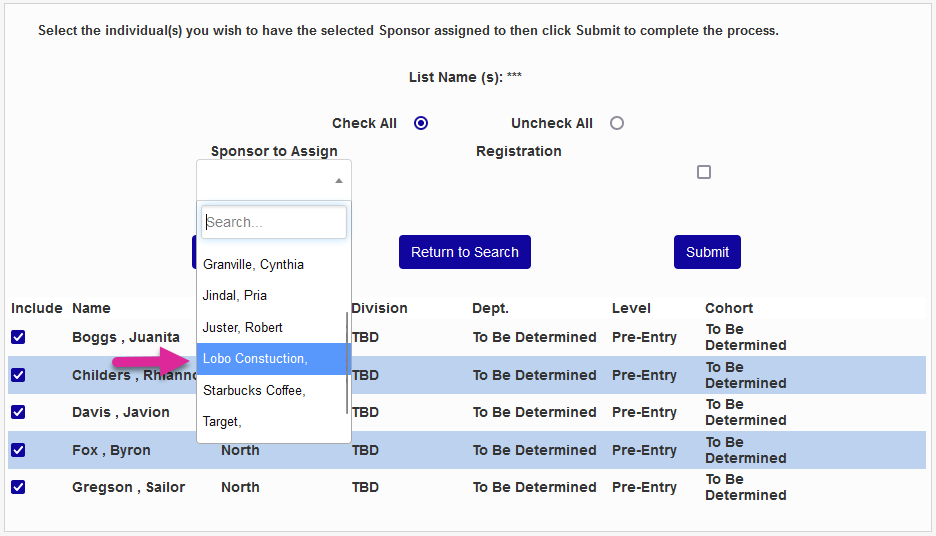
Use the checkboxes under the Include column to control which student records will be altered or, to save time when working with longer lists, use the Check All and Uncheck All buttons to make mass changes.
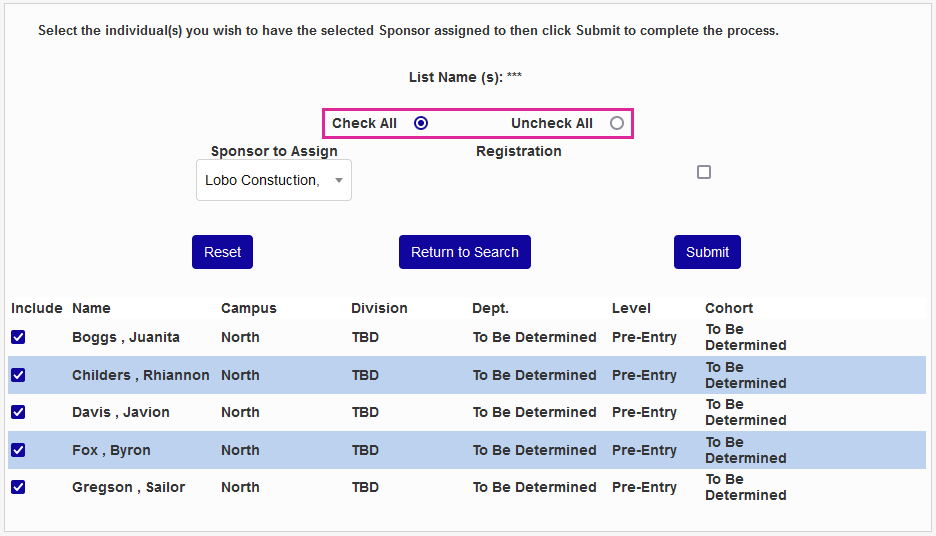
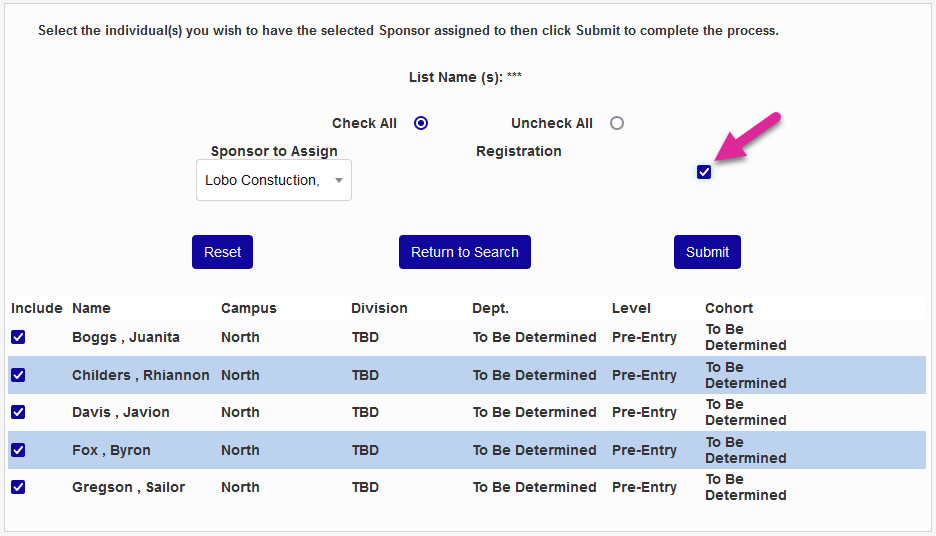
Check the Registration box to allow the sponsor to register these students for classes or leave it unchecked to disallow this ability.
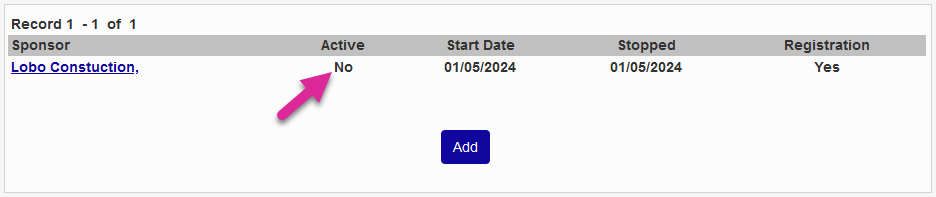
Click Submit to complete the process. Each user's Sponsor record will immediately be updated and the constituent will now have access to these students in their portal. The Start Date will be set to the current date.
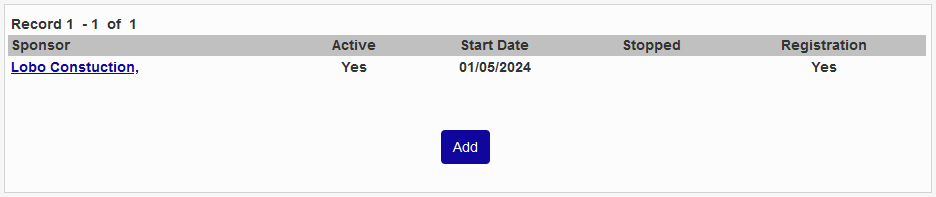
If users who have an existing sponsor are selected, the utility will offer the option to Add as additional sponsor or Replace current sponsor. The user records will be updated accordingly, including the Stopped date, if applicable.
Make Sponsor Inactive
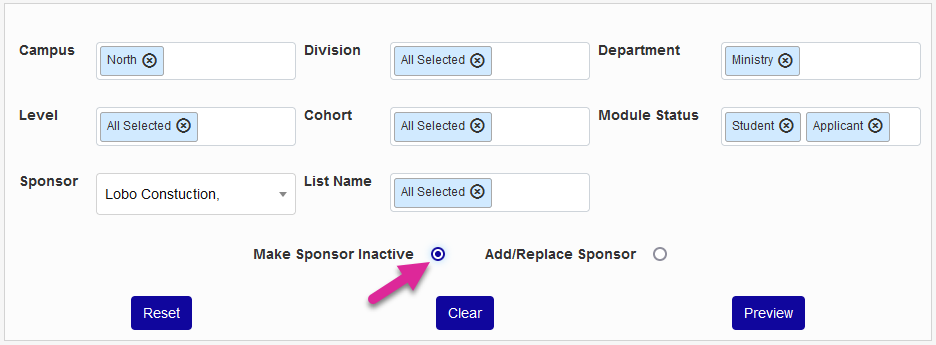
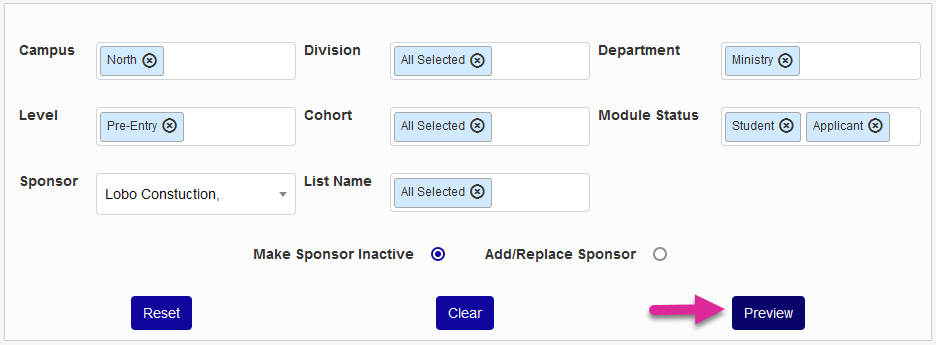
The process to make sponsors inactive is fundamentally the same as the process of adding sponsors. To begin, narrow down the list using any combination of Campus, Division, Department, Level, Cohort, and Module Status filters or by choosing a List Name. A sponsor should always be selected rather than the Not Assigned option.
Once the sponsor and the needed filters have been chosen, select the Make sponsor inactive button and click Preview to continue.
On the following page, use the checkboxes under the Include column to control which student records will be altered or, to save time when working with longer lists, use the Check All and Uncheck All buttons to make mass changes.
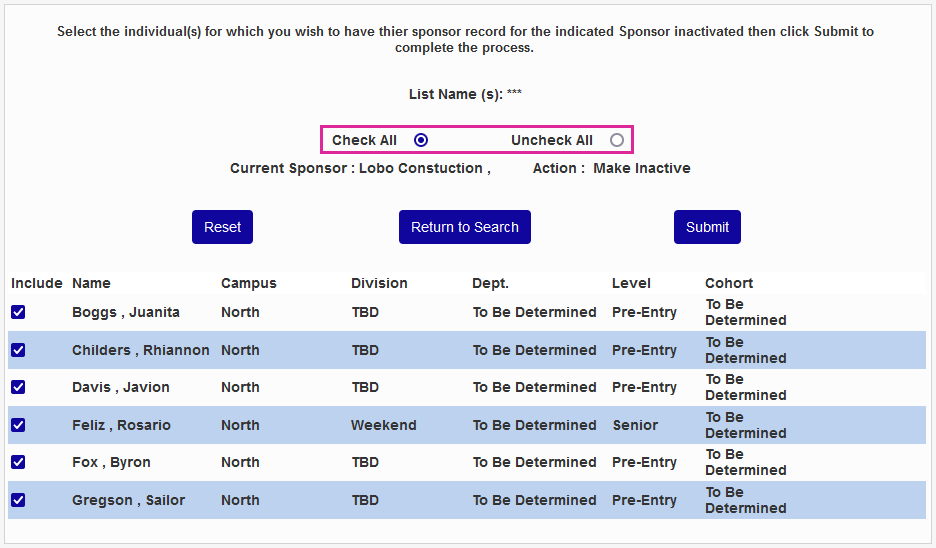
Click Submit to complete the process. Each user's Sponsor record will immediately be updated from active to inactive and the constituent will lose access to these students in their portal. The Stopped date will be set to the current date.