Leave Status
Overview
The Leave Status page in the Users hub allows an institution to record the dates, reasons, and affected courses when a user is on an approved leave. When entering leave data, the administrator is asked to select a Leave Type and Leave Reason. These fields are populated based on the Leave Type and Leave Reason tables.
Entering Leave
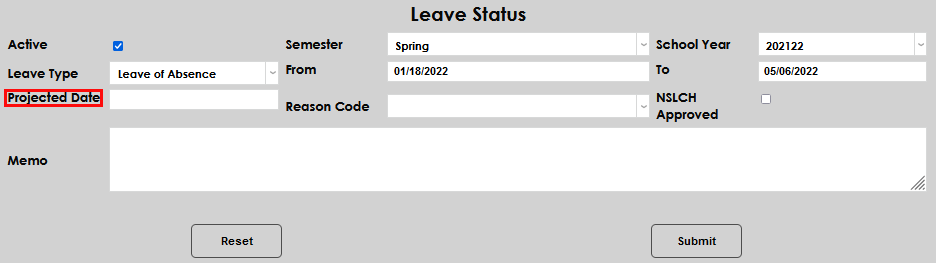
To enter a leave record, enter the Leave Status page in the Users hub. Click Add.

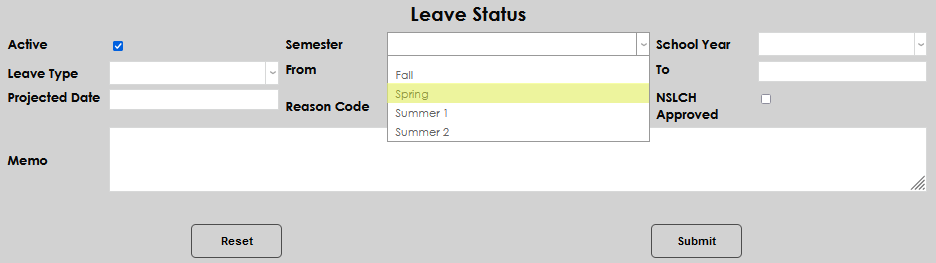
Check the Active box to indicate the leave is in-progress.

Select the appropriate Semester and School Year.

Select the Leave Type. If the appropriate leave type isn't available, it will need to be added by an administrator in the table.
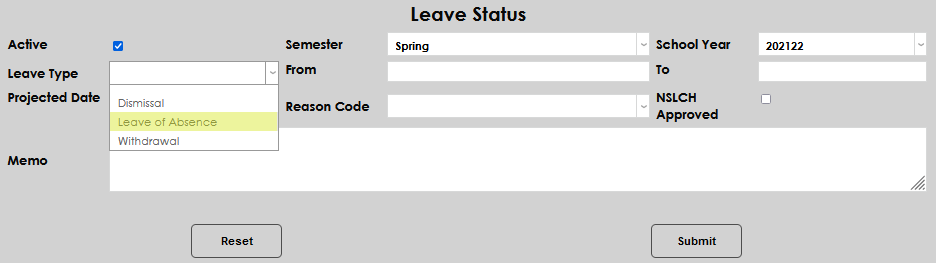
Add the dates that correspond to the leave in the From and To fields.
If the "to" date has not been formalized, enter a Projected Date for the student's return.
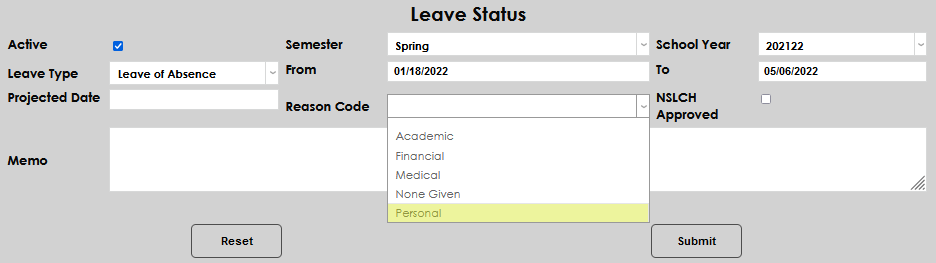
Select a Reason Code. If the appropriate reason is not available, it will need to be added by an administrator in the table.
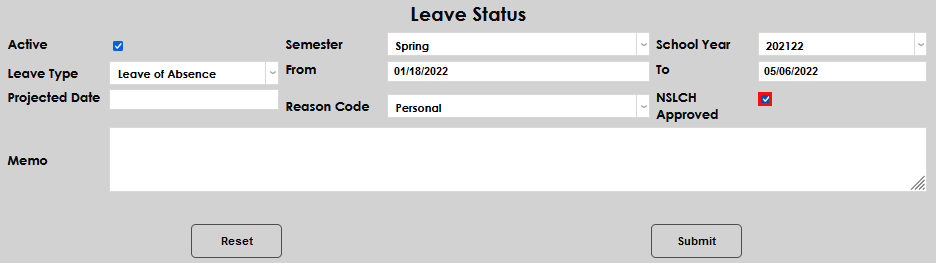
If the leave meets the National Student Loan Clearinghouse reasons for approval, click the NSLCH Approved box.
Add any details desired to the Memo field. Click Submit to save the entries.

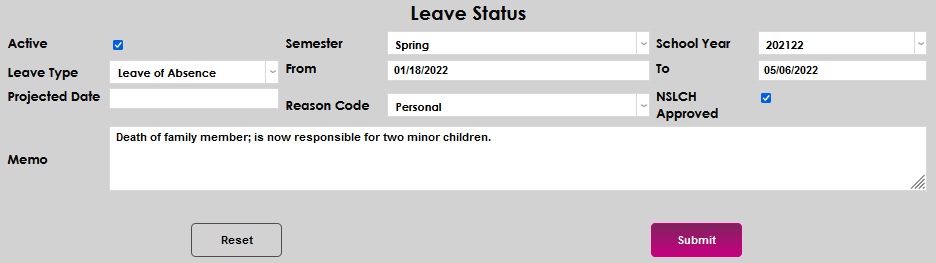
On the next page, confirm the submittal by selecting the appropriate radio button regarding how the Withdrawn Status should be processed or not, and click Submit again.

Bulk: Leave of Absence Assignment
The Bulk: Leave of Absence Assignment utility, available in the Systems hub, provides the ability to identify students who should be given a leave of absence using filters. Once students are identified using the filters, the utility creates the leaves of absence exactly like the Leave Status page does. Students must have official grades, complete withdrawal dates, and/or completion dates to be considered by the utility for leave assignments.
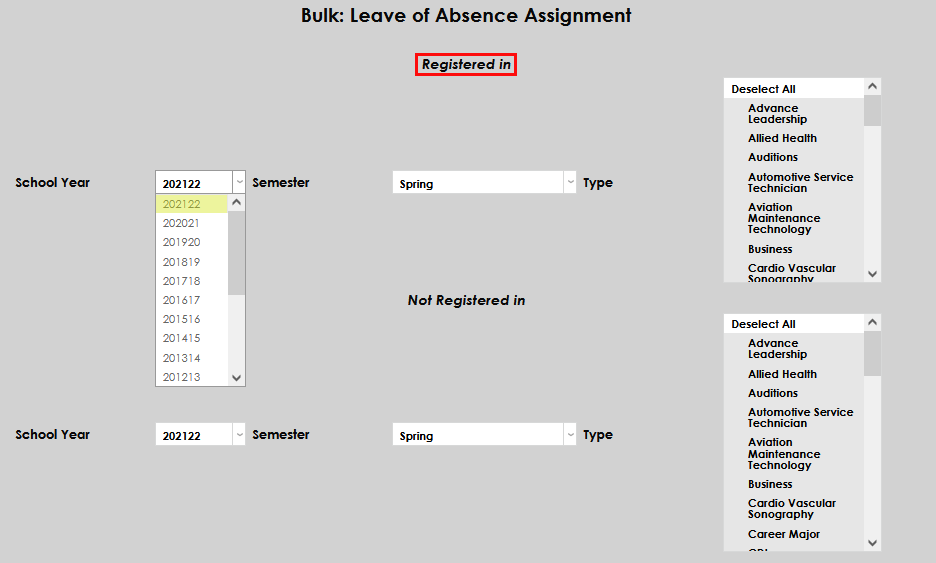
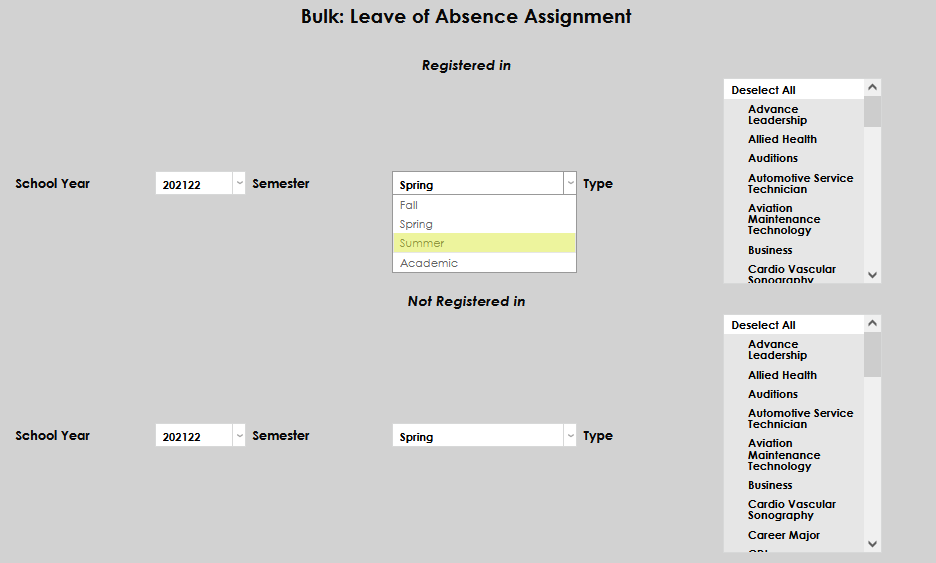
To begin processing Leave of Absence status creations for multiple students, select the Reg: Leave of Absence Assignment page in Systems hub. The first section of filters is for students who are currently registered. If students who are not registered are needed, skip to the Not Registered in section. Select the School Year and Semester from the dropdown menus.
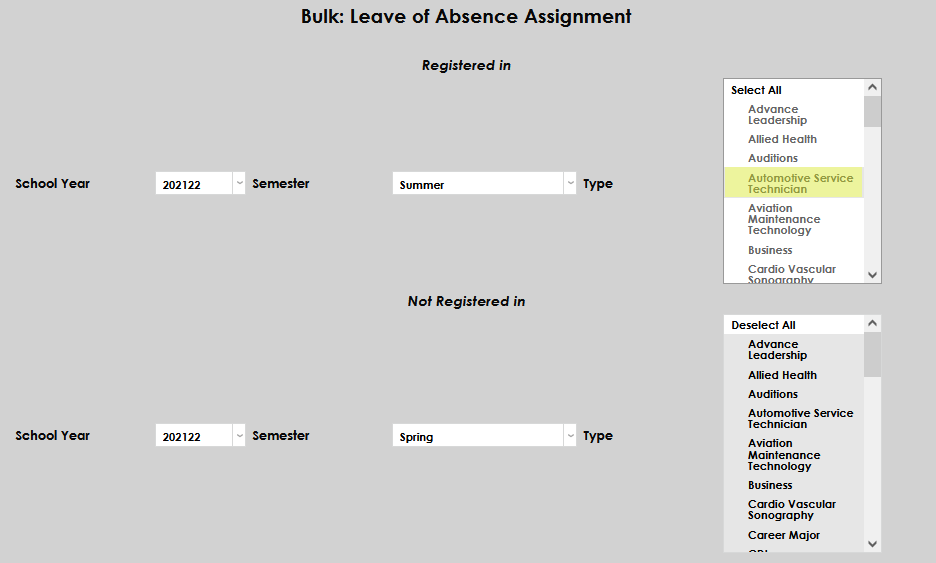
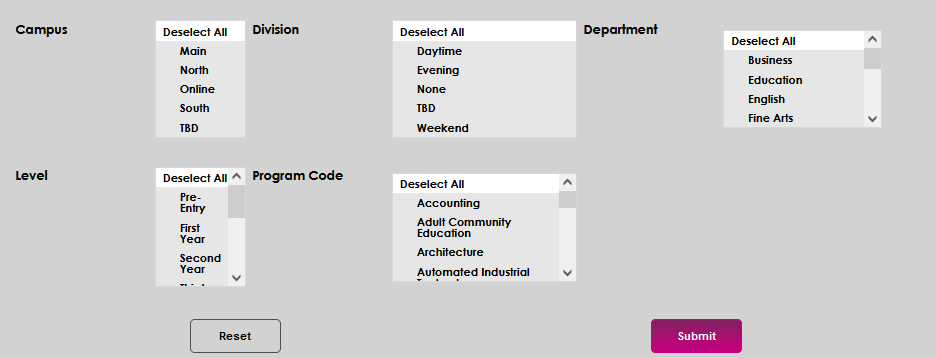
Select the program of study from the Type menu. By default, all options are selected. If only registered student are desired, click Submit.
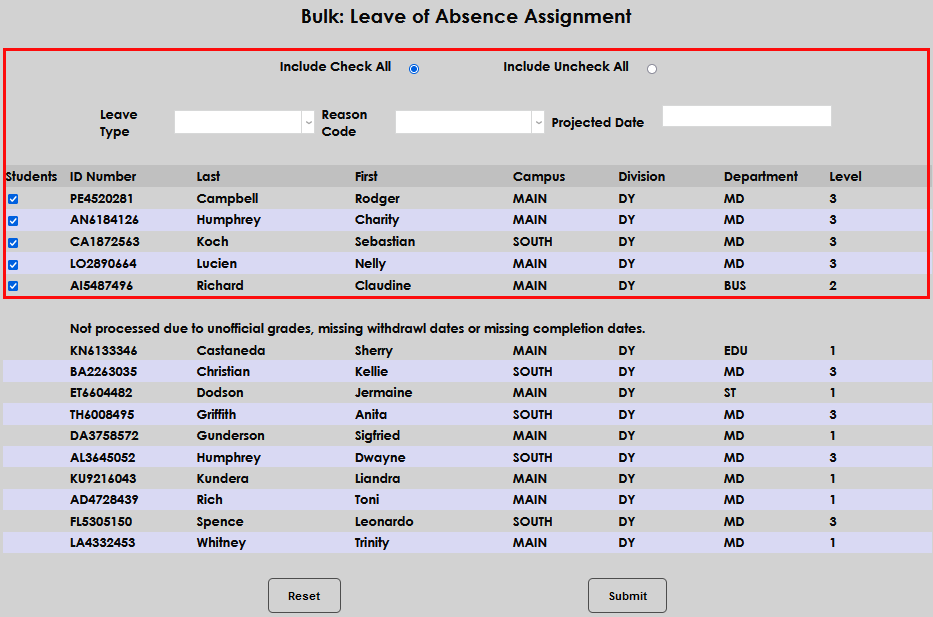
After submitting, a new page will open with the list of students that meet the conditions selected in the filters, as well as any students that would meet the conditions if they didn't have a missing or incomplete item.
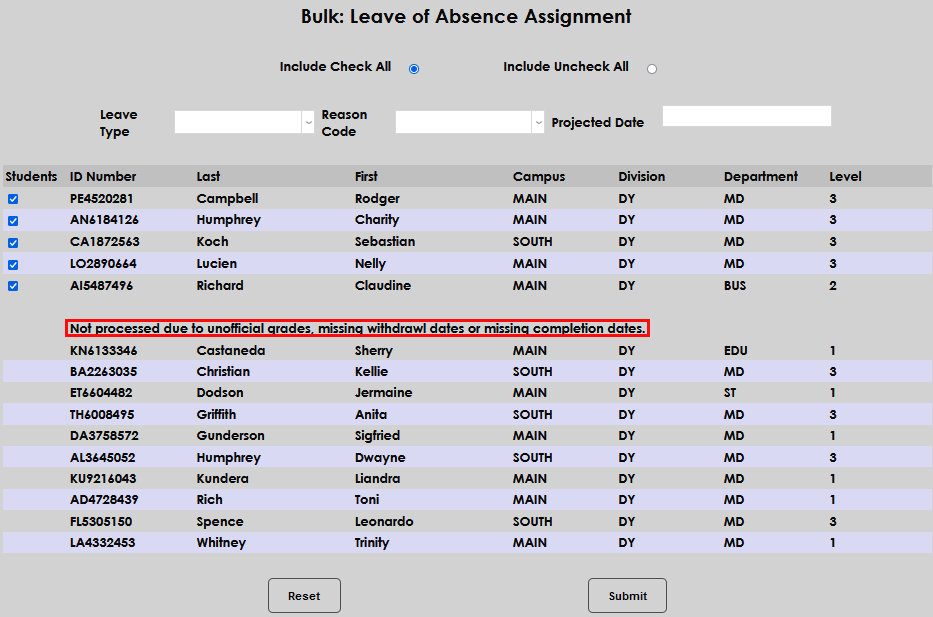
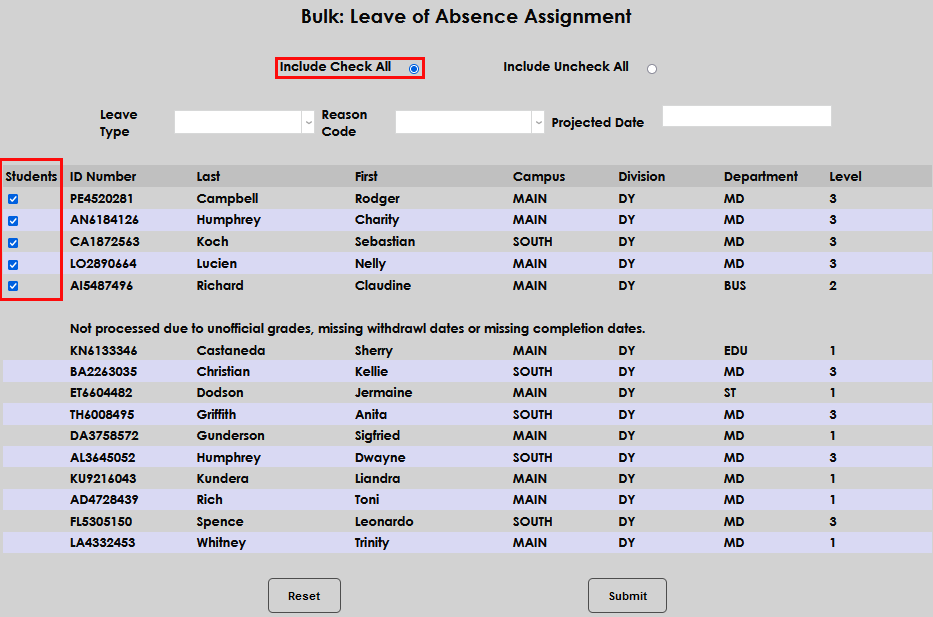
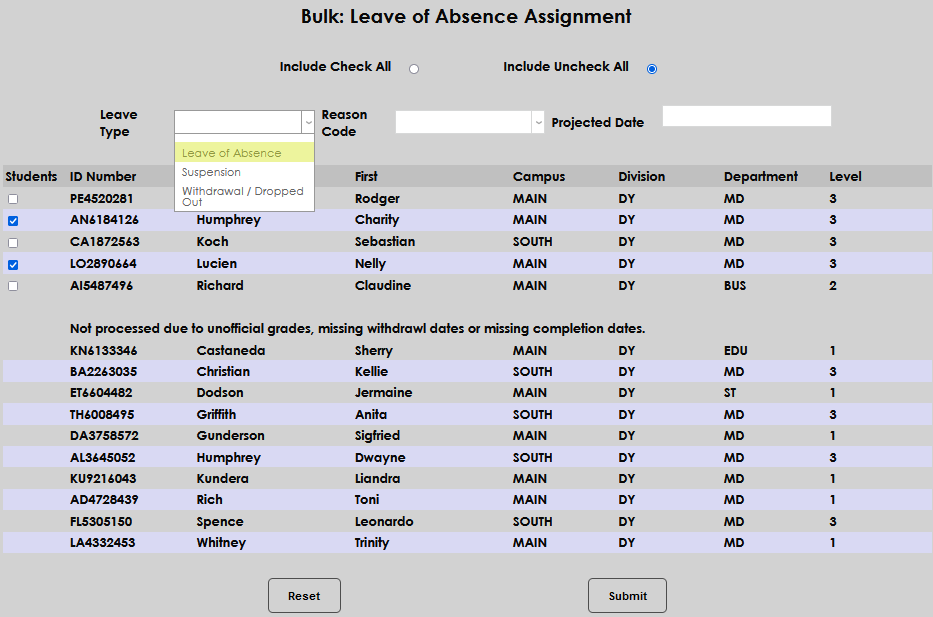
By default, all students are checked to include in processing. If many students should not be included, click the Include Uncheck All radio button and then individually select the students that should be included. Alternately, if only one or two students shouldn't be included, simply uncheck the box that corresponds with the student names.

Select the appropriate Leave Type and Reason Code. Each of these dropdowns is populated by tables. If the needed values are not displayed, they must be added by an administrator.
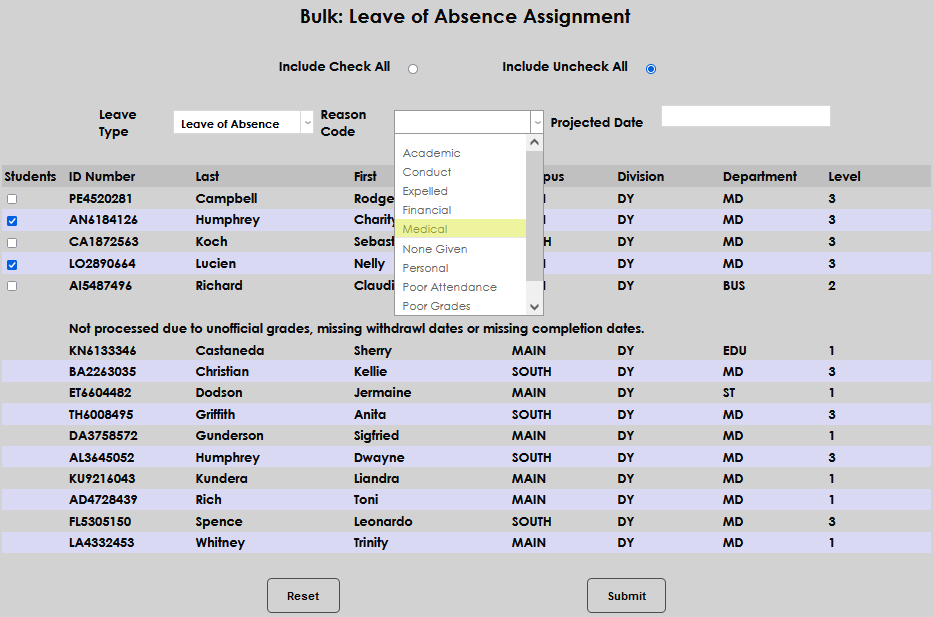
Enter the date the leave is expected to end in the Projected Date field. In this example, the students are being given a 45-day medical leave. Click Submit to complete the leave of absence assignment.