Emergency Contact
Overview
The Jenzabar SONIS Emergency Contact page provides a place to store the address, phone number, and other contact information for a close friend or family member of students, staff, and faculty members that can be used if that SONIS user experiences an emergency which leaves them unable to communicate. To access the page, select a SONIS user via the Namesearch function and click Emergency Contact in the Users hub.
Adding Contact
To add contact information, begin by clicking the Add button at the bottom of the page.

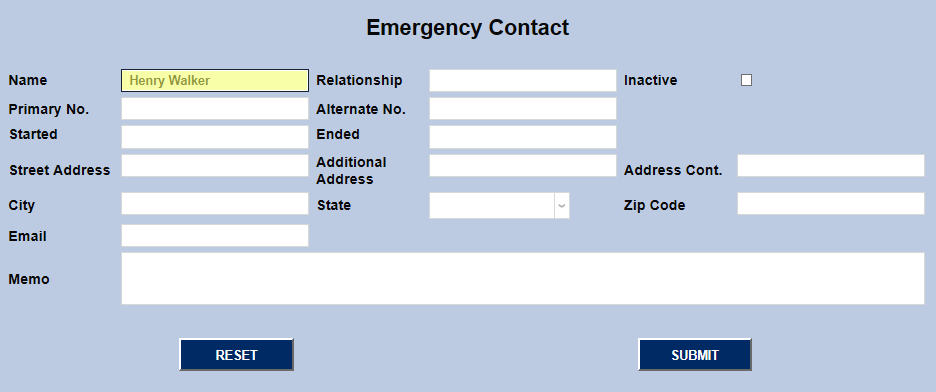
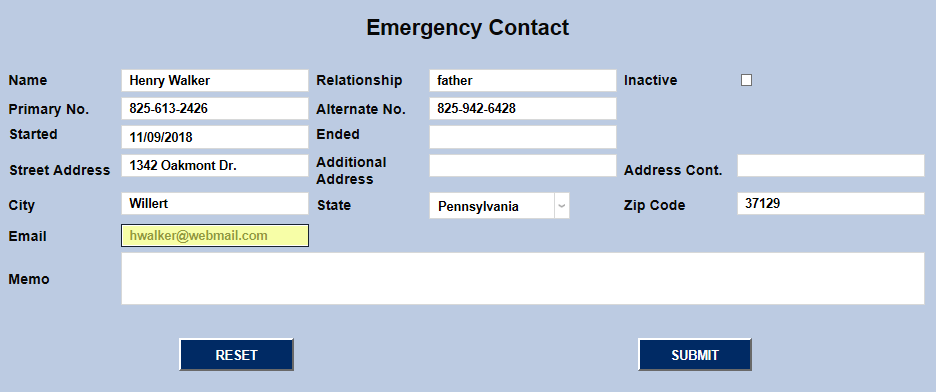
On the following page, begin by filling out the Name Field with the contact's first and last name. The field has a 75 character limit, so there should be adequate space for a middle name as well if the contact goes by their full name or one is needed for differentiation purposes. The Relationship field should briefly describe their relationship to the SONIS user, i.e. father, mother, spouse, parent, guardian, etc.

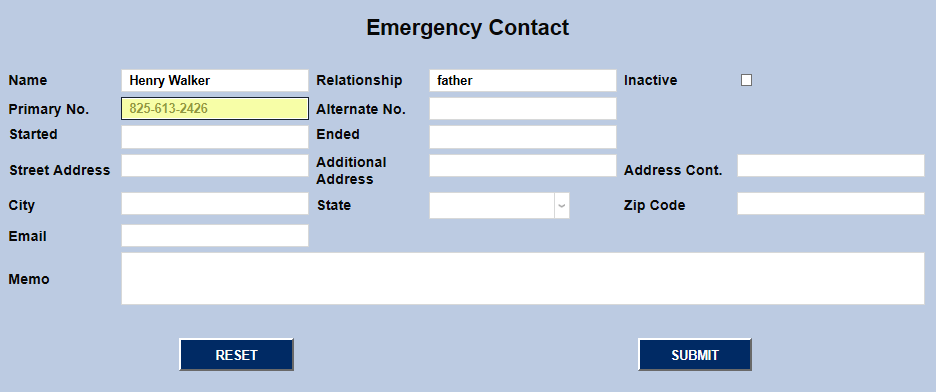
Next, fill out the contact's Primary phone number, including area code and their Alternate phone number if one was provided.

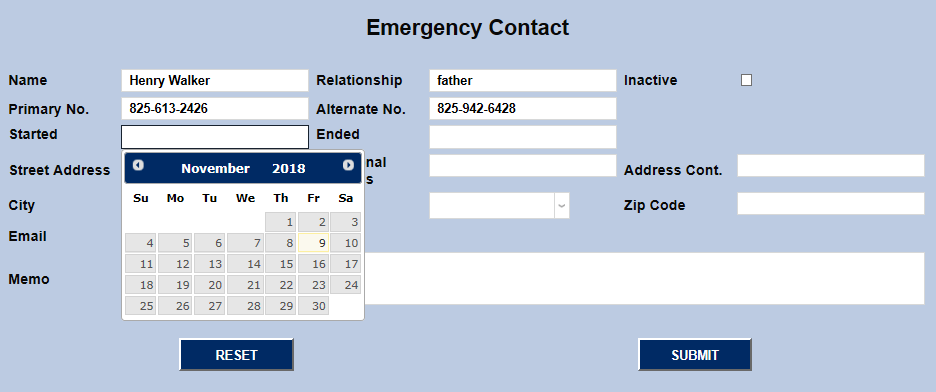
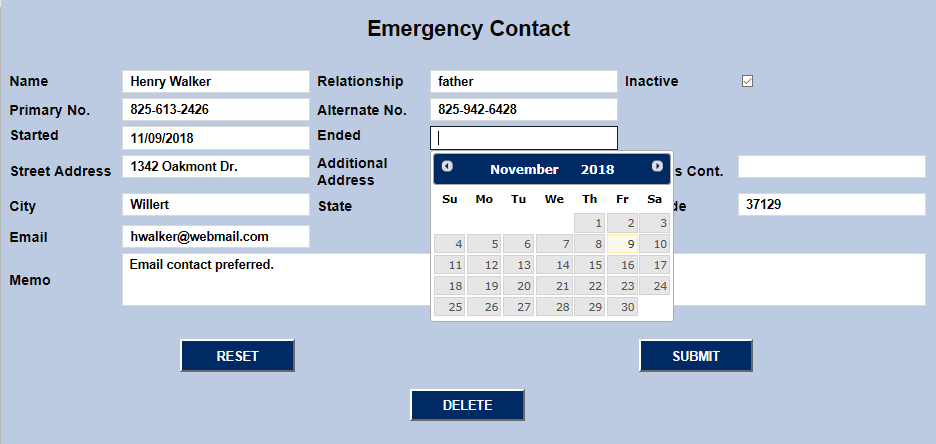
Set a Started date to show when the emergency contact was added. The Ended date should not to be added when setting up a new contact. It only applies to contacts that are no longer valid for whatever reason, allowing the school to keep a record of when that contact was added and when they were made inactive.
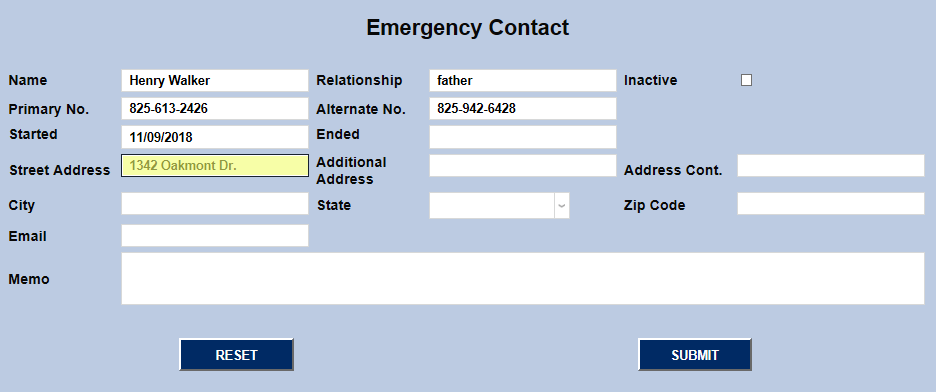
Enter the contact's home address in the Street Address field. The Additional Address field can be used for a secondary address such as a business address or P.O. Box. The Address Continued box provides additional space to continue either address beyond the 30 character limit of the other fields.
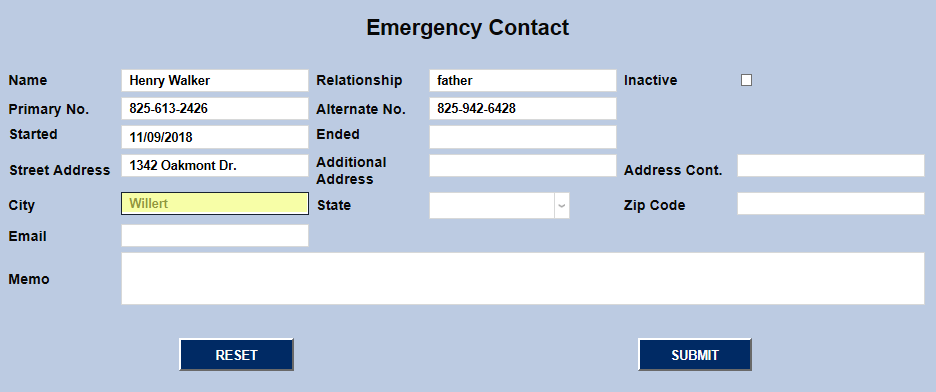
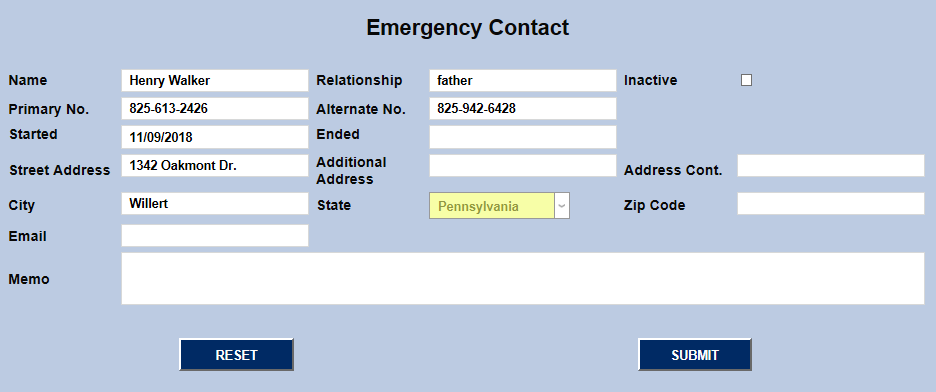
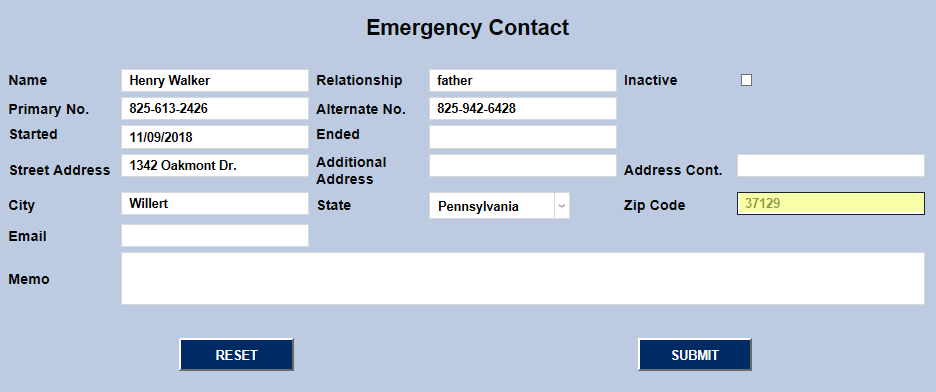
To complete the street address, enter the City, State, and Zip Code in the corresponding fields.
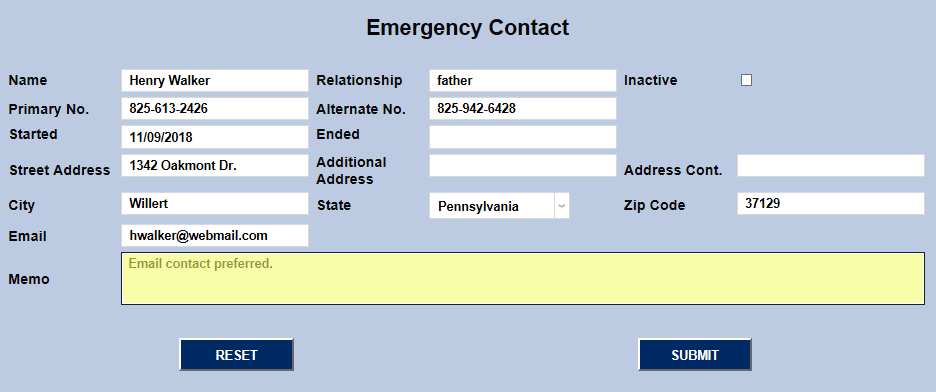
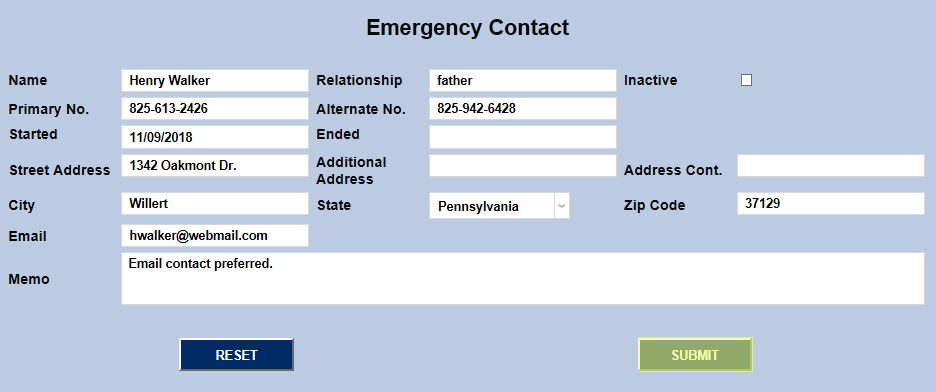
Enter an Email address for the contact along with any additional Memo that may be needed. Click Submit to save the changes.
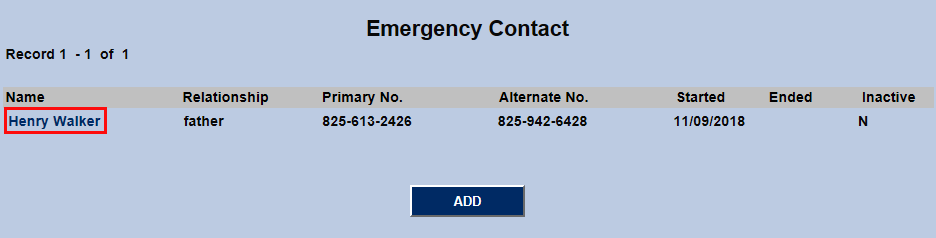
Editing Contact
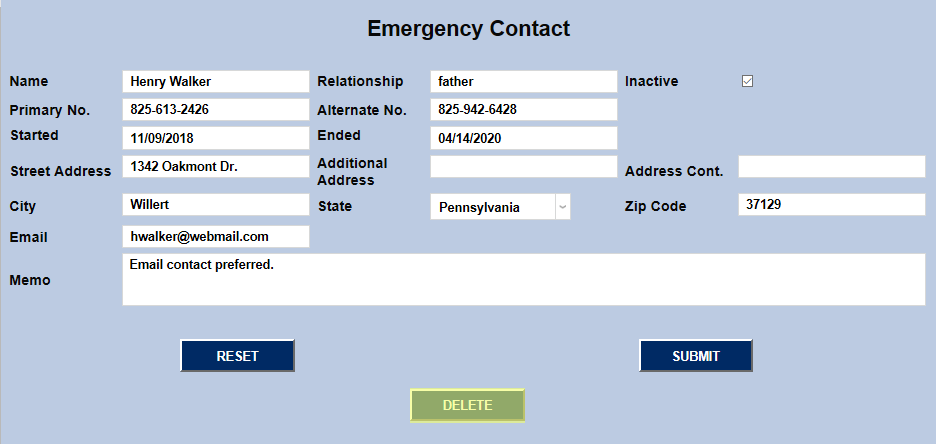
To begin editing an existing Emergency Contact, click on the contact's name.
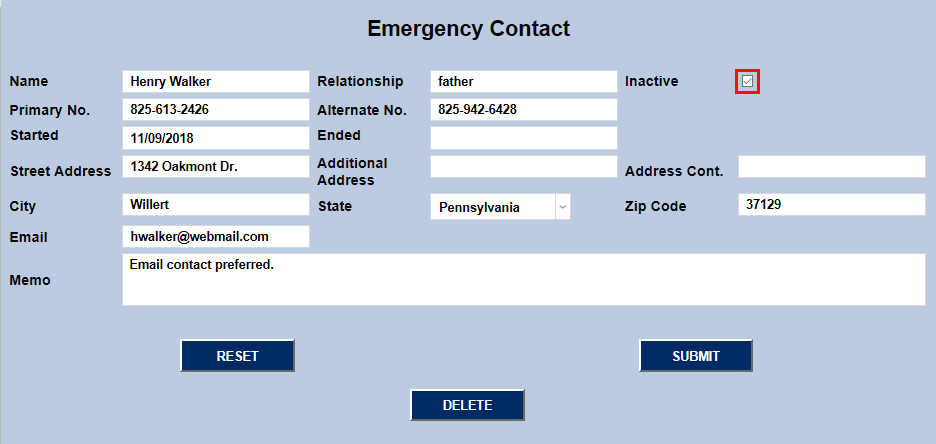
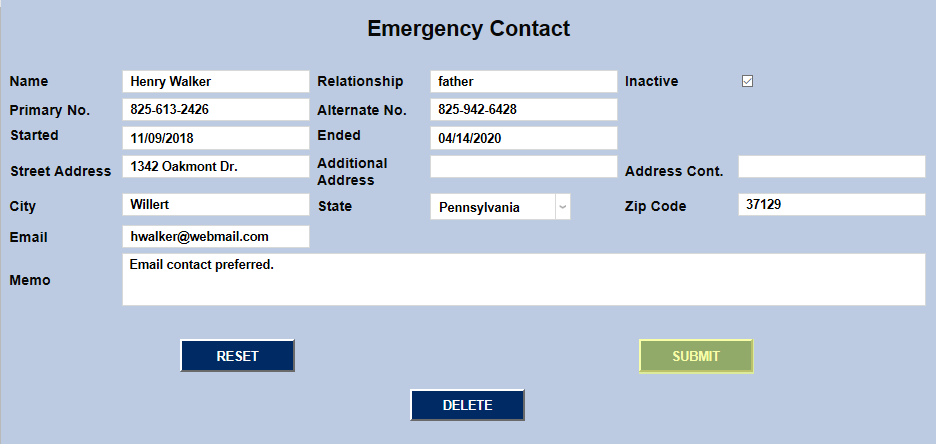
In addition to changing the existing contact information, the profile can be made Inactive by checking the corresponding box. It's recommended that administrators select an Ended date when doing so for record keeping and liability purposes. Click Submit to save any changes made.
The edit page also provides the option of deleting the contact altogether by clicking the Delete button. On the following page, click Confirm Delete to finish the deletion process.