Bio
Overview
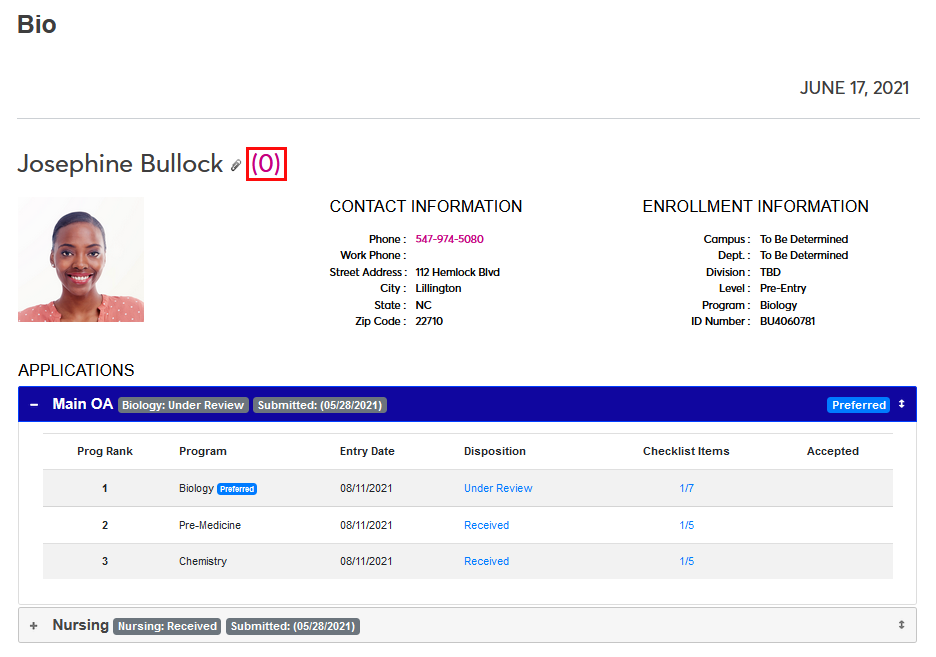
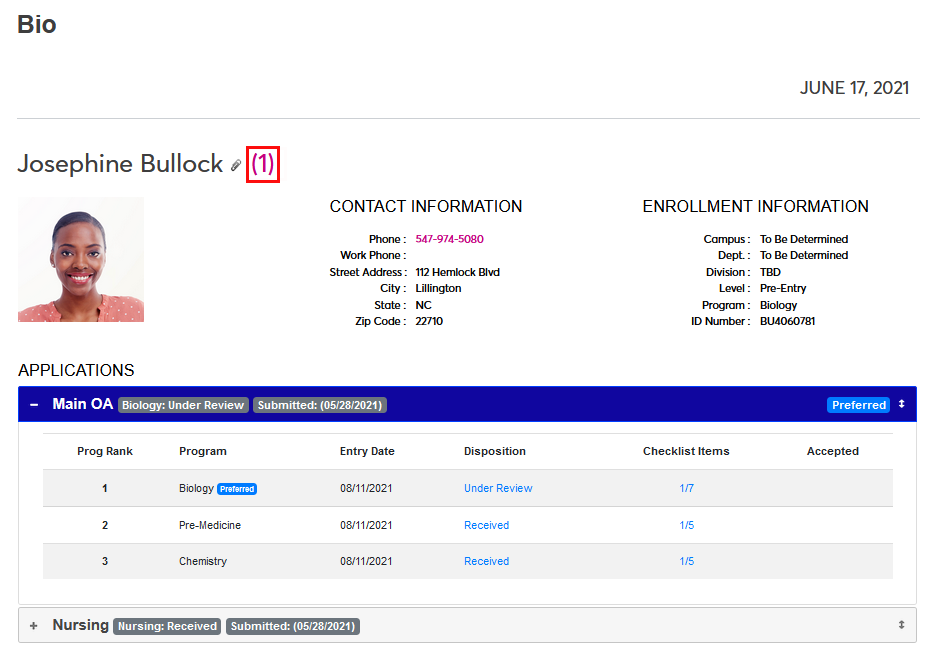
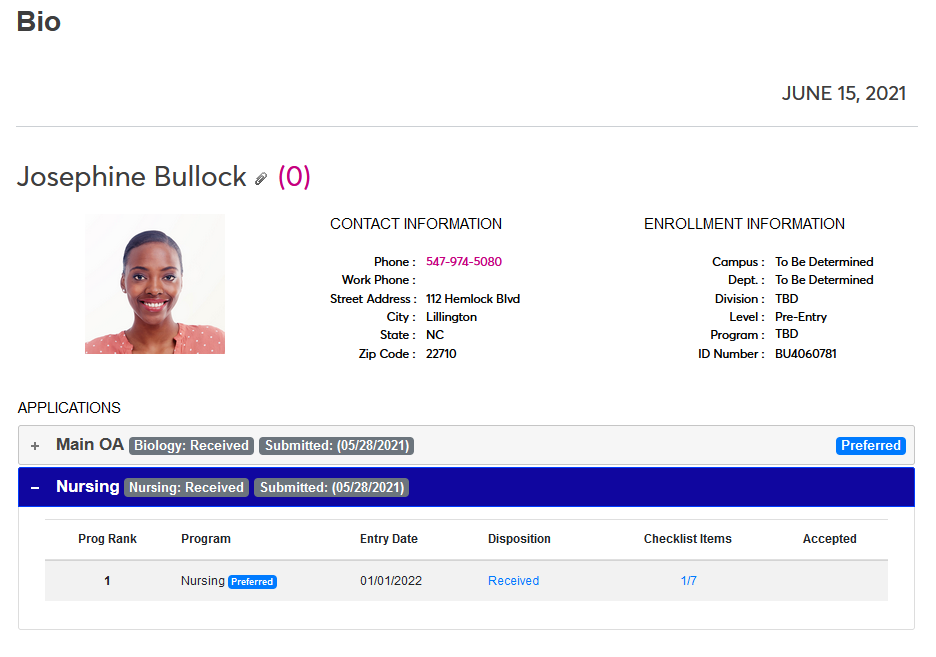
The Bio page is designed to give applicants an overview of their own information, both personal and academic. It displays both contact information and enrollment information based on the data submitted in the application(s). It lists each application that has been submitted along with each program of interest that was included in that application. Applicants can also upload files that can then be viewed by administration and view their progress towards completing checklists.
For administrator setup options, visit the following wiki pages: Application Records, Checklist Records, Dispositions for Applicants, and Document Management System.
Document Management
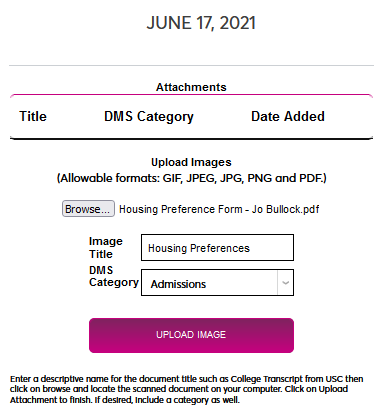
Applicants can upload documents to the SONIS system which can then be viewed by school administration. To upload an item, click the number next to the paperclip at the top of the page. This number represents the number of documents that are currently uploaded to this location.
Click Browse to locate the file to be uploaded on the local system. Files must be in image format: PDF, JPG, PNG, etc.
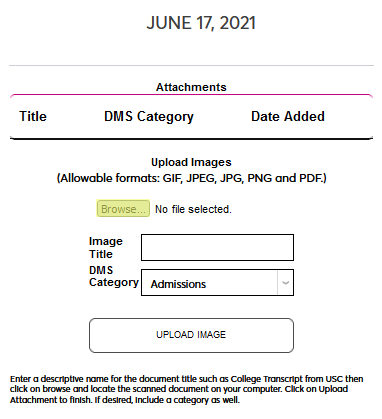
Create an Image Title that describes the file and select a DMS Category for the file.
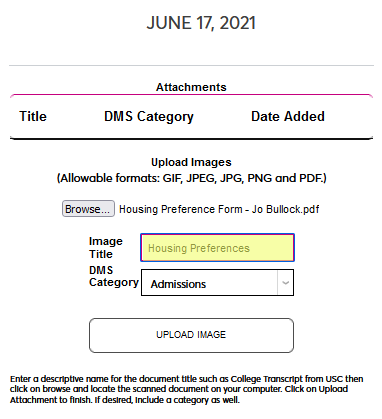
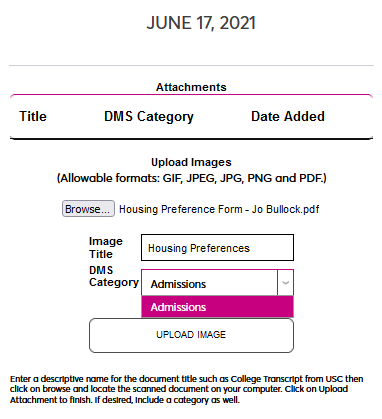
Click Upload Image to complete the process.
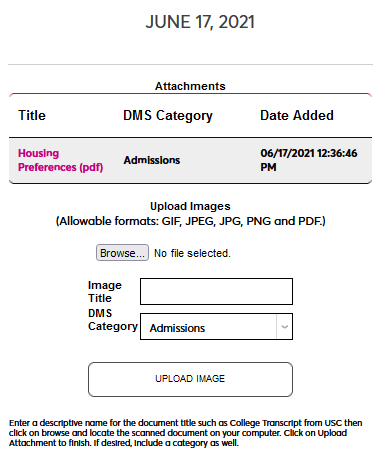
Once the file has been uploaded, the number link will update. Click the link to view the previously uploaded file(s) or upload additional files.
Dispositions & Checklists
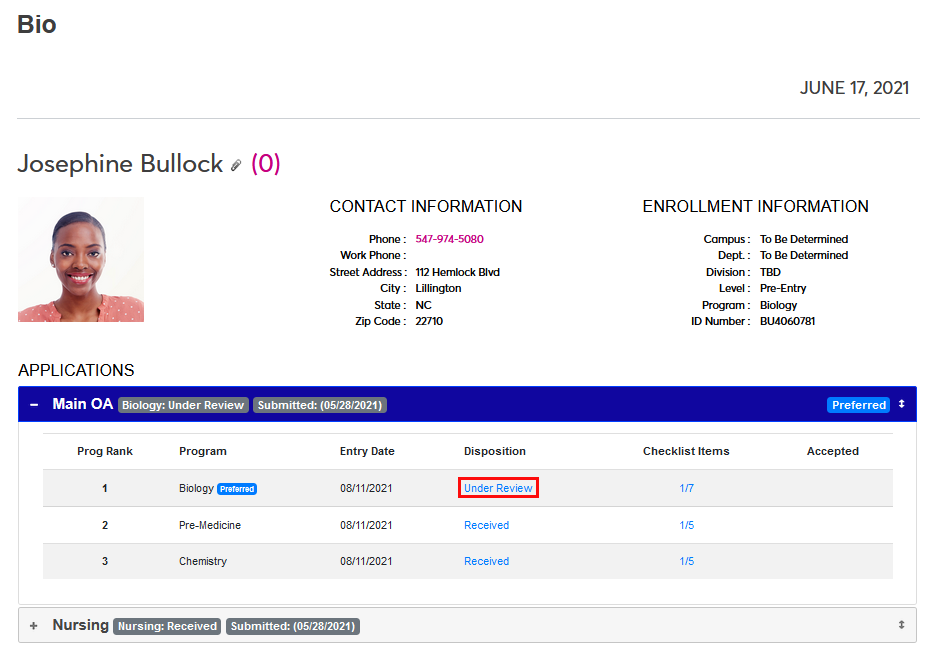
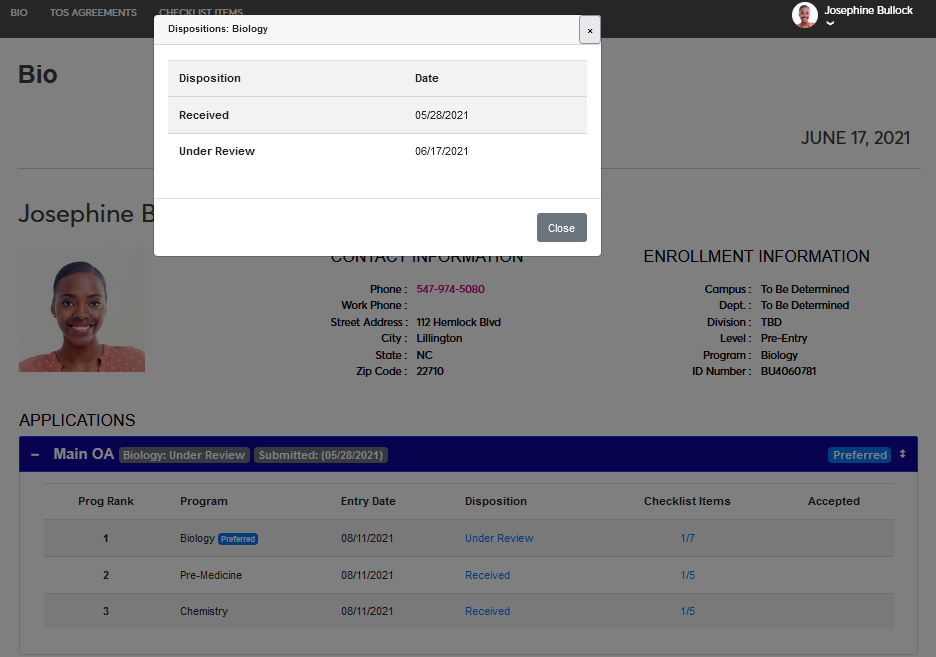
Each application has a disposition tied to it. The disposition is essentially the status of the application. For example, an application could be received, under review, accepted, or rejected at any given time. The current disposition of the application is listed under the Disposition column. If an application has more than one program associated with it, each program will have its own disposition since different departments in the school may have their own process and pace when reviewing applications. Click on the disposition to view the history of that application in a pop-up.
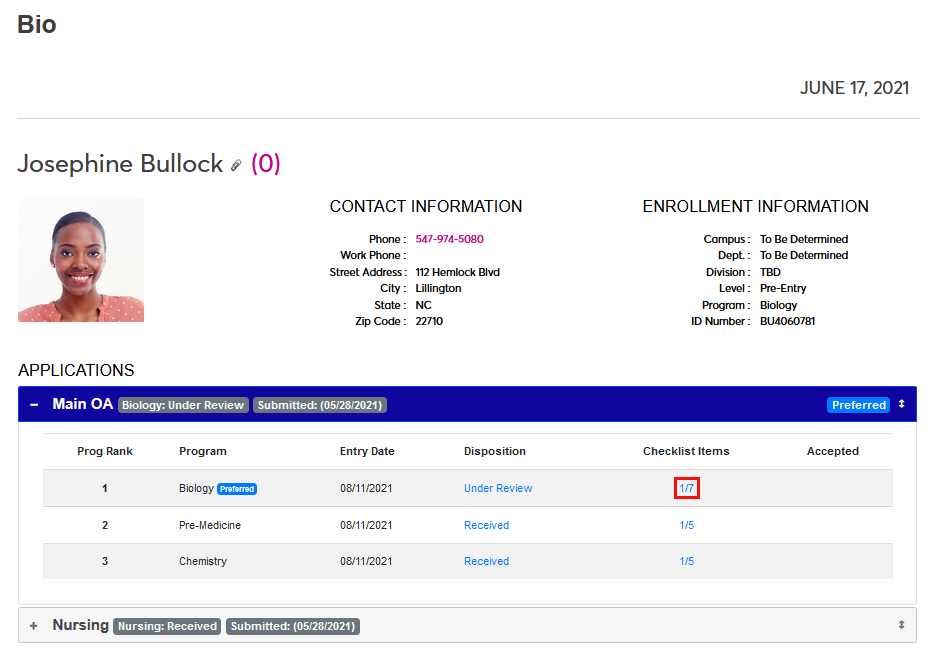
Each program within the application also has its own checklist of tasks that must be completed before the application can be accepted and the applicant can be enrolled. Some of these checklist items are Core items that apply to the application as a whole and only need to be fulfilled once per application whereas others may be program-specific. The number of checklist items completed and the number of checklist items total is displayed in the Checklist Items column. Click on the link to be taken to the Checklist Items page, which provides more detailed information.
Rankings
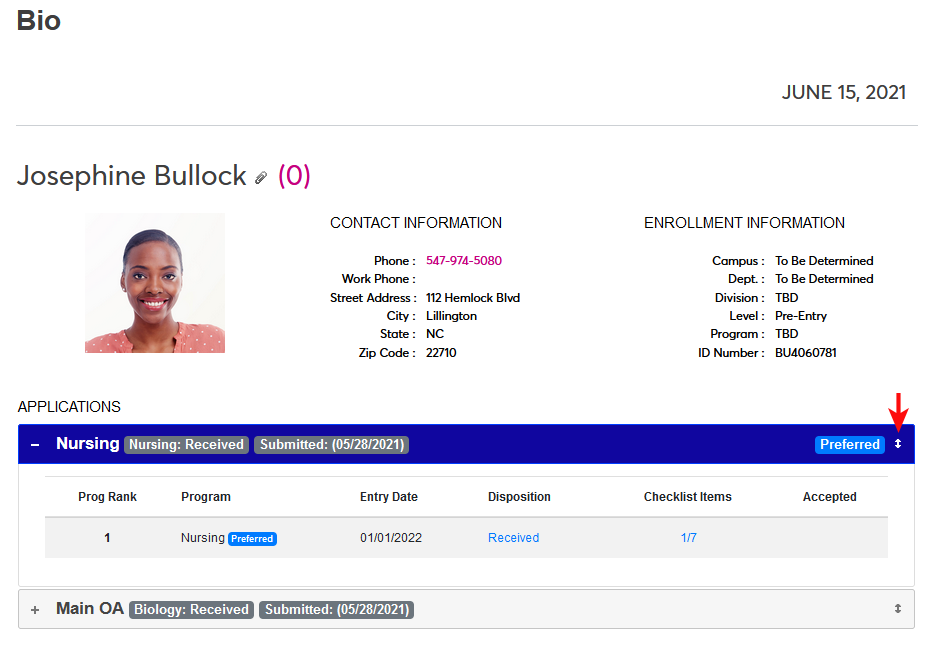
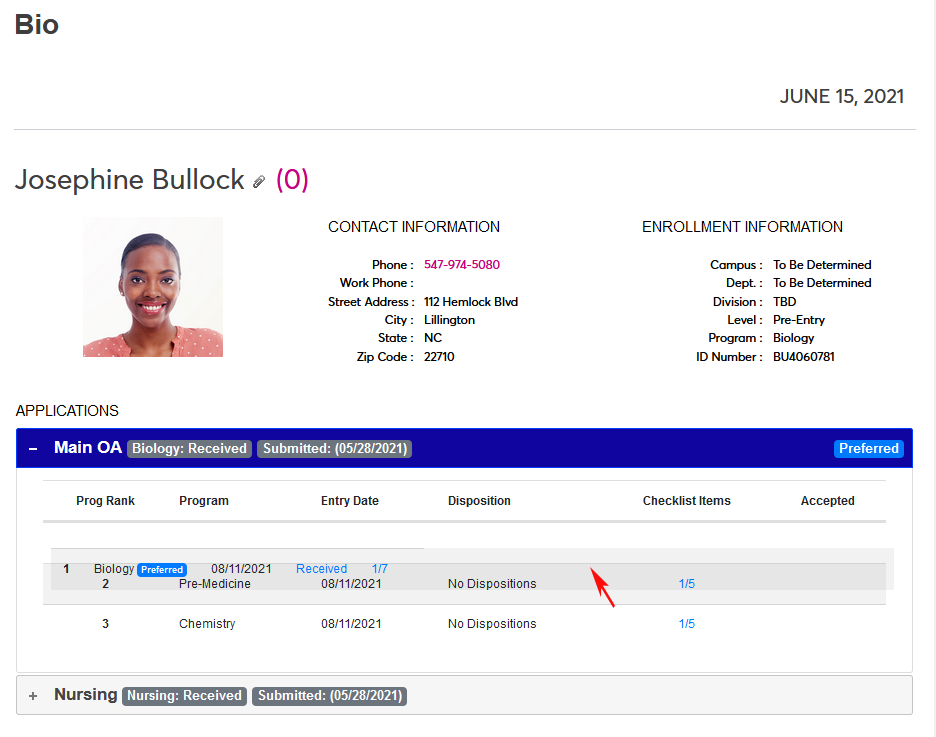
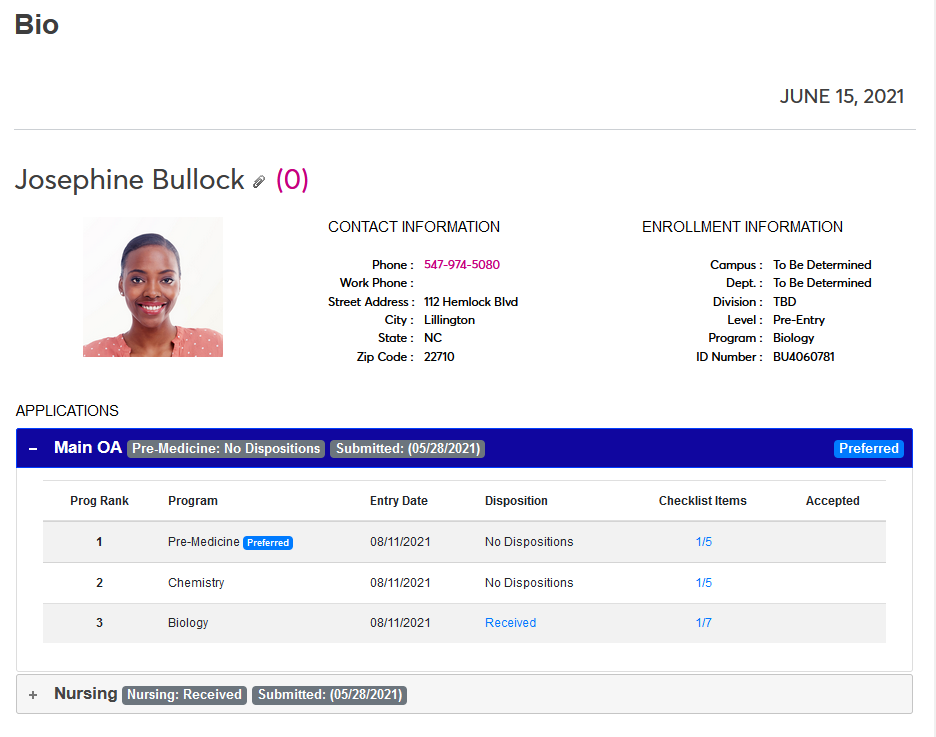
By default, each applicant's programs are ranked in the order they were selected on the application and the applications are ordered based on the order they were submitted. These rankings can both be changed by the applicant based from their Bio page in the Applicant portal.
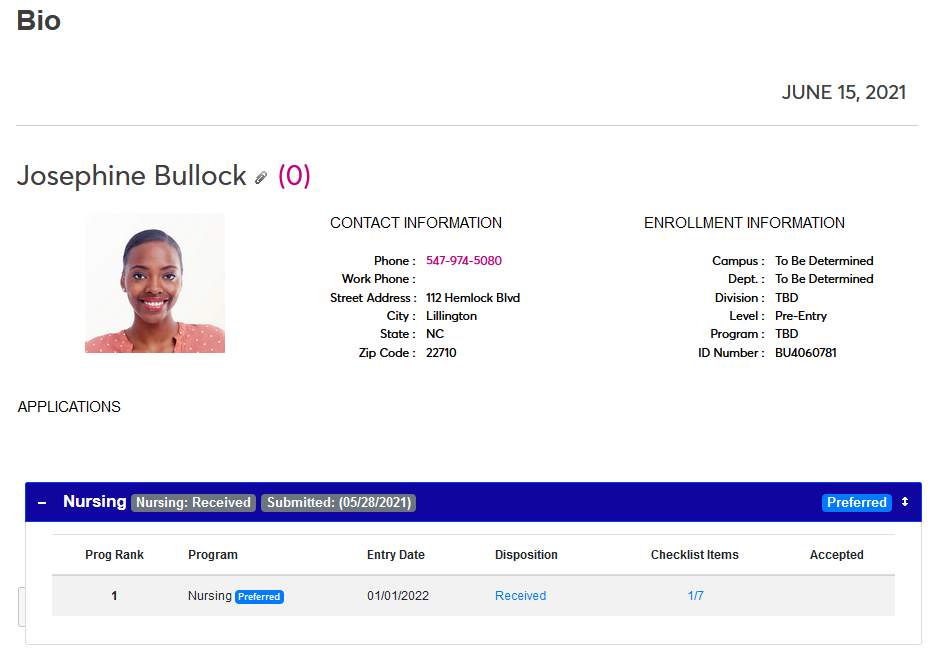
To change the ranking of their applications, click on the corner of an application and drag it above or below another application. These changes can be viewed by school administration and may be considered in the acceptance process.
To reorder programs within an application, click on a program and drag it to a new location. These changes can be viewed by school administration and may be considered in the acceptance process.
Confirming Acceptance
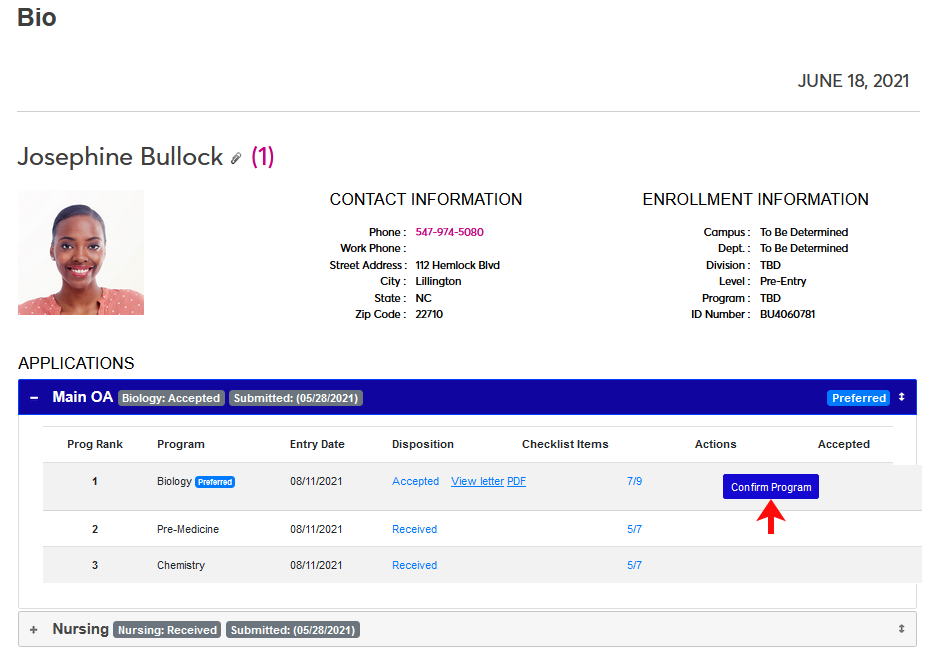
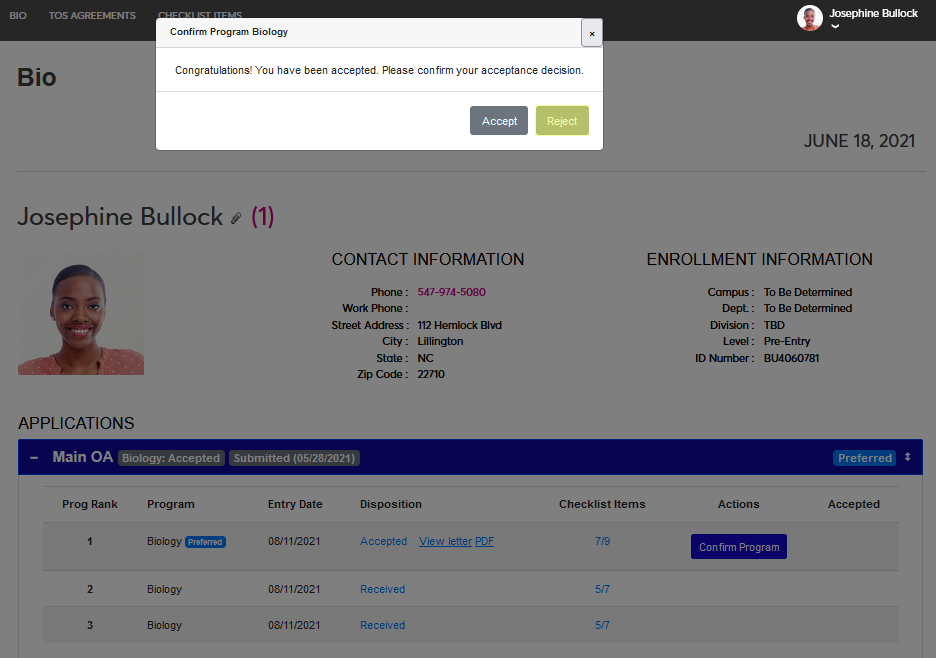
Some schools offer their applicants an opportunity to confirm or reject their acceptance to the institution. Once an applicant has been moved into whichever disposition was set to trigger acceptance confirmation, usually simply Accepted, a Confirm Program button will appear on the Bio page. The applicant can click the Confirm Program button to respond to the acceptance.
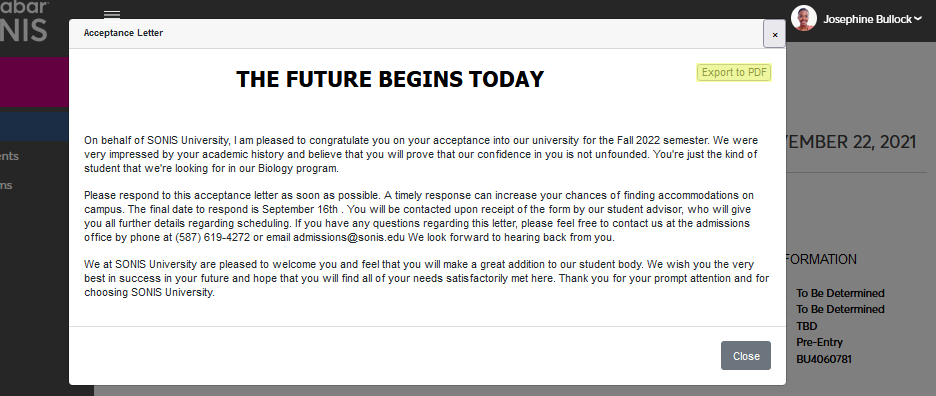
If the school has chosen to use the Applicant Portal Message feature, once an application has been accepted, a View Letter link will appear next to the Accepted designation. The applicant can click the link to view the letter in a pop-up window.
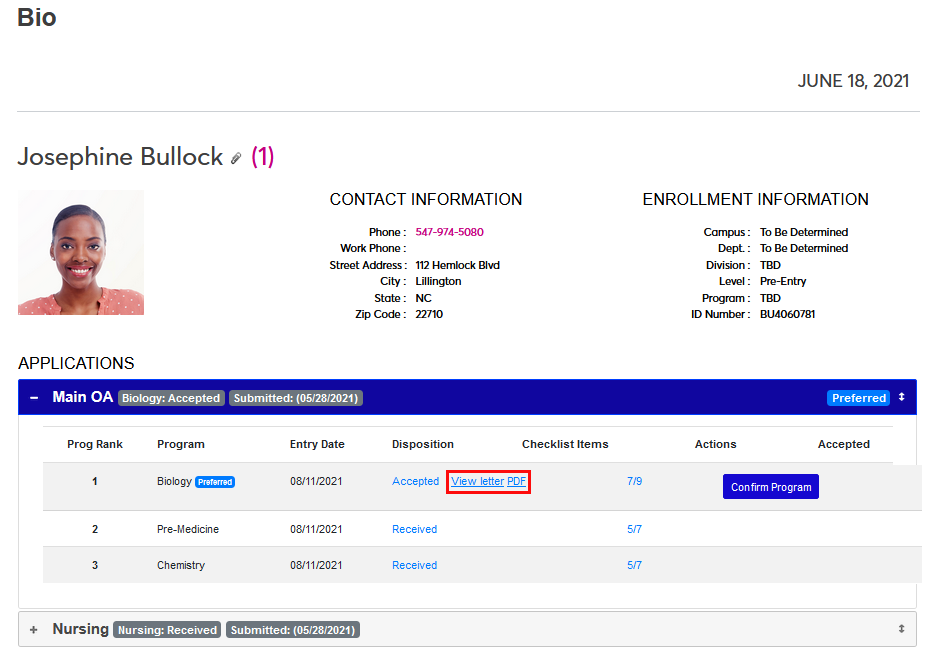
The applicant can also download the letter as a PDF either from the link next to the View Letter link or from the letter itself using the Export to PDF button.
If the school is using the Show Acceptance option, a Confirm Program button will also appear. The applicant can click the Confirm Program button to respond to the acceptance.
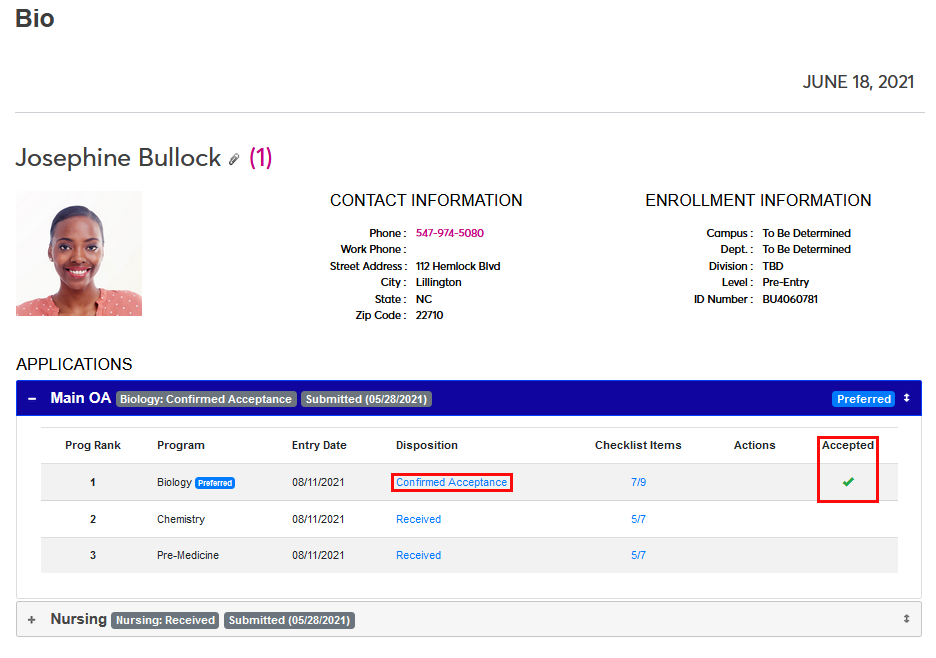
A prompt will appear asking the applicant to either Accept or Reject the acceptance. If the applicant clicks the accept button, the program will be marked with a green check and the applicant will be moved to the confirmed acceptance disposition.
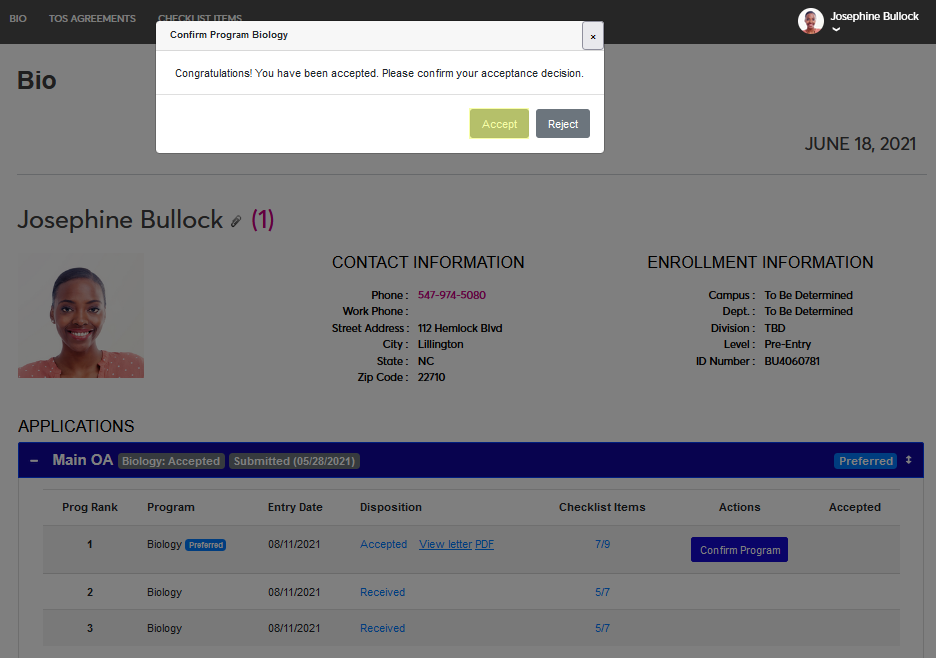
If the applicant clicks the reject button, the program will be marked with a red X and the applicant will be moved to the rejected acceptance disposition.
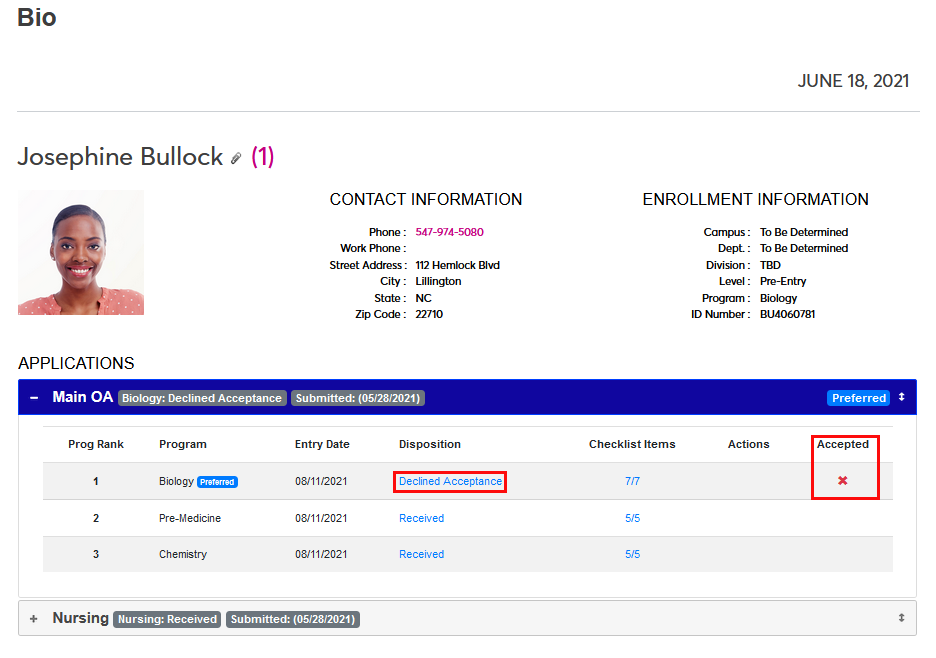
Note that there is no way for an applicant to rescind their choice. Though an administrator can return the applicant to the Accepted disposition to reset the process and let them choose again or manually move the applicant to the confirmed acceptance or rejected disposition if the applicant has confirmed acceptance or rejected the offer outside of the SONIS platform.
Transfer Courses
If your school has accepted any of the transfer courses you submitted for credit, these courses will appear at the bottom of the page.

Note
Administrators, to turn transfer course display on or off, navigate to the Portal Menu Utility and update the Display Options.