G Suite Admin Utility
Overview
Google Workspace, formerly known as G Suite, is group of Google products that can be used to enhance productivity and facilitate collaboration among teams. The Jenzabar SONIS integration with Google Workspace allows institutions to automatically create Google Workspace accounts for each of their students at the time of entry. Once these accounts have been created students can utilize Google’s popular chat and calendar features and will access their school email through Gmail.
Google Setup
In order to use Google Workspace to provision accounts, SONIS clients must first obtain a client ID, client secret, API key, customer ID, and domain from Google. Google has provided the following document to help navigate their system if questions remain after the process is explained here.
Console Setup
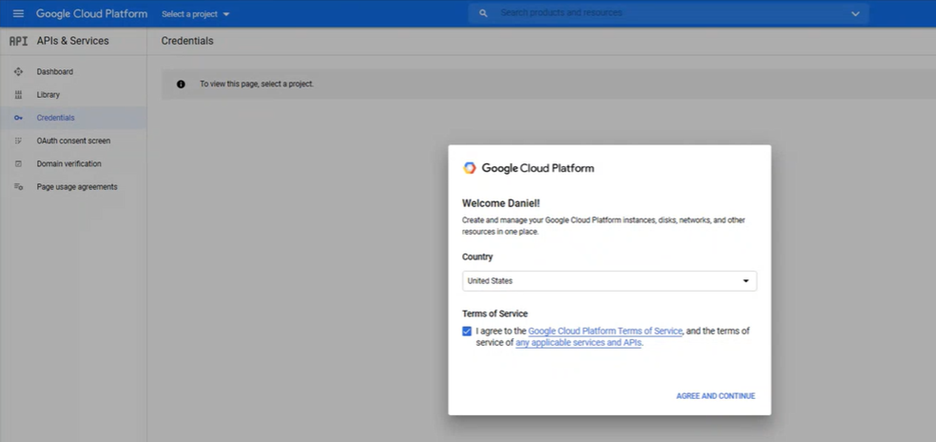
To set up Google Workspace after purchase, begin by navigating to the Workspace Developer Console and creating a new application. Click the Agree and Continue button to proceed.
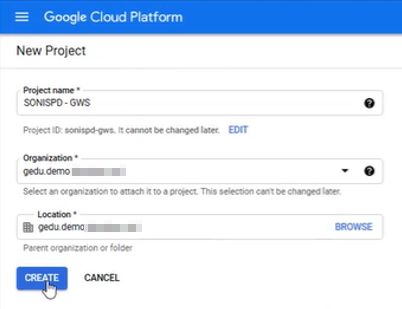
Create a new project. Name the project, select the organization, and click Create.
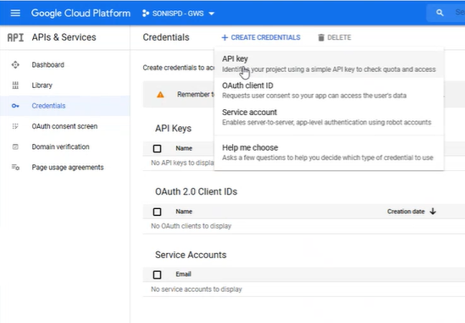
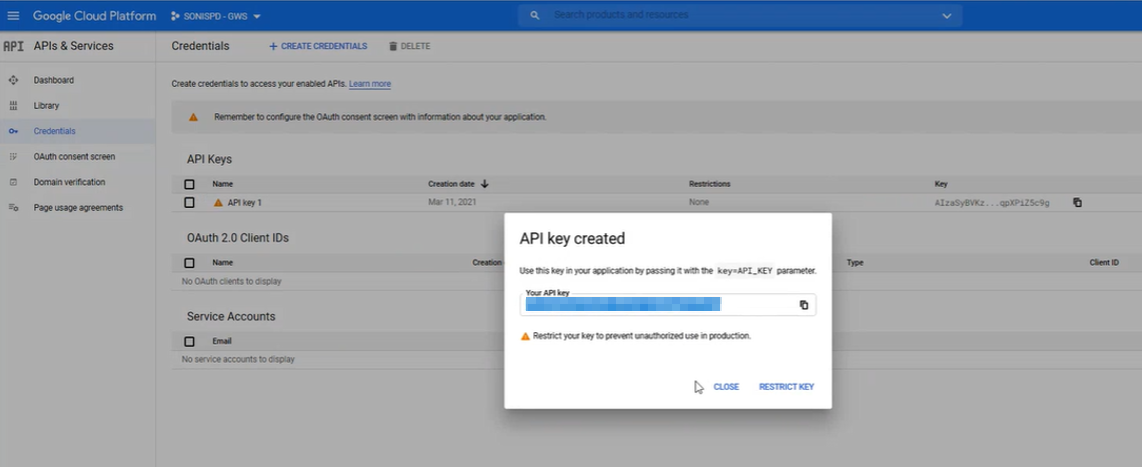
Once the project has been created, navigate to the Credentials tab to create the keys that will be needed to link to SONIS. Begin by creating an API Key. Click Create Credentials and select API Key.
Once the API Key has been created, the value can be copied to SONIS in a later step.
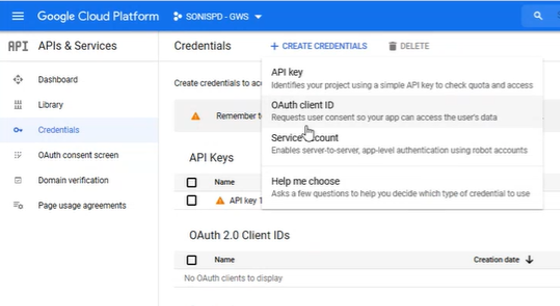
The next step is to create OAuth credentials. Click Create Credentials again and select OAuth client ID.
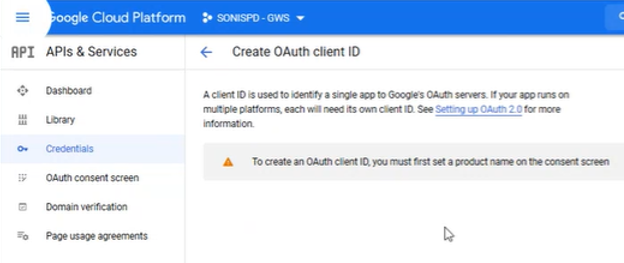
Google will prompt the user to set a product name on the consent screen.
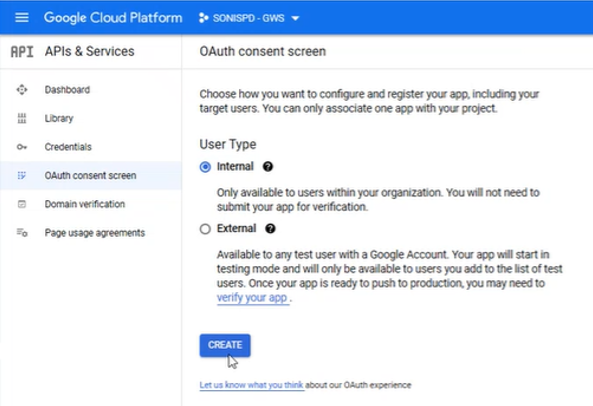
Navigate to the OAuth consent screen tab. Select Internal as the User Type and click Create.
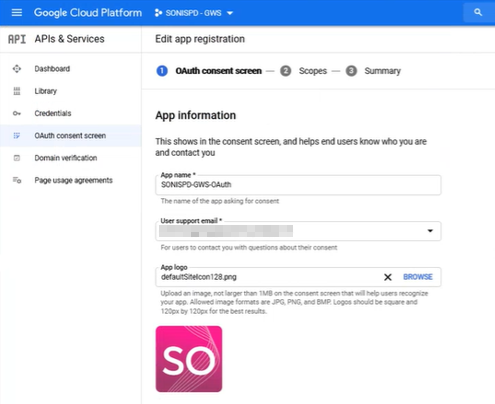
Next, the user will be prompted to provide the following information:
• App name – This is the name that will appear on the Consent screen.
• User support email – This is the email that will be used if there are any issues.
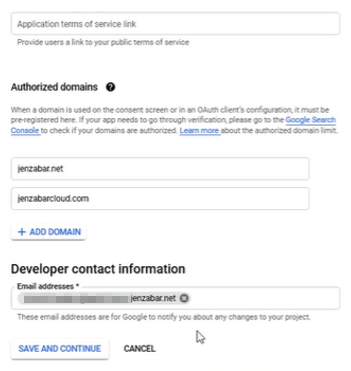
• Authorized Domains – This should be the client’s domains.
• Developer Contact Information – This can be the same value as the User support email.
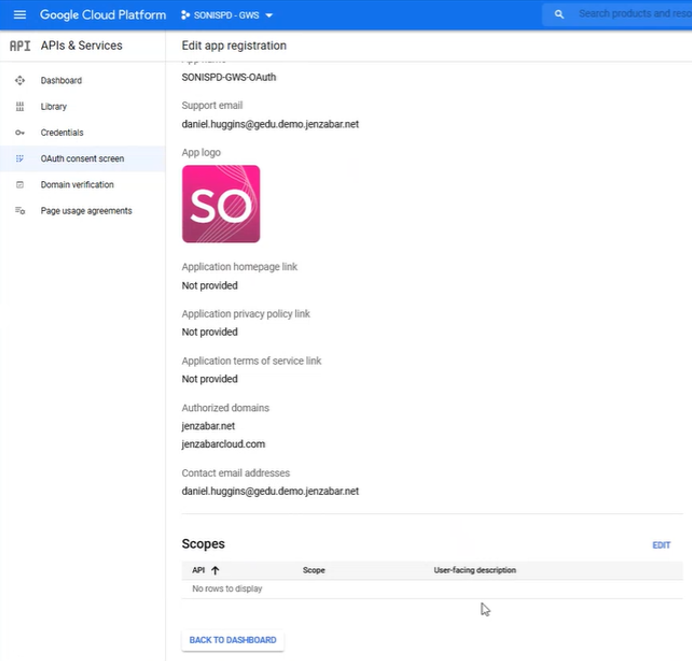
Once this information has been provided, click Save and Continue to proceed.
No Scopes are needed for this portion of the setup, so click Save and Continue again.
Return to the Credentials tab. Copy and paste the Callback URL from SONIS into the URLs field. This value should be the location where SONIS resides on the local server with /GSuite_ACS.cfm appended to the end of the URL. Note that this URL is case sensitive.
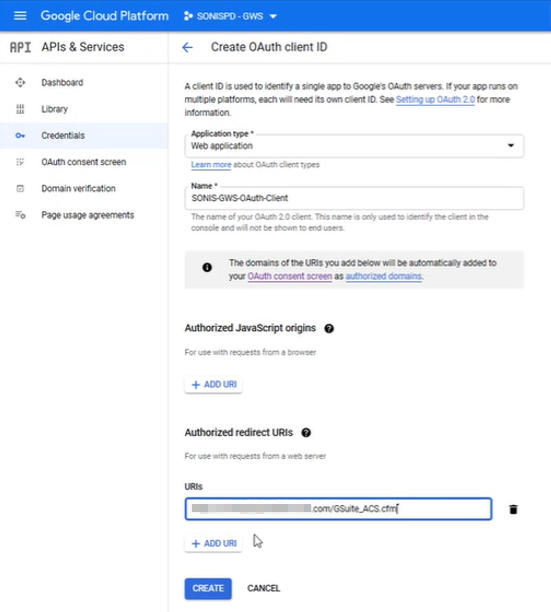
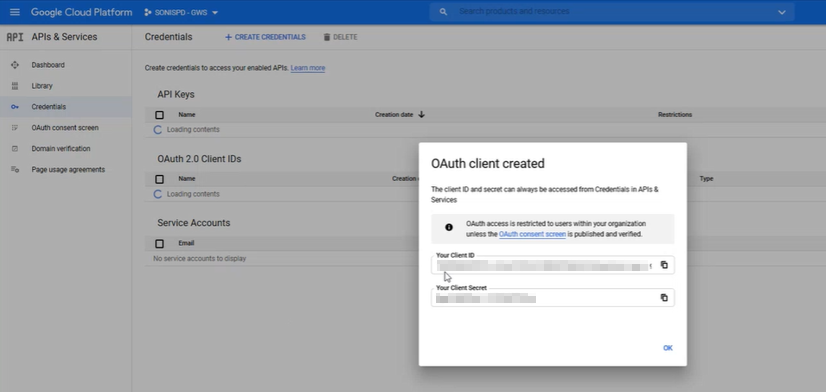
Click the Create button to continue. Google will create a Client ID and Client Secret for the project. These values will be needed for the SONIS side of the setup.
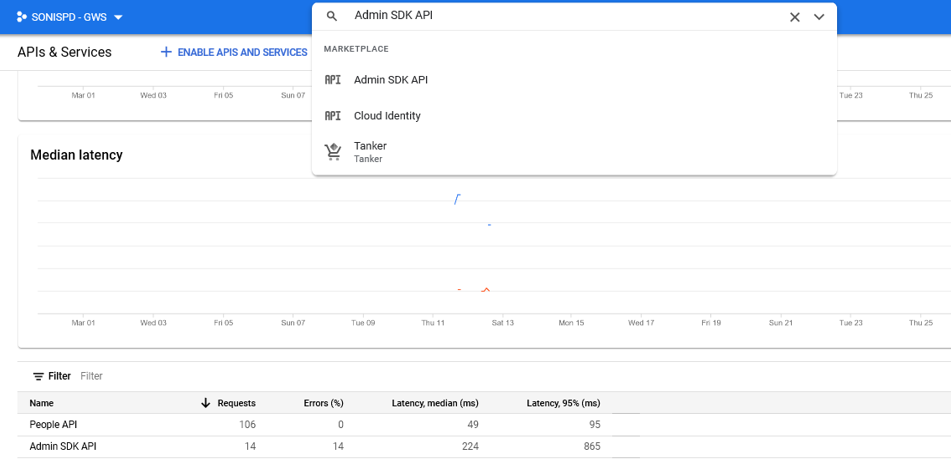
The next step is to enable two Google APIs, their Admin SDK API and their People API. To locate these APIs, either search for them in the search bar at the top of the page or click Enable APIs and Services.
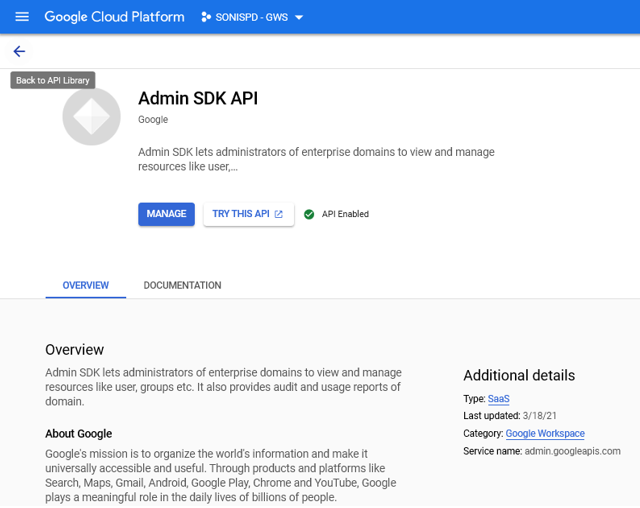
Once the API has been located, click the Enable button. At this point, Google will offer the option to Manage the API, but nothing needs to be altered.
Admin Setup
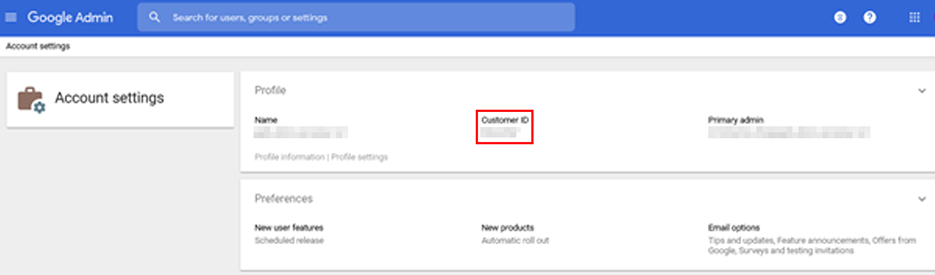
Navigate to Google’s Admin Setup to continue. The Google Workspace Customer ID is found in Admin Setup under the Account Settings. This value will be needed for the SONIS portion of the setup.
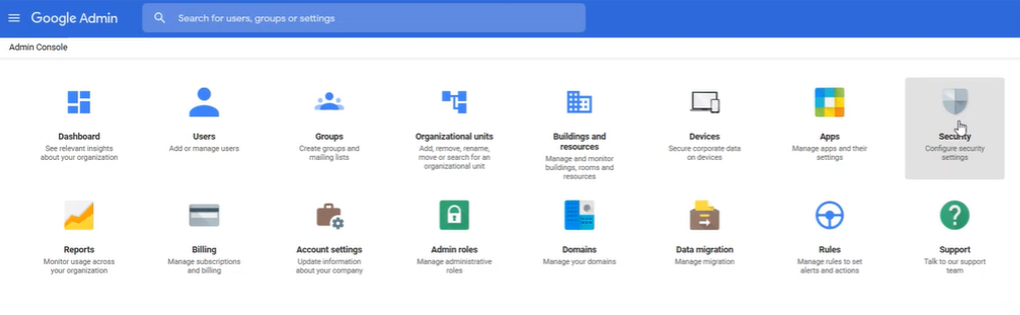
Next, there are a few filter options that must be activated. Navigate to the Security tab and then the API Controls.
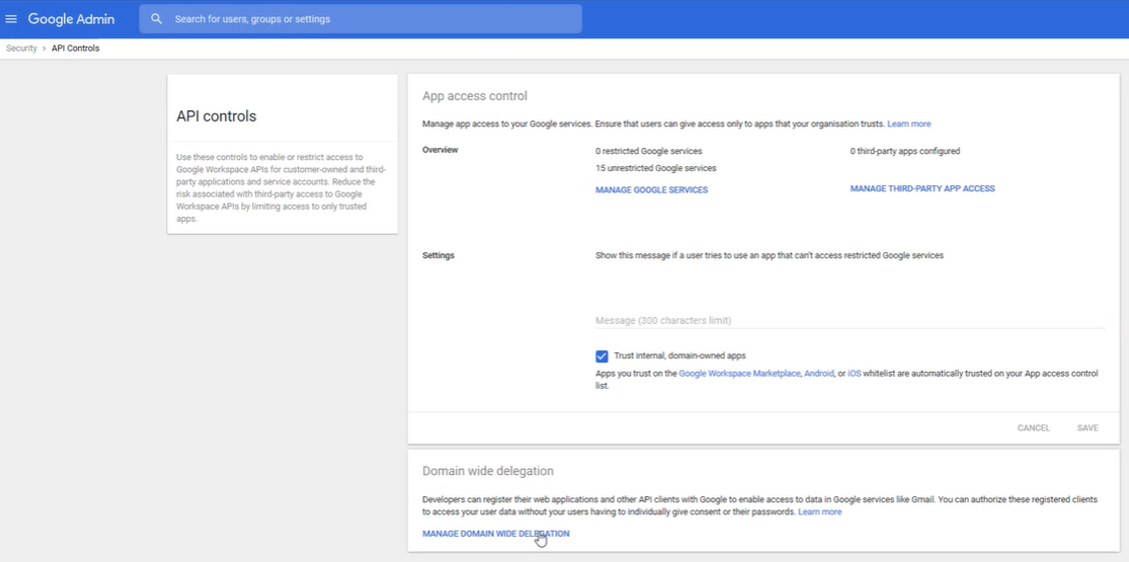
On the API controls page, click Manage Domain Wide Delegation to continue.
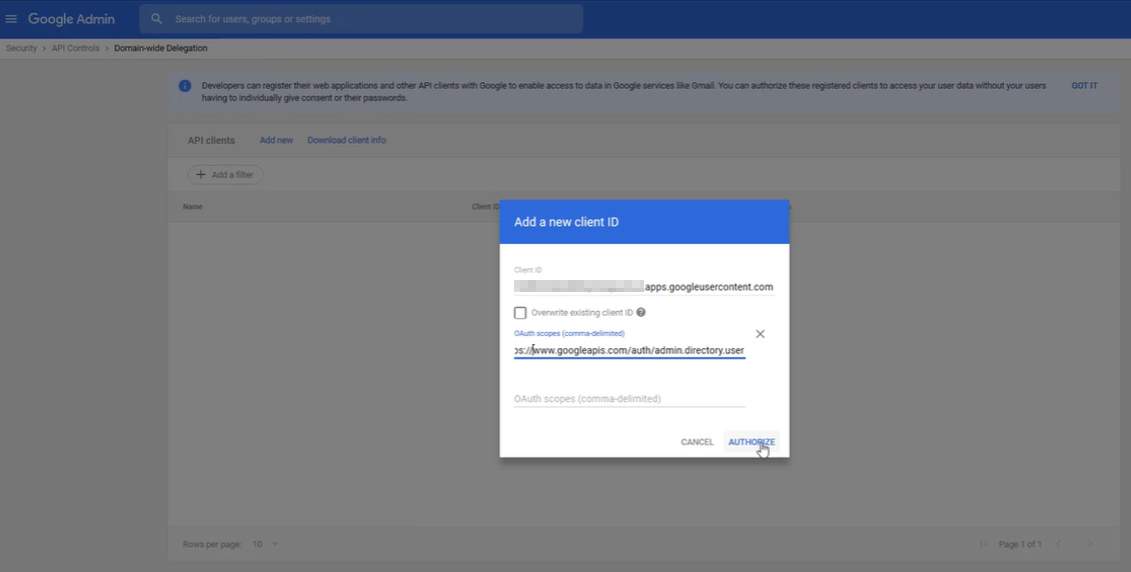
Click Add New to continue. Enter the Client ID that was created in an earlier step. The following two URLs need to be entered as Scopes.
These URLs can be entered in one field separated by commas as shown below or in two separate fields.
SONIS Setup
Connection Configuration
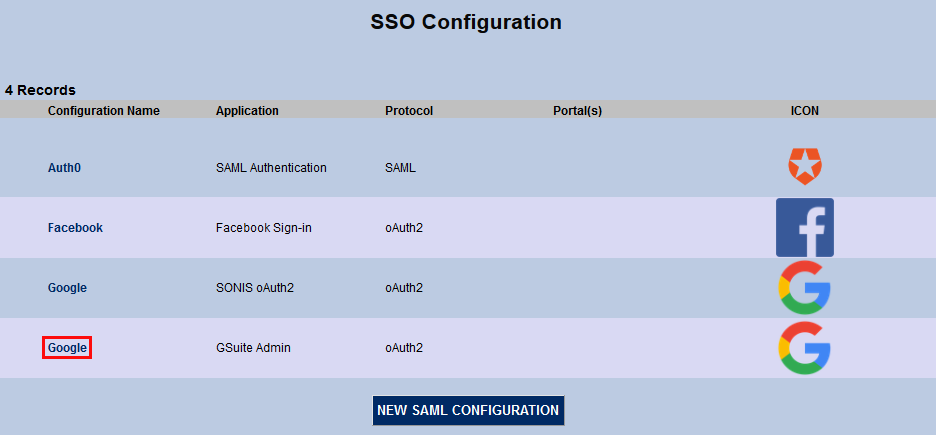
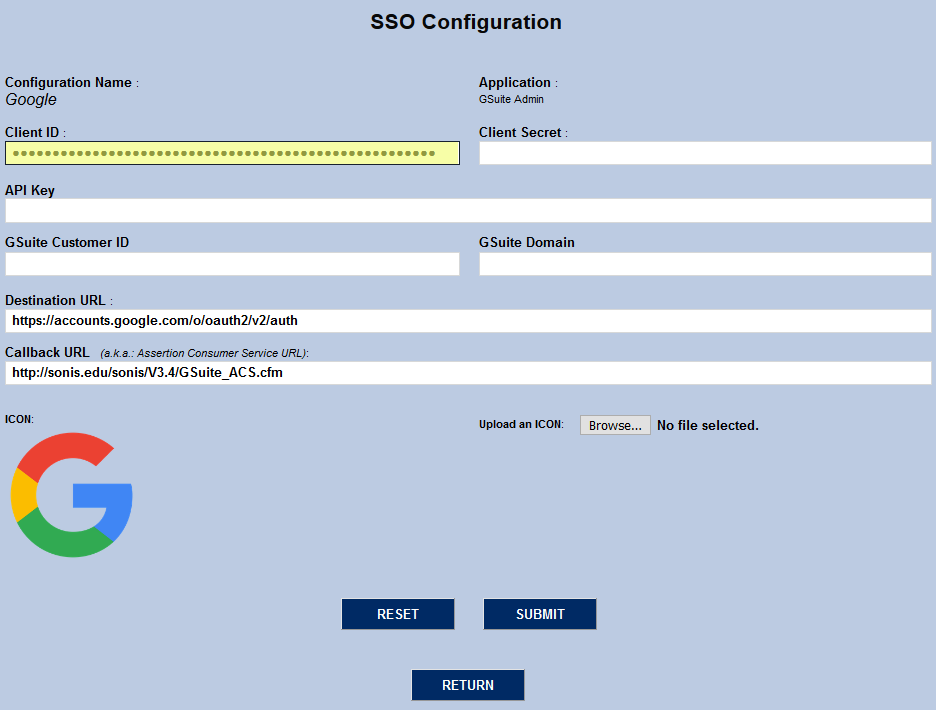
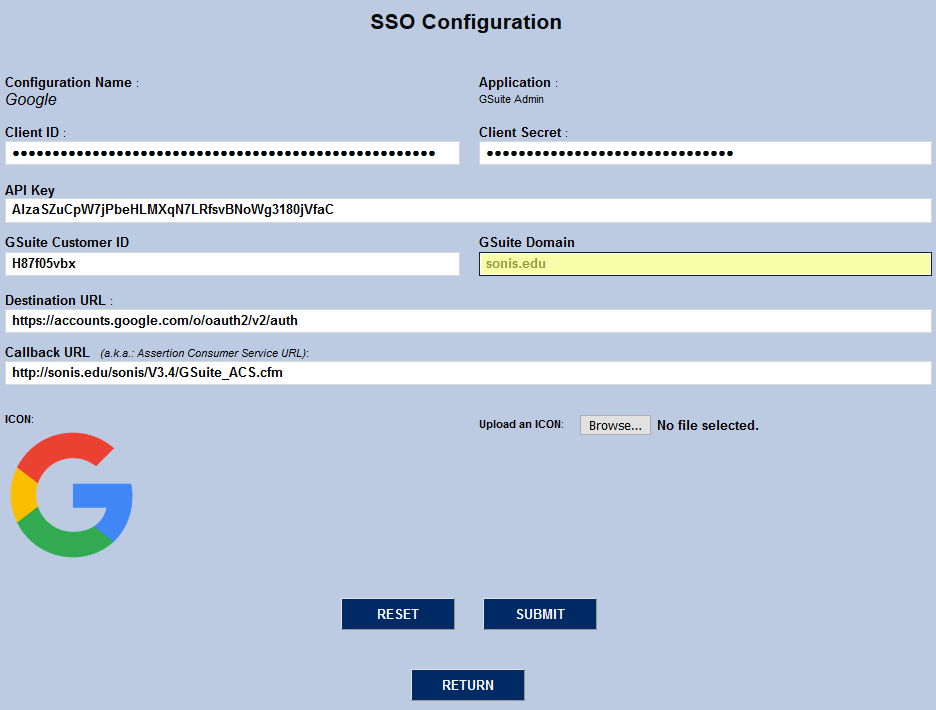
To begin setting up the connection between Google Workspace and Jenzabar SONIS, navigate to the SSO Configuration utility in the Systems hub. Find the row labeled G Suite Admin under the Application column and click on the Google link under the Configuration Name column to the immediate left.
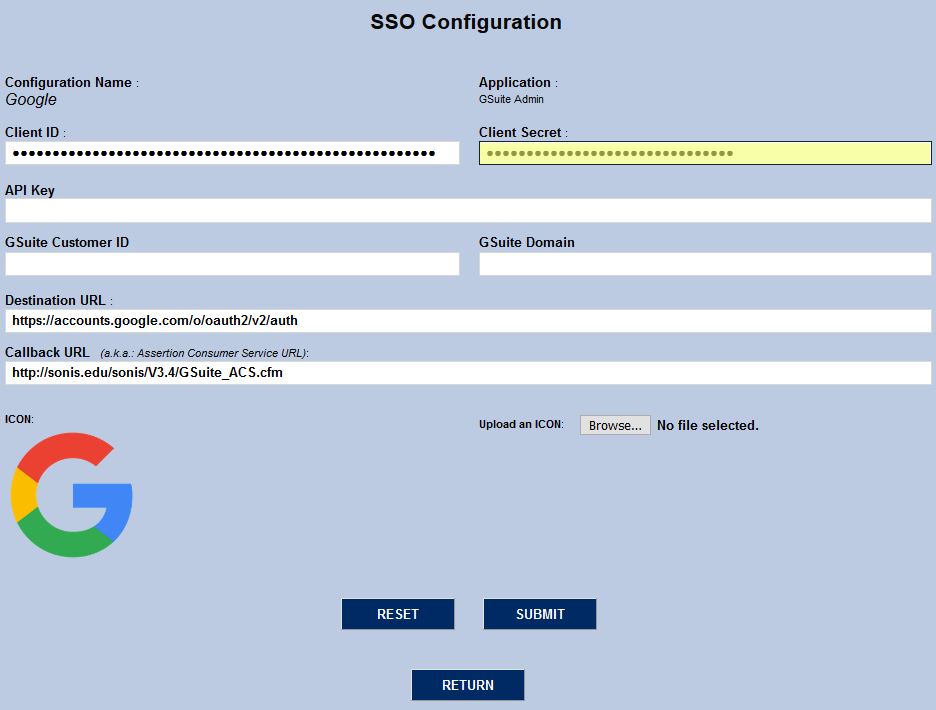
Enter the the Client ID and Client Secret in the corresponding fields. These values come from Google and will be specific to each institution's G Suite account. Both values are masked when entered and encrypted in the database.
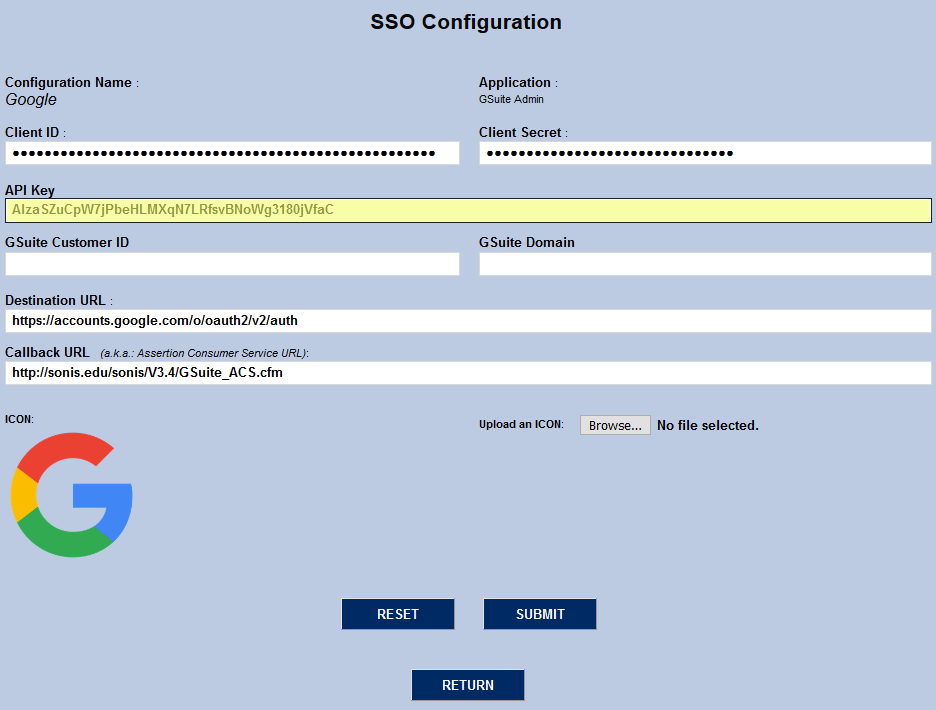
The API Key field is not currently used by Google for the tasks involved in Google Workspace administration. However, the field has been included for future use and can be populated with the institution's API Key if so chosen.
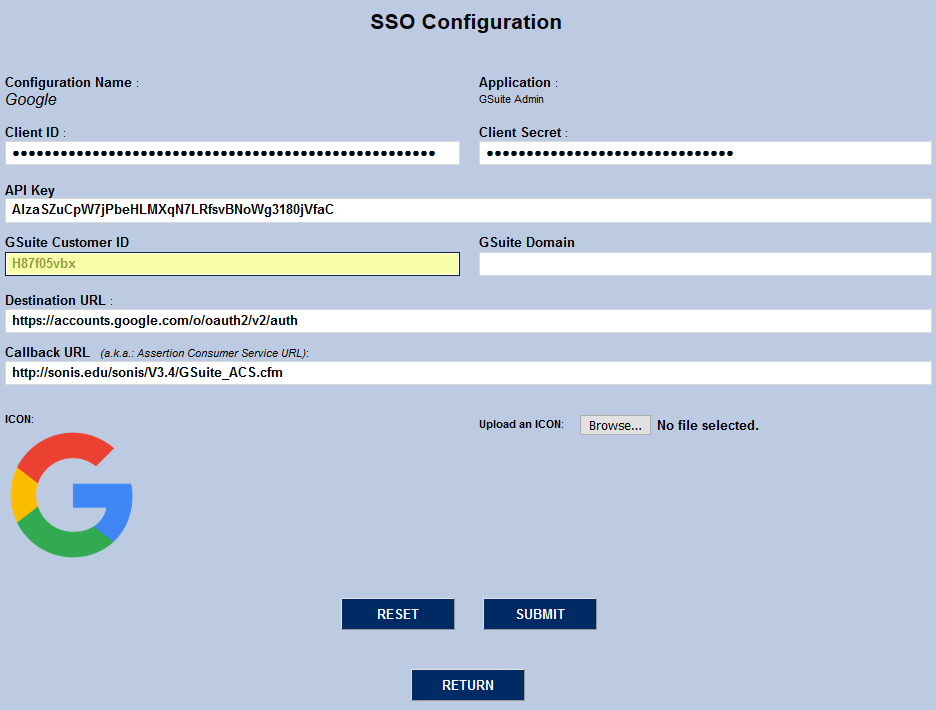
The G Suite Customer ID is assigned by Google and can be obtained from the developer’s console .The G Suite Domain is the current internet domain associated with the institution's G Suite account.
The Destination URL is Google’s published destination URL for oAuth2 at the time of this release. G Suite requires oAuth2 authentication to perform G Suite administrative tasks. The field should be populated automatically and does not need to be edited. If this value changes in the future, the new URL will be provided by SONIS Support.
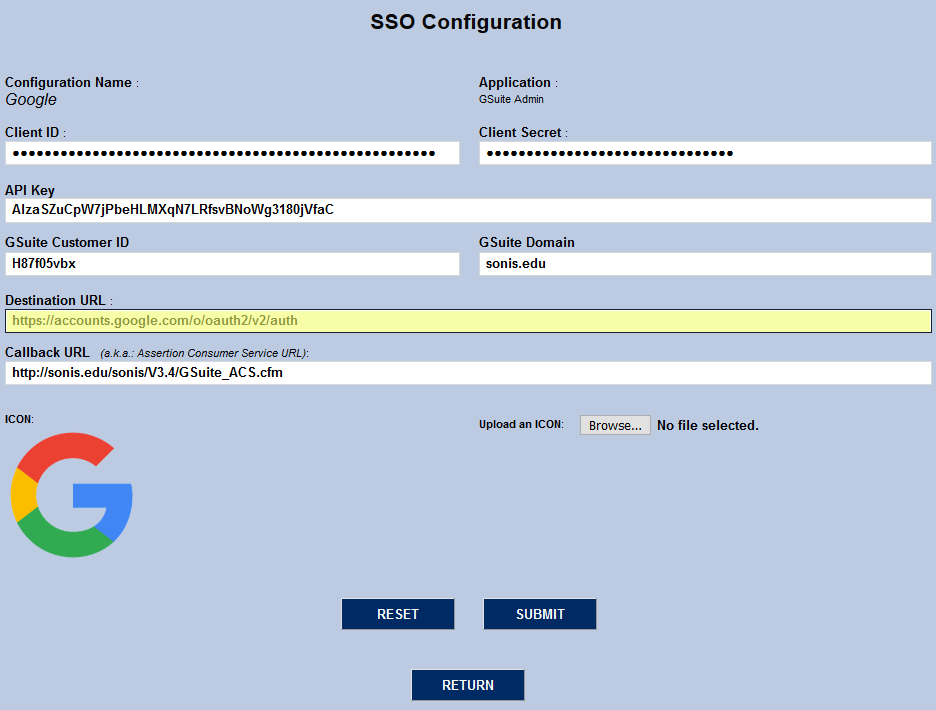
The Callback URL is automatically populated as well. If the institution intends for SONIS to handle the response from Google, then the field must be left unchanged. If the school has created a custom page to handle the callback response and is interfacing with the SONIS API, edit the callback URL to redirect to the appropriate page. Remember to register the callback URL with the Google application.

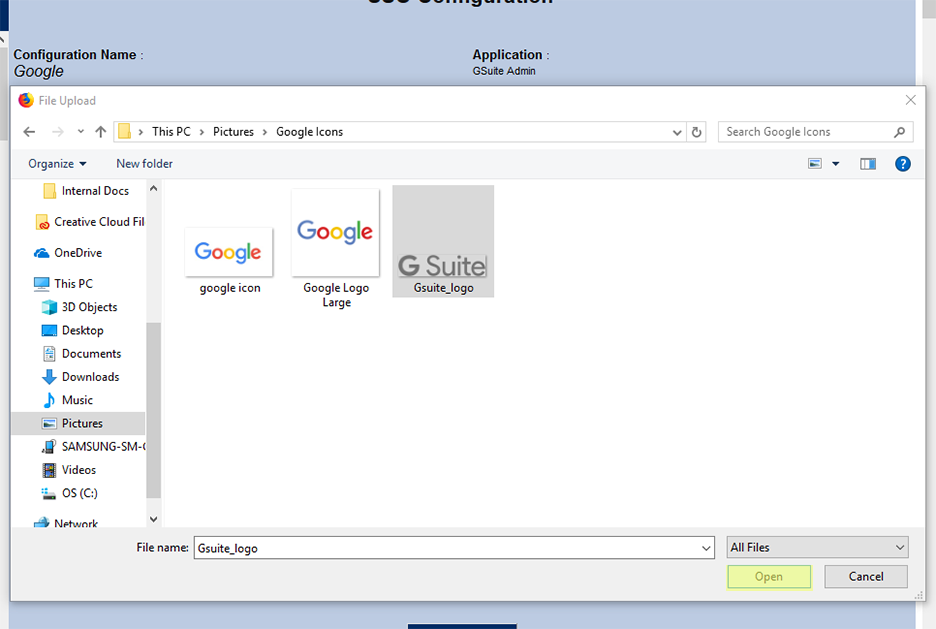
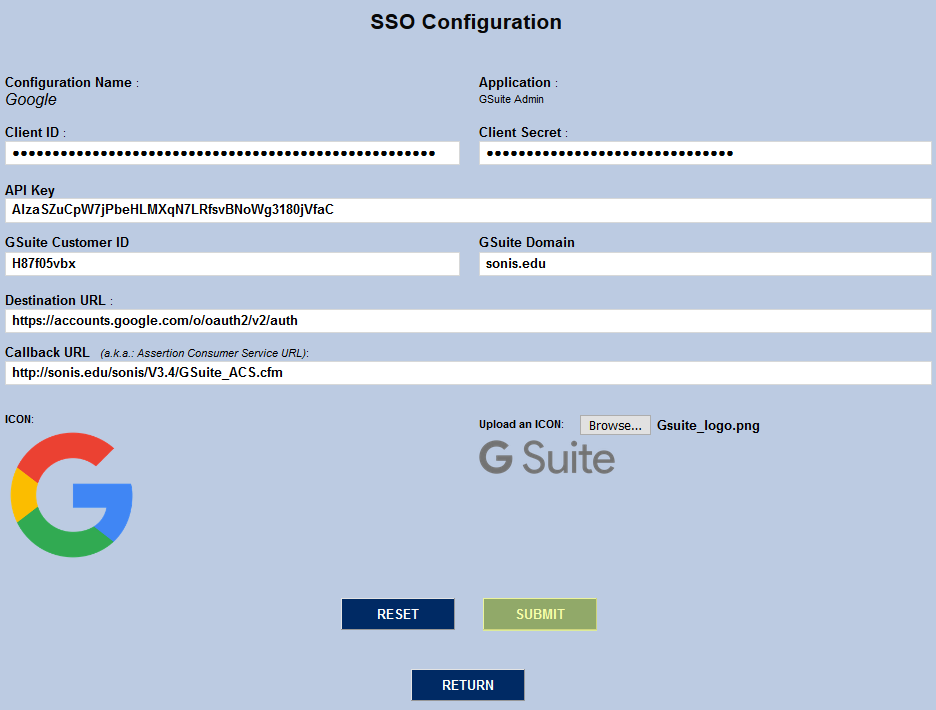
Some institutions may wish to change the default G Suite logo used throughout the system. To do so, click Browse, locate the chosen file, and either double-click it or click it once and click the Open button.

Click Submit to save all changes. The configuration will be saved and the user will be returned to the main SSO Configuration screen.
Notification Configuration
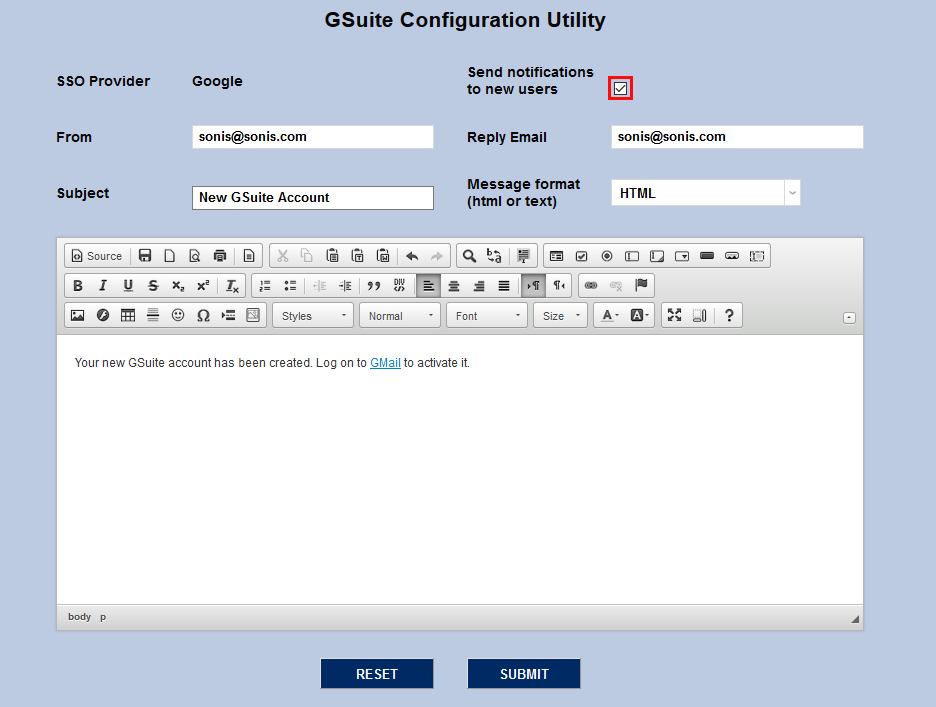
In addition to creating the accounts, SONIS offers the ability to automatically notify each student when their G Suite account has been created. To set up the notification, navigate to the G Suite Configuration Utility in the Systems hub.
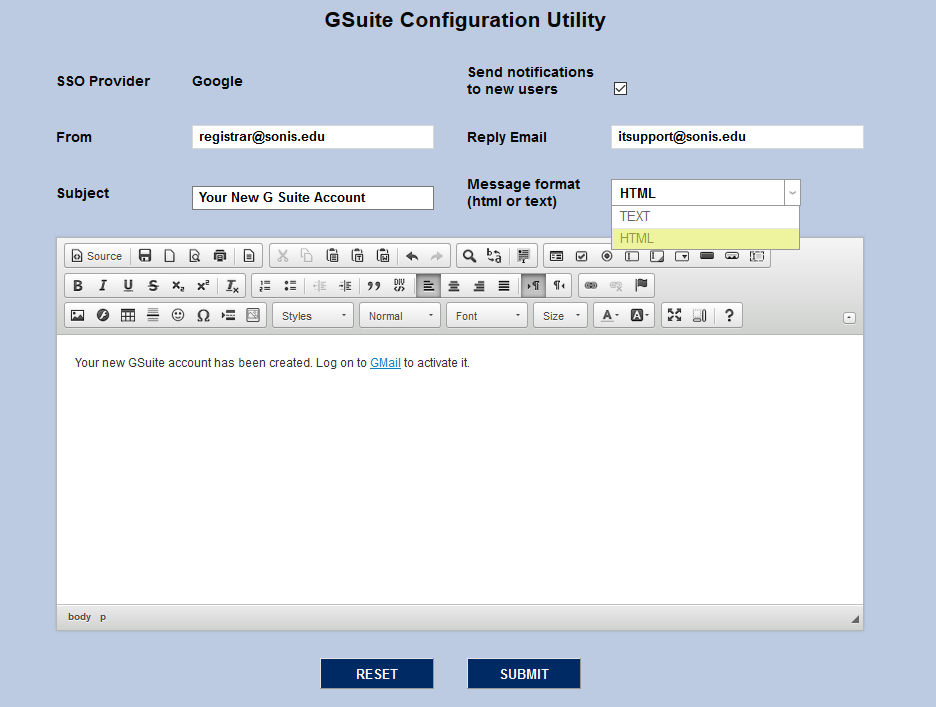
Uncheck the Send notifications to new users box to disable this function if students will be notified by other means. Otherwise, leave it checked to enable the notification emails. The emails are sent out immediately following confirmation from Google of successful account creation.
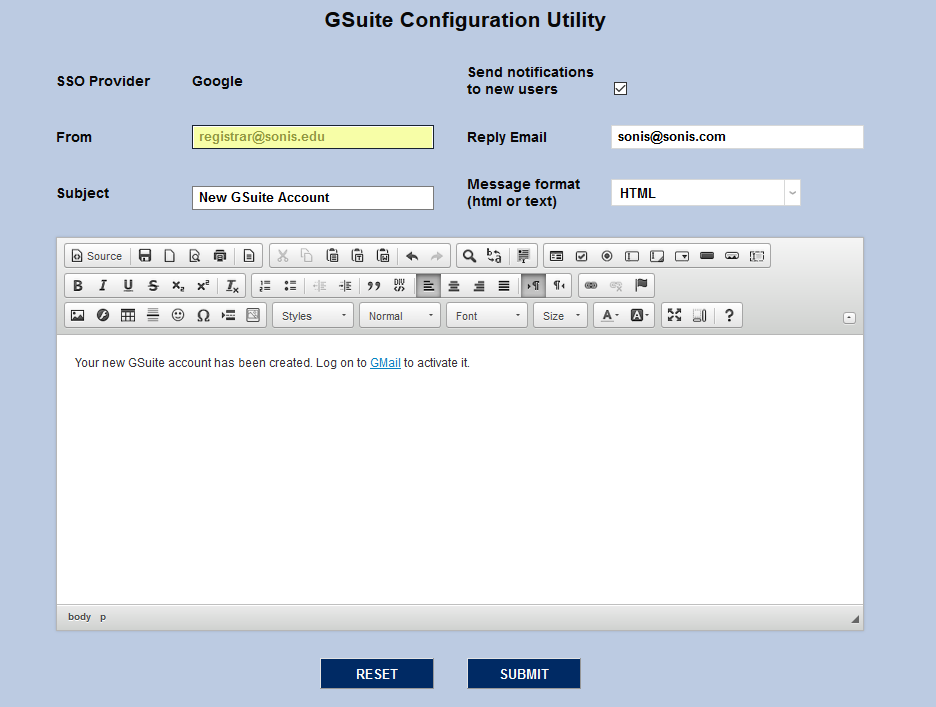
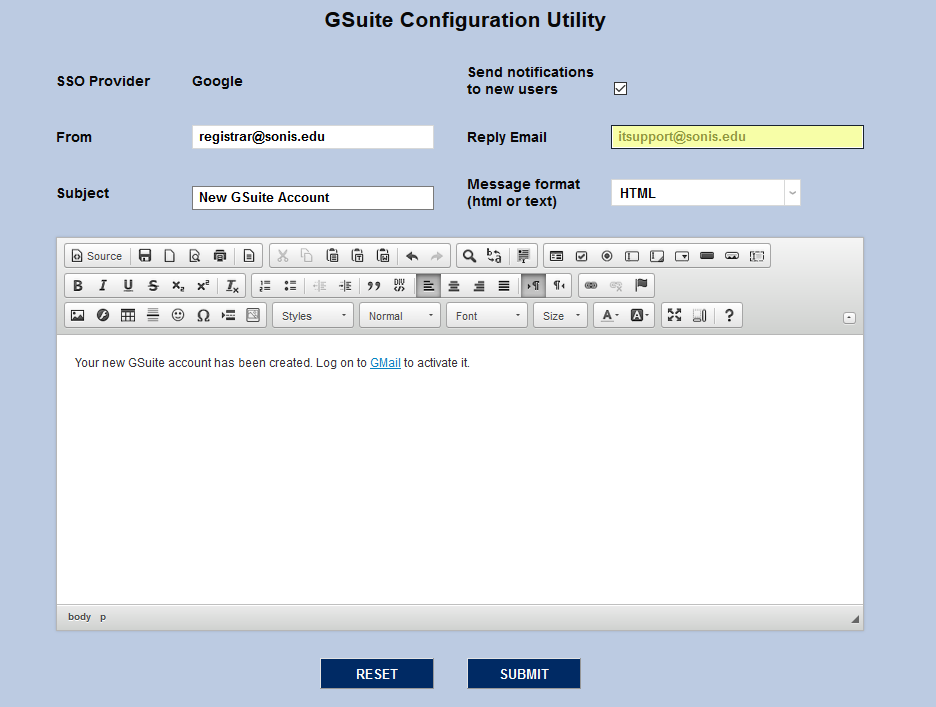
Edit the From and Reply Email fields to control who the notification email will show as from and who the student will be contacting if they hit the reply button and respond to the email.
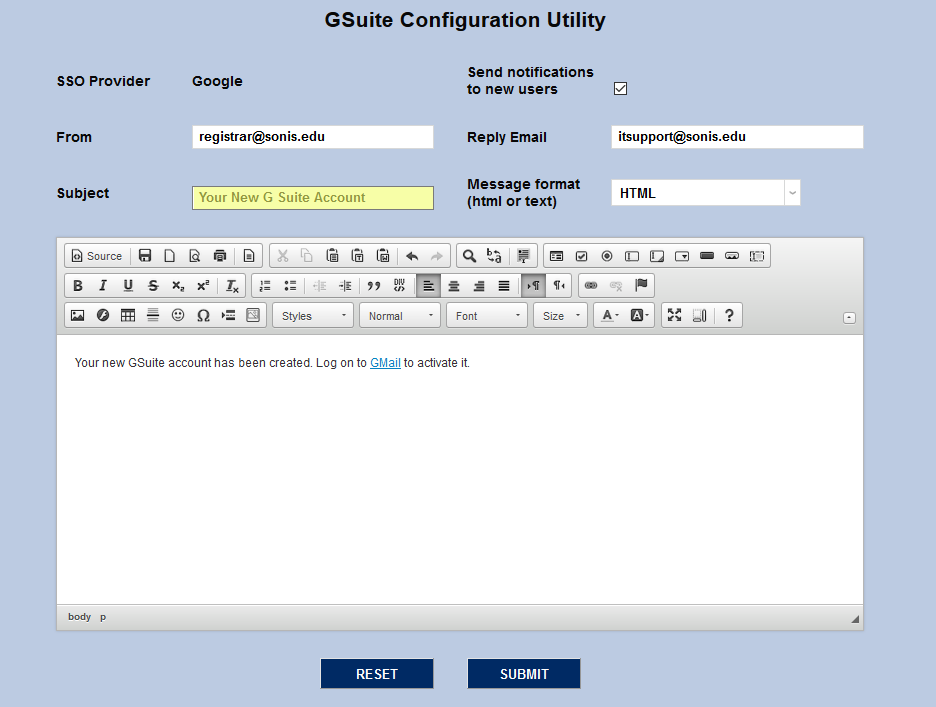
Make any desired edits to the Subject of the email and choose whether it should be HTML or plain text using the Message Format dropdown menu. Plain text emails do not allow for formatting or active links.
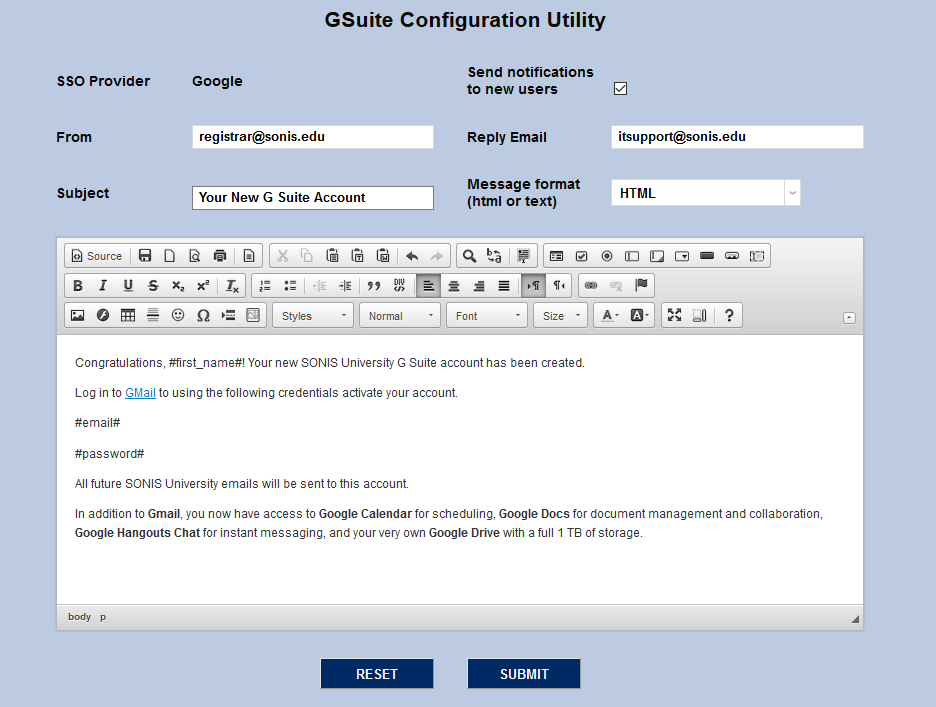
Next, create a customized email to be sent to each student. The following tags can be used for personalization:
#first_name# - the student’s first name
#last_name# - the student’s last name
#email# - the student’s new email address
#password# - the student’s PIN as it is defined in SONIS when their account was created
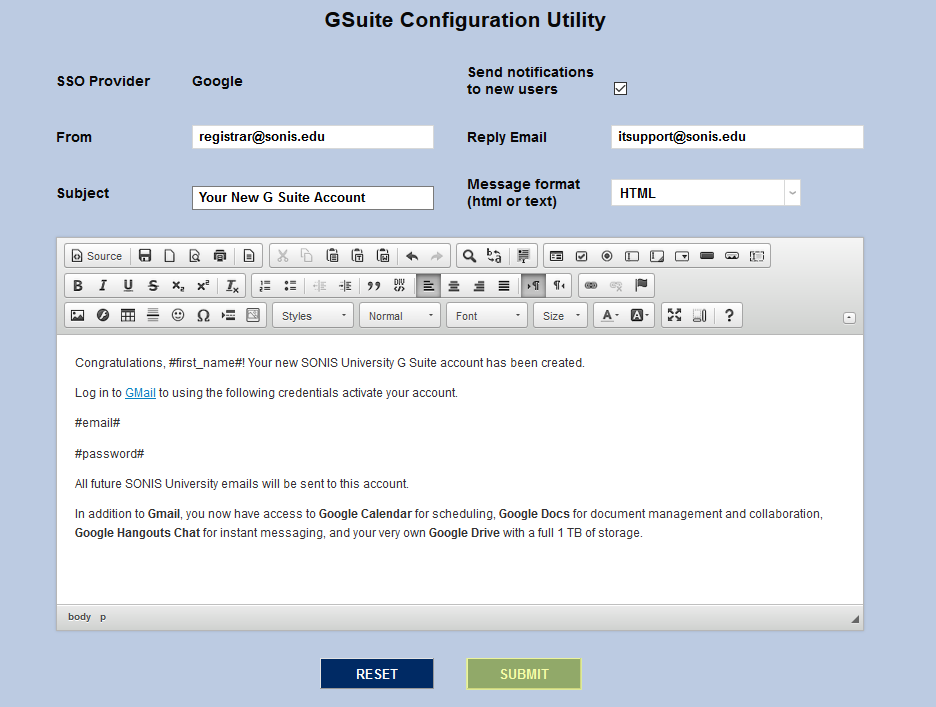
Click Submit to save all changes.
Existing Student Setup
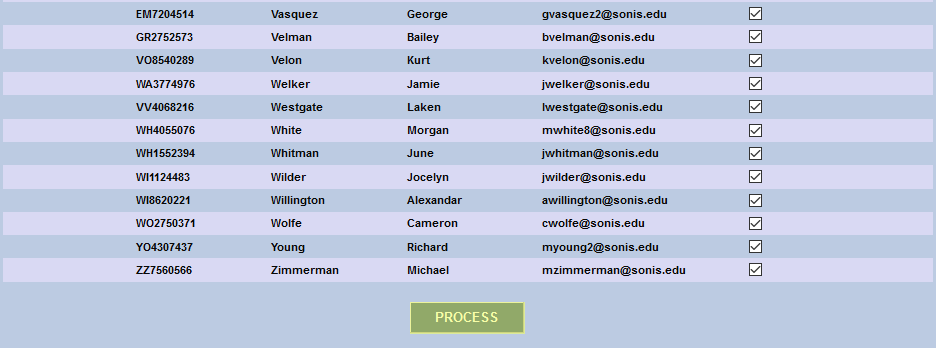
To create a G Suite account for existing SONIS students, navigate to the G Suite Admin Utility under the Systems menu. By default, the boxes in the Skip Processing column are checked. Uncheck the box or boxes to provision student accounts.
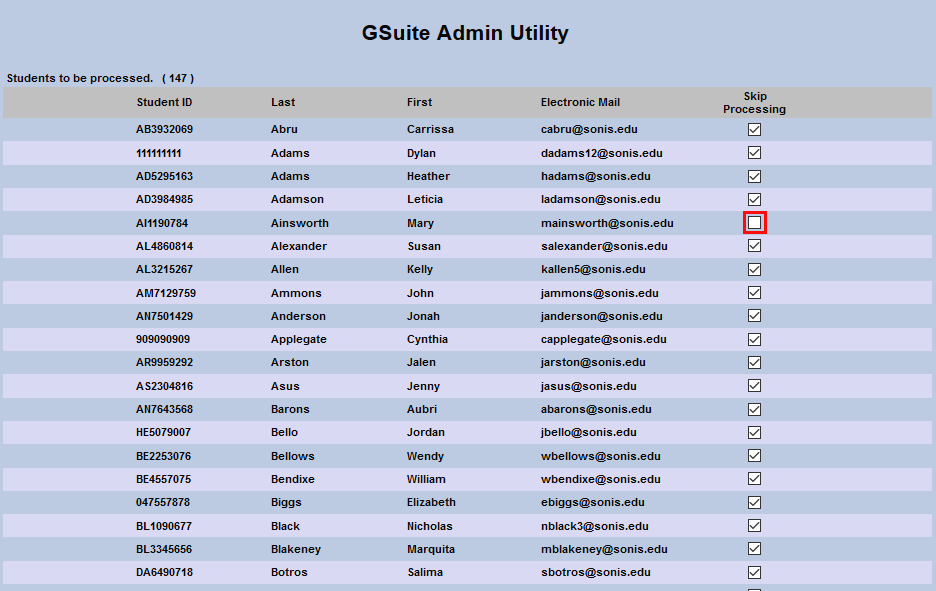
Once the appropriate box or boxes have been unchecked, click the Process button at the bottom of the page to create the new account(s).