Bulk Add/Remove Holds
Overview
Jenzabar SONIS provides administrators the ability to place or remove holds in bulk using the Systems menu option Bulk: Add/Remove Holds. The student must be a member of a list or their ID must be included in an Excel file that will be uploaded. The opportunity to add a memo and/or a note for the student's view, as well as set the start or end date, is provided by the utility. If a student already has the hold being requested via the bulk add utility, the student will be skipped and the hold will not be duplicated. If there are invalid student IDs in the file, the administrator will be notified after the Excel file is uploaded.
Adding & Removing Holds
The Bulk Add/Remove Holds utility offers another place to add holds by list as well as the ability to remove them by list and add/remove them by Excel spreadsheet. To use the utility, navigate to Bulk: Add/Remove Holds in the Systems hub.
From List
To add a hold by list, select From List at the top of the page and click Submit.

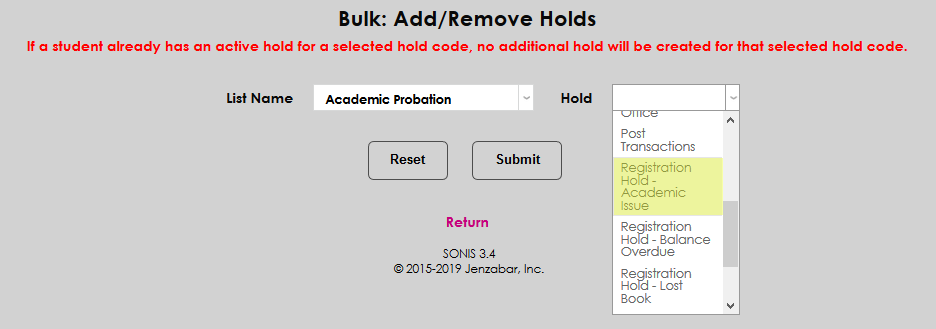
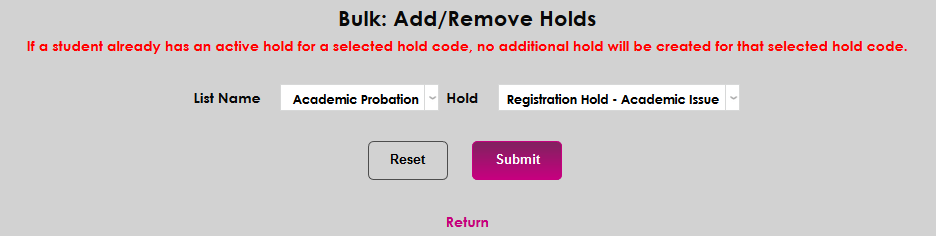
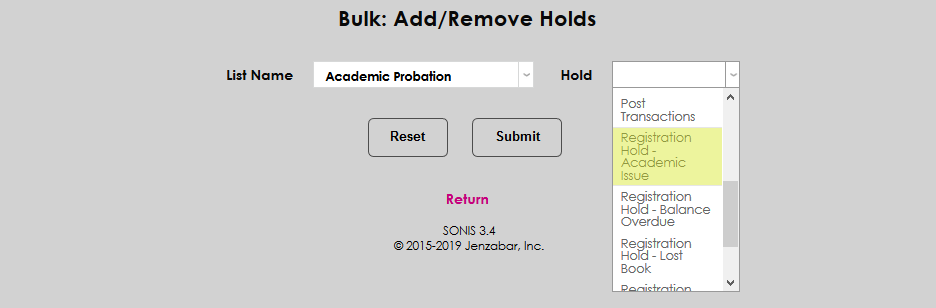
Select a List Name and a Hold and click Submit.
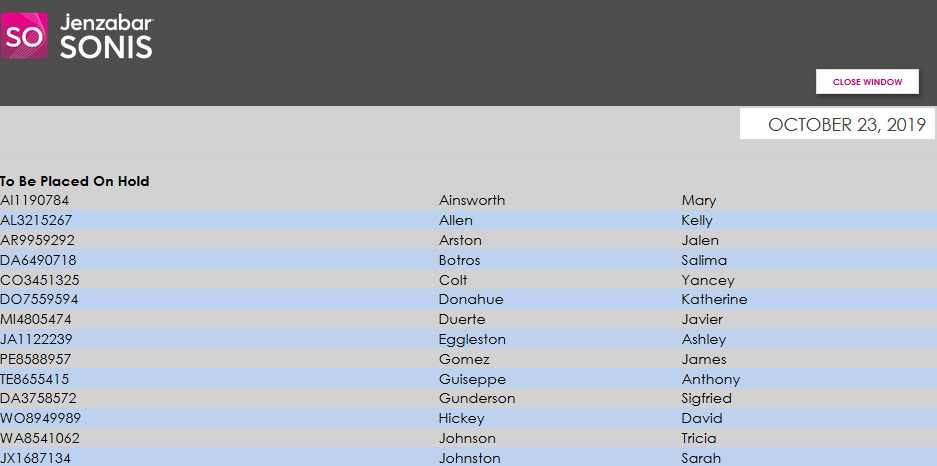
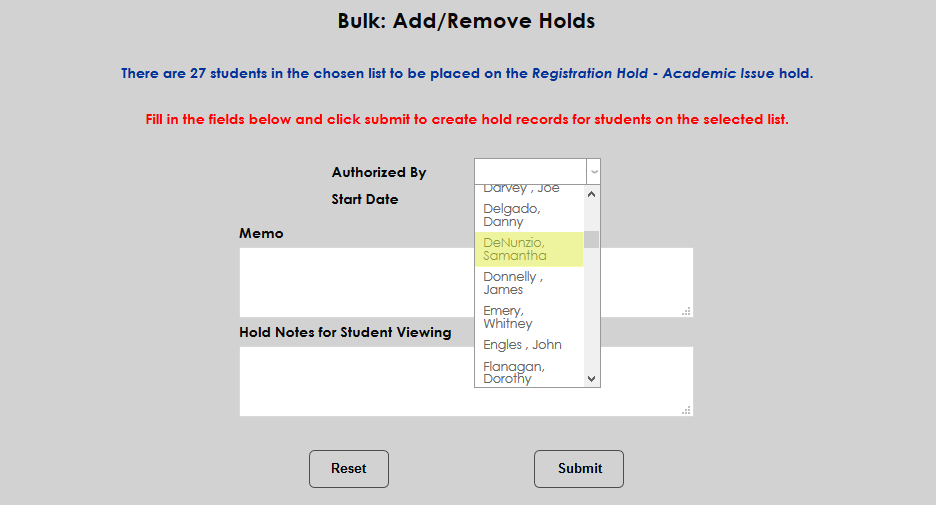
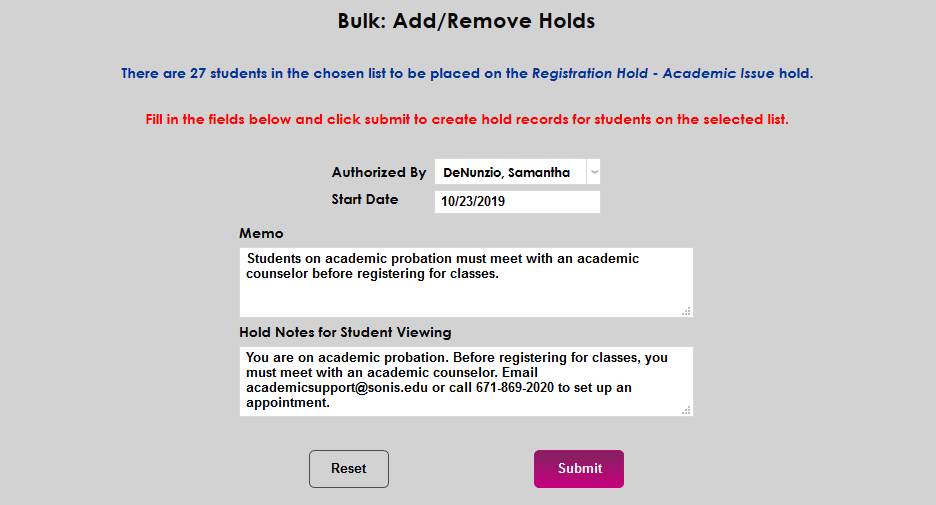
On the next page, the number of students in the list is displayed at the top of the page. This note is a clickable link that displays the students on the list in a pop-up window.
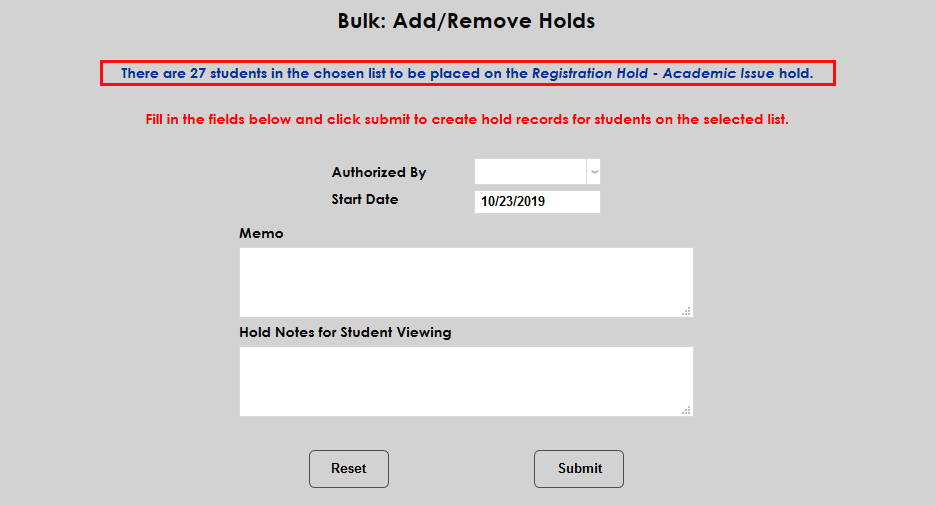
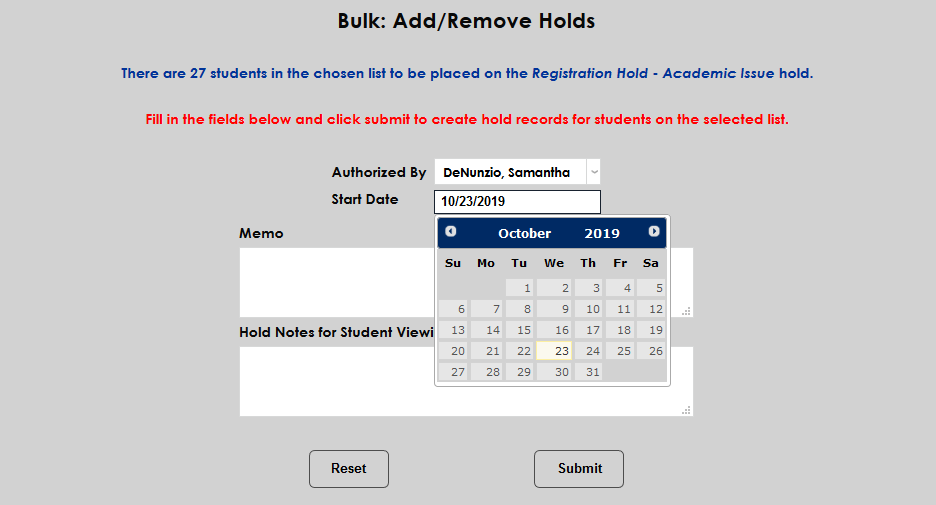
Select a staff member from the Authorized By list and, if needed, edit the Start Date.
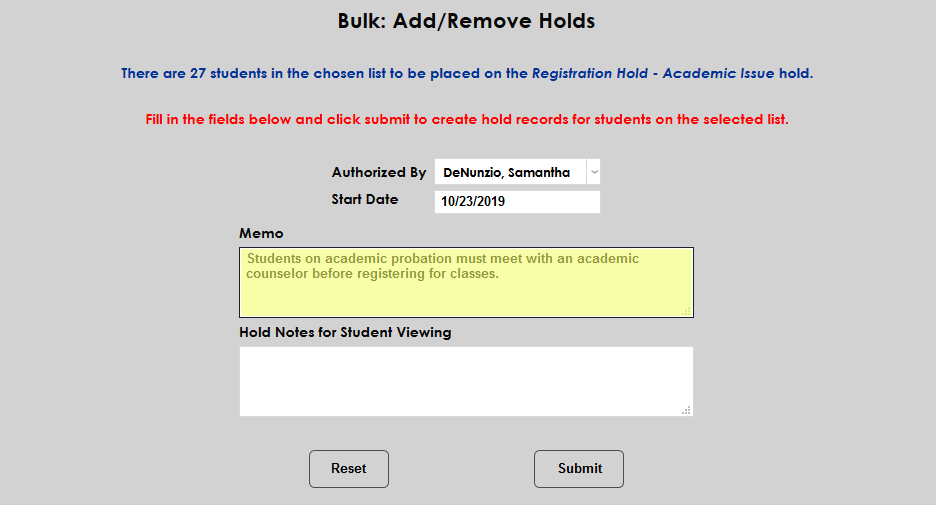
A Memo field for internal viewing and a Hold Notes for Student Viewing field are included. These fields are optional.
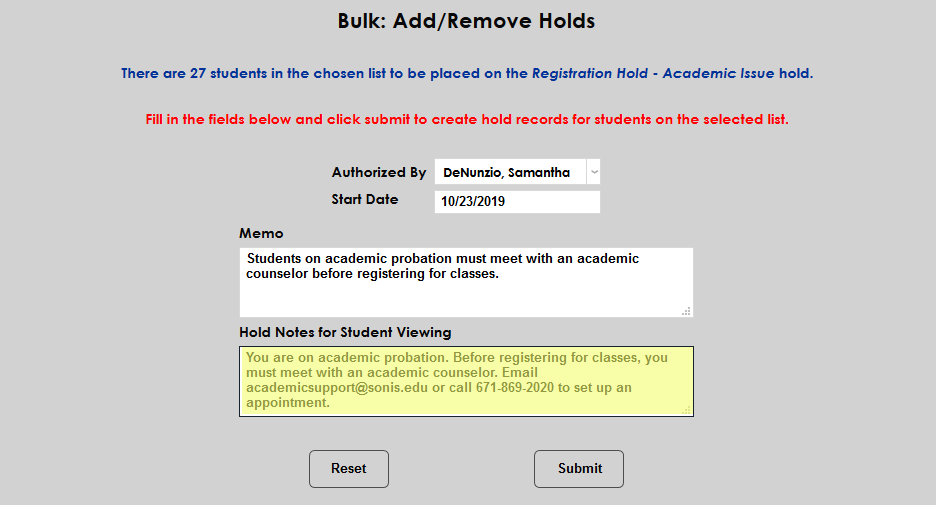
Click Submit to add the hold. If a student already has an active hold for the selected hold code, no additional hold will be created for that selected hold code.
To remove a hold from the members of a list, scroll down to the Remove Holds section of the page, select From List and click Submit.

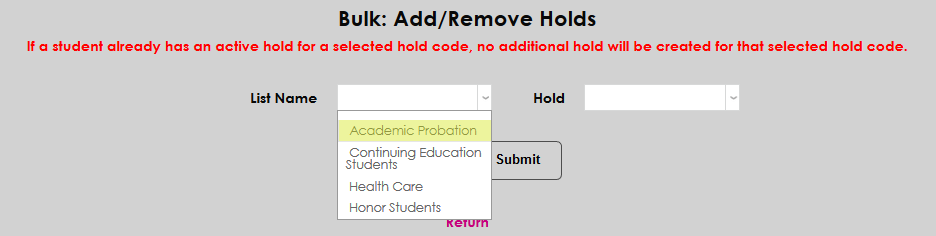
Select the appropriate List Name along with the Hold to be removed. Click Submit to proceed.


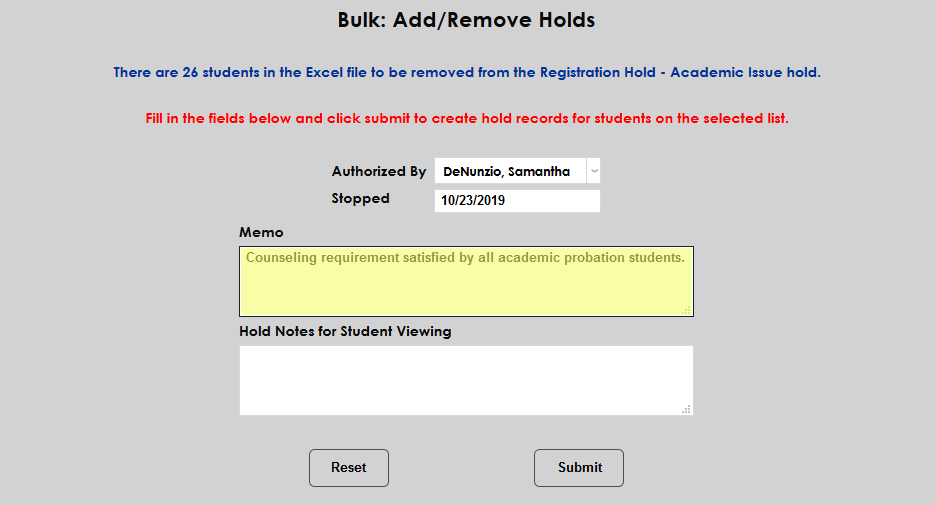
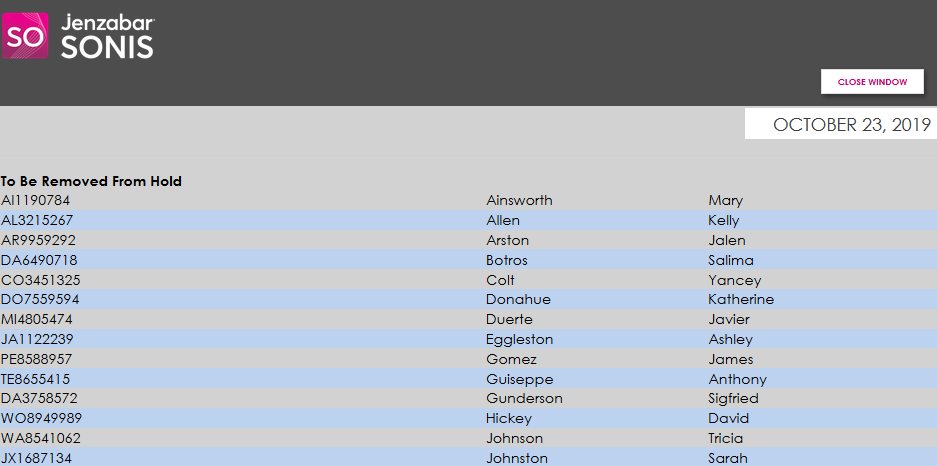
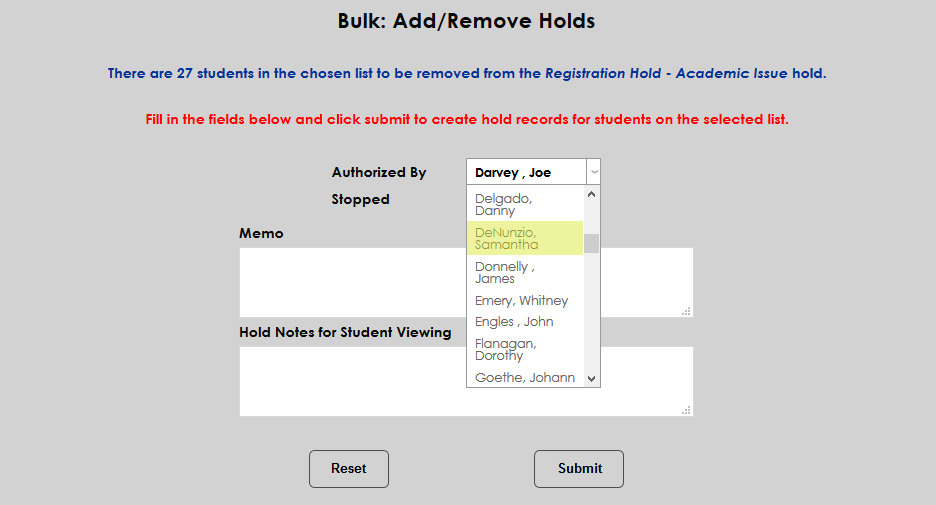
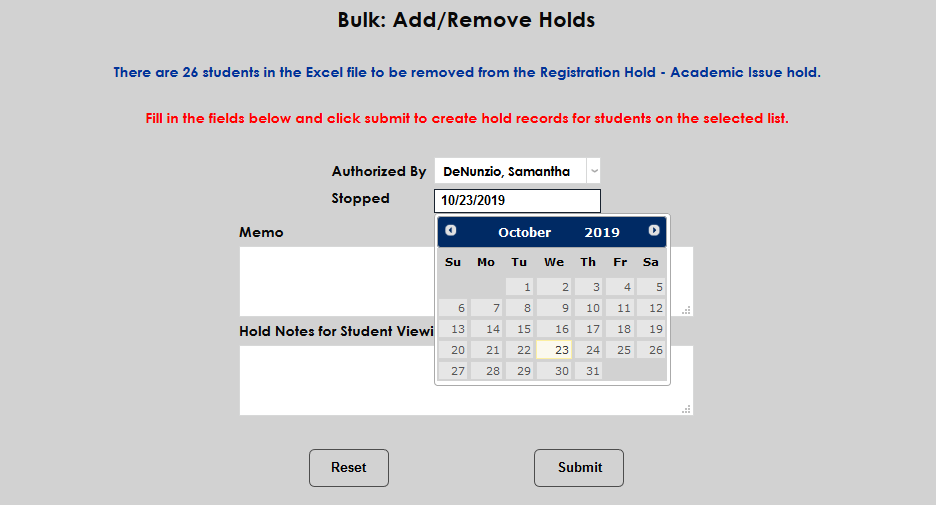
The number of students to be removed is listed at the top of the next page and again, this is a clickable link that displays the individual students in the list in a pop-up window.
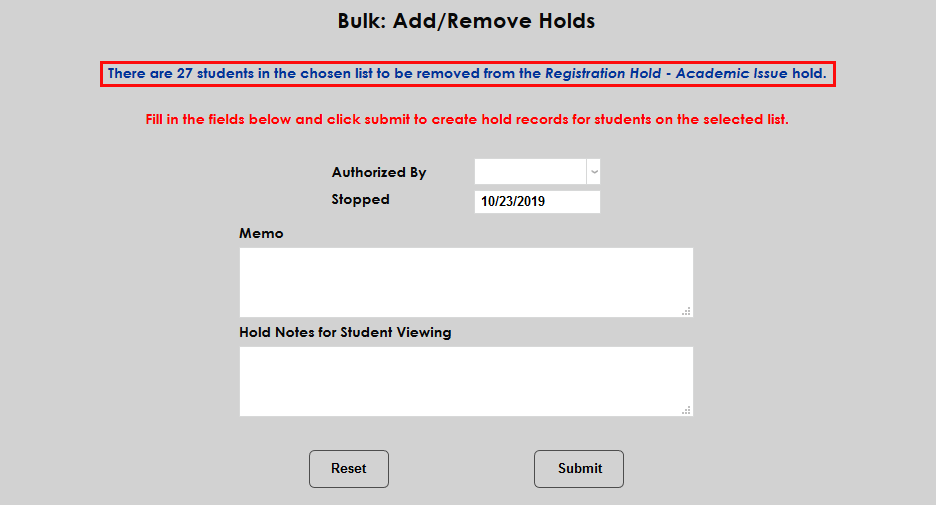
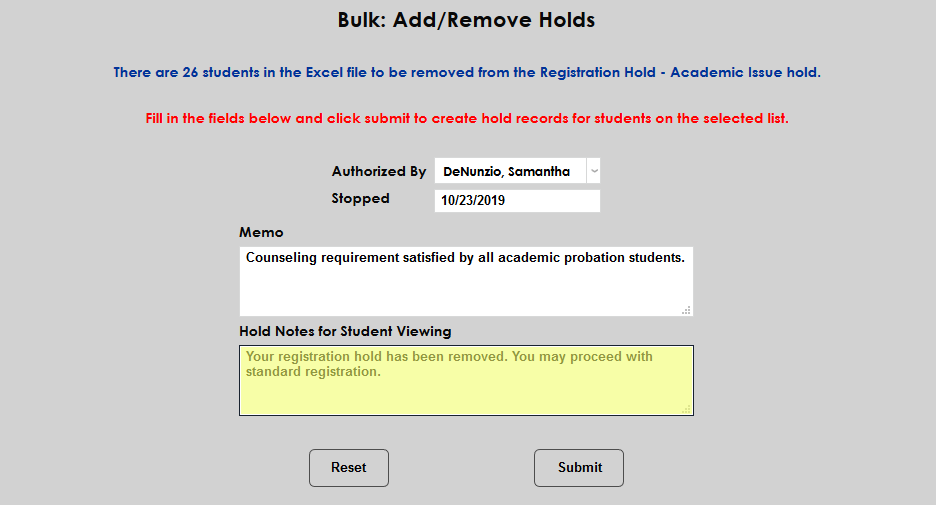
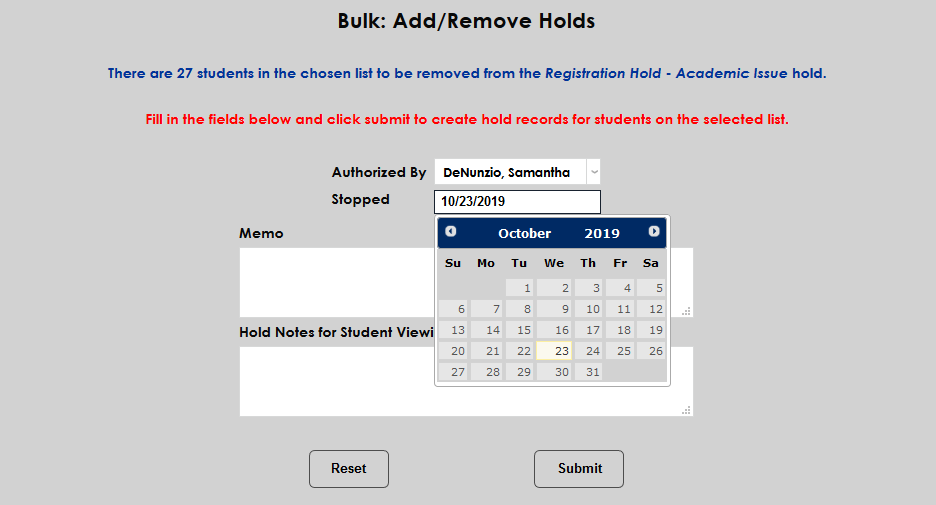
Select a staff member to authorize the hold removal from the Authorized By drop and, if necessary, edit the Stopped date.
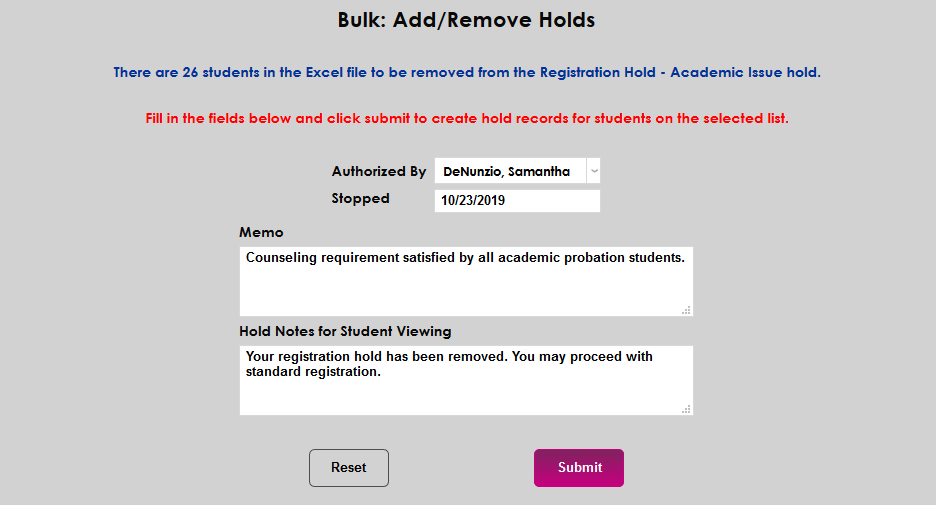
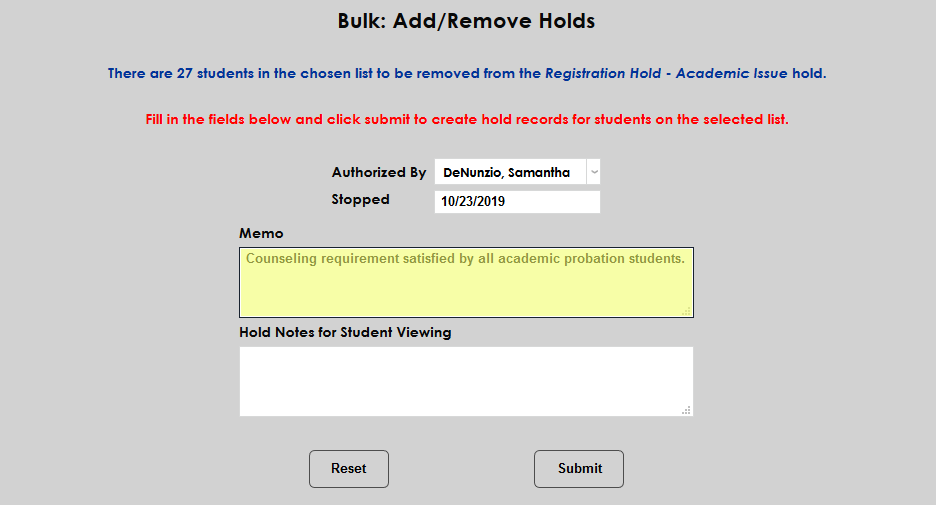
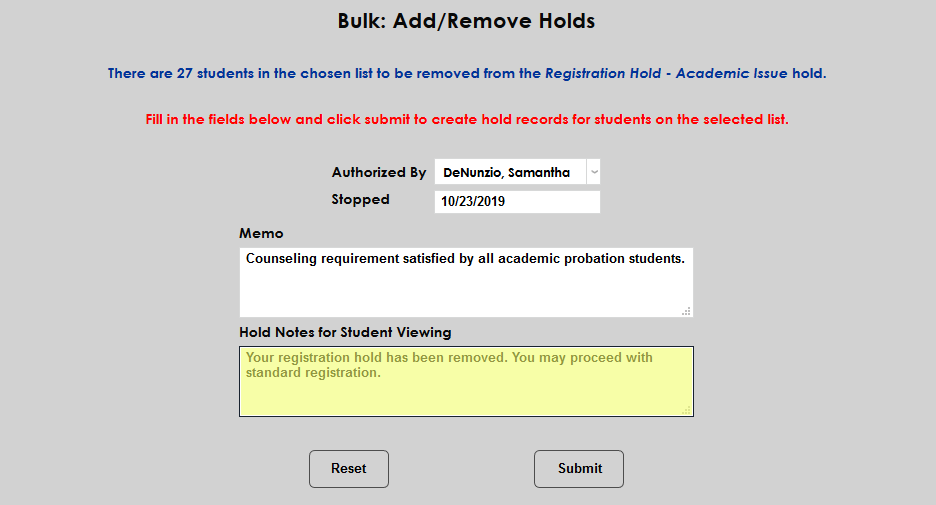
A Memo field for internal viewing and a Hold Notes for Student Viewing field are included. These fields are optional. Click Submit to remove the hold.

From Excel
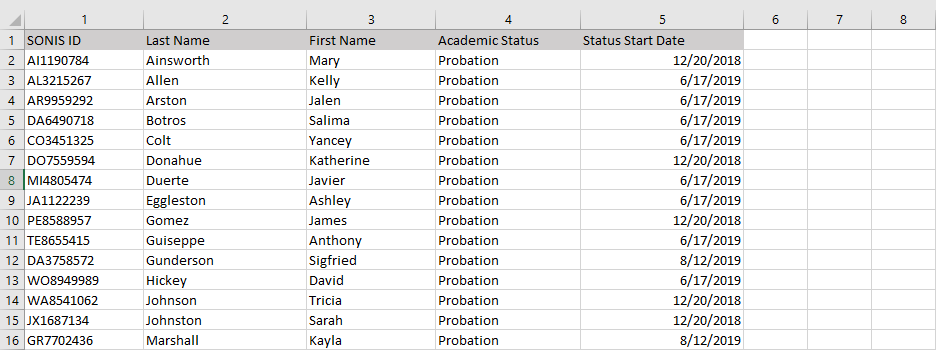
To add a hold from an Excel spreadsheet, first prepare an Excel spreadsheet with the students to be added. The source file must be a Microsoft Excel 97-2003 Workbook (*.xls) file. It must contain a header row where the header for the first column is SONIS ID. The values contained in the first column are to be the nine character SONIS ID of each student. Additional columns can be included to make it easier to identify whose ID it is in the first column (fist name, last name, etc.), but only the first column values are used in the process.
Once the list is formatted properly, at the top of the Bulk: Add/Remove Holds page, select From Excel and click Submit.

On the following page, click Browse, select the correct Excel file, and click Upload Excel File to continue.


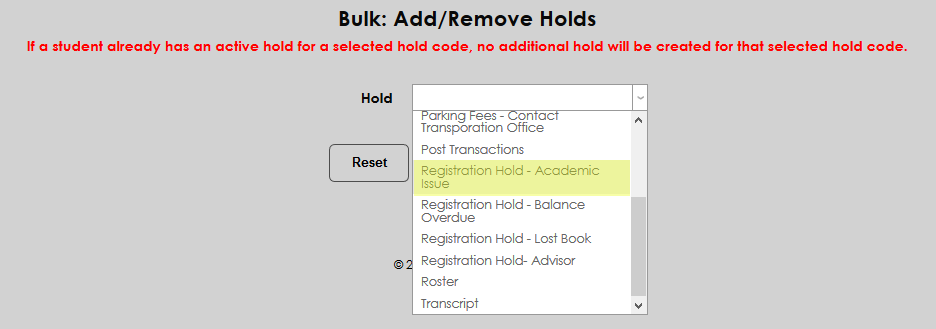
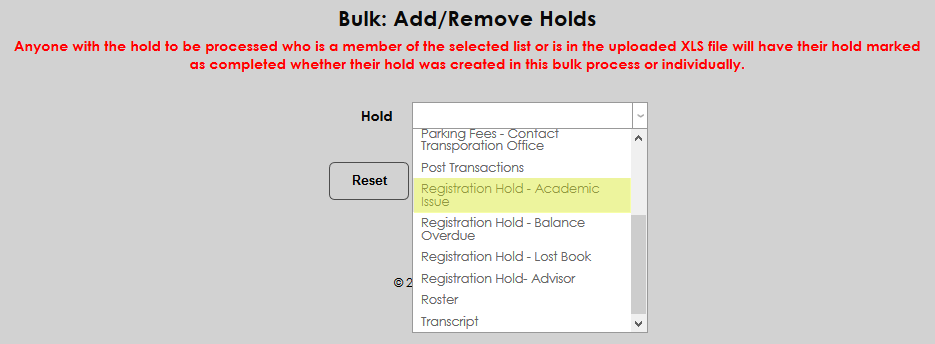
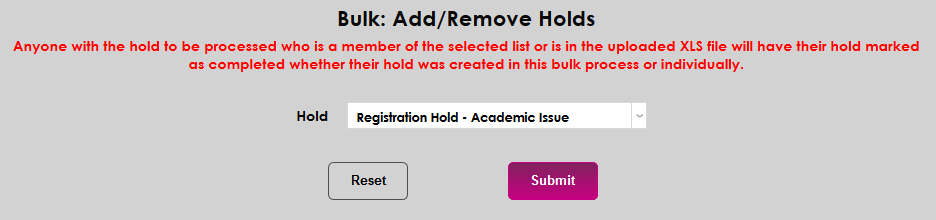
Once the file has been uploaded, select a Hold and click Submit.

On the next page, the number of students in the list is displayed at the top of the page. This note is a clickable link that displays the students on the list in a pop-up window.
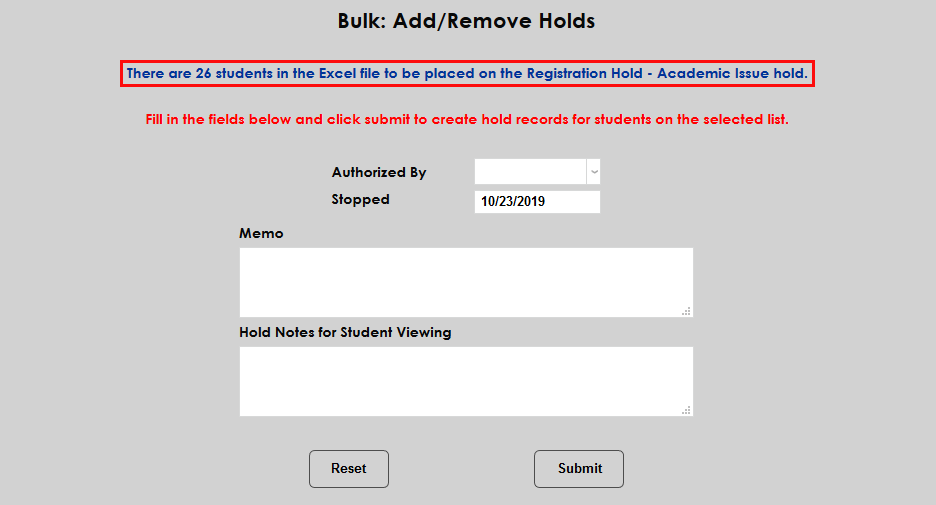
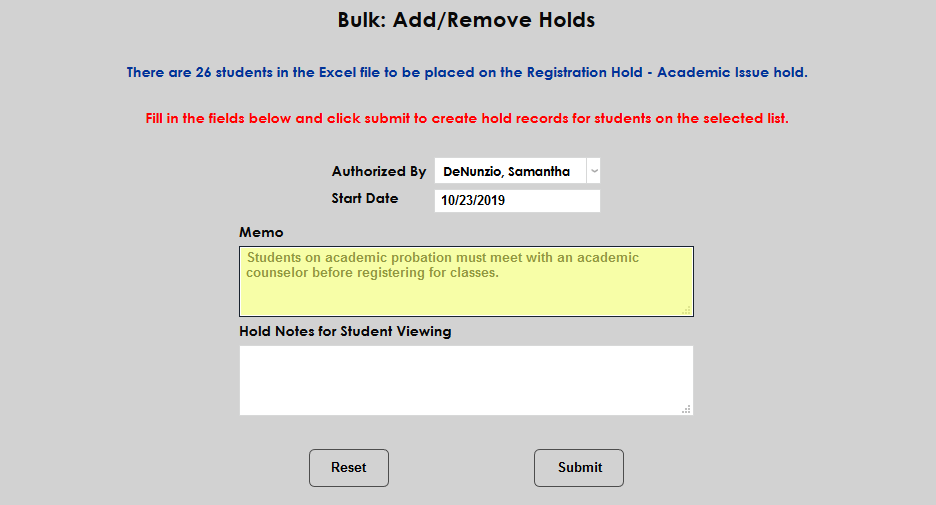
To continue, select a staff member to authorize the hold from the Authorized By dropdown and edit the Start Date if necessary.


A Memo field for internal viewing and a Hold Notes for Student Viewing field are included. These fields are optional. Click Submit to add the hold.


To remove a hold from an Excel file, scroll down to the Remove Hold section, select From Excel, and click Submit

On the following page, click Browse, select the correct Excel file, and click Upload Excel File to continue. As noted at the top of the page, anyone with the hold to be processed who is in the uploaded XLS file will have their hold marked as completed whether their hold was created in this bulk process or individually.


Select the hold type from the Hold dropdown and click Submit.
The number of students to be removed is listed at the top of the next page and again, this is a clickable link that displays the individual students in the list in a pop-up window.
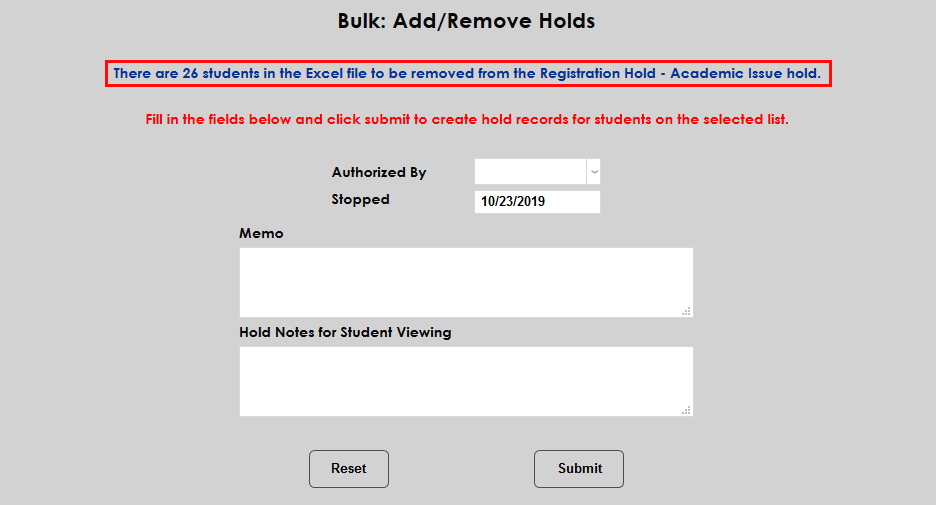
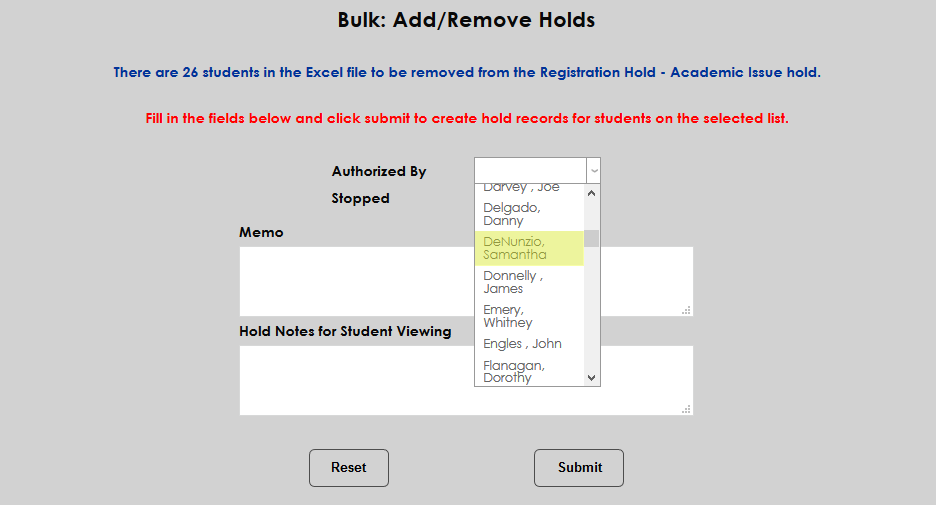
To continue, select a staff member to authorize the hold from the Authorized By dropdown and edit the Start Date if necessary.
A Memo field for internal viewing and a Hold Notes for Student Viewing field are included. These fields are optional. Click Submit to remove the hold.