Attendance
Overview
The Attendance utility allows faculty members to view, manage, and certify attendance records for the courses which the faculty member is set as the instructor. Not all institutions require faculty to certify attendance and some may prefer to have administrators enter attendance rather than asking instructors to enter it.
See Attendance for the administrative equivalent of this page. The certify attendance option is toggled from the Web Options page. This page can be turned on and off from the Portal Menu Utility.
Attendance
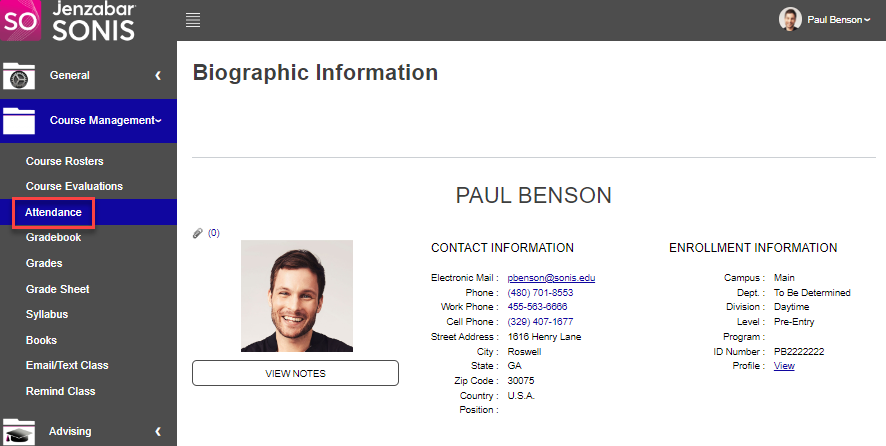
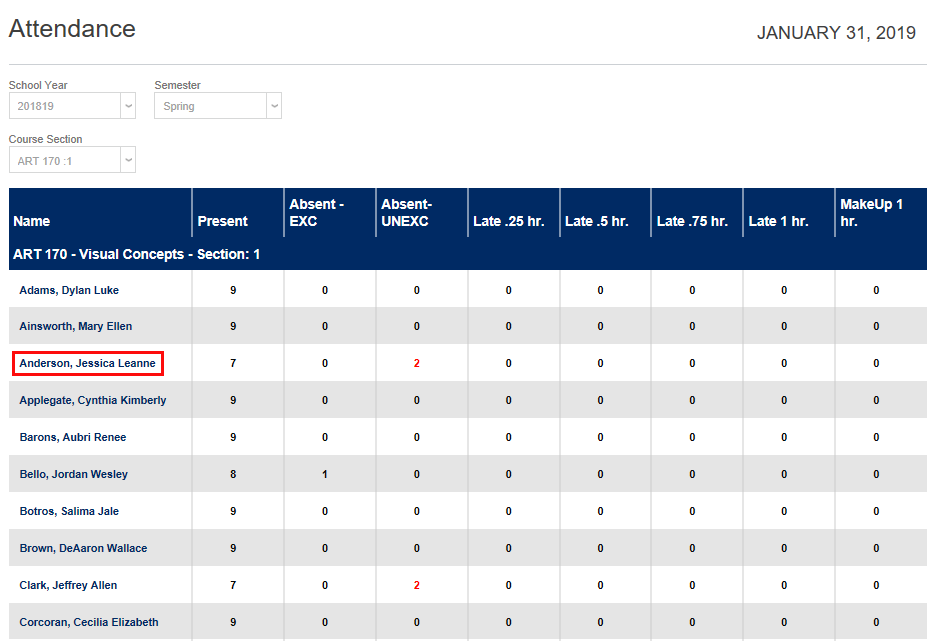
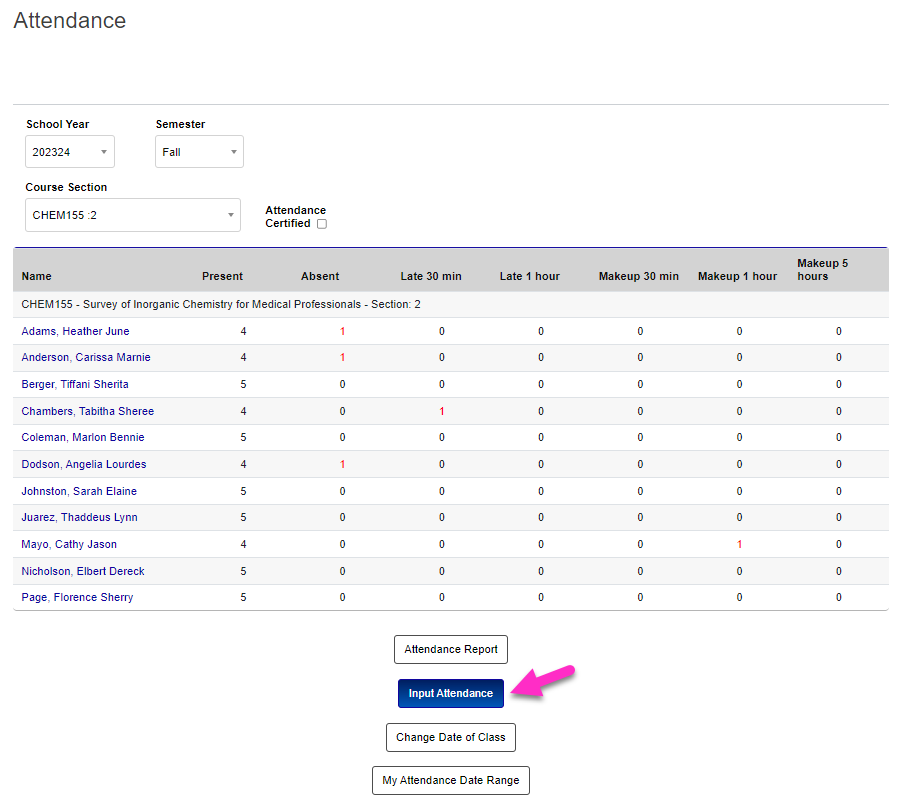
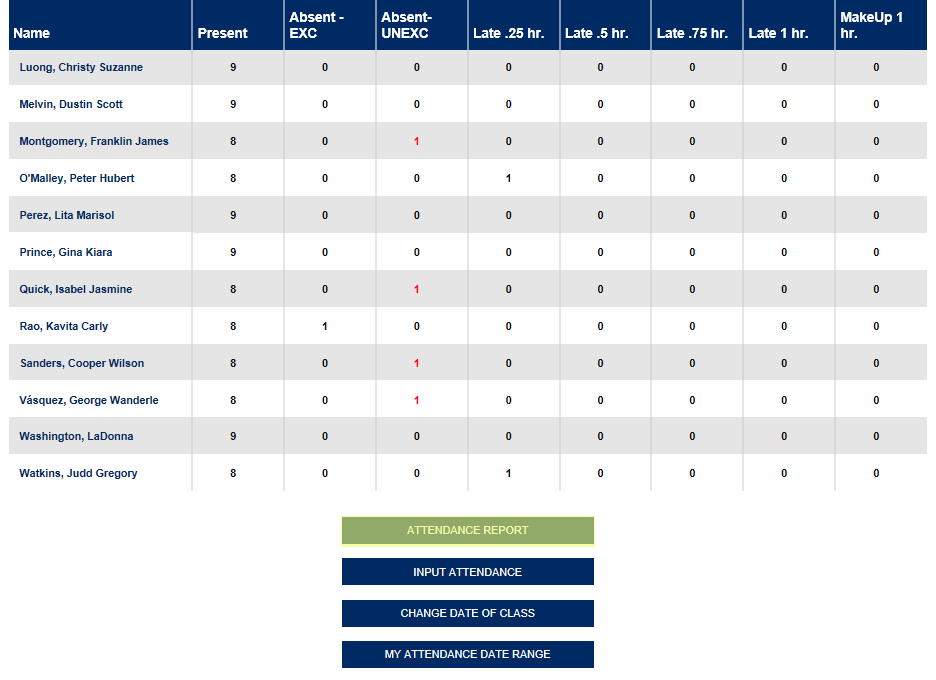
To access course attendance, click Course Management in the menu and select Attendance. From the Attendance page, use the School Year, Semester, and/or Course Section dropdown menus to select the desired class.
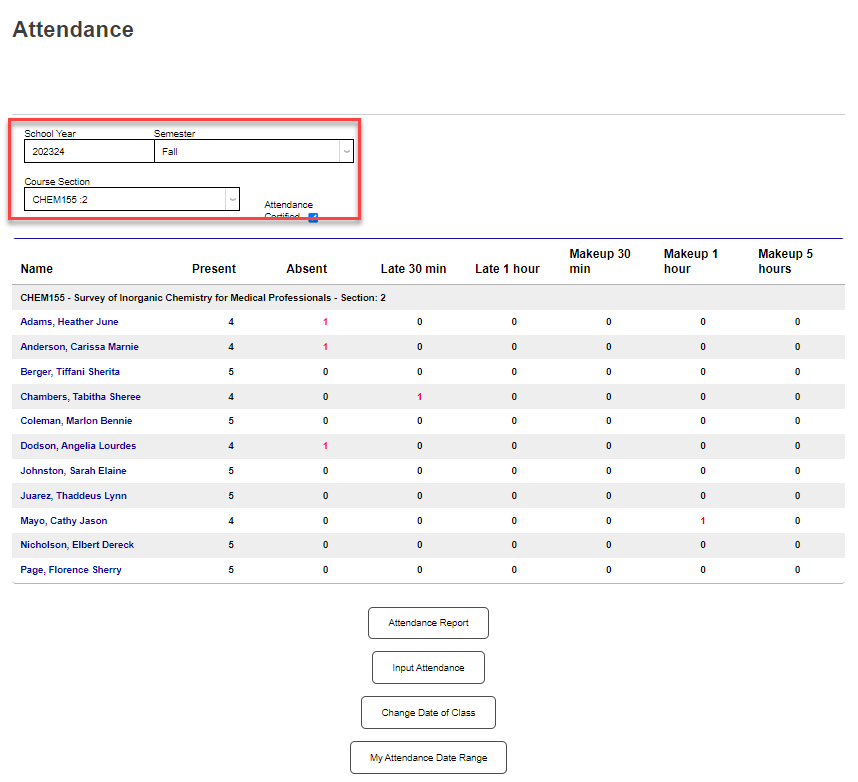
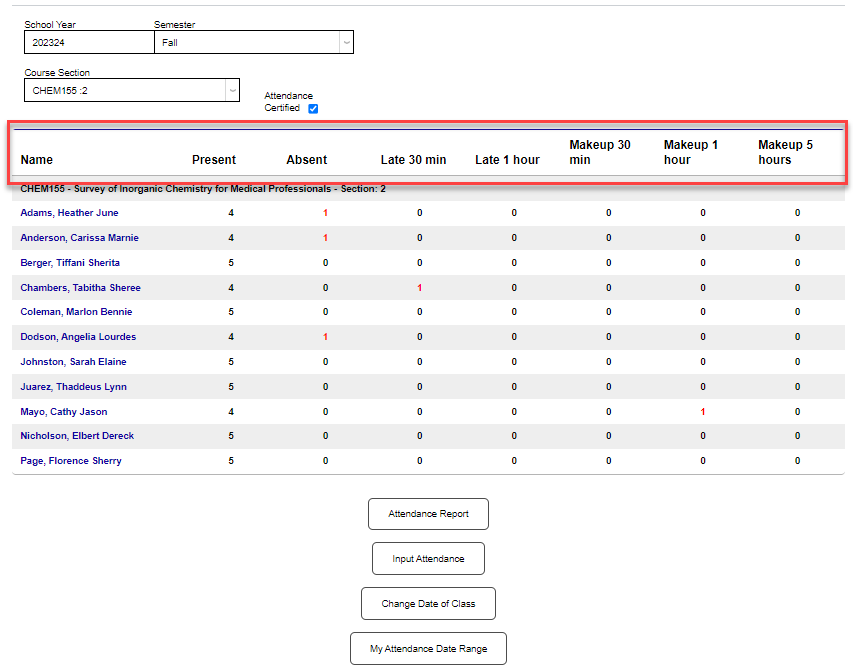
If enabled, a checkbox to Certify Attendance displays. An attendance table displays the Name of each student and a number of attendance statuses. Below the labels, in a row for each student, the number of days that each student has been marked for each status displays. Unexcused absences are displayed in red.
Note
Attendance certification is only required if the corresponding checkbox is checked within Web Options.

Attendance Date Range
The primary attendance report will show all class dates that have passed by default. However, it can be modified to show only dates within a certain range. To do so, click My Attendance Date Range at the bottom of the page.

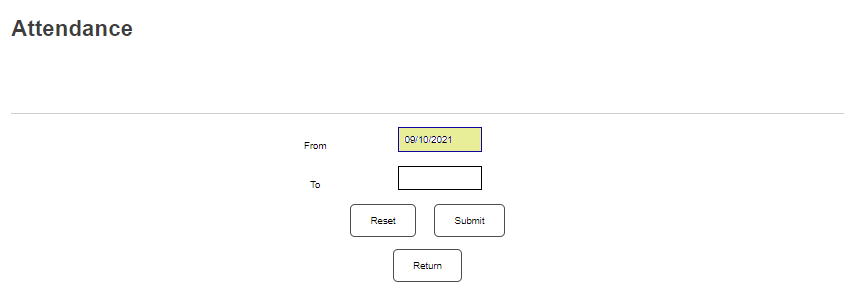
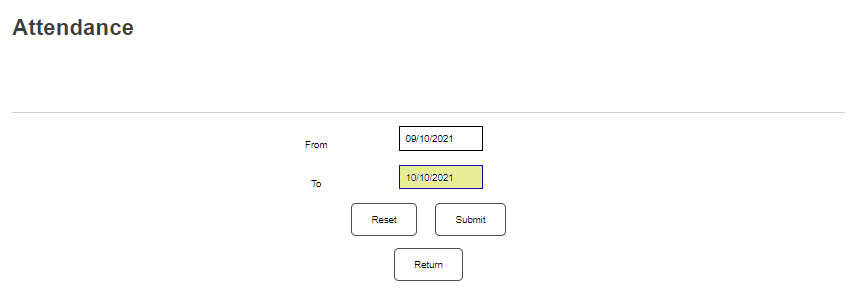
On the following page, enter a From date and a To date. These dates must be dates within the section date range.
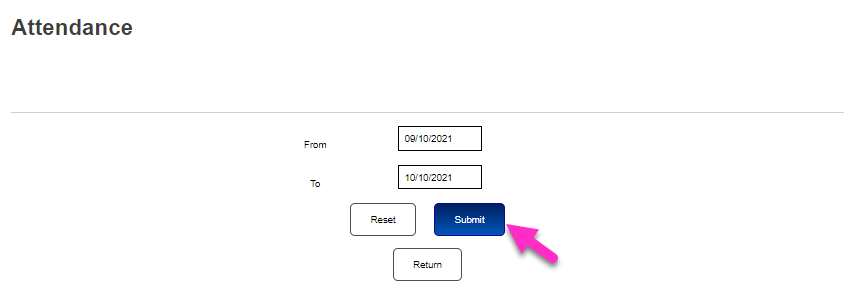
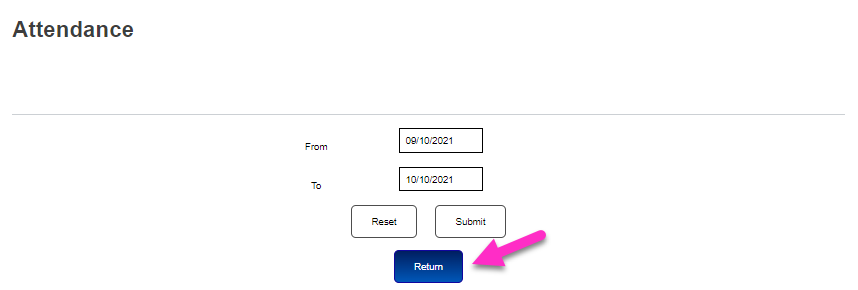
Click Submit followed by the the Return button to return to the primary attendance page and the listing will be updated to show only dates within the selected range.
Only the selected dates will appear on each student's individual attendance page as well. Return to the My Attendance Date Range page and click Clear My Date Range to show all dates again.


Individual Attendance
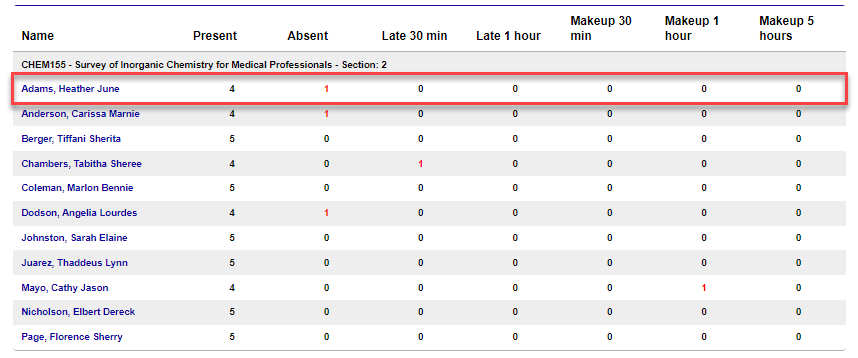
To edit an individual student's attendance record, begin by clicking on the student's name.
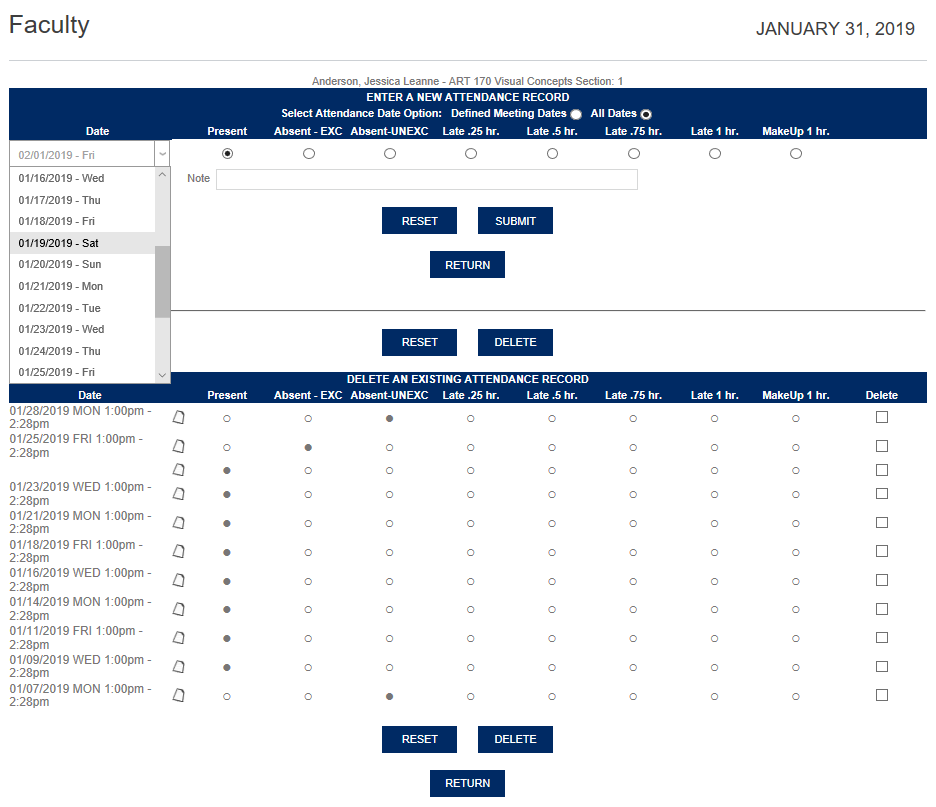
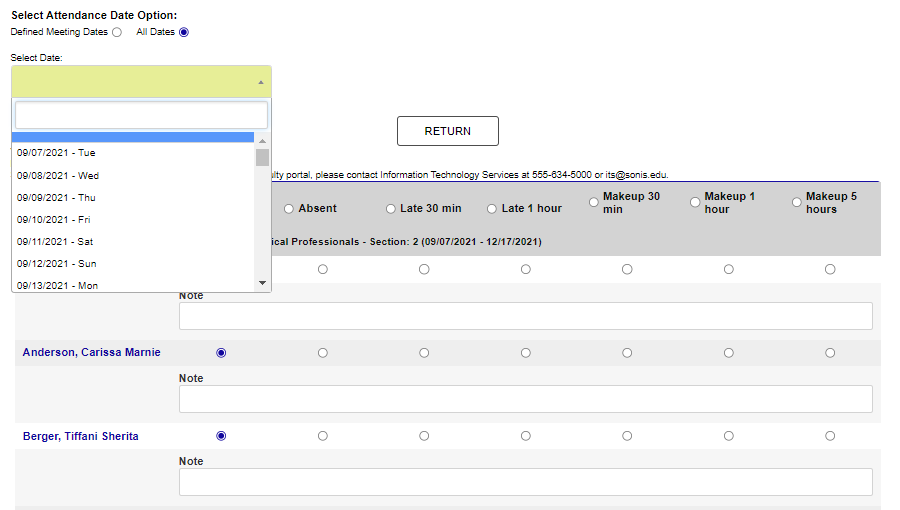
On the following page, select a date to enter or edit. With the Defined Meeting Dates option selected, only dates that have passed and have scheduled classes will be listed. Selecting the All Dates options will update the menu to include all days since the beginning of the term. This allows instructors to log makeup hours on days when the class does not normally meet.

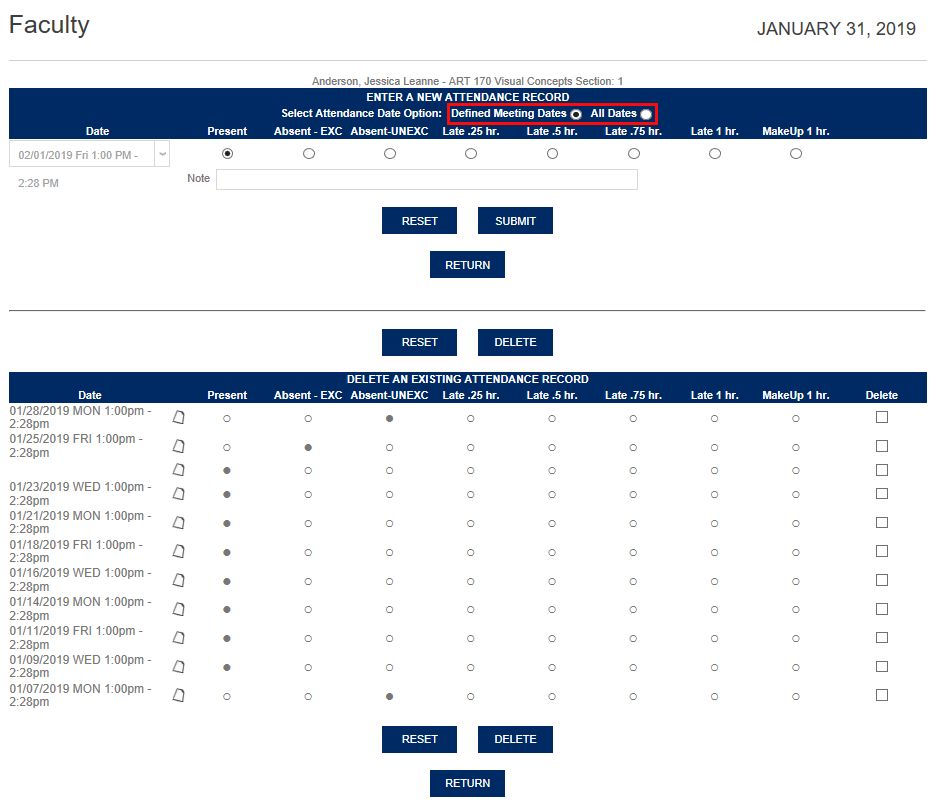
Select a status button and click Submit. A Note can be entered for added clarity.


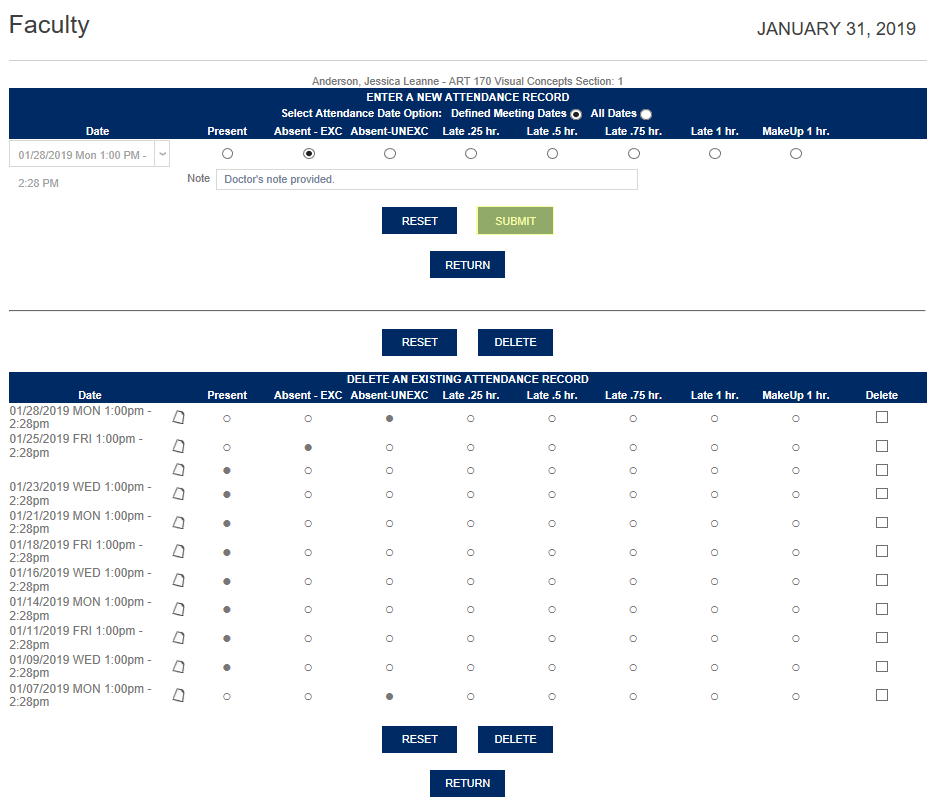
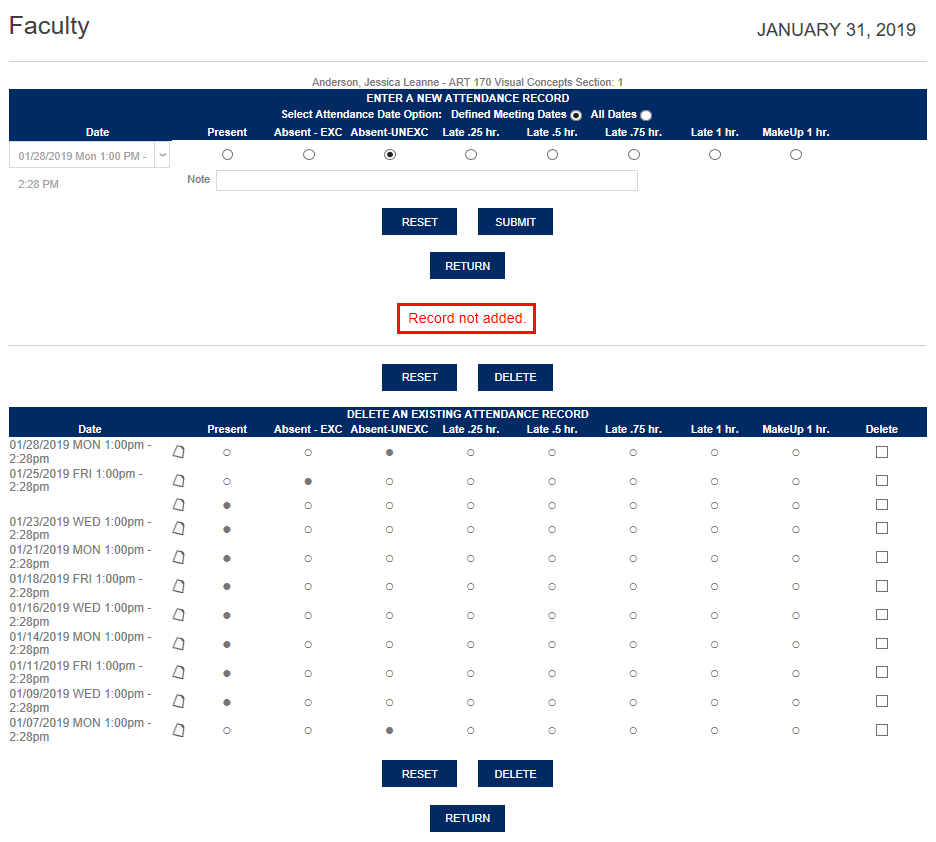
If an instructor tries to enter a status that matches the status already entered for that day, they will receive a Record not added. error.
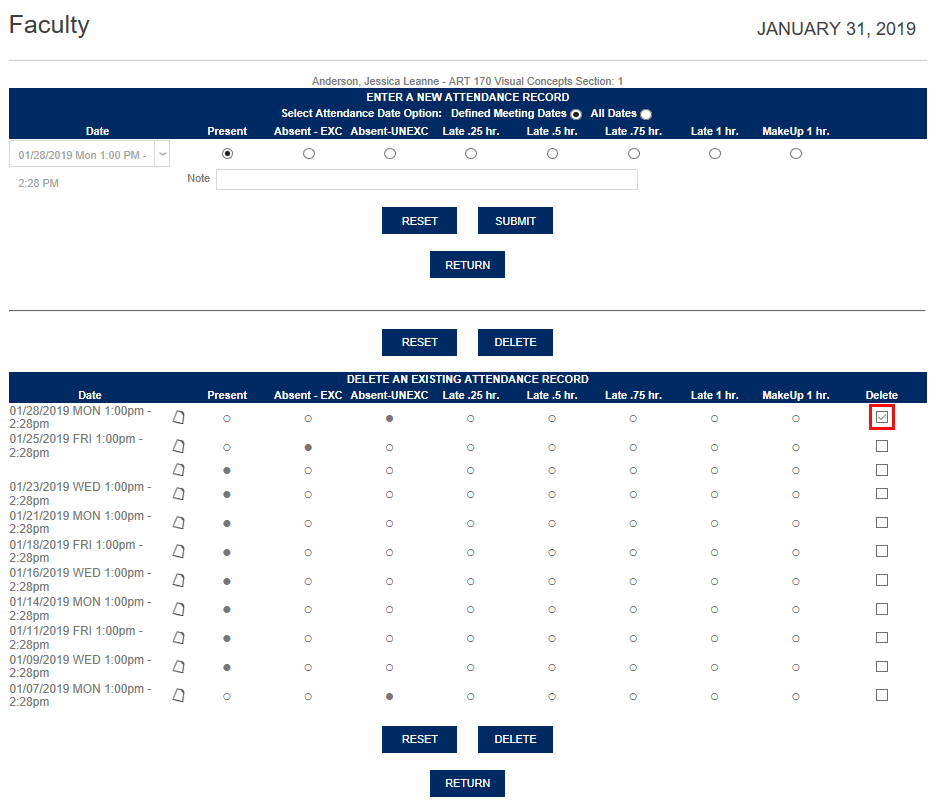
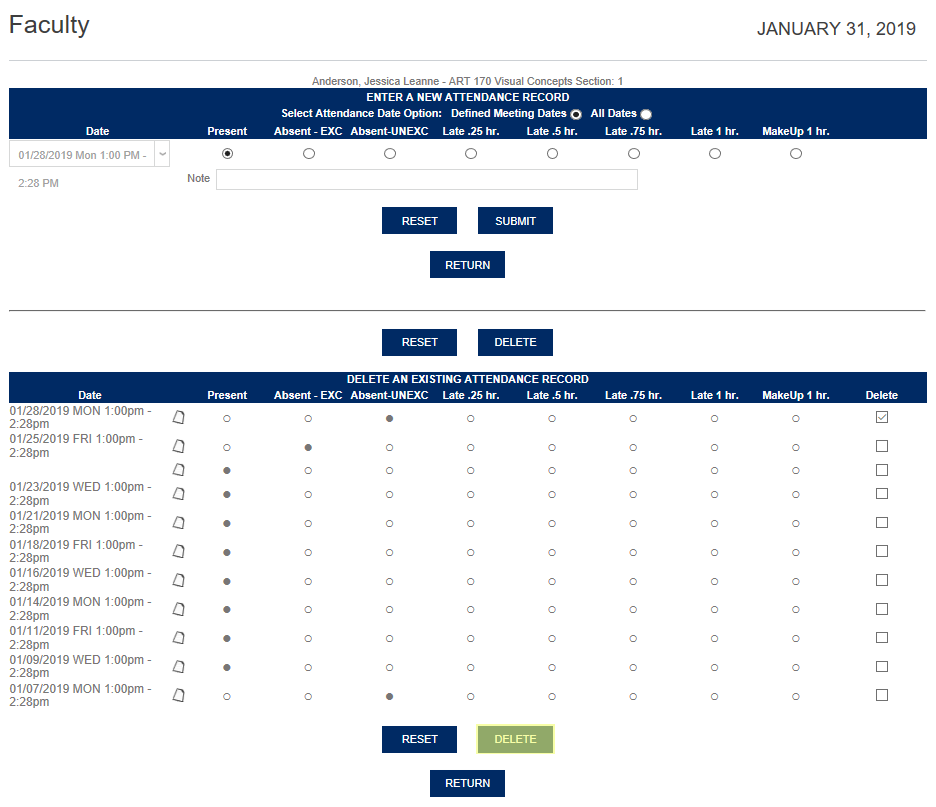
Instructors can also delete previously entered attendance data by selecting the Delete checkbox for that entry and clicking the Delete button at the bottom of the page.
Bulk Attendance
To enter bulk attendance for an entire class, click the Input Attendance button at the bottom of the page.
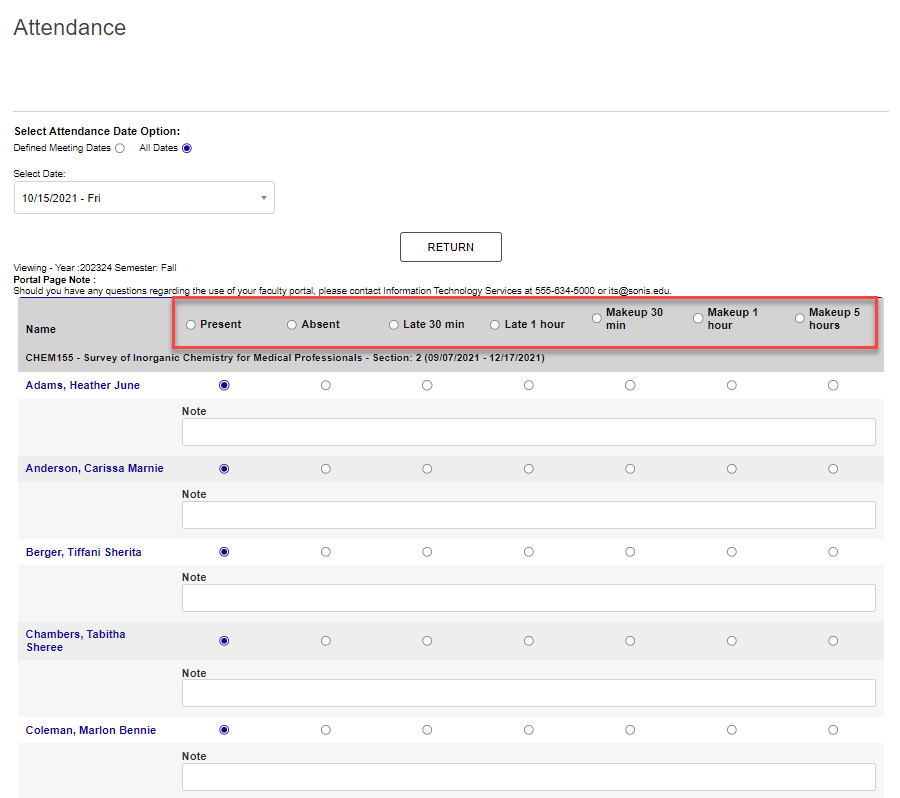
On the following page, select the date to be recorded from the Meeting Dates dropdown menu.
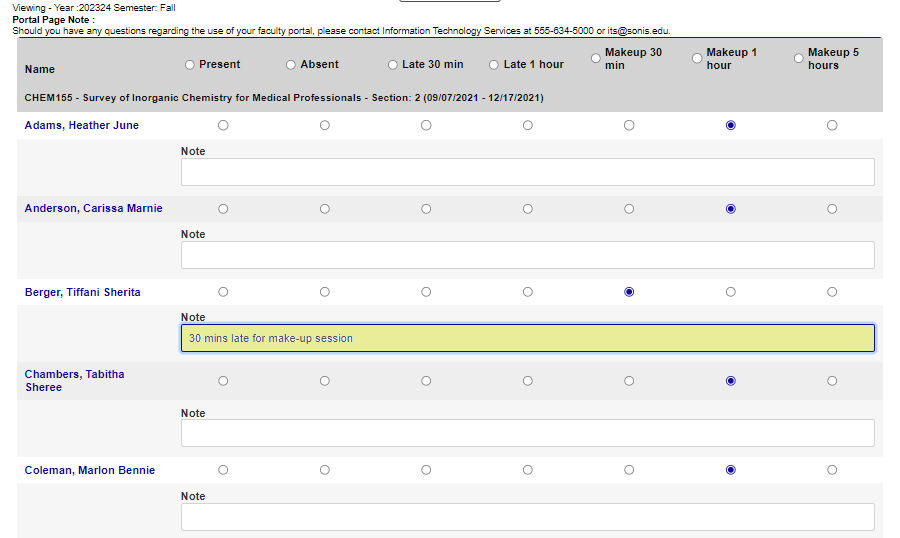
By default, every student on the roster will be marked as present. Select another option if the student was not present on this day. A Note can be appended if necessary.
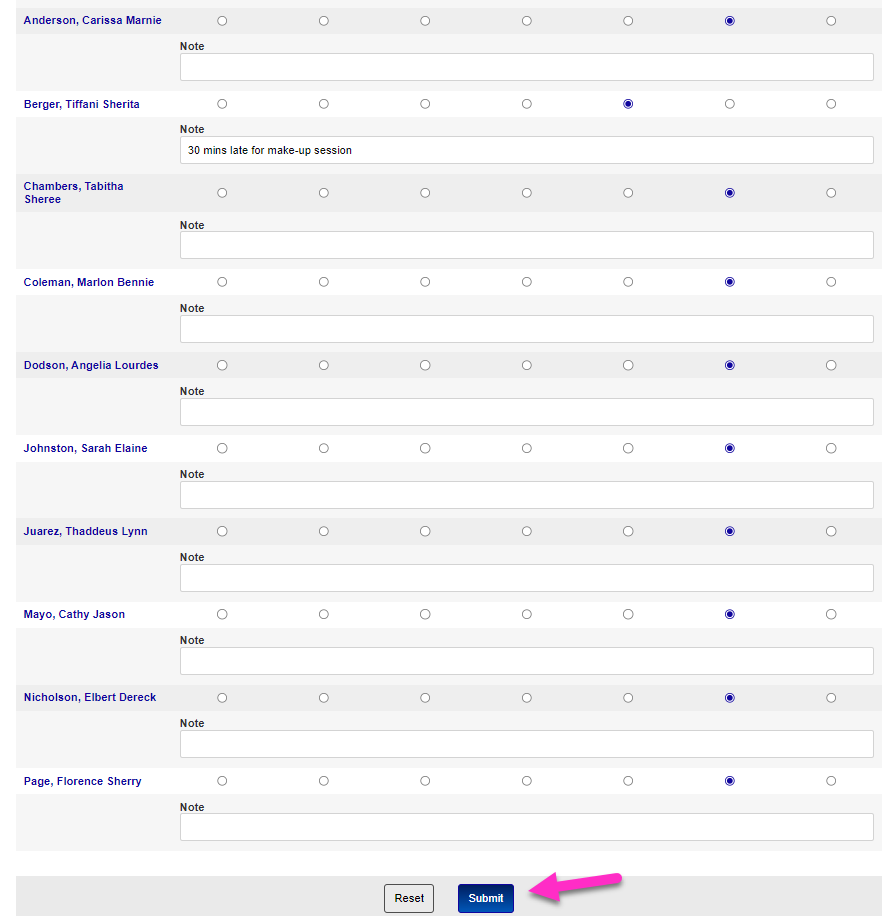
Click the Submit button at the bottom of the page to save the changes.
Attendance Reports
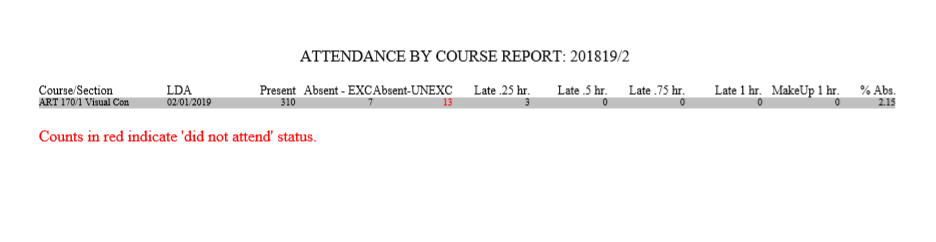
To view a report of the total attendance for courses taught, click the Attendance Report button. The report will open in a new window.
Change Date of Class
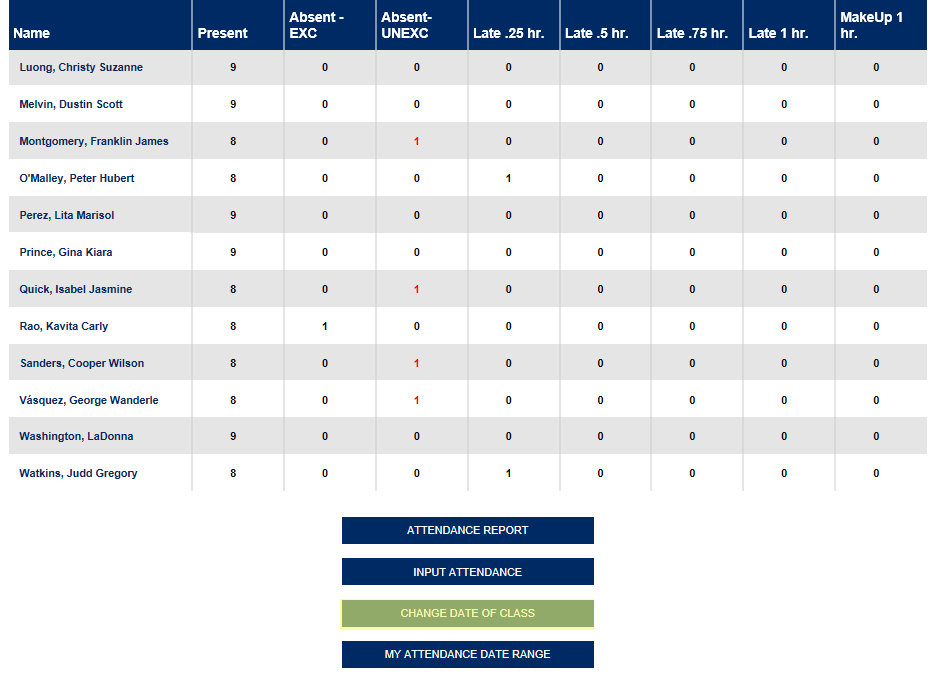
If a class period is canceled or moved to another day and time, click the Change Date of Class button to update the attendance record. A new window will open allowing for changes.
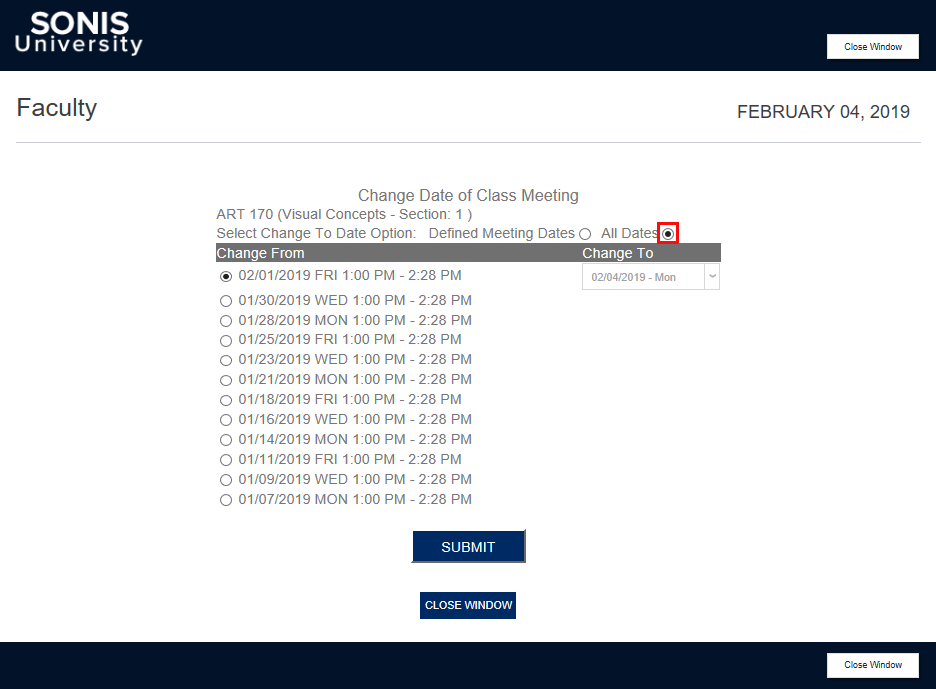
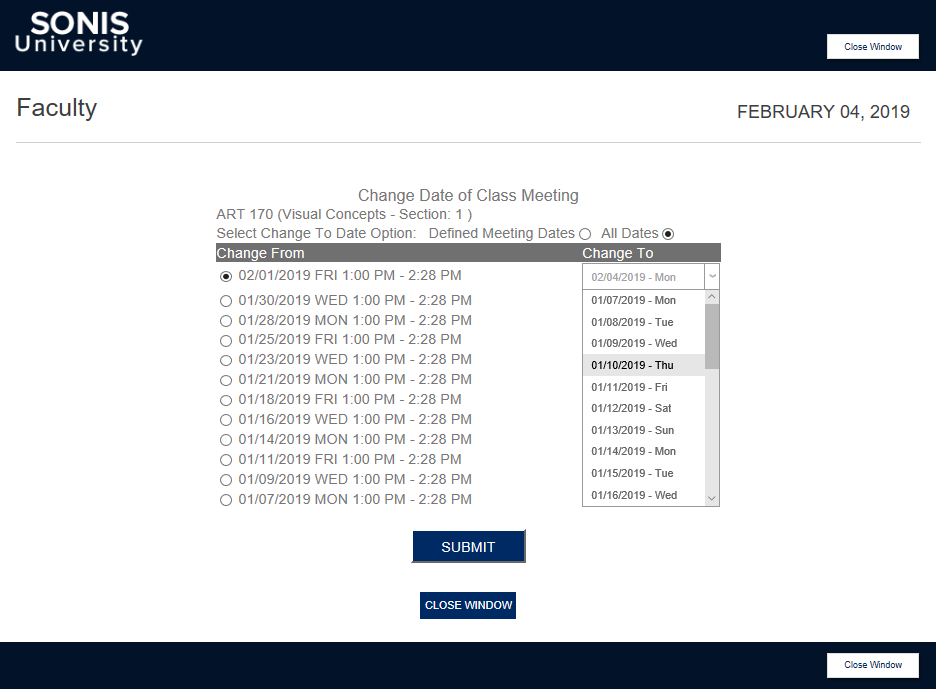
Select a date to be changed from the Change From list and a corresponding date from the Change To list. The Change To list displays only scheduled meeting dates by default, but can be changed to show All Dates. Only dates that have passed since the term began will be included.
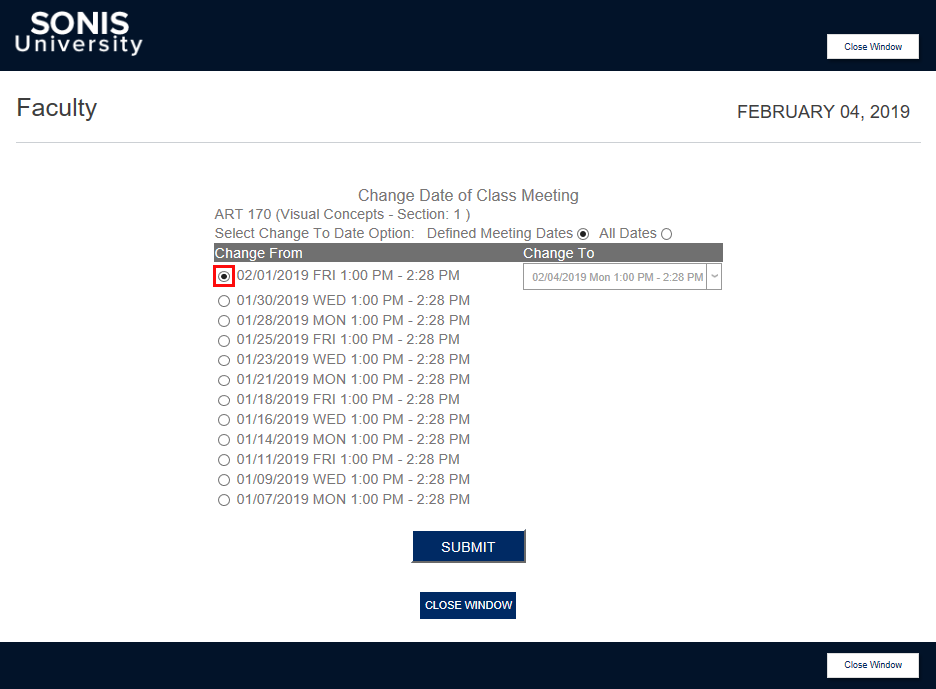
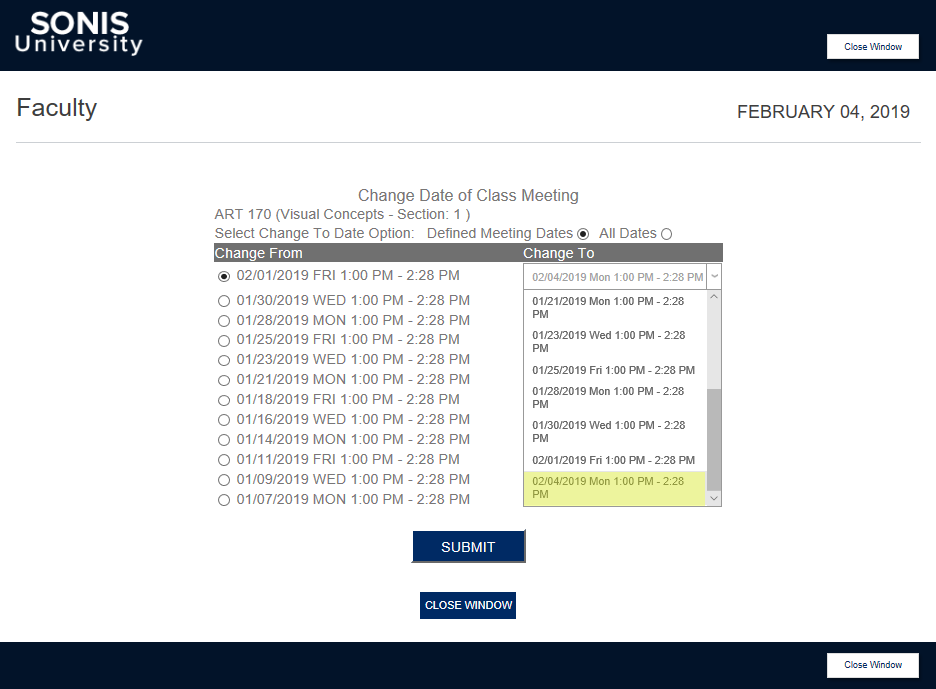
Click Submit to save the changes and close the window to return to the Attendance page.
