Import Functions
Overview
The Import Functions utility, located under the Systems hub, allows Jenzabar SONIS system administrators to create new records and merge existing records created by prospects, students, faculty, and alumni with the institution's existing database. These records include those created by prospects filling out inquiry cards and online applications as well as changes made to personal records in the various portals.
Note
The Allow Direct Biographic Information Updates option in Web Options controls whether portal users can make updates to their biographical and address details directly or whether these updates must first be approved and imported.
Online Applications can also be imported through the Admissions Hub, which provides a greater level of detail and control.
Prospect Import
When a potential student submits their information through the Prospect Inquiry Card, that data must be imported to Jenzabar SONIS through Import Functions. Click the Prospect Requestions button to begin the import process.

Note
If no inquiries have been submitted since the last time prospects were imported, this button will not appear.
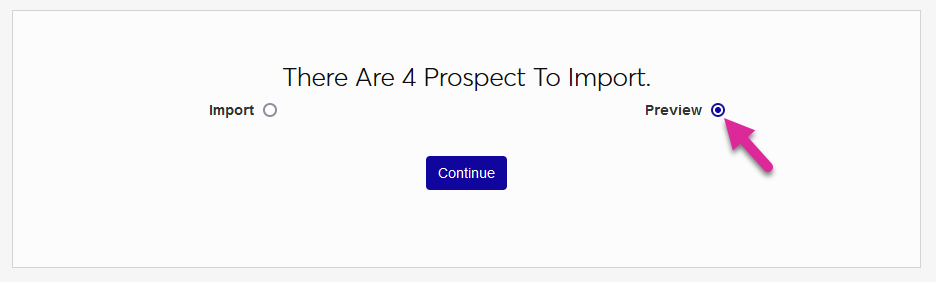
On the next page, choose either Import to import all records regardless of what they may contain or click Preview to view the records before importing them. Click Continue to continue the process.
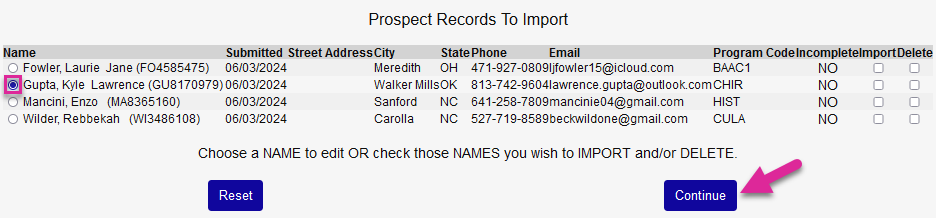
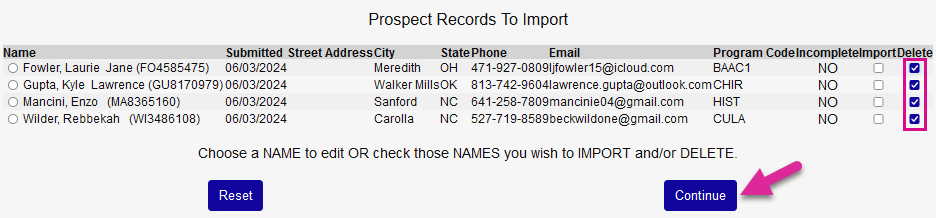
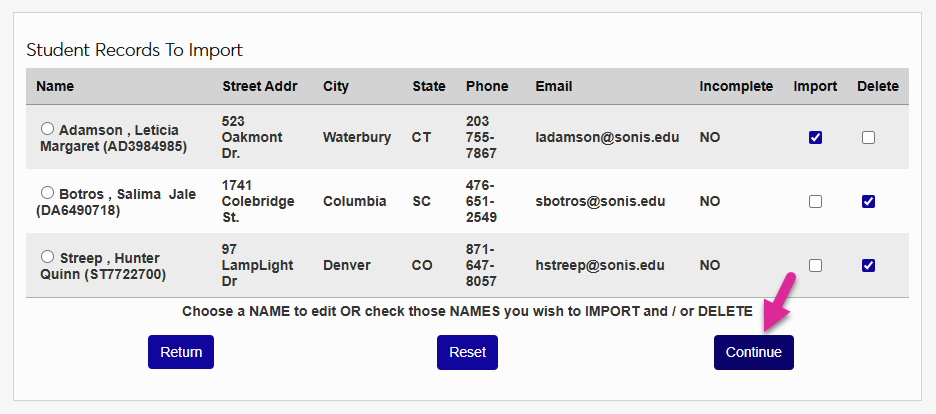
The Preview page lists the prospect's name, their submitted date, their address information, their phone number, their email, and the program code they selected and tells you whether their record is incomplete or not. To view more details about a prospect, click the radio button in the Name column and click Continue.
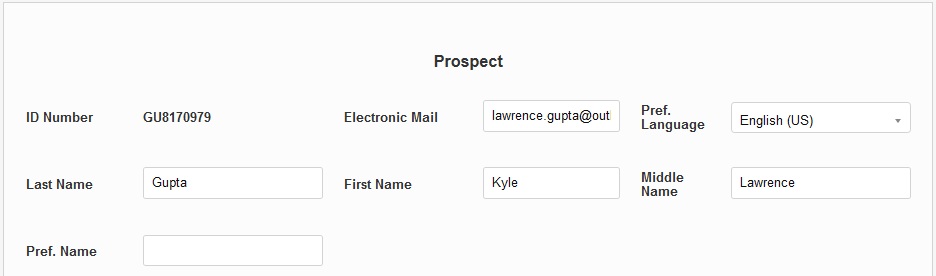
The prospect's details can be edited on the next page. When you click Continue from this page, the record will be imported with all changes that have been made.
Alternately, you can import prospects in bulk by checking the corresponding Import box for each record and clicking Continue.
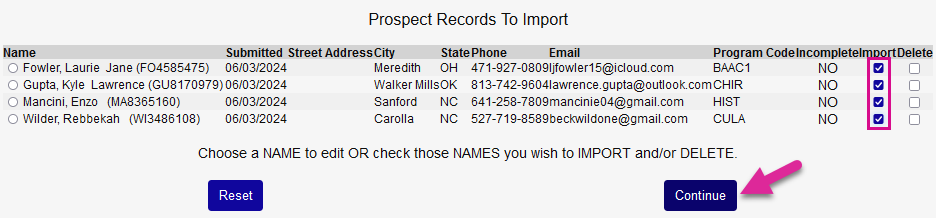
Or you can delete prospects in bulk by checking the corresponding Delete box for each record and clicking Continue.
Biographic Changes
Users can make changes to their biographic information through their portal using the Update Bio page. Depending on your system settings, they may able to make direct changes that go into effect immediately or these changes may need to be imported through Import Functions.
Web Options
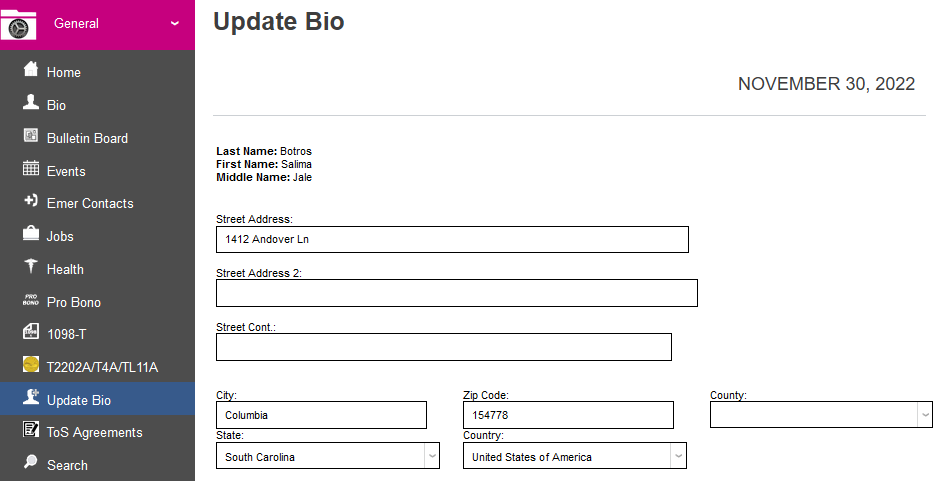
When the Update Bio page has been turned on in a portal, users have access to make changes to their basic biographical details as well as their address.
If the Allow Direct Biographic Information Updates option is on for their portal, these changes will be immediately published to the appropriate fields. If this option is active for all portals, the Student Changes, Alumni Changes, Faculty Changes, and Sponsor Changes import options will not be used.

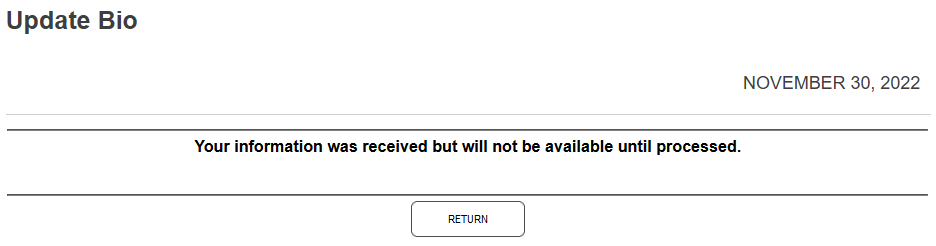
If the Allow Direct Biographic Information Updates option is unchecked for the user's portal, once they submit their bio changes, they'll see a message informing them that the changes have been received but must be processed. These updates are then processed through Import Functions.
Importing Changes
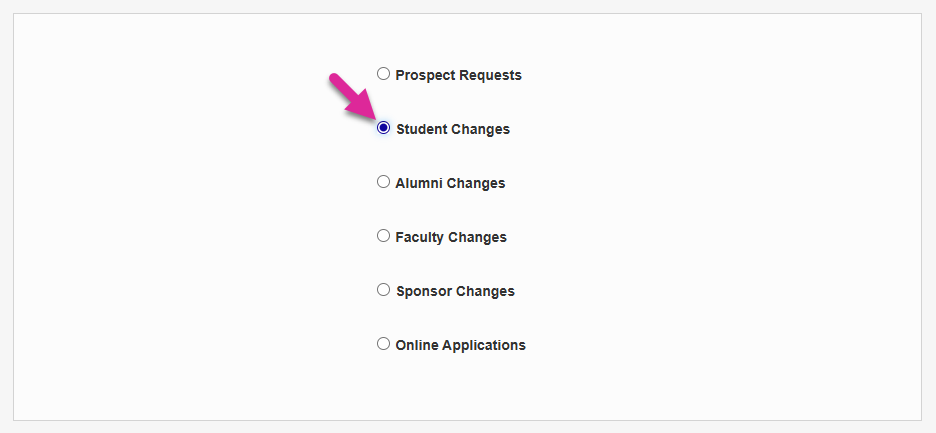
To import changes that users have made to their biographic details, select Student Changes, Alumni Changes, Faculty Changes, or Sponsor Changes. If there are no changes to import, a message will appear telling you that there are no results.
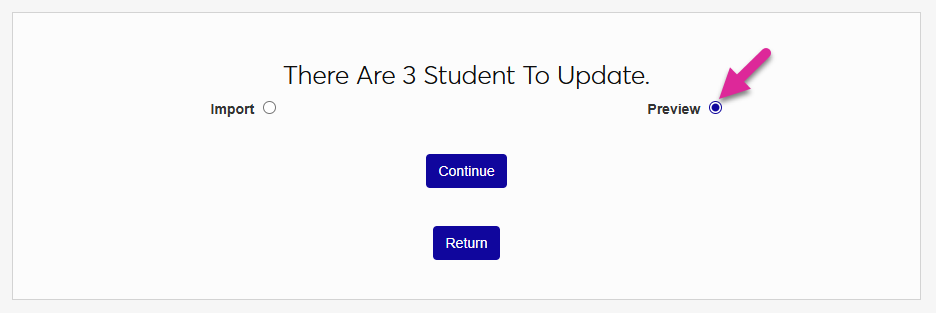
On the next page, select Import to import the changes immediate or select Preview to view them first. Click Continue to continue.
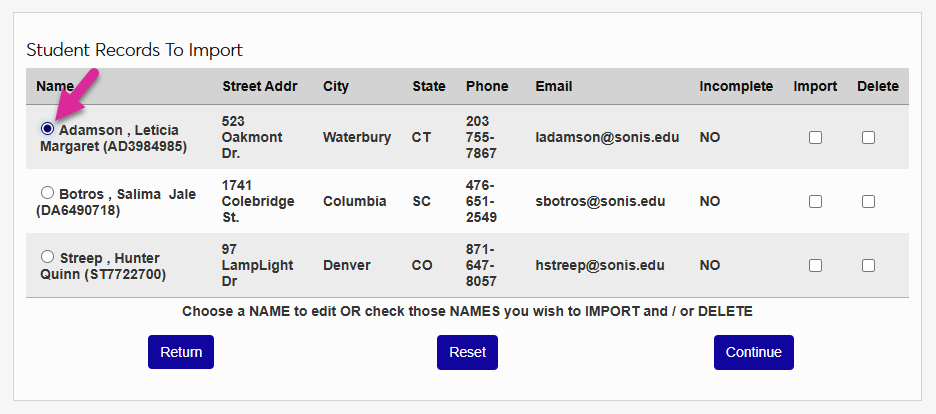
The following page lists the user's Street Address, City, Phone Number, and Email Address. If the user has changed any of these values, the updated value is displayed.
To view additional fields that pertain to the user, select the radio button on the left of the user's name and click Continue.
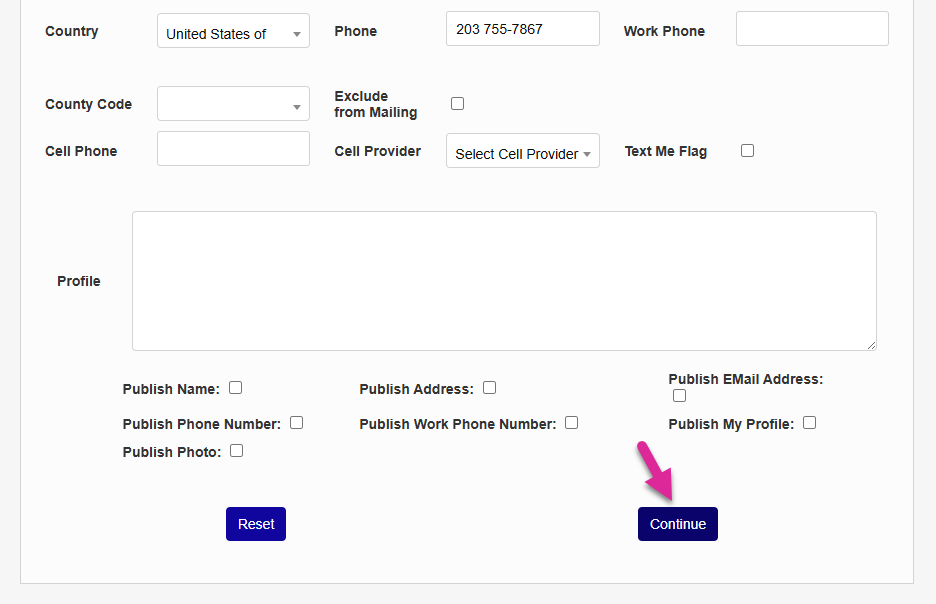
Every biographic and address field is editable. You can make any changes that are needed, including reverting the changes that the user made if they were made in error, and then click Continue to update the user's records based on the data from this page.
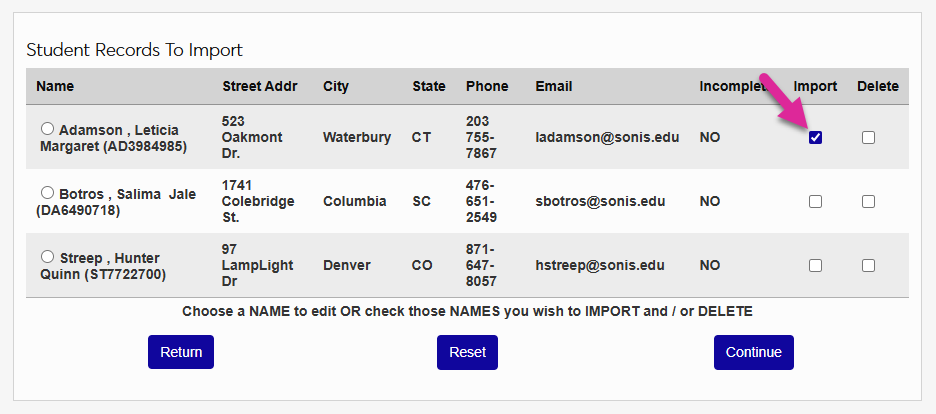
You can also complete the import process from the summary page. Check the Import box to implement the user's changes. Or check the Delete box to ignore them. Click Continue to finish the process and remove the records from this list.
Online Application
To begin the process of importing Online Applications, click Online Application, at the bottom of the page.

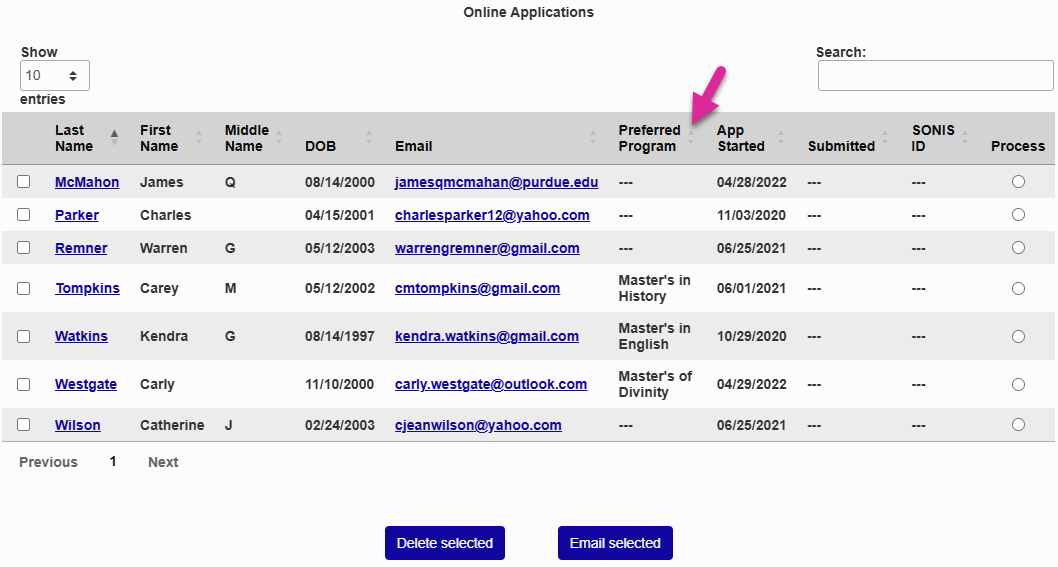
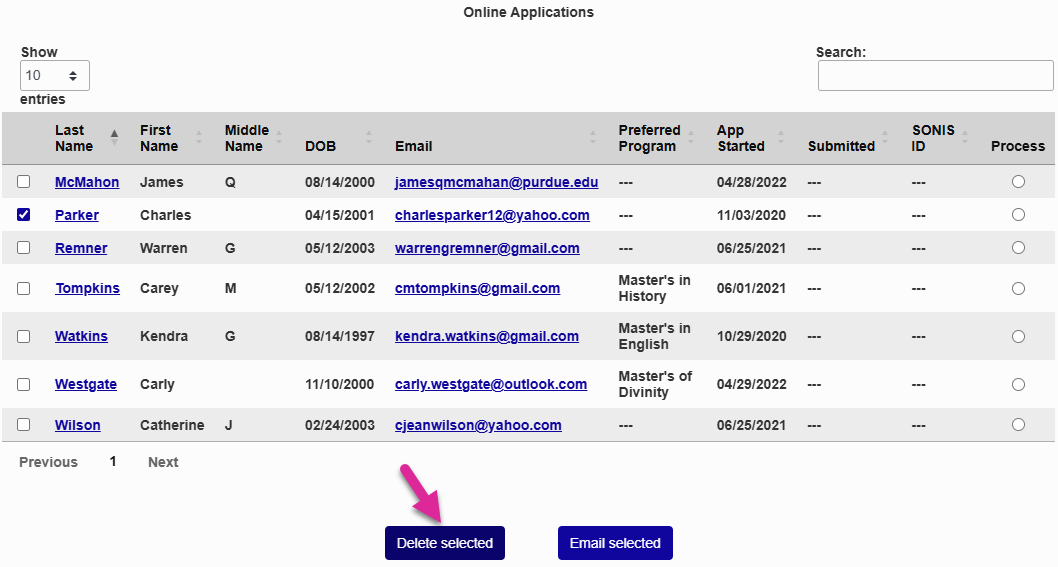
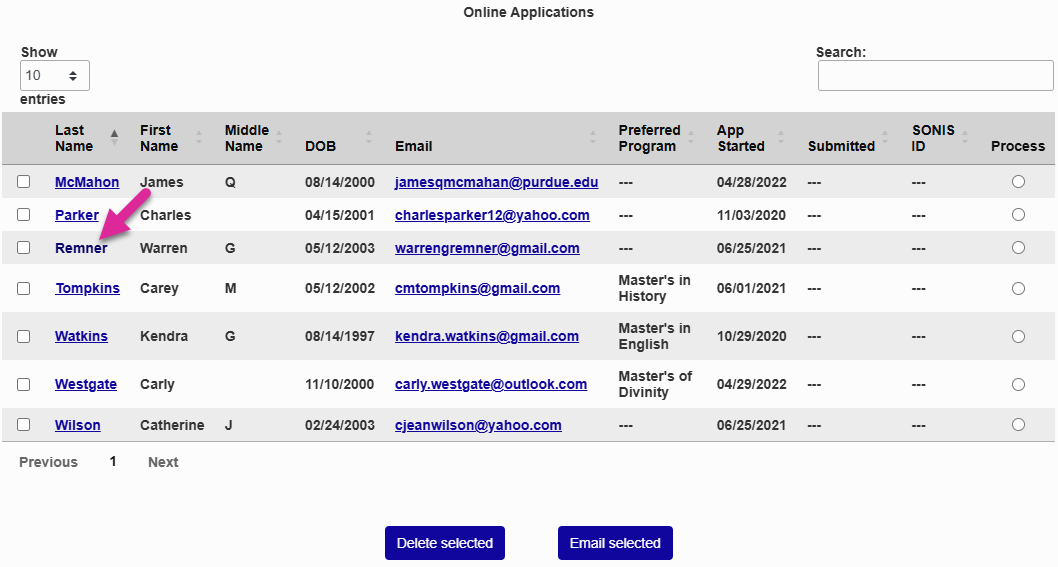
The following page lists all online applications that have been completed and not imported.
By default, these records are sorted by the applicant's last name. The list can be reordered by clicking on any of the up and down arrows next to the column headings. Click on the arrows once to sort the records in ascending order. Click a second time to sort them in descending order. The opposite is true for date fields.
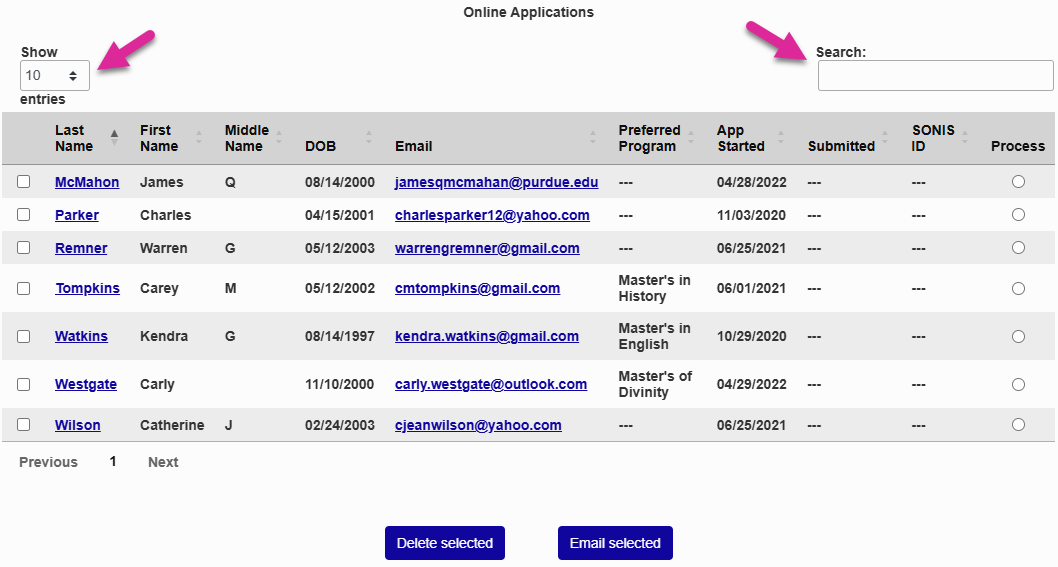
You can also use the Search box to narrow down what is displayed or the Show menu to control how many applications appear per page. Use the Previous and Next links to view additional pages.
Deleting Records
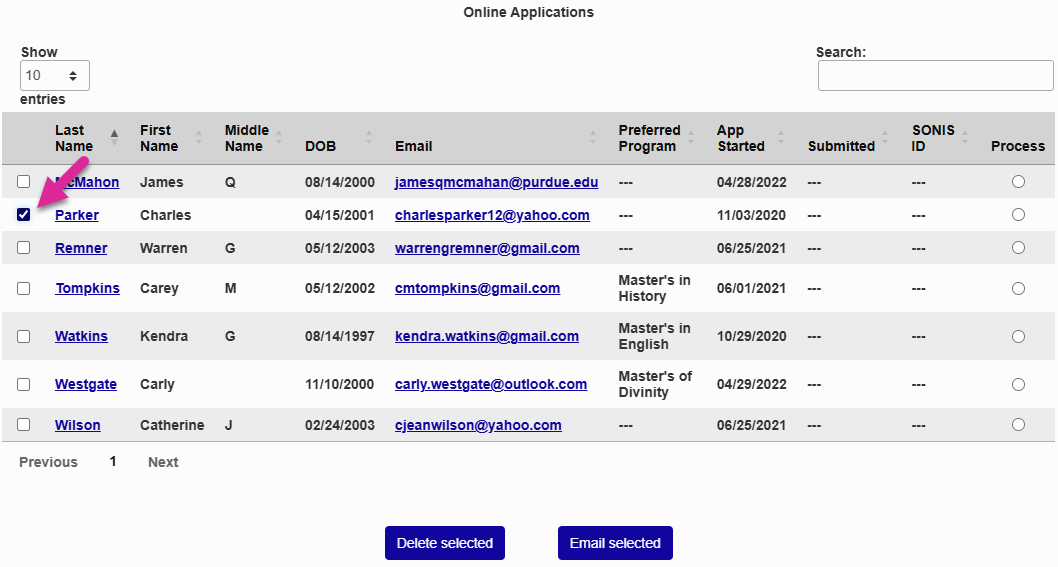
To delete a record, check corresponding box in the far-left column and click the Delete Selected button at the bottom of the page.
A warning will pop up asking if you want to delete the selected record(s). Click OK to complete the process and permanently delete the record(s) or Cancel to cancel.
Note
Only applications that have not yet been submitted can be deleted from his page. Submitted applications must be deleted from the Processing page.
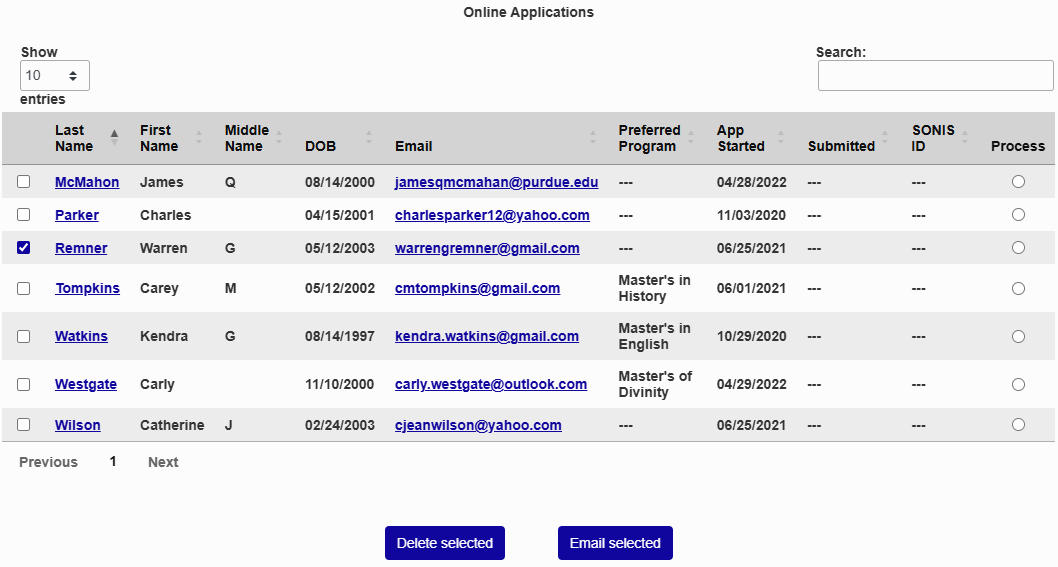
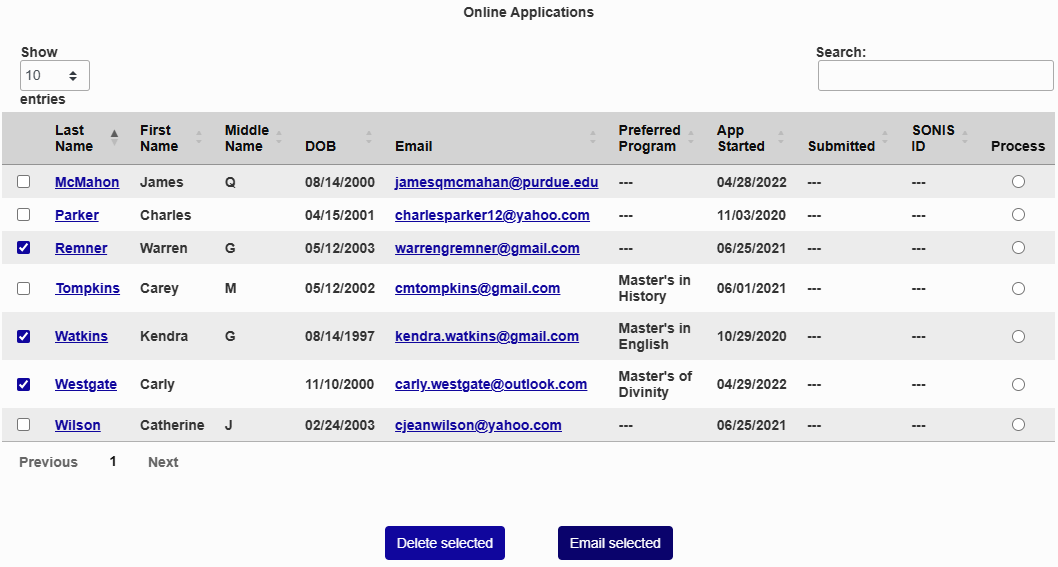
Emailing Applicants
To email an applicant or applicants directly from this screen, check the box next to the applicant's name in the far left column and click Email Selected.
On the following page, compose an email using the text editor and click Submit to send the message to the previously selected applicants.
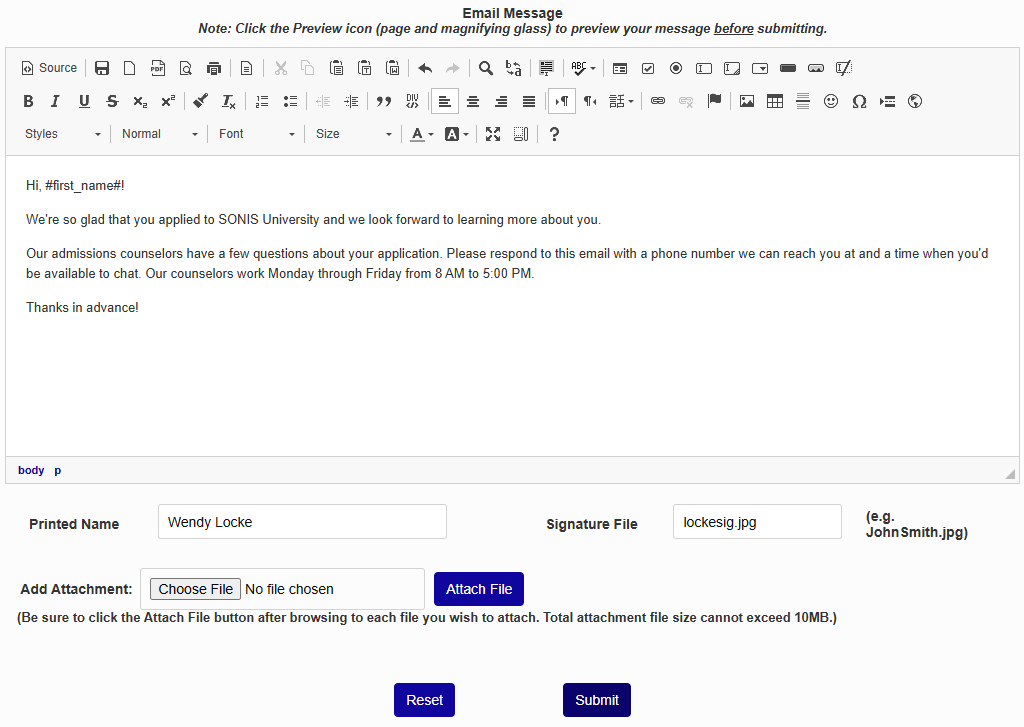
These email variables can be used to create text specific to the individual user being contacted:
#prefix#
#first_name#
#mi#
#maiden#
#last_name#
#suffix#
#ID#
#pin#
Administrator Access
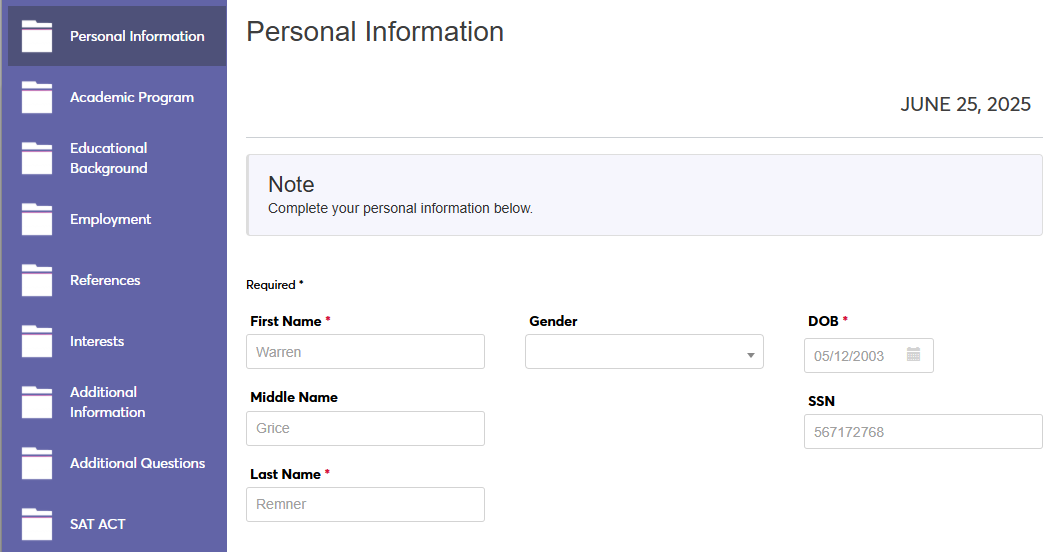
Administrators can access in-progress applications through Import Functions. The feature uses the same functionality as User Portal Access and operates in the same manner. Simply click the name of an applicant and their application will open in a new window. Close the window to return to the admin portal.
It is recommended that schools who are going to use this feature to access and change in-progress applications make use of the SONIS Terms of Service Agreement functionality so applicants can sign off on this type of access.
Default Disposition
When dispositions are created, there is an option to set a Default Disposition that will automatically be given to newly added applicants when their applications are imported through third party applications or Import Functions. Navigate to Dispositions for Applicants to set this default.
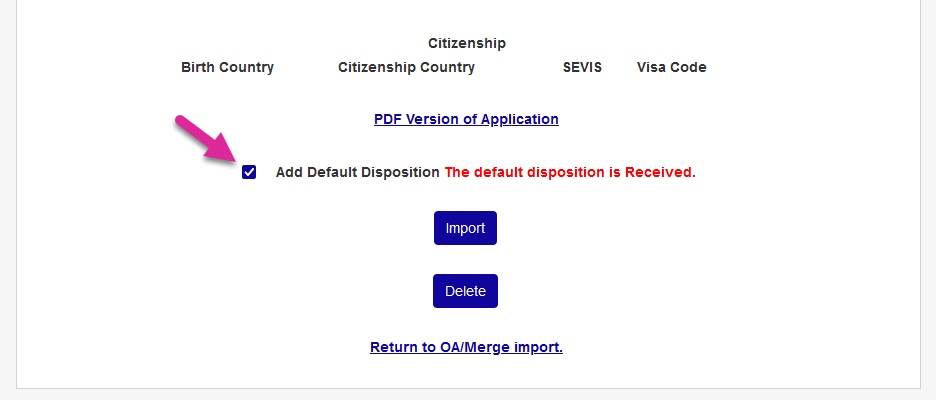
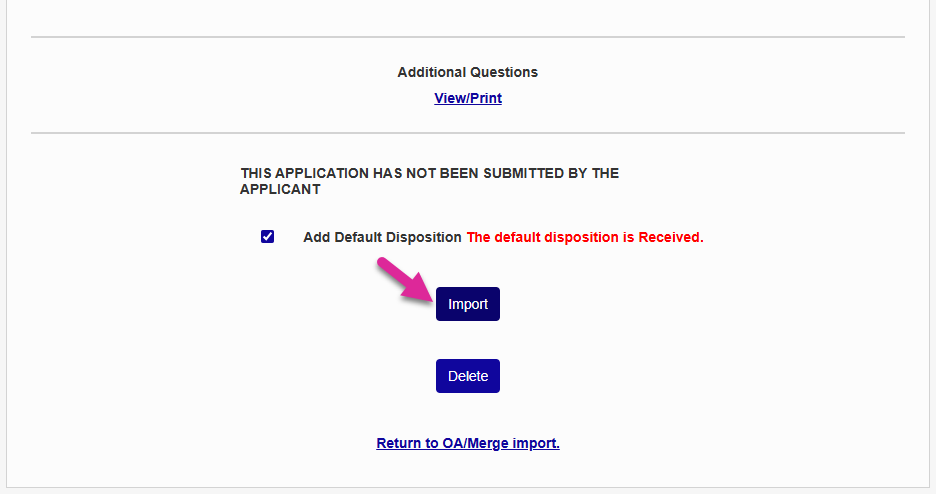
Once it has been set, leave the Add Default Disposition box checked when importing an application to ensure that the incoming applicant will be given this default.
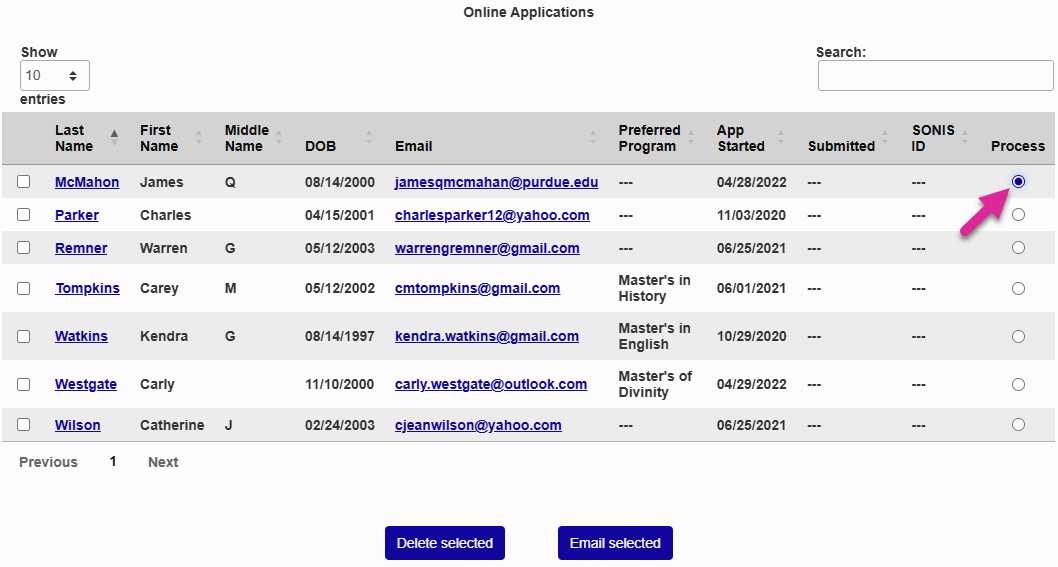
Processing Applications
To begin processing an application, click the button of the selected application in the column labeled Process on the far right.
The following page lists all the biographic information the student has entered along with the program and campus the student is applying for and their proposed entry date. If the student has an existing SONIS account, it will be listed as well. Click on the applicant's email account to send them an email from your default email client.
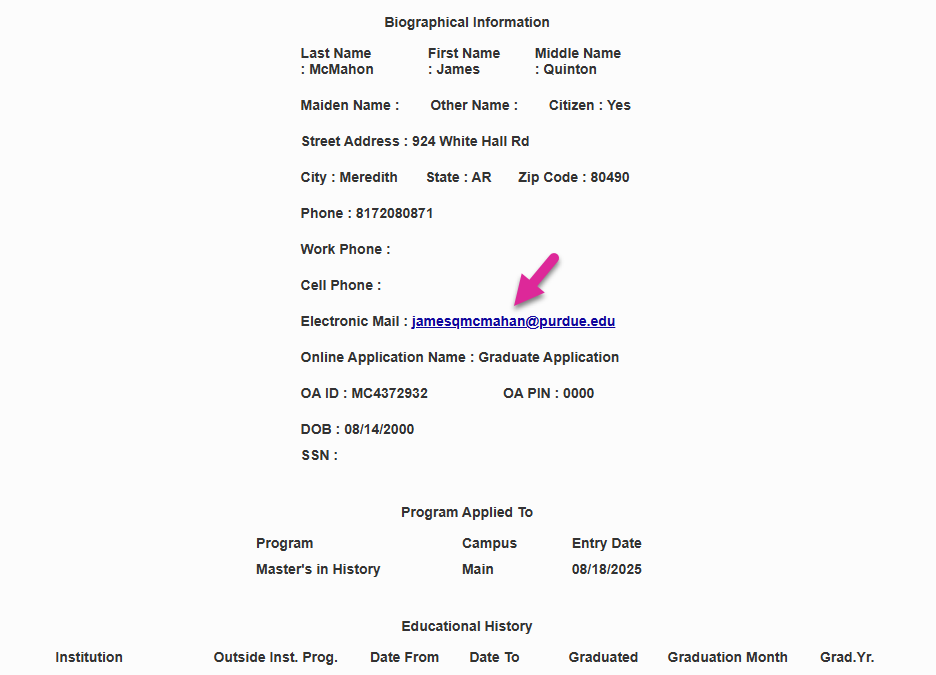
You can view a PDF Version of the Application and View/Print their answer's to the applications Additional Questions.
If the application does not match any existing Jenzabar SONIS users, click Import to import it and create an Applicant record for the person or click Delete to delete it.
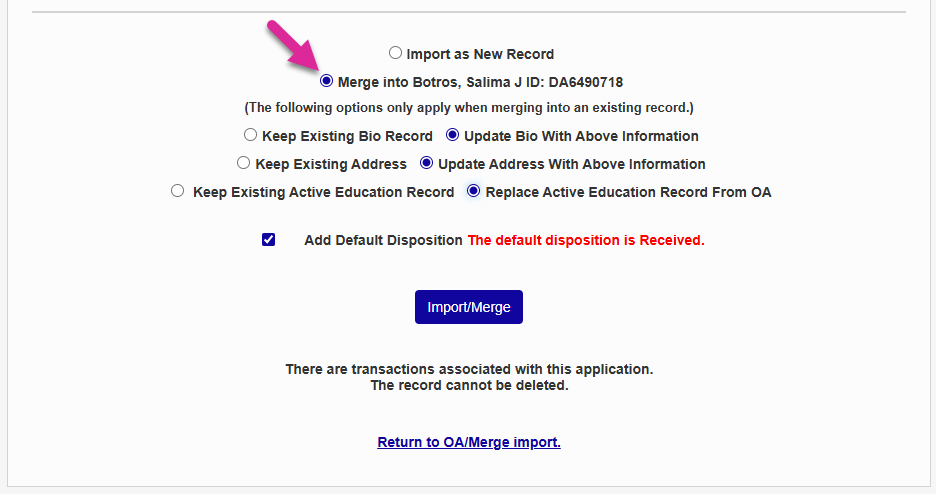
If the application matches an existing SONIS user, you'll be asked whether you want to Import as New Record or Merge with the matching record. You can choose whether you want to Keep the existing data or Update it based on the newly provided date in the application.
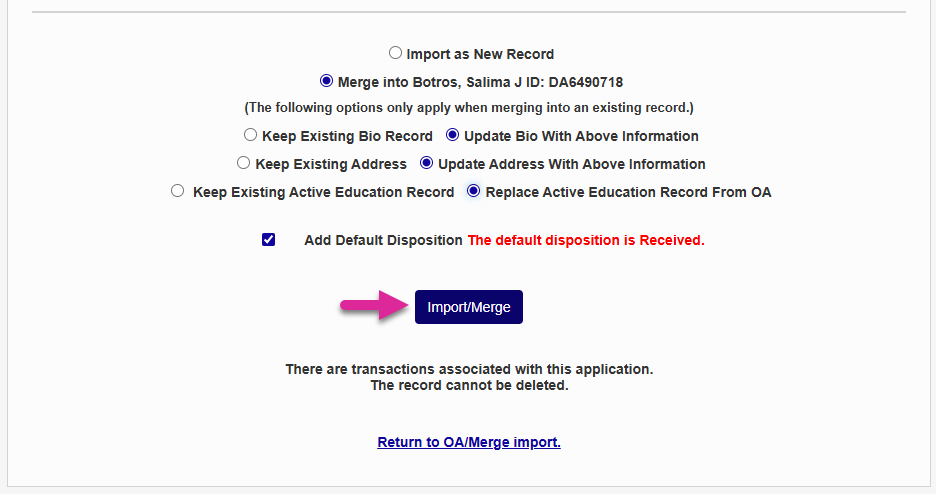
Once you've made these selections, click Import/Merge to complete the process.
Note
If the Add Prospect option is checked on the OA Setup page, then every applicant will automatically have a SONIS account created as soon as they save their basic information and the system will always find a match. If this option is not checked, the applicant will not have a SONIS ID number until their application is imported and the Merge option will not be available unless they previously existed in the system for another reason.