Paya Integration
Overview
SONIS allows clients to use custom payment gateway Paya to process payments. Unlike other payment gateway integrations, which are automated, the Paya integration was intentionally set up to be one-way initially. The payment data is sent to Paya where it can be edited and reapportioned before being imported to SONIS at a later time. For this reason, most clients would be better served by using Authorize.net, Trust Commerce, or PayPal to process payments.
Setup on Paya Site
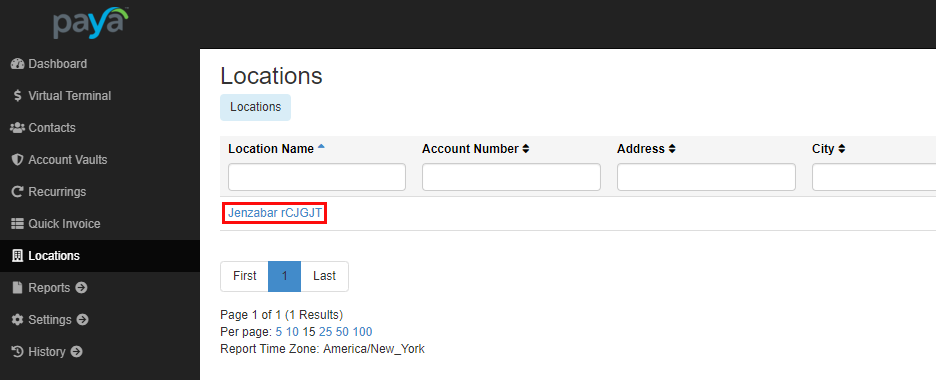
Before setting up Paya in SONIS, users must first create a hosted payment page through the Paya website. Once a developer account has been created, Paya will assign a sandbox login URL. The administrator should visit this URL, which should be something like https://<schoolname>.sandbox.payaconnect.com. Once there, click on the Locations tab in the left-nav and then click on the name of the location that's been created.
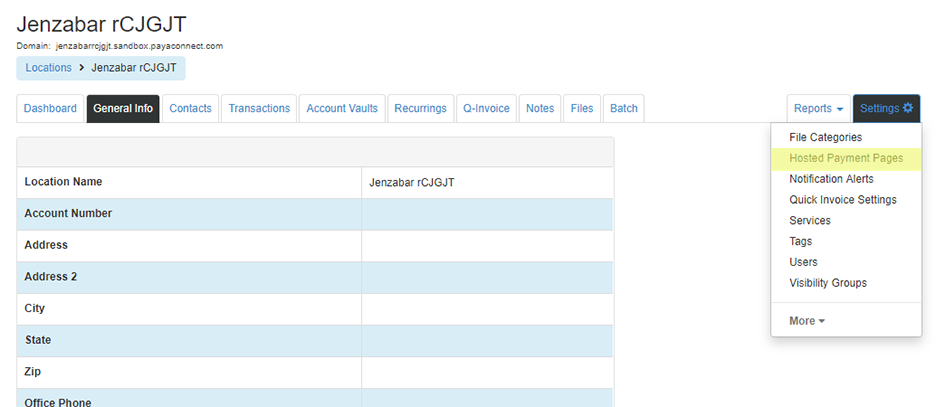
Once the proper location has been selected, click on the Settings tab in the upper right-hand corner. Select Hosted Payment Pages from the dropdown menu.
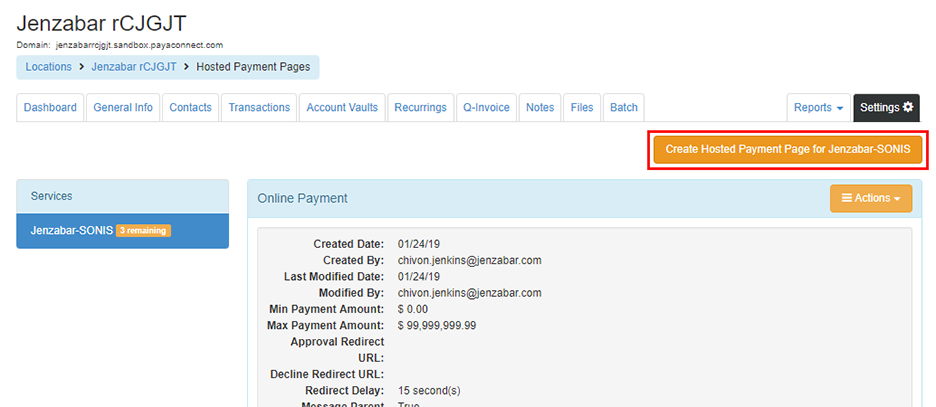
On the following page, click the Create Hosted Payment Page button.
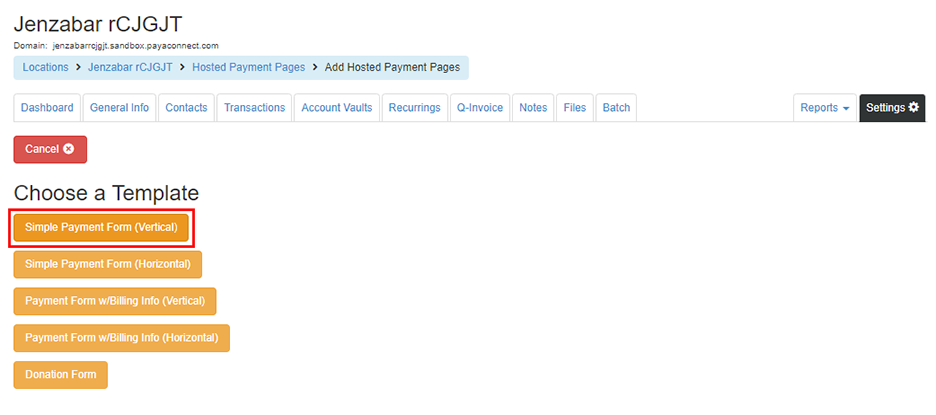
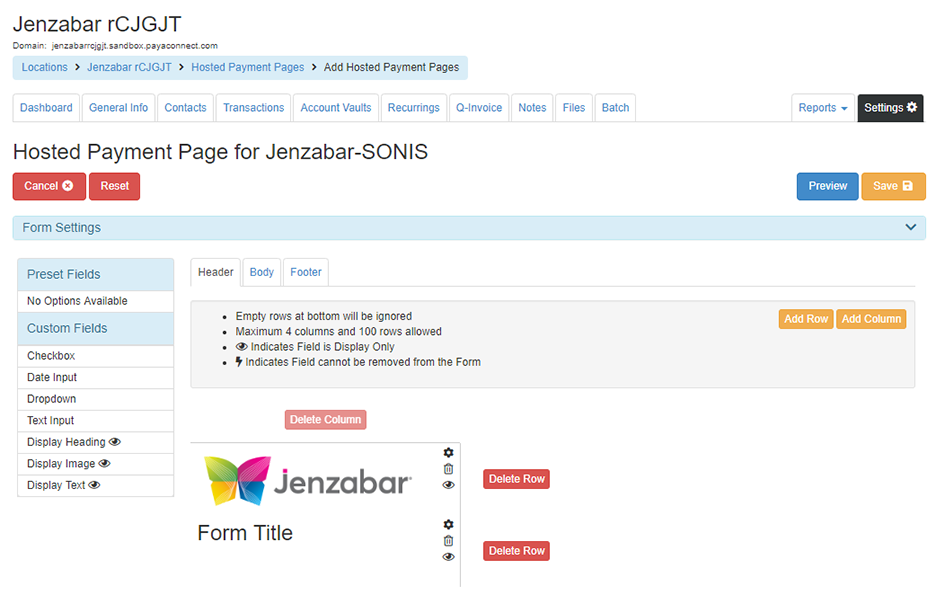
Choose a template that best suits the needs of the institution for the type of payments being accepted through Paya. Once a template has been selected, users can customize the Header, Body, and Footer to further suit their individual needs, including adding the logo of the school. Click the Save button once the appropriate changes have been made.
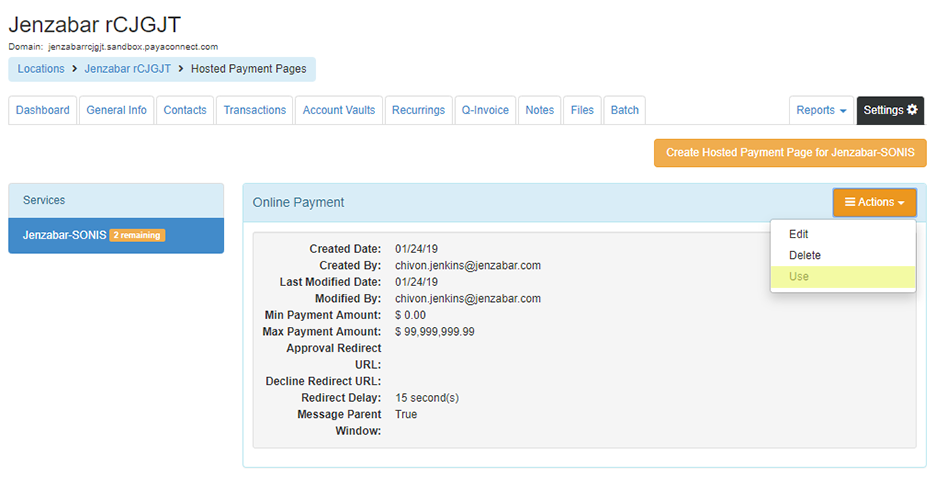
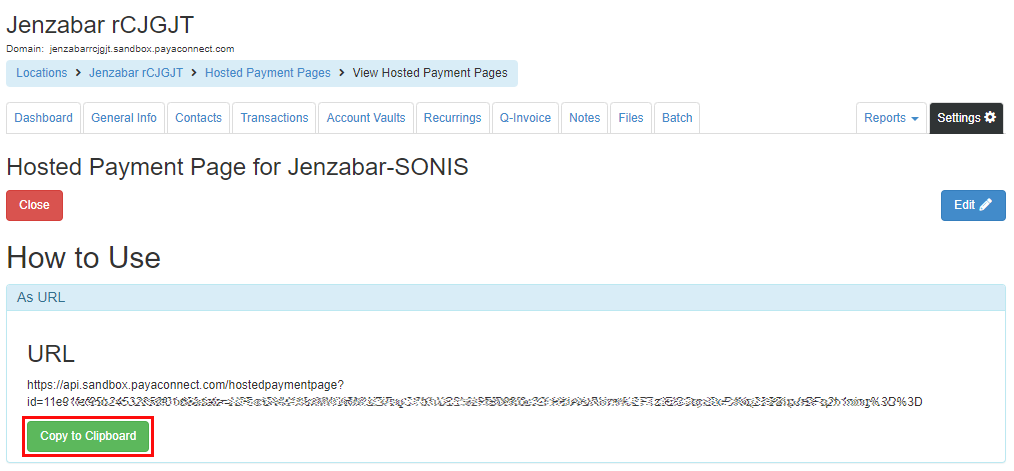
Once the payment page has been created, click Use under the Actions menu. Click Copy to Clipboard and send the URL to Jenzabar Support to have the appropriate back-end changes made.
SONIS Setup
Before school administrators can perform the necessary setup in the SONIS administrative portal, SONIS support must turn on a hidden bit in the school's system. This behind-the-scenes coding will direct the local system to the correct URL. Once this has been accomplished, administrators can proceed with the following steps.
Providers Account Setup
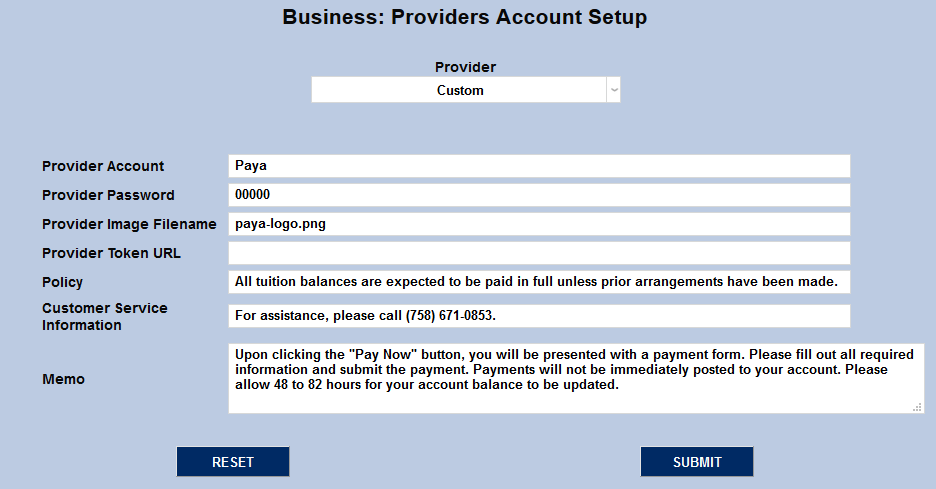
To set up a Paya provider account, first navigate to the Providers Account Setup page in the Systems hub. Select Custom from the Provider dropdown menu.

The Policy, Customer Service Information, and Memo fields are used to add additional information to the payment gateway page. The Provider Account and Provider Password fields must not be left blank, but can hold dummy data.
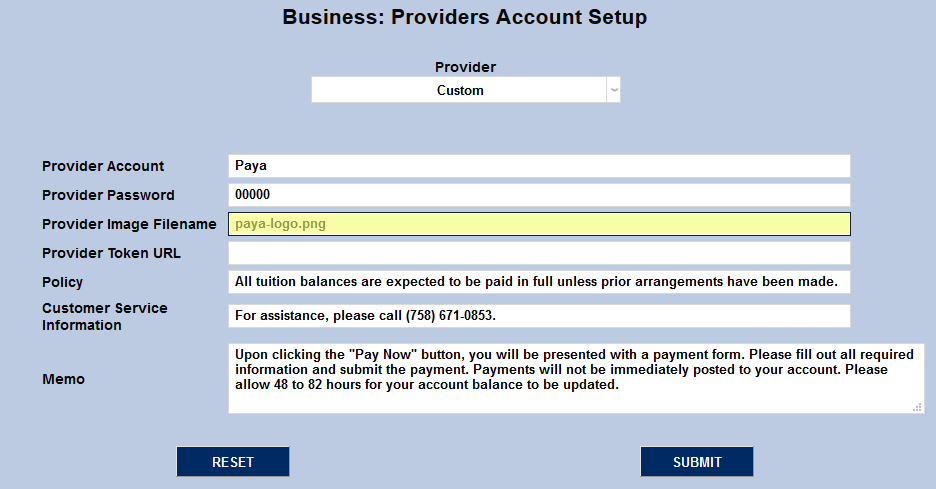
The Provider Image Filename field allows institutions to choose an image that will appear when making payments. Most schools will want to use a Paya logo, but a school logo would also work. Self-hosted customer should place this image in their SONIS Images folder. Hosted customers should send this image to SONIS support to place in their Images folder. Place the corresponding file name in the Provider Image Filename field and submit the page to save the changes.
Credit Card Processing
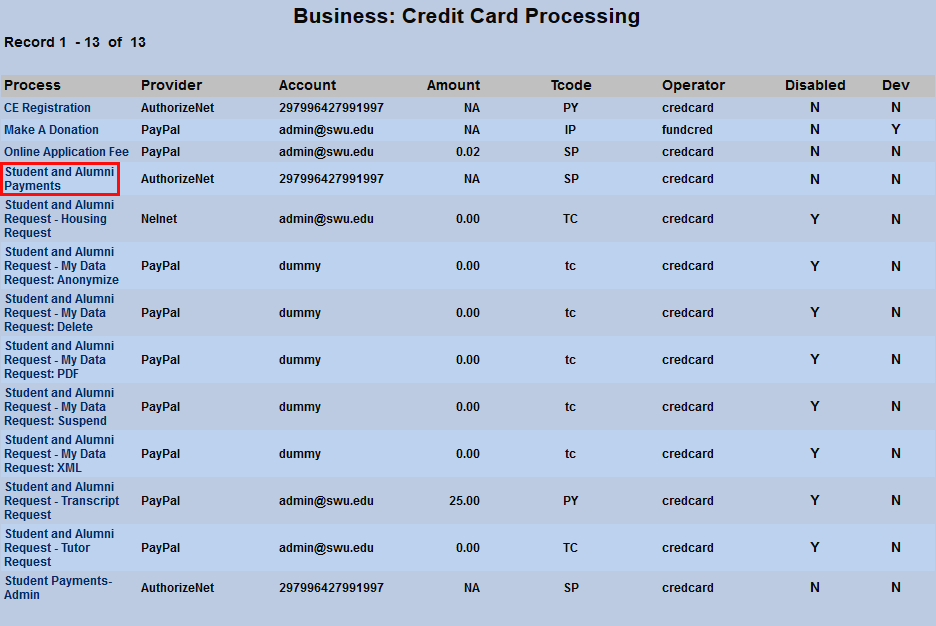
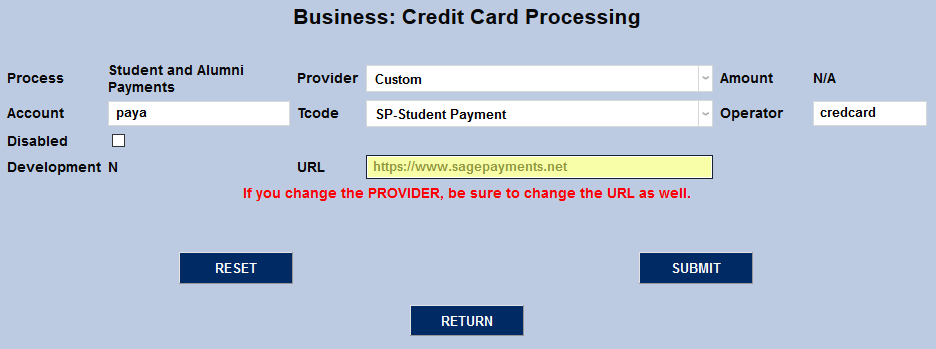
To continue setting up Paya in SONIS, navigate to the Credit Card Processing page. These various processes are created by SONIS Product Development based on global customer needs and the list cannot be edited by individual institutions. Click on a Process that should be handled by Paya.
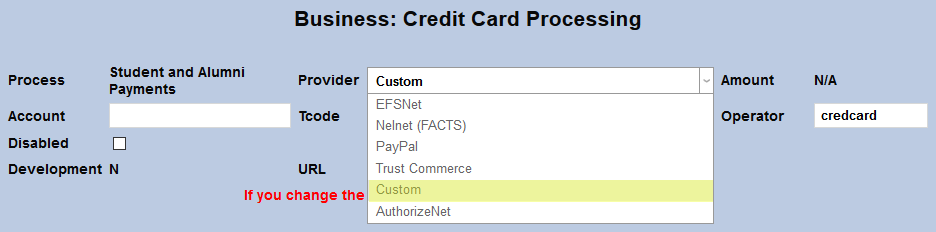
Select Custom from the list of Providers. The URL https://www.sagepayments.net should be placed in the URL field. Submit the page to save the changes.
Processing Payments
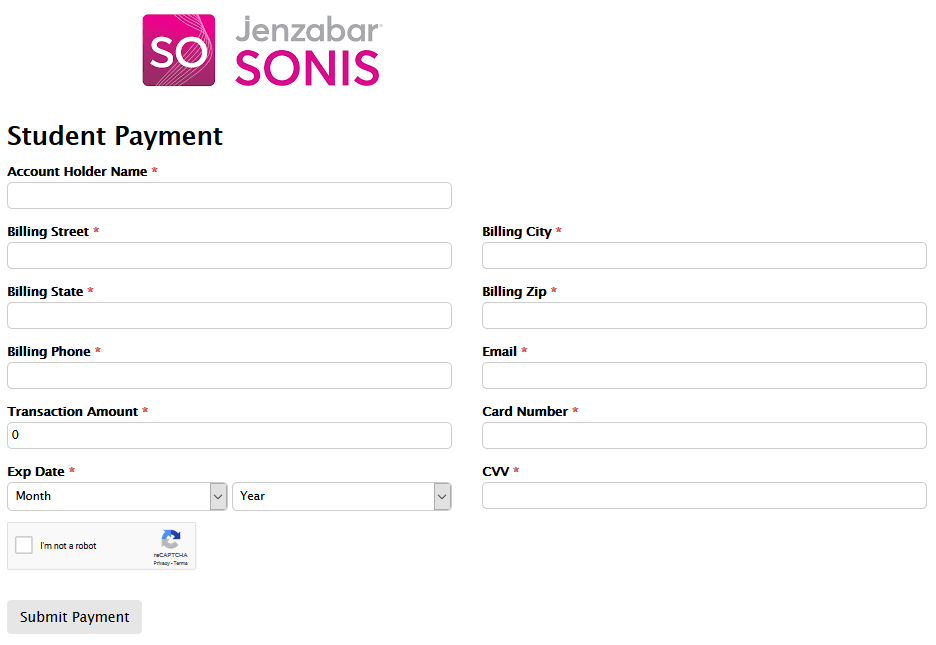
Once Paya has been set up both in the administrator portal and behind the scenes by SONIS support, Paya can be used to make payments through the portals. When a student or other affiliate clicks the Credit Card Payment button, they'll be taken to a payment page. The logo set up on the Providers Account Setup page will appear at the top of the page.
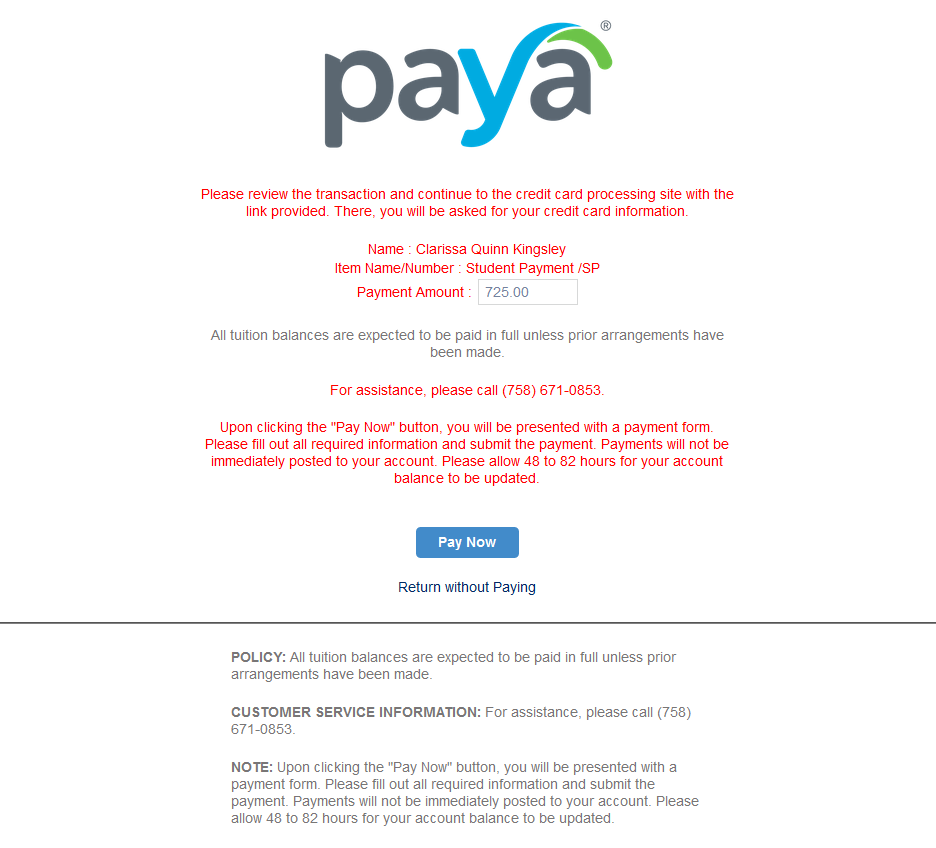
When the Pay Now button is clicked, a new page will pop up displaying the form and logo created in Paya. From here, a student should enter their billing information and click Submit Payment to complete the process.