Query Builder 2.0
Overview
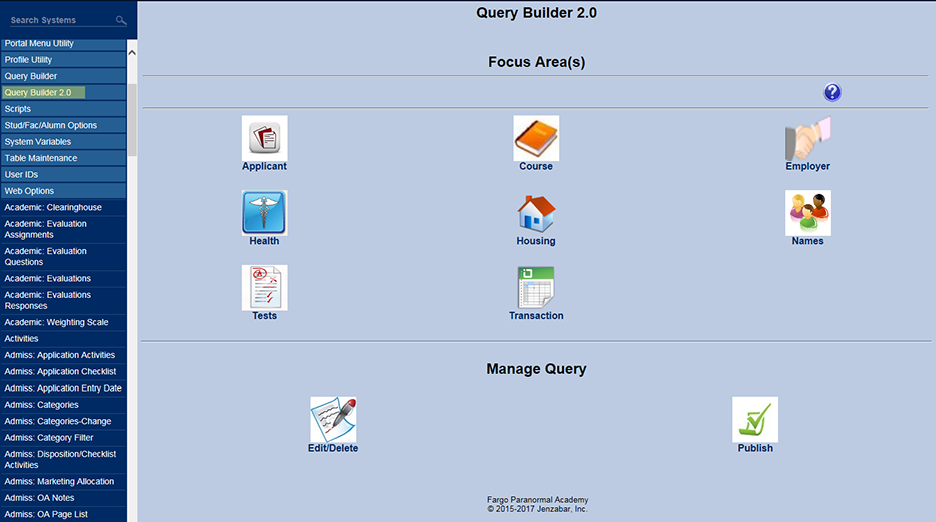
The Query Builder 2.0 utility, available in the Systems hub, allows users to select query criteria from an interface to build a report. For example, the user can join Tables with corresponding Fields across Tables. The results can be filtered based on the values of selected Fields. The features and functions of this utility are detailed below.
When a query is created that returns a list of users, Query Builder 2.0 offers the option to email those users. Administrators can choose whether to email just the primary address on file in each user's preferred Address record or to send an email to the user's secondary email address, if the user has one, as well.
These email variables can be used to create text specific to the individual user being contacted:
•#Prefix#
• #first_name#
• #mi#
• #maiden#
• #last_name#
• #Suffix#
• #ID#
• #pin#
To view a 2022 conference video on using Query Builder and Query Builder 2, click here. This recording is a Jenzabar Academy course, so you will need to register in order to view it.
Manage Query
Publish Query
Publish Query Setup
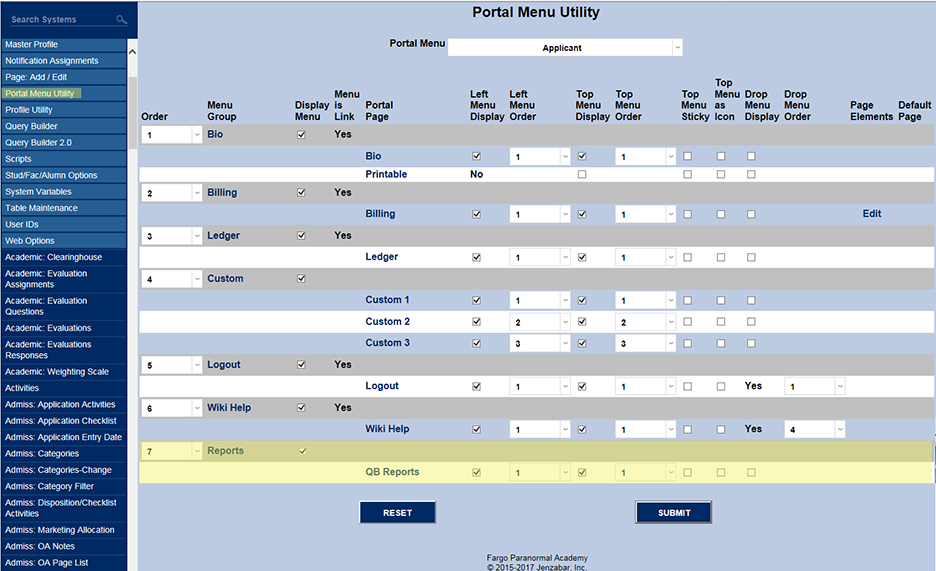
Reports and QB Reports each need to be activated and displayed in a menu, as shown below.
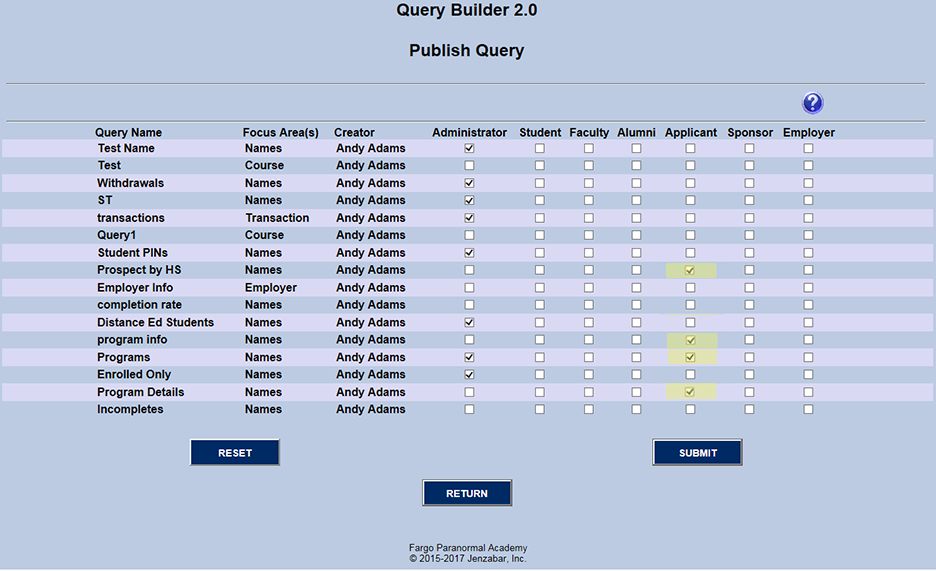
The QB Reports Publish Query selection page lists all of the available reports, queries, and checkboxes to add access to a specific area.
The Applicant portal will be used in this example. Four reports or queries are checked in the Applicant column.
Prospect By HS
Program Info
Programs
Program Details
Publish Query Report
If the Query Builder 2.0 screens do not display in the user's SONIS portal, an institutional decision was made not to make Query Builder 2 reports available within that portal. The reports that appear for each portal may differ, as well. Contact the institution's System Administrator for assistance.
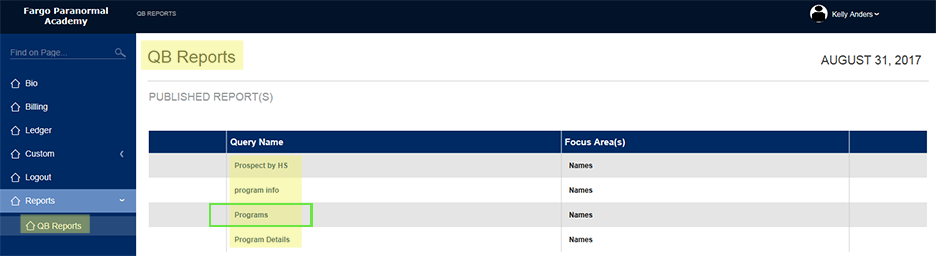
A portal user will find the Query Builder 2 (QB2) reports under the Reports menu in the portal. Those reports/Query Name that the System Administrator has decided to make available are listed in the body of the page (ex. Programs)
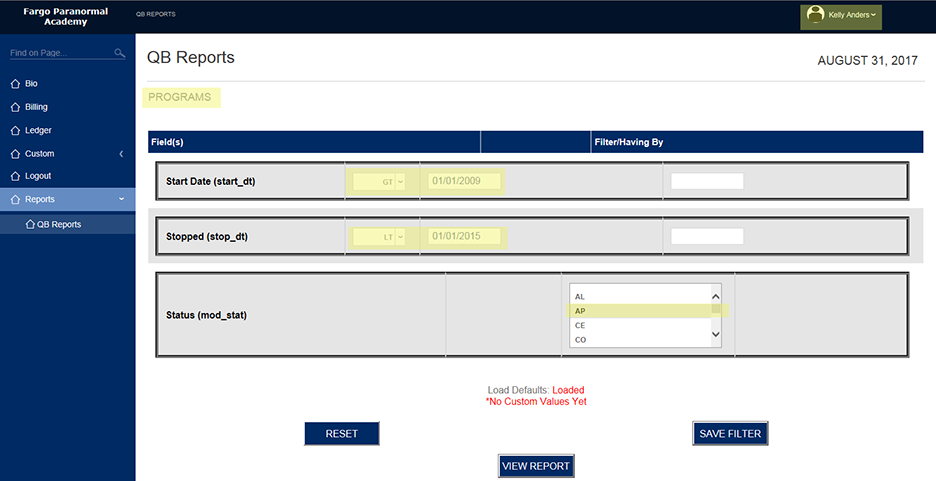
When a Query Name is clicked, the search criteria will display. In the example screenshot below, the portal user is asked to create a date range for the start and stop dates of their programs. This is expressed by using relational operators (GT and LT in the example) with dates. This example is showing that the program start date must be after 01/01/2009 and the stop date must be before 01/01/2015.
Load Defaults refers to the criteria for the QB2 query. If the individual hasn't run the query before, the message No Custom Values Yet displays. This indicates that the user's query criteria will need to be saved by clicking Save Filters.
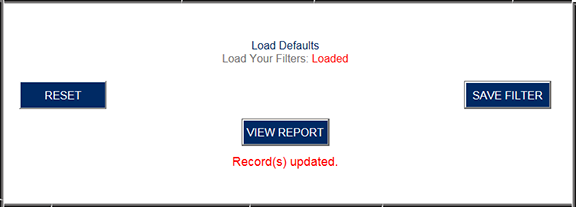
Once saved, the message will change and will display confirmation that the Record, or query, has been saved.
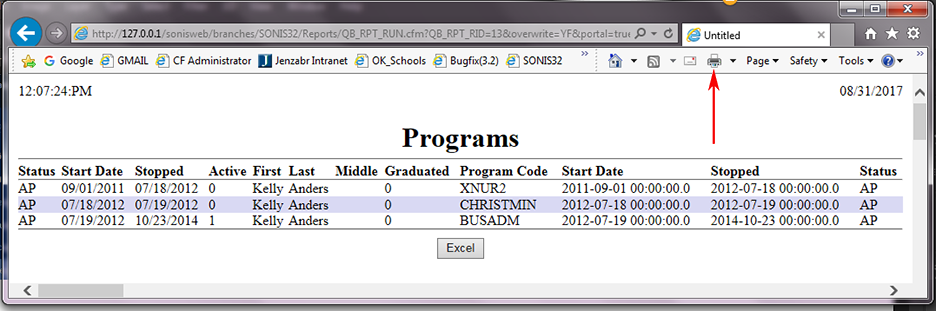
After saving, the report will become available when View Report is clicked. The PDF report can be printed by clicking the printer icon. To change the default settings, simply repeat the same steps. Clicking Save Filters overwrites the defaults with the new settings, creating a new default.
Add Cohorts
Query Builder reports can be used to create new cohorts. To use this function, users must first have the User Security privilege enabled. Because this function is powerful, the privilege is turned off by default.

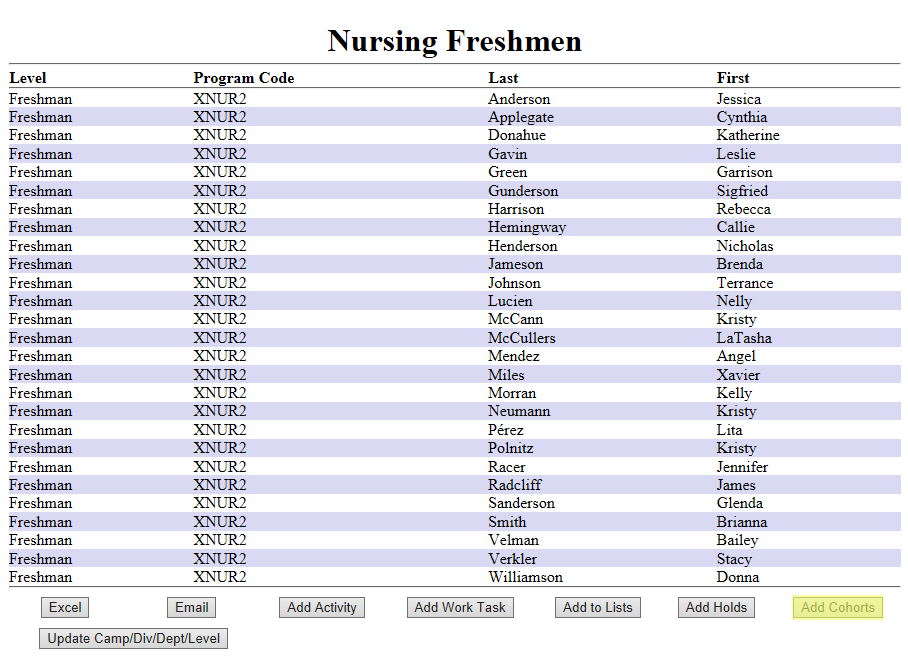
Once a report has been created in Query Builder 2.0 and runs through the Reports section, the students listed in the report can be used to create a new, ad-hoc cohort or added to an existing cohort. Click the Add New Cohort button to begin.
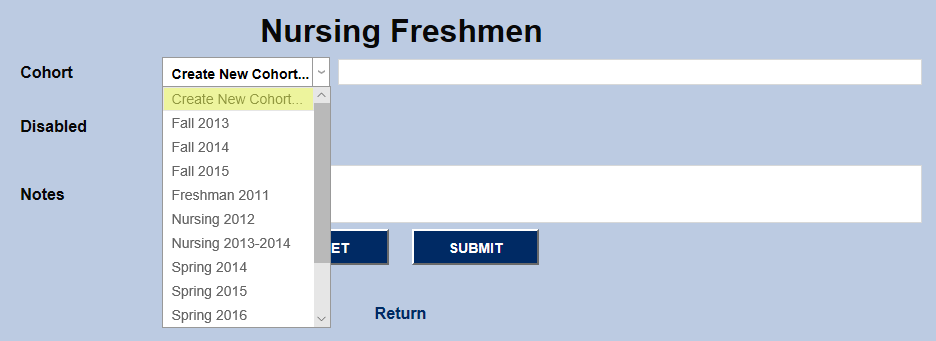
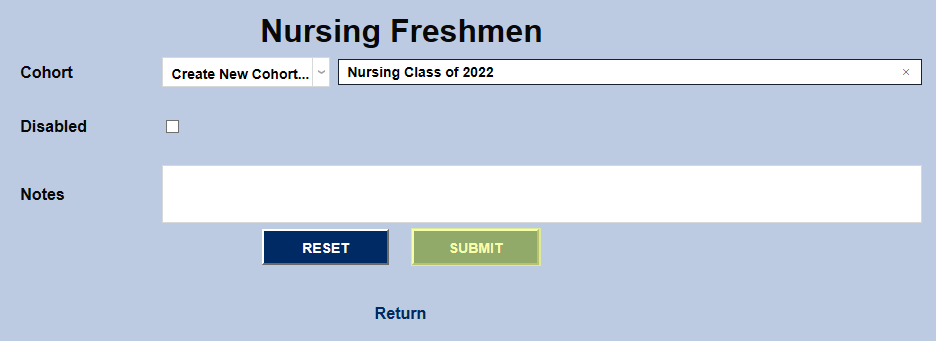
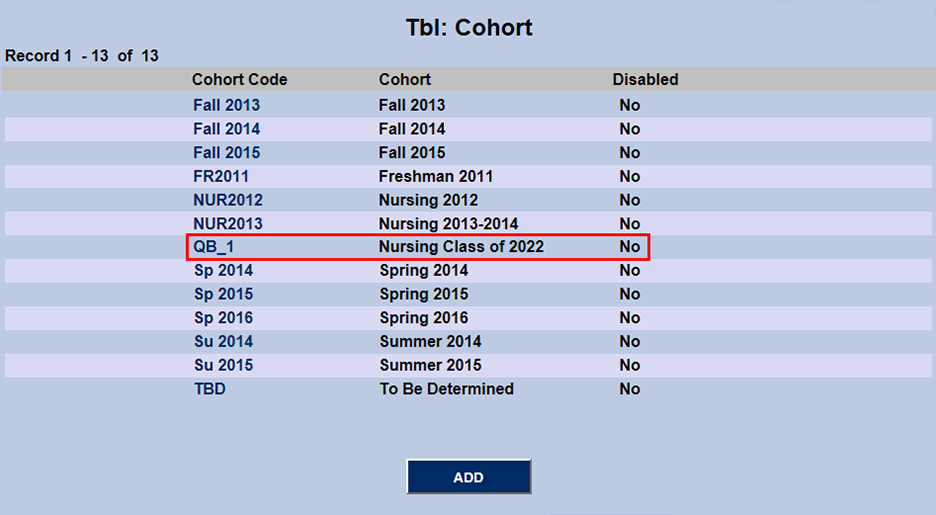
On the following page, users can either select a pre-existing cohort from the dropdown menu or create a new cohort by selecting Create New Cohort from the menu and naming the cohort before clicking the Submit button.
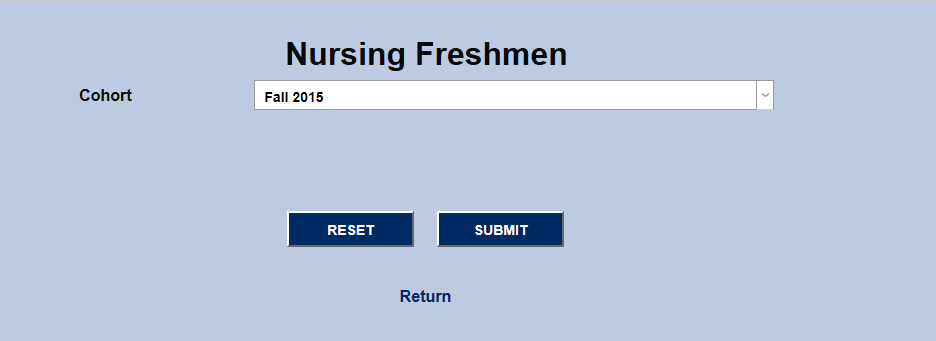
If a pre-existing cohort is selected, the options to disable the cohort and add notes are no longer available. The cohort is updated immediately.
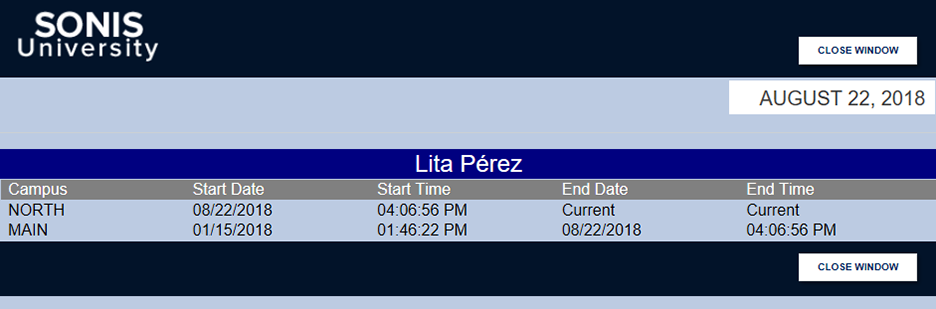
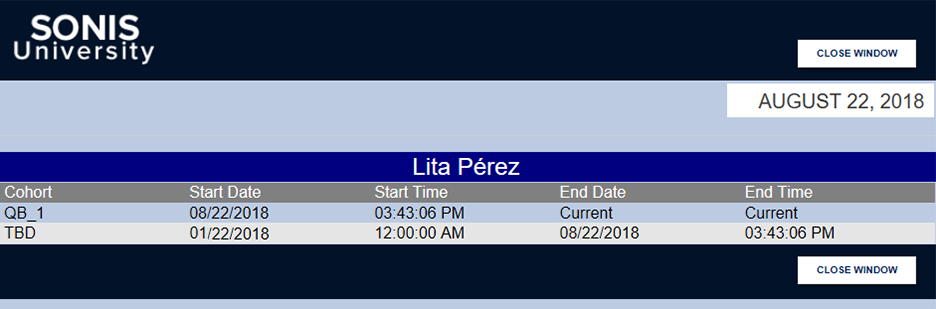
To archive these changes the Cohort listing in each student's Biographic page is a clickable link that opens a popup window displaying the times and dates when changes were made.
Update Campus/Division/Department/Leve
Query Builder reports can be used to update students' campus, division, department, and/or level. To use this function, users must first have the User Security privilege enabled. Because this function is powerful, the privilege is turned off by default.
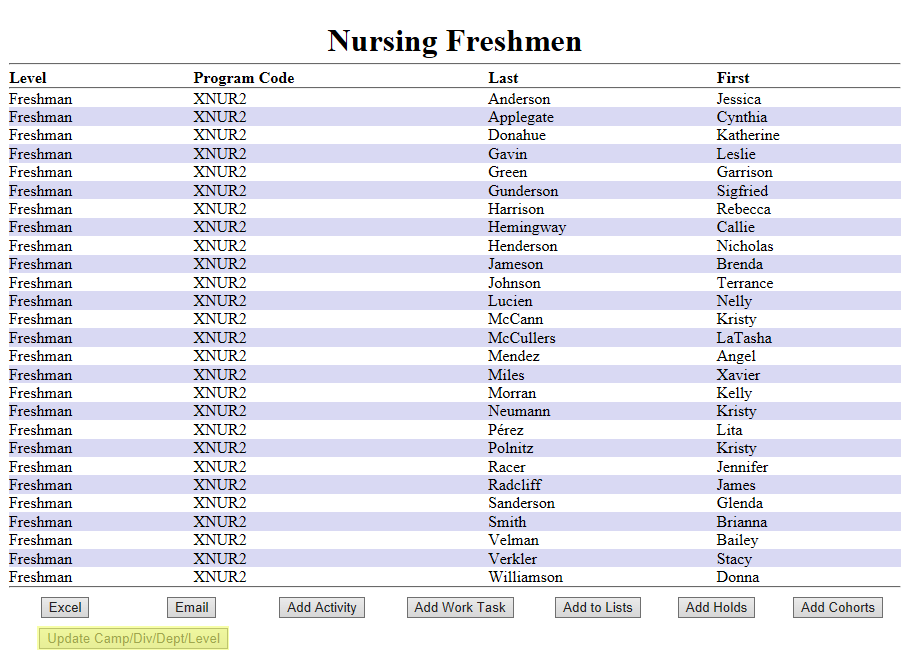
Once a report has been created in Query Builder 2.0 and run through the Reports section, the students listed in the report can be updated in bulk by clicking the Update Camp/Division/Dept/Level button.
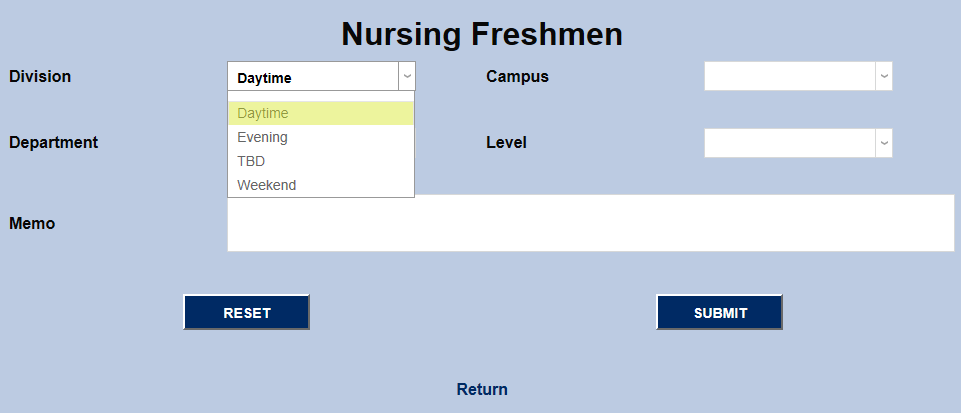
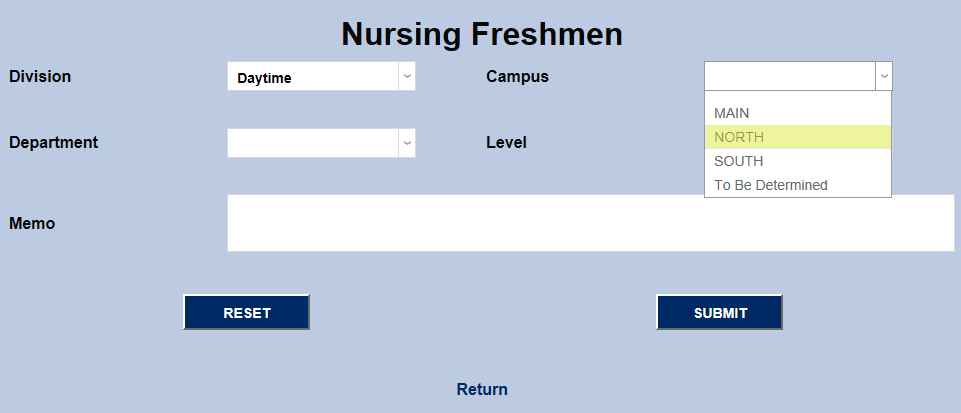
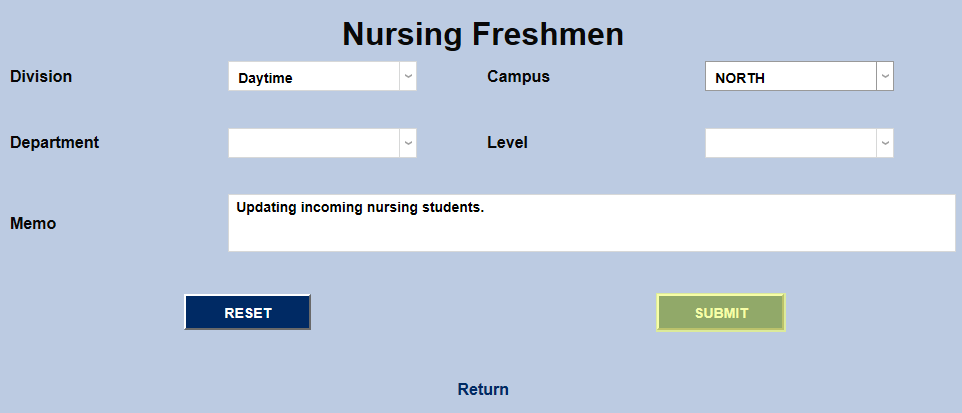
On the following page, users have the option of updating the Division, Campus, Department, and Level through four separate dropdown menus. Make the appropriate selections and click Submit to save changes. The Memo field can also be used to explain why the change was made. The memo can be viewed later in the Archive Table.
To archive these changes, the Division, Campus, Department, and Level listings on each student's Biographic page are clickable links that open a popup window displaying the date and time when changes were made.