Active Campaign
Overview
ActiveCampaign is a CRM solution that provides email, marketing, and CRM tools, as well as reporting, integrated forms, and site activity tracking. Jenzabar SONIS partner institutions that use ActiveCampaign as their recruiting & communications tool are able to integrate using the ActiveCampaign-provided API calls, version 3. SONIS is the system of record. ActiveCampaign is updated with SONIS contact information on a recurring basis. SONIS accepts the import of new contacts from ActiveCampaign. The process will send and update student, alumni, and prospect data from SONIS to ActiveCampaign and ActiveCampaign to SONIS. Existing name records in SONIS will be mapped to Contact records in ActiveCampaign. Contact records in ActiveCampaign that do not exist in SONIS will be created as new web prospects in SONIS.
SONIS Data to ActiveCampaign
As mentioned in the Overview above, SONIS uses the ActiveCampaign Version 3 integration APIs. The process updates ActiveCampaign with data from SONIS and vice-versa. The purpose of the processes is to export student, alumni, and prospect-related data from SONIS to the contact records in ActiveCampaign and to update SONIS with information from ActiveCampaign.
The process to update ActiveCampaign with records in SONIS will do the following:
• The SONIS interface will identify existing ActiveCampaign contact records that correspond with SONIS name records using either the SONIS_ID as stored in the ActiveCampaign contact record or by matching the name and email values in the ActiveCampaign contact record.
• For SONIS name records that already exist in ActiveCampaign as contacts, the data will be updated with the latest information from SONIS. This update will only affect the fields specified in the field mapping table below.
• When no matching contact exists in ActiveCampaign, a new contact record will be created using all the available SONIS fields from the field mapping table shown below.
• When adding or updating contact records in ActiveCampaign, SONIS will store the prospect's unique SONIS ID in an ActiveCampaign custom field so it can be easily related back to its source record in SONIS.
• SONIS will be the system of record. If an existing contact record was changed on the ActiveCampaign side, this process will overwrite that change with the current information in SONIS.
ActiveCampaign Data to SONIS
The process to update SONIS with new contact records created in ActiveCampaign will do the following:
• Prospect data from contact records created in ActiveCampaign that have no corresponding record in SONIS will be identified for import to SONIS.
• New contact records appearing in ActiveCampaign are assumed to be prospects ie, not students, alumni, or any other constituent statuses, and will be created as web prospects within SONIS.
• The new contacts will be identified by the fact that there is no SONIS ID associated with them in ActiveCampaign, and no corresponding name record, matching on name and email, exists in SONIS.
• Contacts marked as unsubscribed in ActiveCampaign will not be imported to SONIS as new prospects. • Because SONIS is the system of record, a contact record in ActiveCampaign that is linked to a SONIS prospect and is changed in ActiveCampaign will not have a matching update made in the SONIS record.
Mapping Fields
The chart below details the SONIS data fields used in the integration, which ActiveCampaign contact record fields these correspond to, any details about the data in the field, and whether or not these fields can be updated in ActiveCampaign.
SONIS Field | ActiveCampaign Contact Field | Additional Details | Changeable in ActiveCampaign? |
|---|---|---|---|
prospect.hs_grad_year | HS Grad Date | Defaults to May 30 of graduation year in SONIS | No |
name.first_name | First Name | No | |
name.last_name | Last Name | No | |
name.nickname | Preferred Name | No | |
name.birthdate | Birthdate | No | |
nmrefby.refer_by | Lead Provider | No | |
prospect.date_rec | Subscribed Date | No | |
prospect.inqtypecod | Opportunity Created By | Defaults to ActiveCampaign if SONIS prospect was created by first existing in ActiveCampaign | No |
prospect.memo1 | How did you hear about institution? | No | |
prospect.agency | Admissions Rep | Yes | |
address.st_addr + address.add_addr + add_add2 | Home Address | Yes | |
address.city | Home City | Yes | |
address.state | Home State | Yes | |
address.zip | Home Zip Code/Postal Code | Yes | |
address.email | Email Address | Yes | |
address.email2 | Personal Email | Yes | |
address.phone | Home Phone | Yes | |
address.cell_phone | Phone | Yes | |
SONIS mod stat | Prospect Status | Most recent status in SONIS when status = PS, AP, ST, or AL | Yes |
approg.prg_cod | Program of Interest | Yes | |
approg.progentry_date | Start Date | Yes | |
approg.sch_year and approg.semester | Start Term | Yes | |
address.text_me | Okay to Text | Yes | |
prospect.undergrd_attnd | High School Name | No | |
name.sonis_id | SONIS_ID | Updates once only | No |
ActiveCampaign Portal Configuration
After reviewing the potential mapping fields, and determining which are desired to use, custom field items must be configured to appropriately connect the APIs with SONIS. Custom fields and Personalization Tags in ActiveCampaign may be labeled anything the member institution desires, provided they are correctly mapped with the fields provided within the SONIS ActiveCampaign Mappings utility.
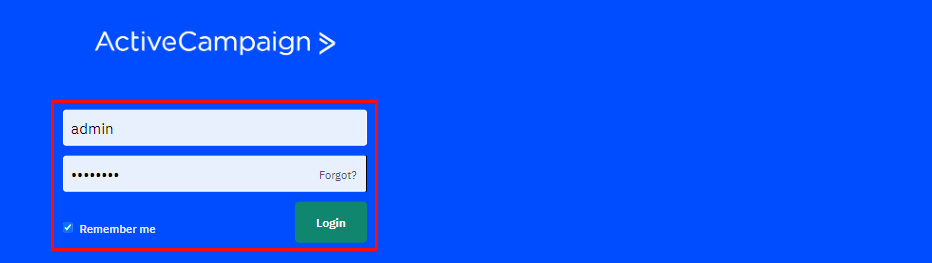
To create a custom field and corresponding personalization tag within ActiveCampaign, login to the portal with the credentials assigned by ActiveCampaign. Click the Settings icon, then select Manage Fields.
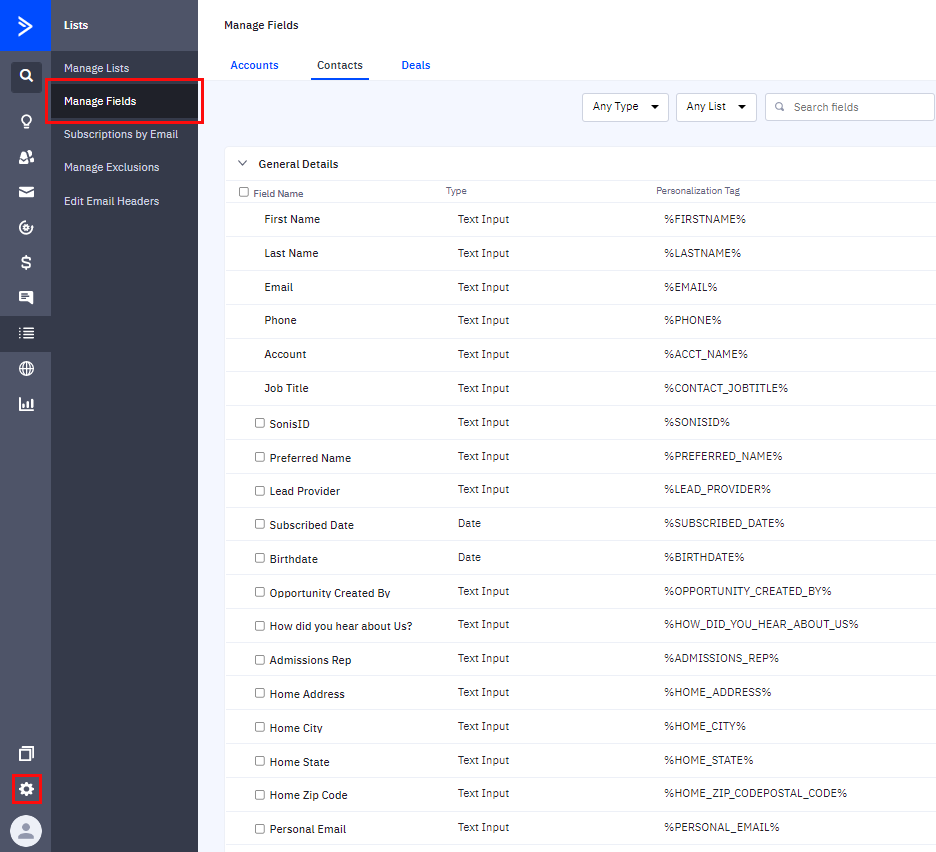
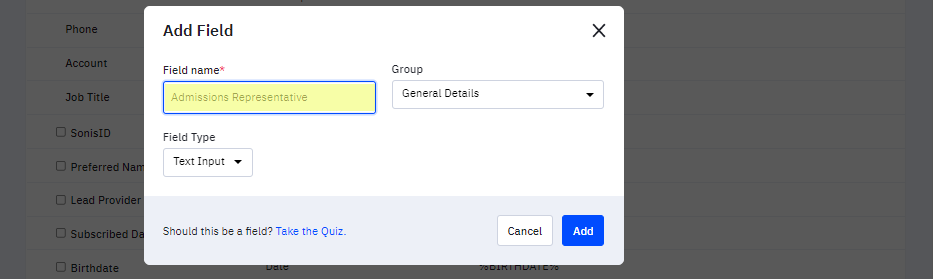
ActiveCampaign provides the fields that do not have a checkbox in front of the name. These fields are required to exist in the API and cannot be modified. A field with a checkbox in front of it is a custom-created field. To add a field that will be mapped with a SONIS data point, click Add Field. Enter a Field name.
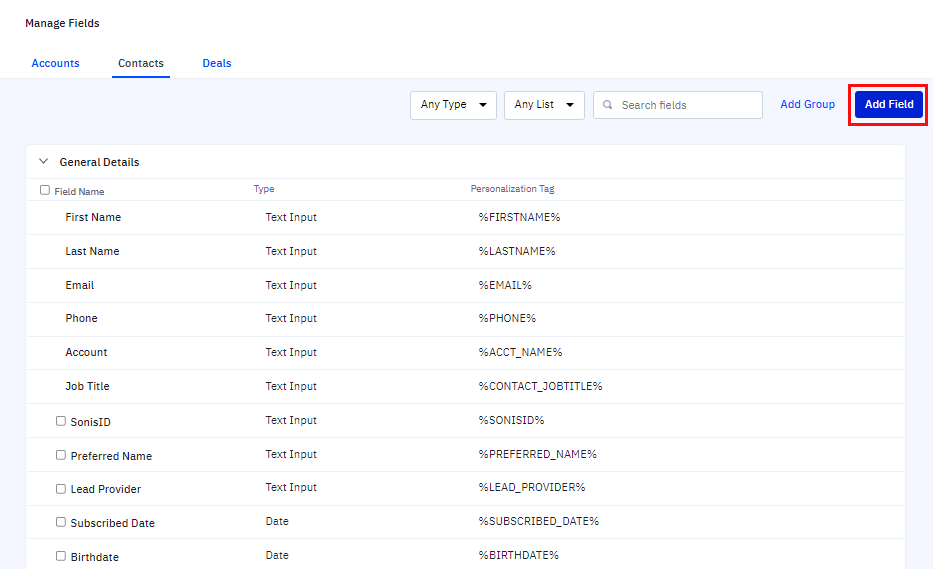
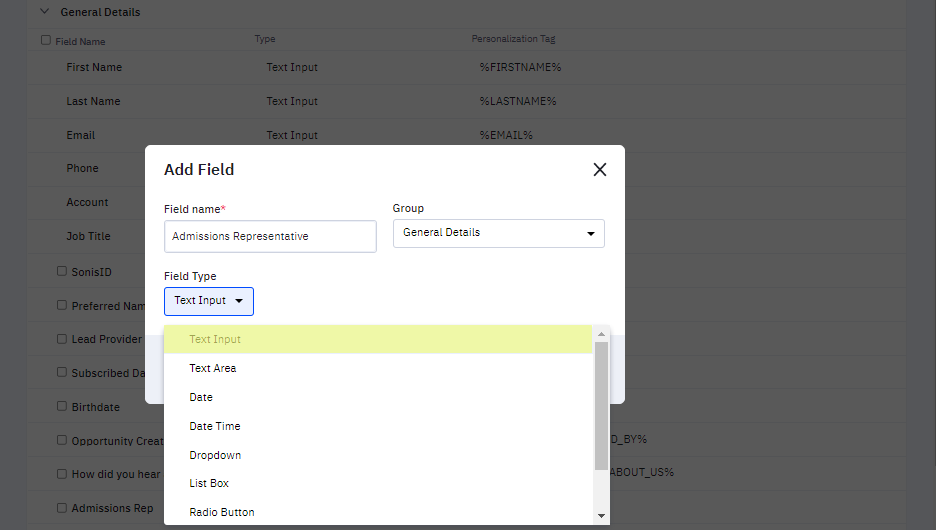
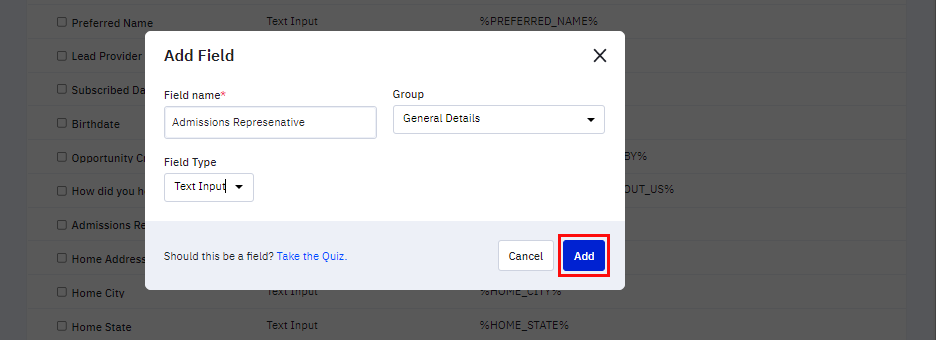
Select the appropriate Field Type from the dropdown, then click Add. ActiveCampaign will automatically create the personalization tag.
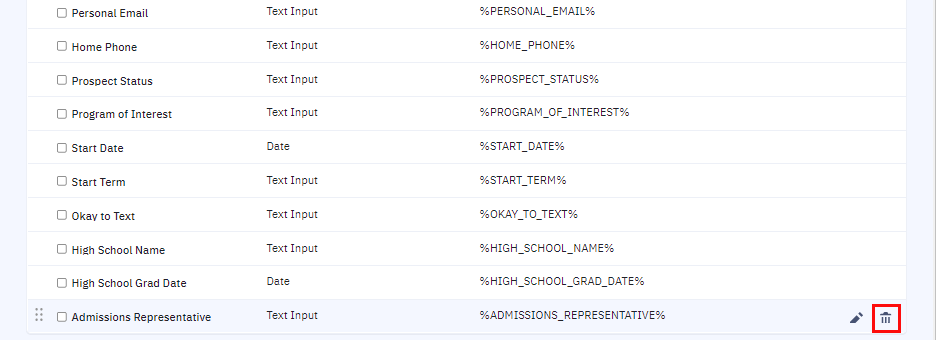
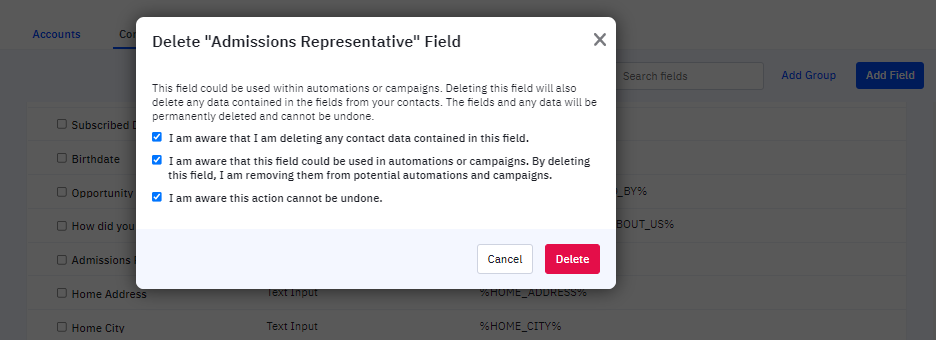
If a custom field was created in error, simply hover over the row and click the trash bin icon. Select the appropriate confirmation statements and click Delete.
SONIS Configuration
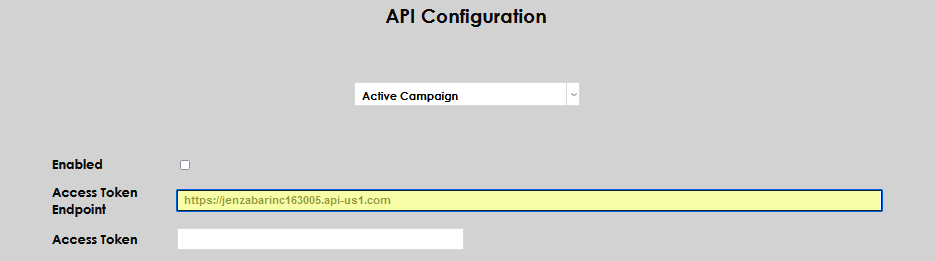
To begin configuring SONIS to use ActiveCampaign, navigate to the API Configuration page from the Systems menu. Choose ActiveCampaign from the drop-down menu. Click Select.


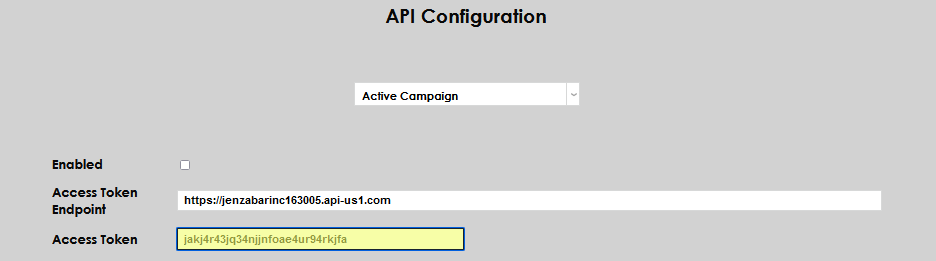
Enter the Access Token Endpoint. This is the URL to be used to access the ActiveCampaign API by SONIS and the Access Token. Both of these pieces of information are supplied by ActiveCampaign.
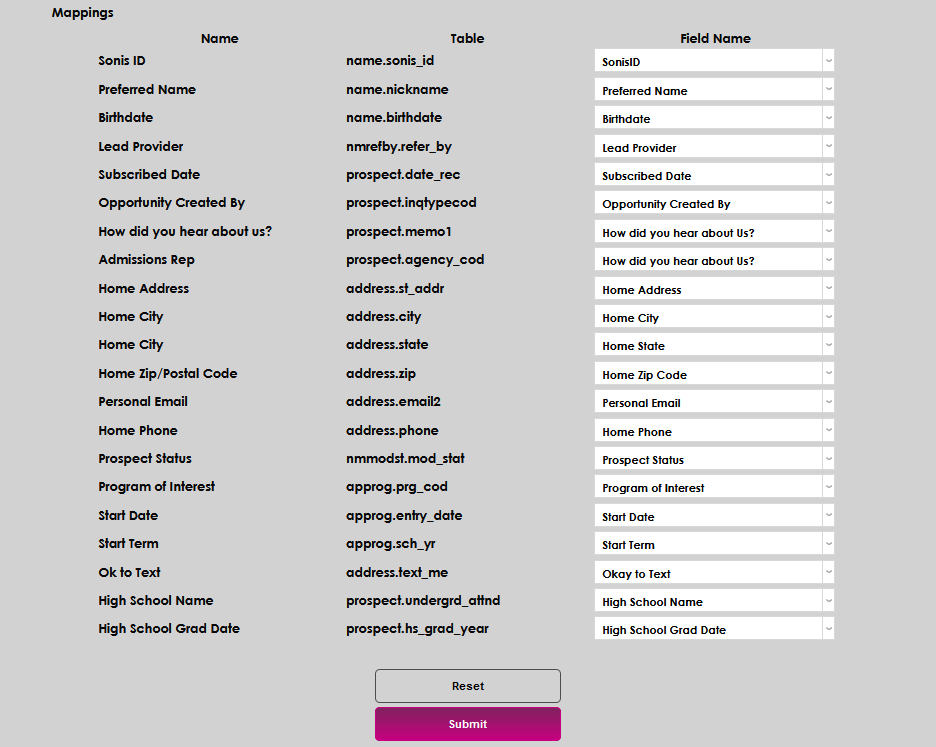
Scroll down the page to the Mappings section. Configure the data points for each field by selecting the appropriate ActiveCampaign Field Name from the drop-downs. Each data point to be transferred via the API must be mapped.
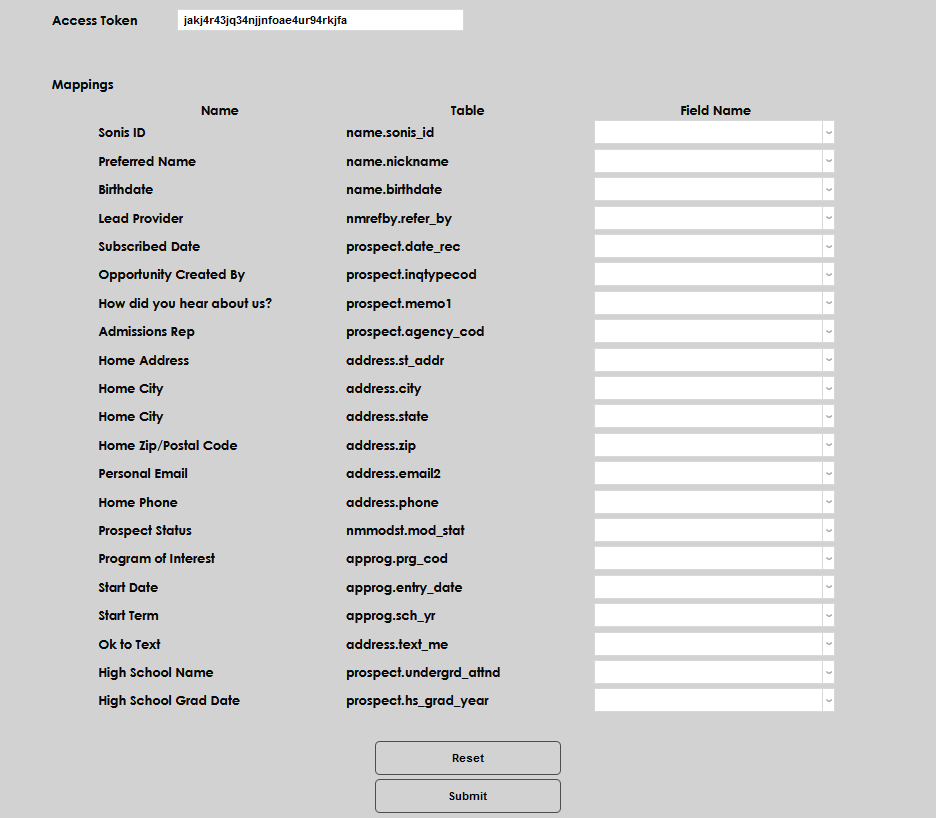
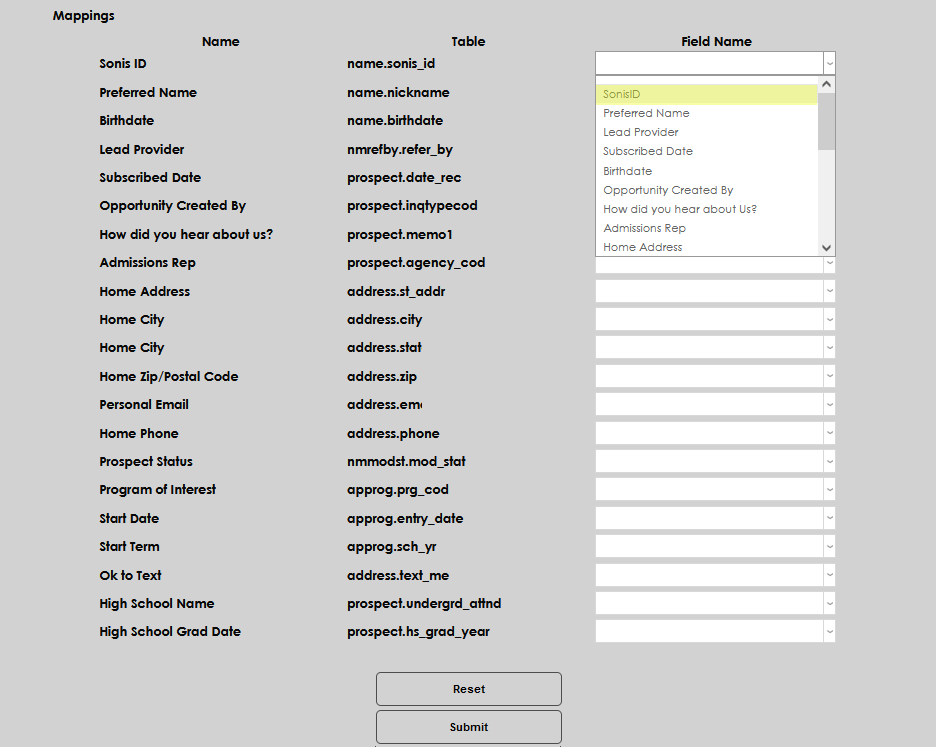
After mapping all fields, click Submit.
Manual Export and Import of Records
After setup is complete, updates can be imported and exported on-demand, or manually, by using the Systems menu utility Admiss: Active Campaign. Clicking the button for either process will initiate the integration and the APIs. Manually initiating the processes will utilize the same logic used by the scheduled processes.
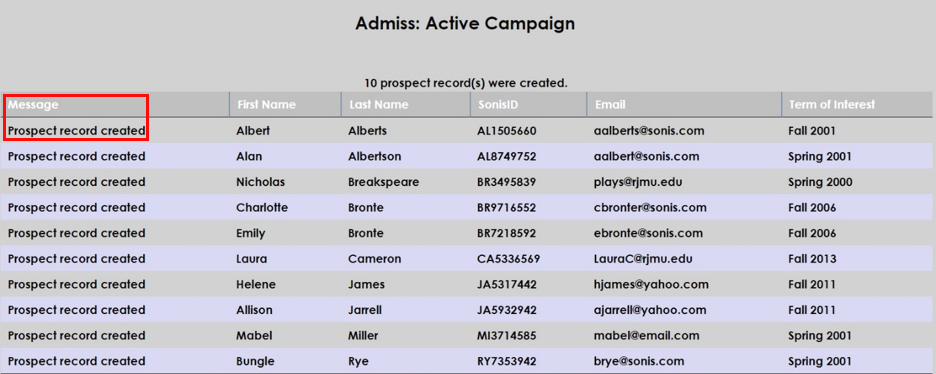
Clicking Import Active Campaign Contacts calls the API that is connected between SONIS and ActiveCampaign to retrieve and import the ActiveCampaign Contacts that are not yet in SONIS. When the process completes, a results page populates. The Message field shares the results for each contact that was imported.

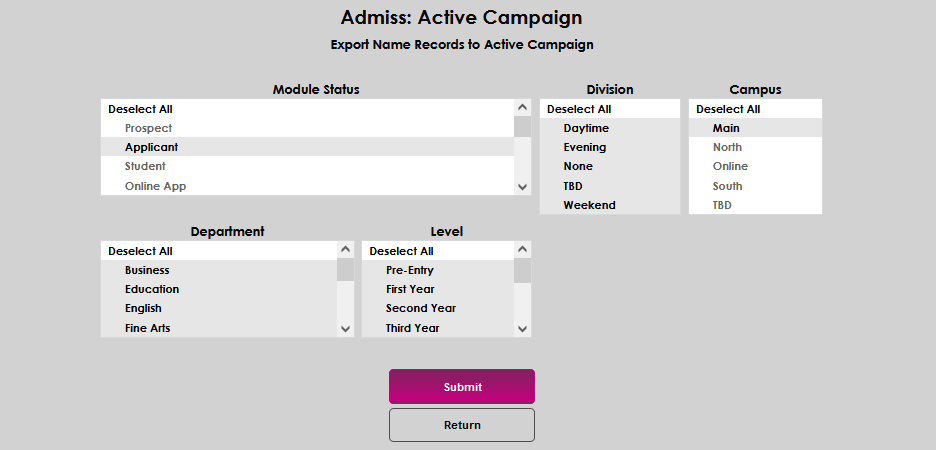
Clicking Export Name Records to Active Campaign opens filters that can be used to select the records that should be manually exported. Select the appropriate filters and click Submit to proceed with creating and sending the export. Note that no confirmation results will display, but the results can be viewed right away within the ActiveCampaign portal.

Viewing Contacts in ActiveCampaign
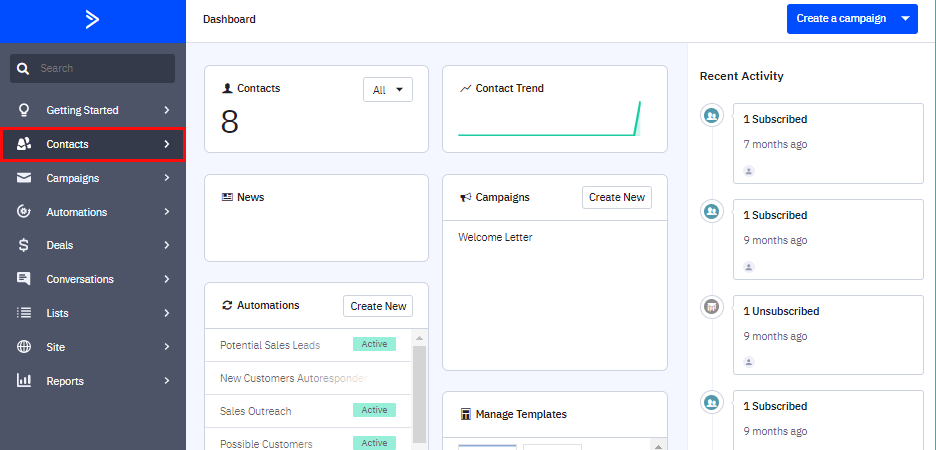
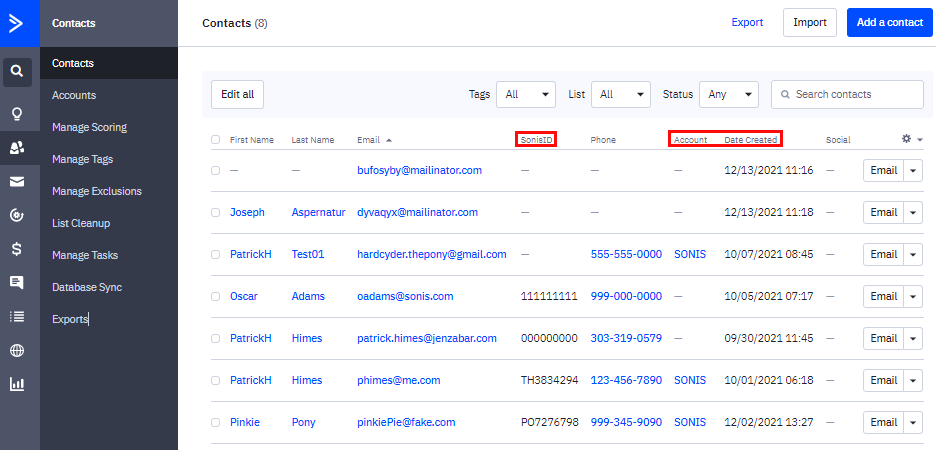
After exporting name records to ActiveCampaign, they can be viewed by logging into the ActiveCampaign portal and clicking Contacts on the left navigation menu. The Contacts page will populate. It is simple to determine which names are from SONIS versus which were created in ActiveCampaign and have not yet been synced with SONIS: records from SONIS will have the SonisID populated and the Account will indicate SONIS. It is possible to determine when a Contact was created within ActiveCampaign by viewing the Date Created column.
Automating Integration Activities and Notifications
A Task Scheduler and Notifier are provided to automate the import and export of records to and from ActiveCampaign, as well as notify users that the task occurred.
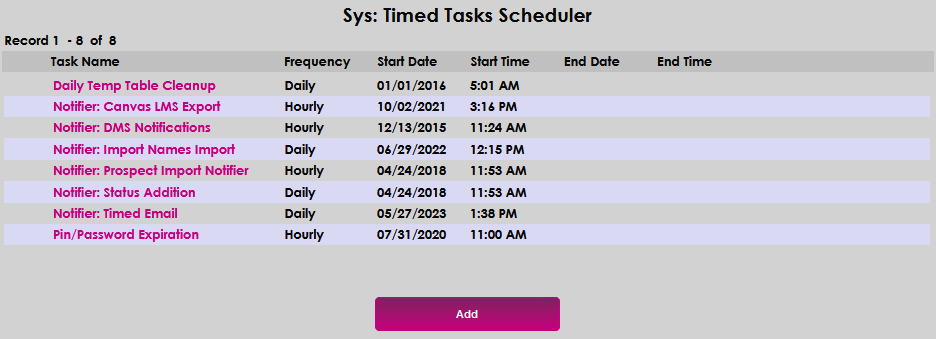
To schedule the task, enter the Sys: Timed Tasks Scheduler from the Systems menu and click Add. Then, select Notifier: Active Campaign from the Task Name dropdown.

Select the Frequency and Start Date.
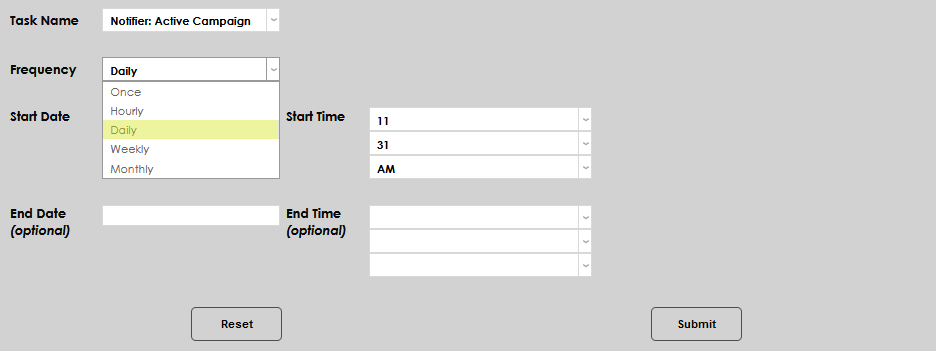
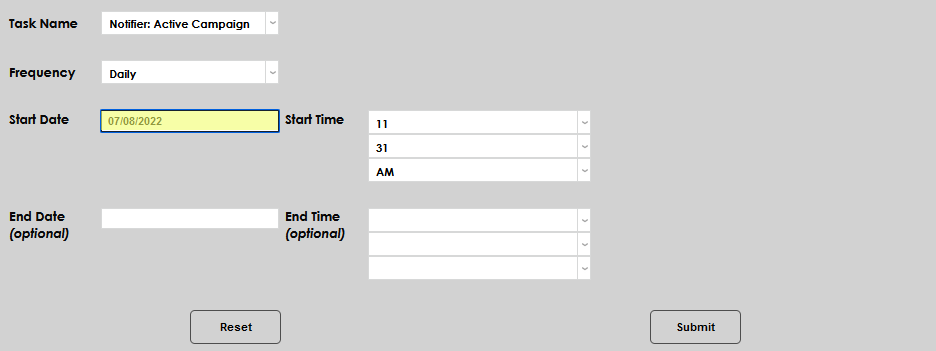
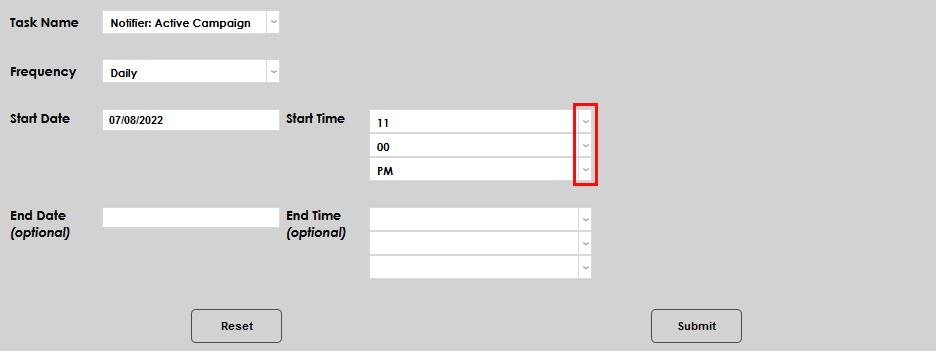
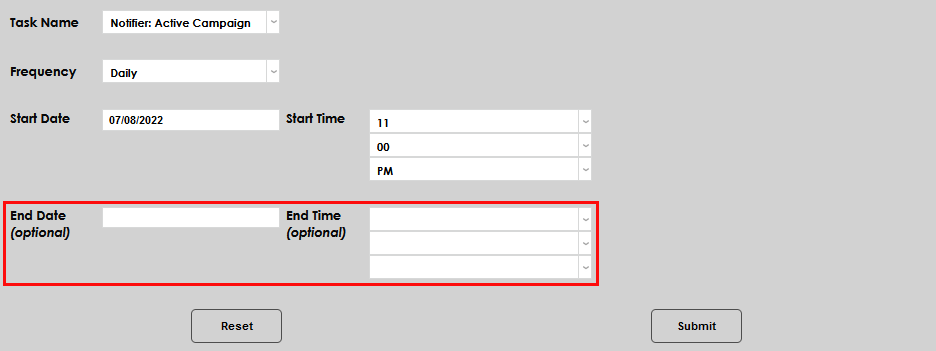
Enter the time the process should begin running. If Daily, Weekly, or Monthly were selected for the frequency, this is the time the process will run. If Hourly was selected, it will begin at that time and then run an hour later continuously. The time can be entered in the fields and/or by using the down arrows. An End Date and End Time can be entered if the process should only be running during specific periods of time, for example, during recruiting or admission cycles. Click Submit to save the entries and schedule the task.

To schedule the notifiers, enter the Notification Assignments utility from the Systems menu and click Add. Then, select Active Campaign Import from the Notification Type dropdown. Because the export will run at the same time as the import, only an import notifier is provided.
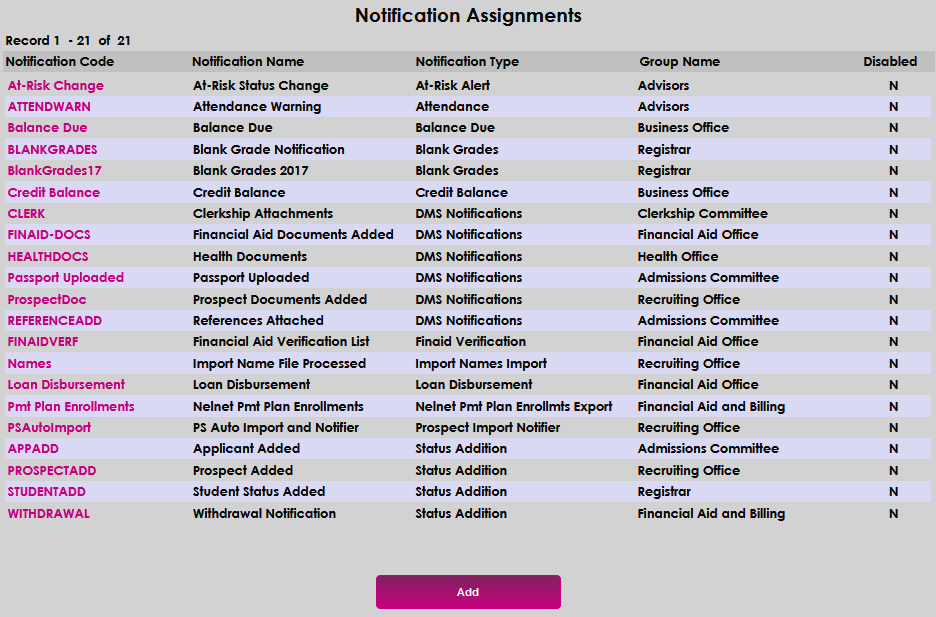
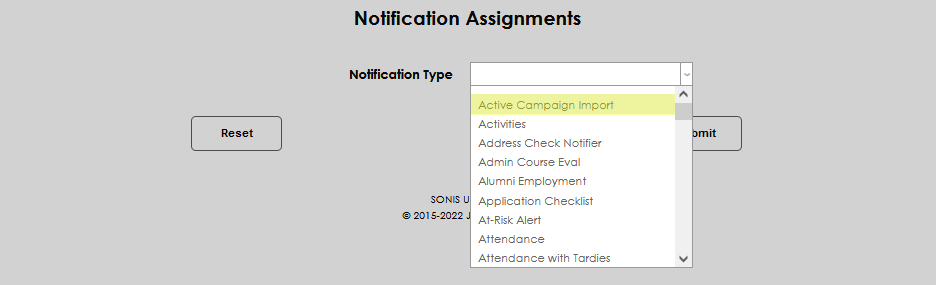
Click Submit.

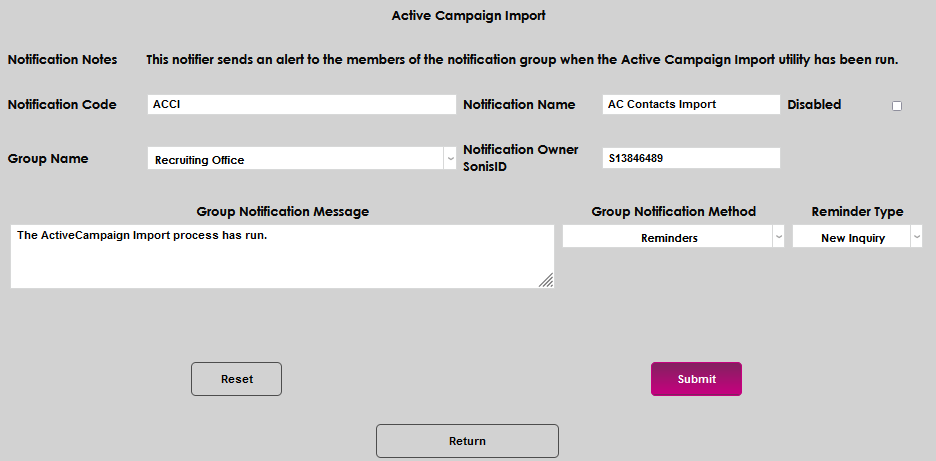
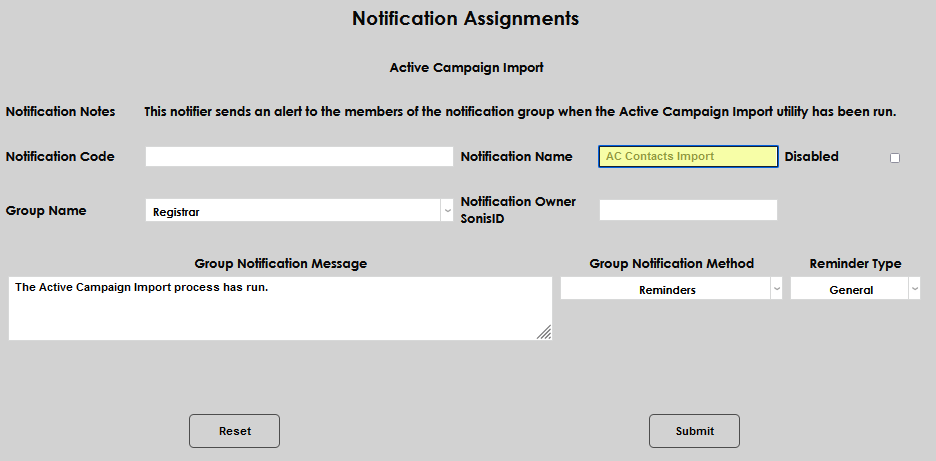
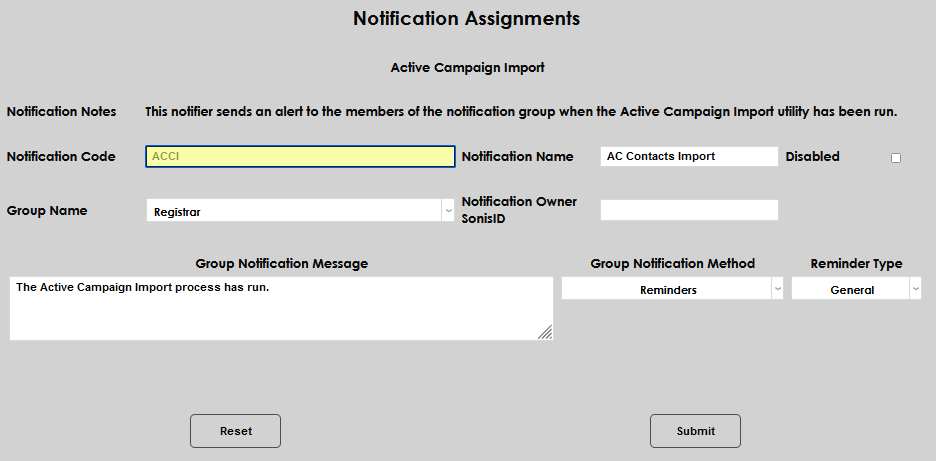
Enter the appropriate details that correspond with who should be notified that the ActiveCampaign Import utility has run. In Notification Name, give the notifier a name that will make sense to the recipients of the notification. In Notification Code, enter a short version of the name.
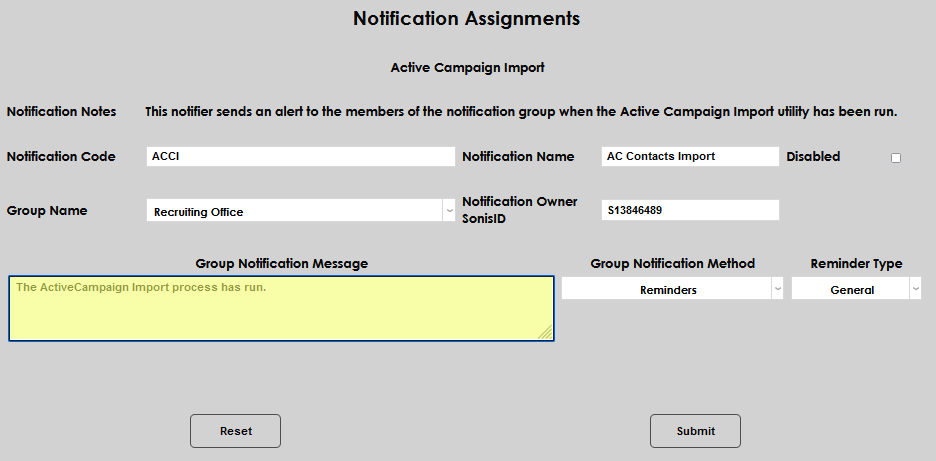
Select the group that should receive the notification from the Group Name dropdown menu and enter the SONIS ID for the person who will be the Notification Owner.
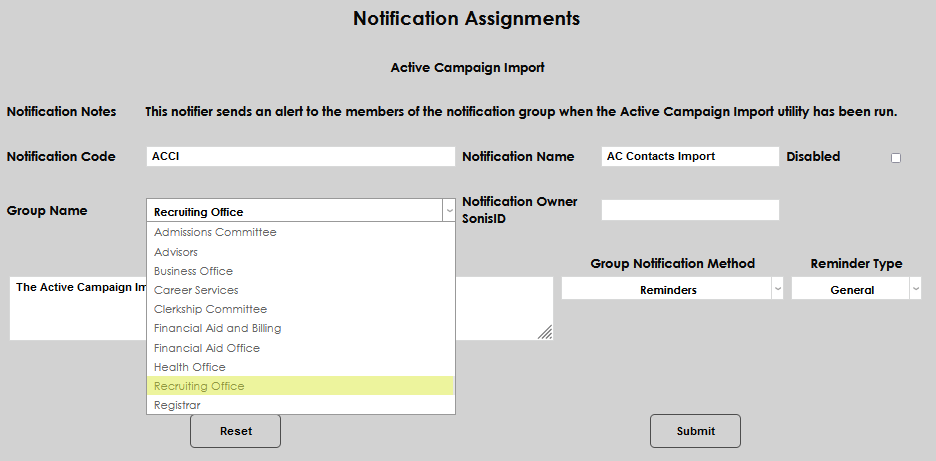
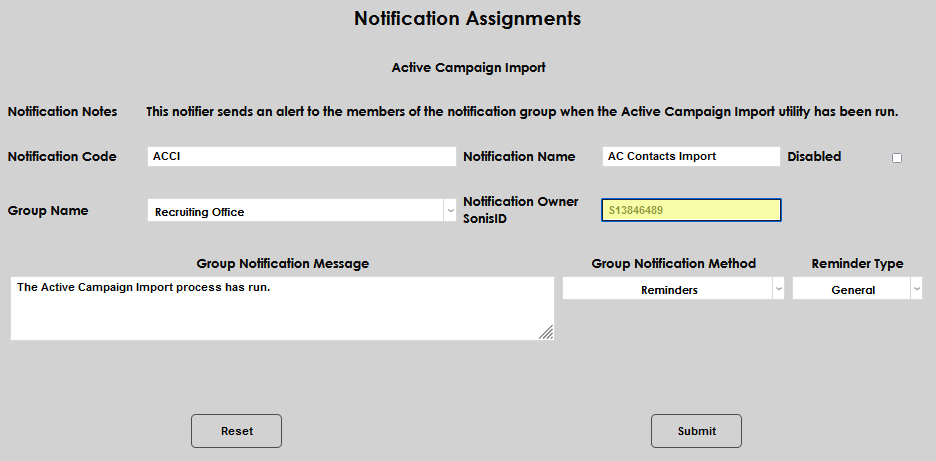
Enter the message that should accompany the notification in the Group Notification Message and select the type of message that should be sent from the Group Notification Method dropdown.
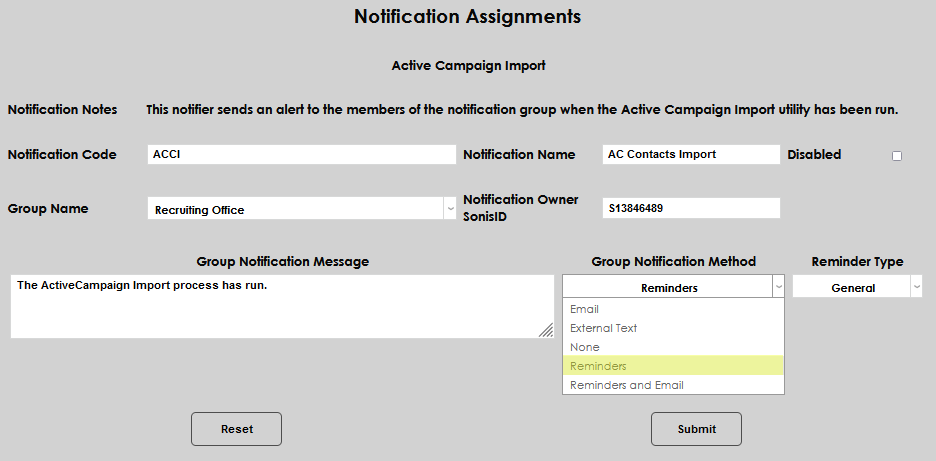
Select the Reminder Type and then click Submit.