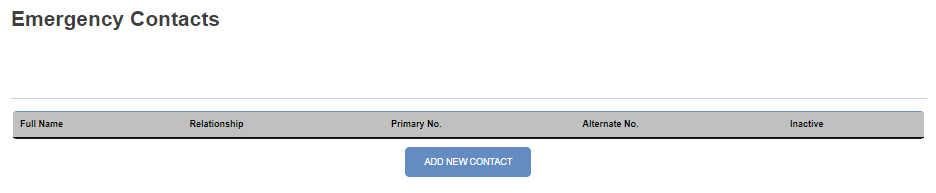
Emergency Contacts
Overview
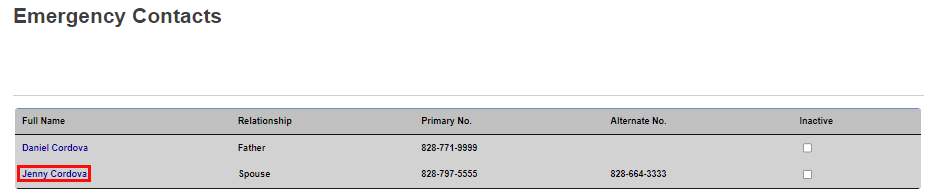
The Emergency Contacts portal page is designed to allow users to enter and edit the contact information for parents, guardians, spouses, and other people who should be contacted in the event of an emergency. The user may also inactivate existing emergency contacts.
When updates are made here, the Emergency Contact Users hub page in the administrative portal is updated as well.
Adding Contacts
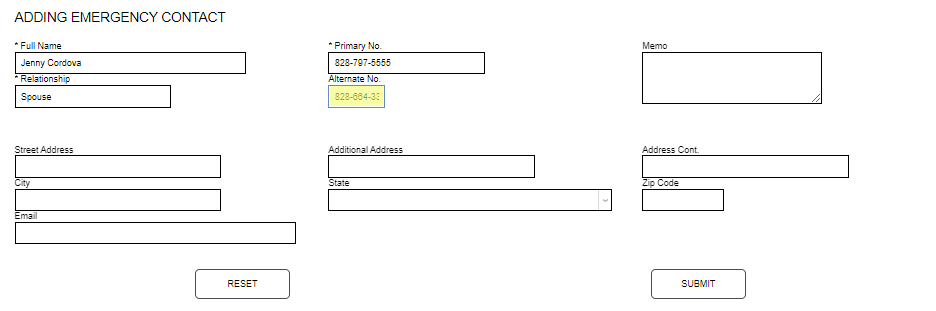
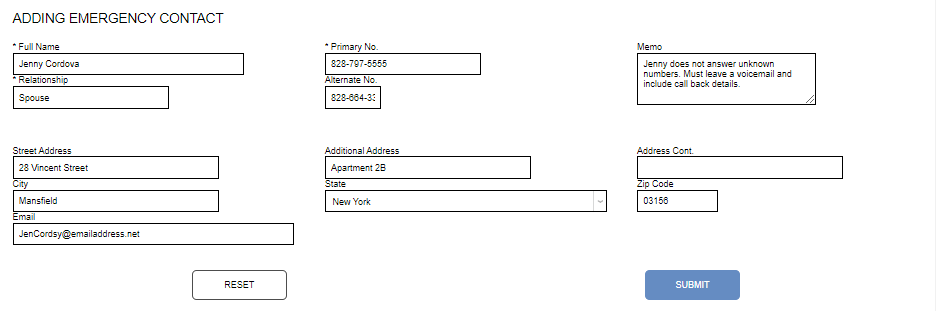
To add a contact, click the Add New Contact button.
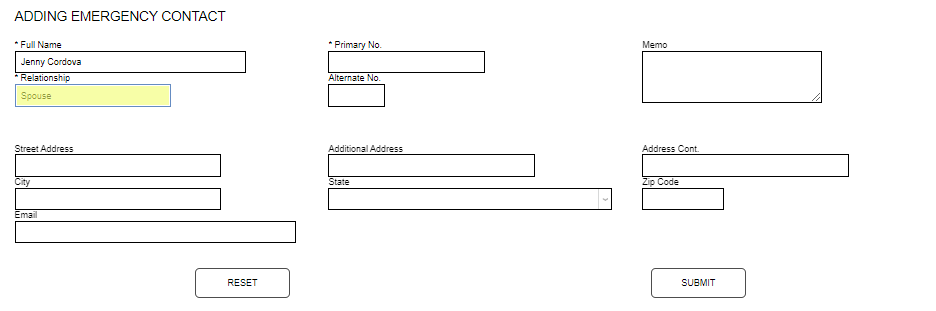
Enter the Full Name of the contact and their Relationship to the user.
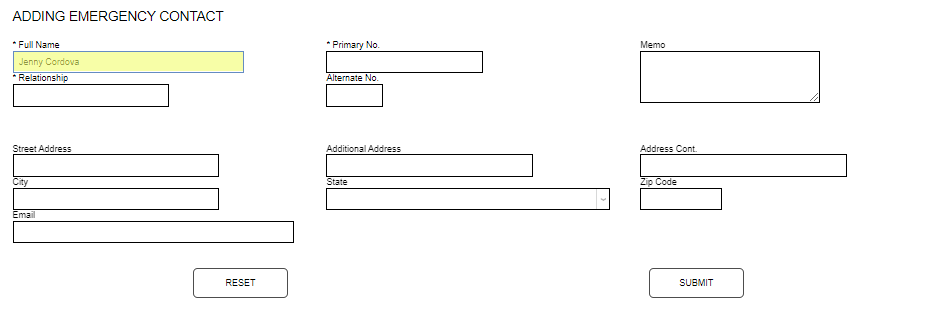
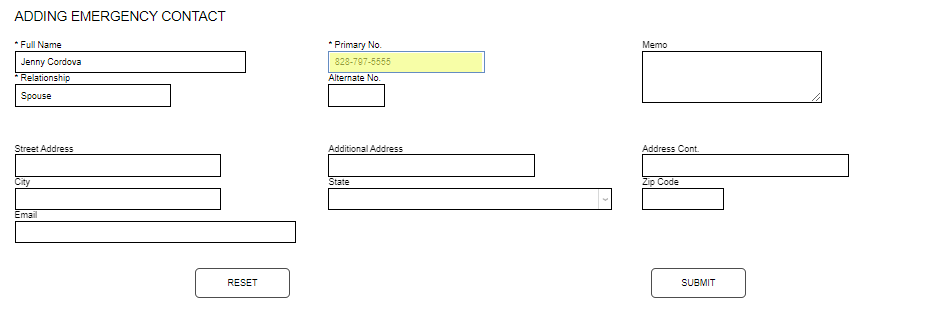
Enter the phone number with area code in the Primary No. field and any additional phone number with area code in the Alternate No. field.
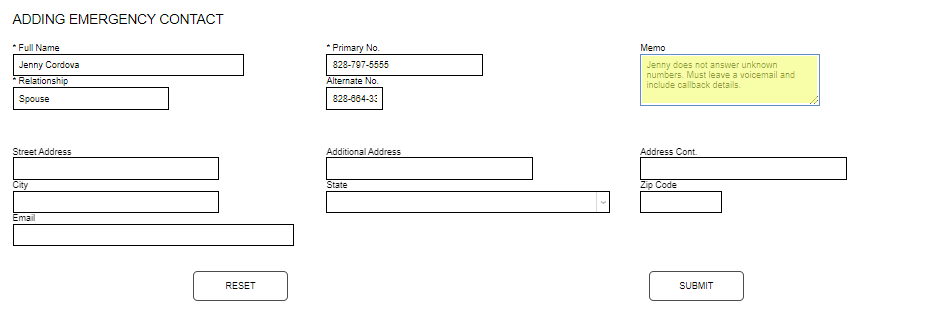
The Memo field provides the opportunity to include valuable information about contacting the emergency contact. In this example, the user has shared that their contact does not answer unknown numbers and requests a voicemail be left with callback details.
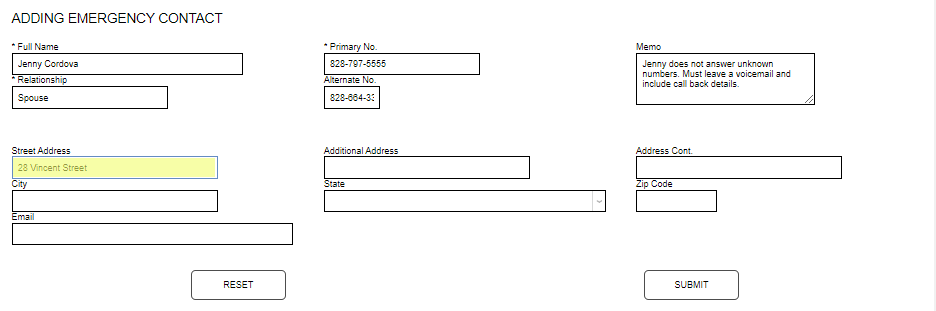
Enter the Street Address and any secondary address details in the Additional Address field.
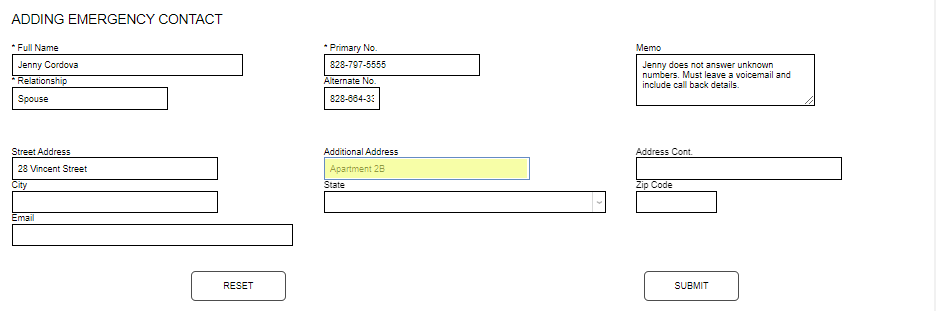
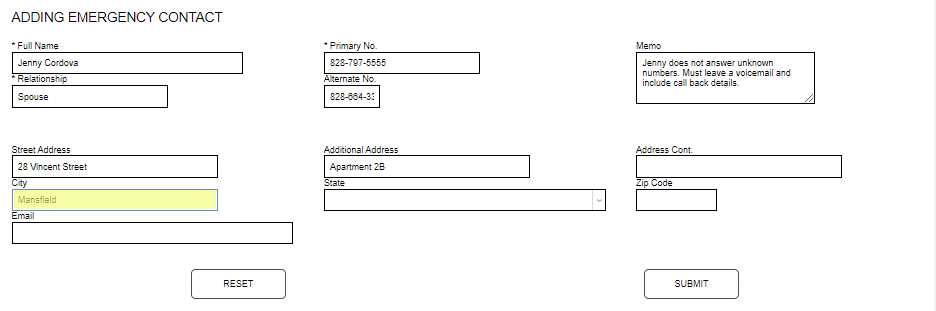
If further space is needed for address information, enter it in the Address Cont. field. Enter the City associated with the address.
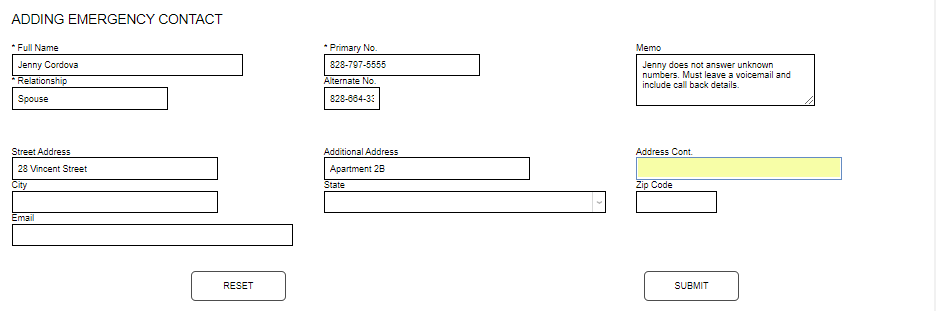
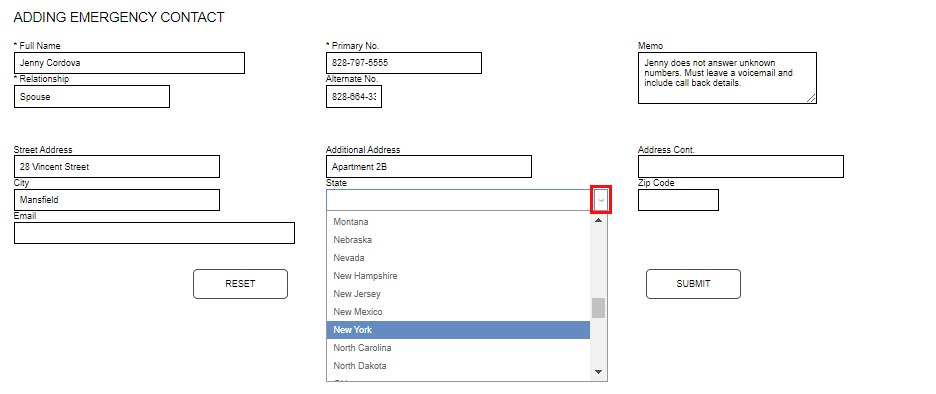
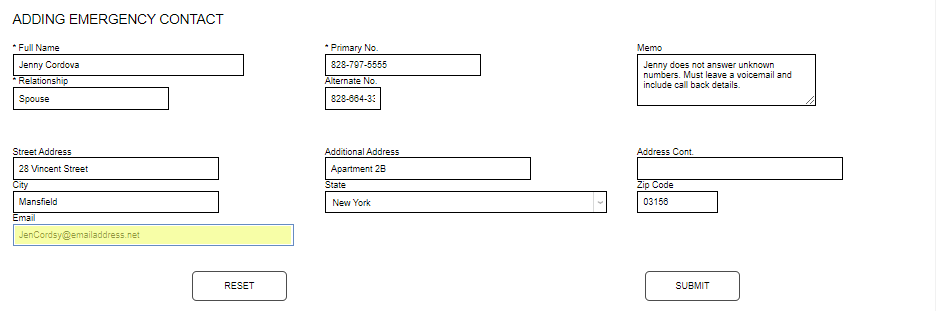
Select the State from the dropdown menu and enter the Zip Code.

Enter an email address for the contact in the Email field. Click Submit to save the details for review.
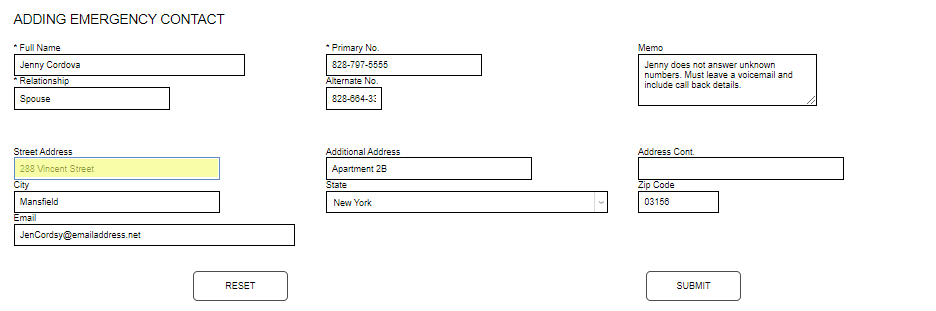
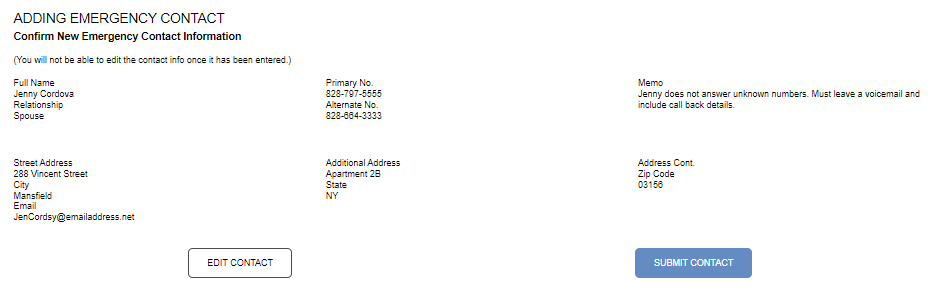
Prior to finalizing the addition of the emergency contact, the user is asked to confirm the entered details. If any edits are needed, click Edit Contact to be returned to the information entry screen. Make the desired edit and Submit to be returned to the review screen.
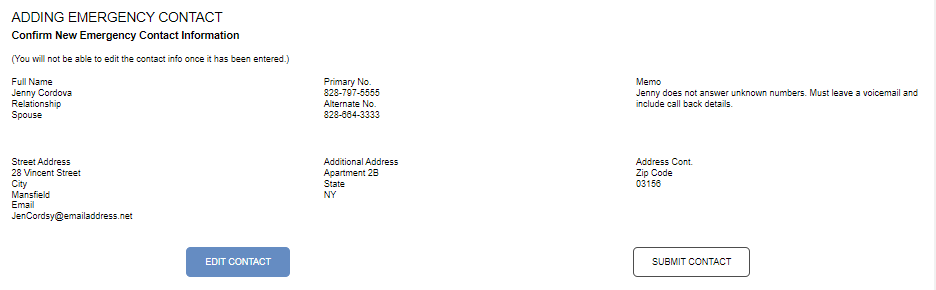
After confirming the details are accurate, click Submit Contact to finalize entry of the emergency contact. The contact and summary information will now be displayed in the Emergency Contacts tab and within the SONIS administrative portal.
Deactivating a Contact
If an emergency contact should no longer be used, enter the Emergency Contacts page, and click the Inactive box at the end of the row for the name of the contact to be deactivated. Click Update Inactive Records to record the change.

