Grade Utility
Overview
The Grades Utility offers administrators a simple means of creating new grades and editing existing grades. The grades can be all on the same scale or can be given different weights by placing them on separate grade indexes. The same functionality is available in Table Maintenance in a different format.
Adding Grades
To add a new grade, navigate to the Grades Utility in the Systems hub and click the Add Grade button.
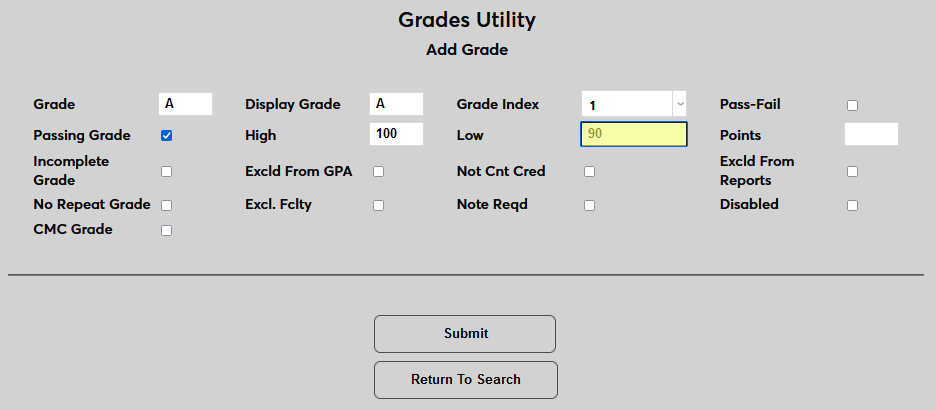
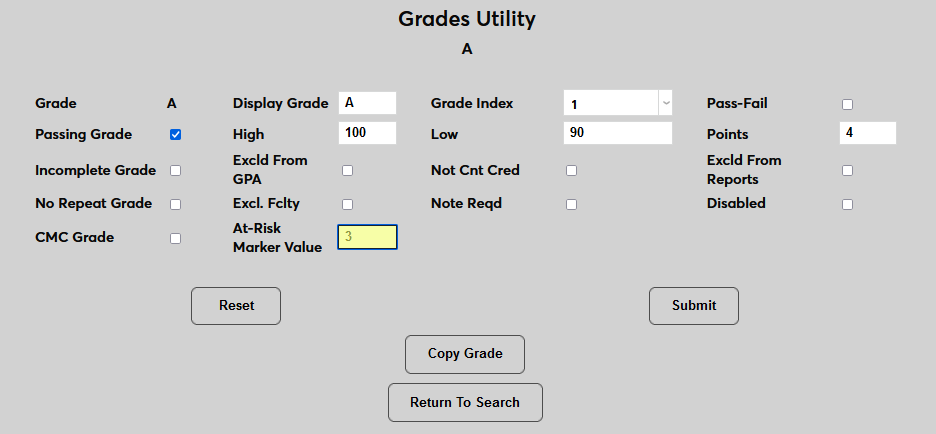
On the following page, enter the Grade, the value that will be displayed for administrators. Then enter the Display Grade, the value that students and faculty will see. If the display grade will be identical to the grade itself, then this field can be left blank, but it may be wise to enter a grade either way for the sake of consistency.
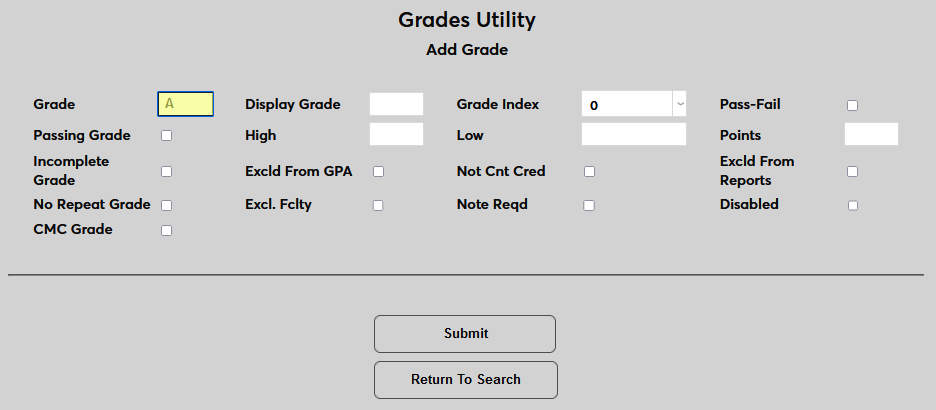
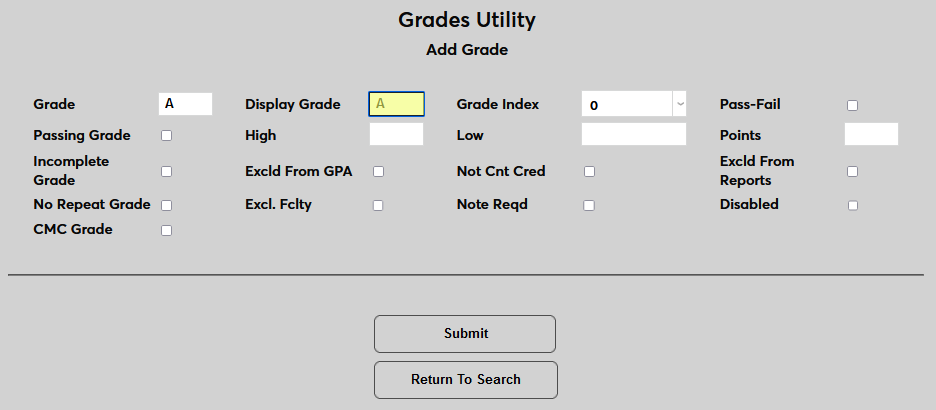
Next, select a Grade Index that this grade will fall under. If the institution is only using one index or the grade is part of the standard index, leave the default 0.
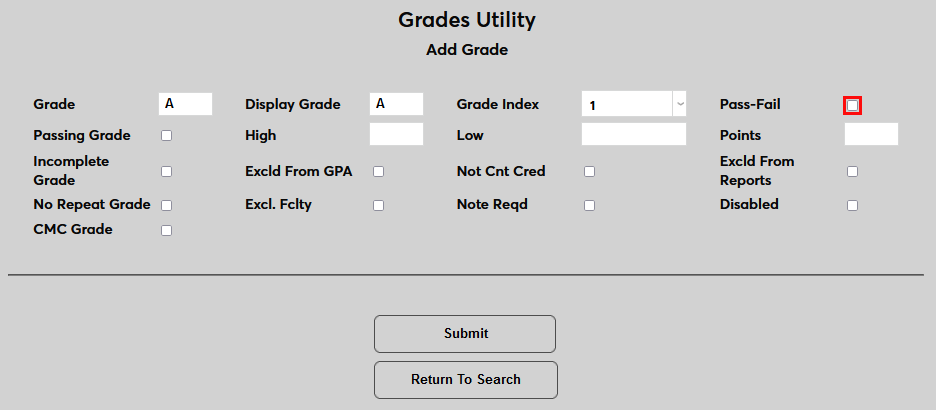
Check the Pass-Fail box if the grade will be used for Pass/Fail courses. At many institutions, Pass/Fail grades confer credit for the course but passing grades do not affect the student's GPA.
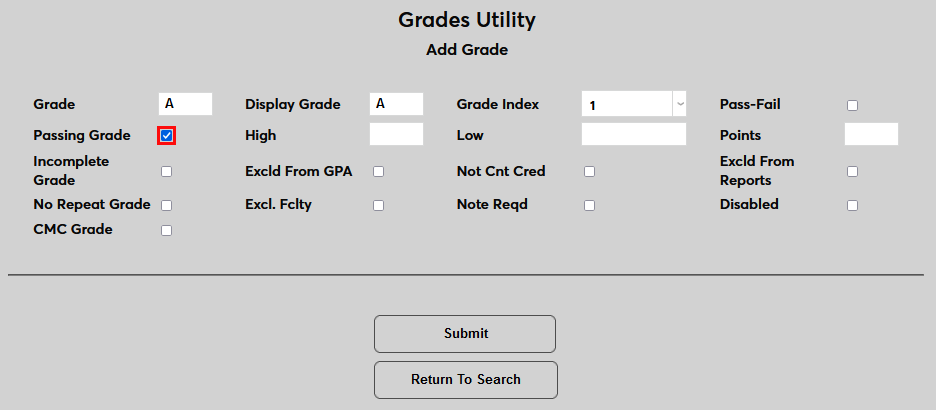
Check the Passing Grade box if the grade will indicate that the student has passed the course. Leave it unchecked if a student who receives the grade will have failed the course and receive no credit.
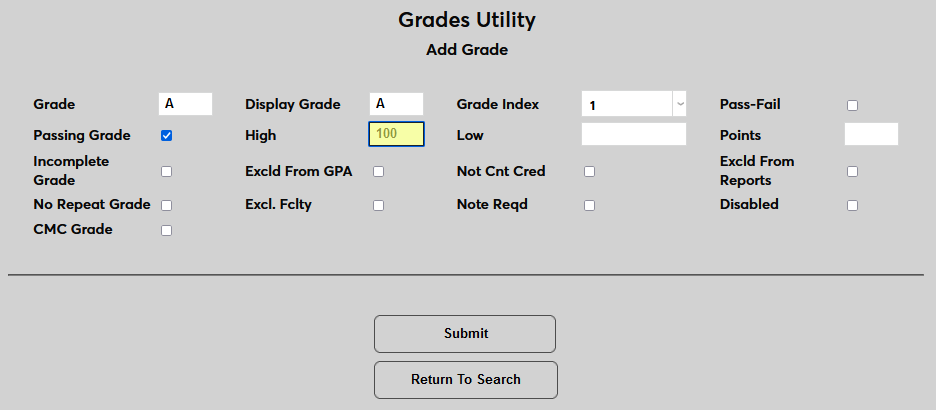
Set the numerical score range for the grade using the High and Low fields. Students who score within this range will be assigned the grade. Values up to two decimal points can and should be used where applicable.
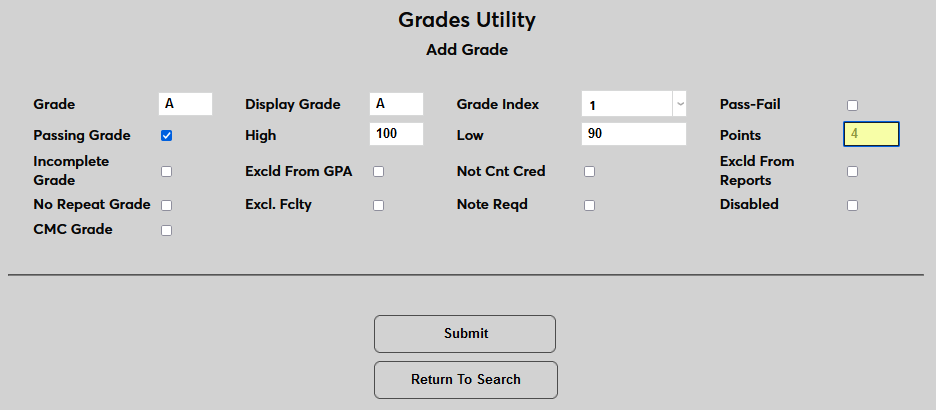
Enter the numerical value on the grade in the Points field. This field will be used when calculating GPAs.
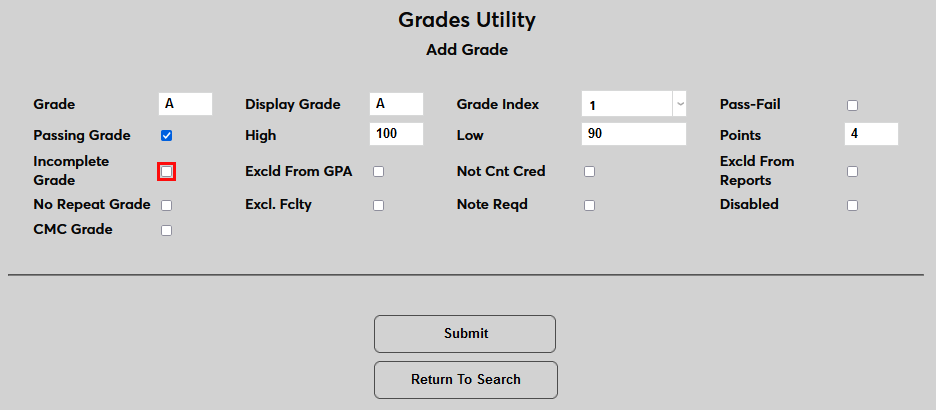
Check the Incomplete Grade box if the grade will denote that the student has not completed the course.
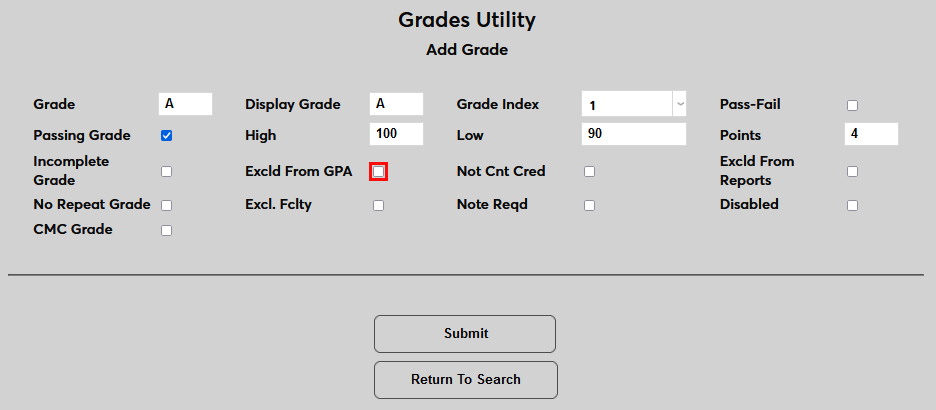
If the Exclude from GPA box is checked, the grade will not be used when calculating student GPAs. Such grades are typically used for Continuing Education or required-but-not-for-credit courses.
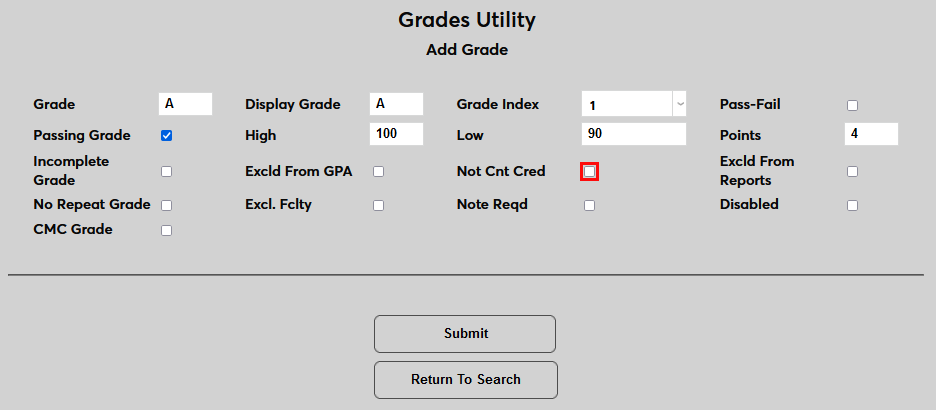
If the Not Counted for Credit box is checked, the grade won't affect the student's GPA and they won't get credit for having taken the course. This can affect SAP, graduation, financial aid, repeats, etc. Audit course grades should generally utilize this option.
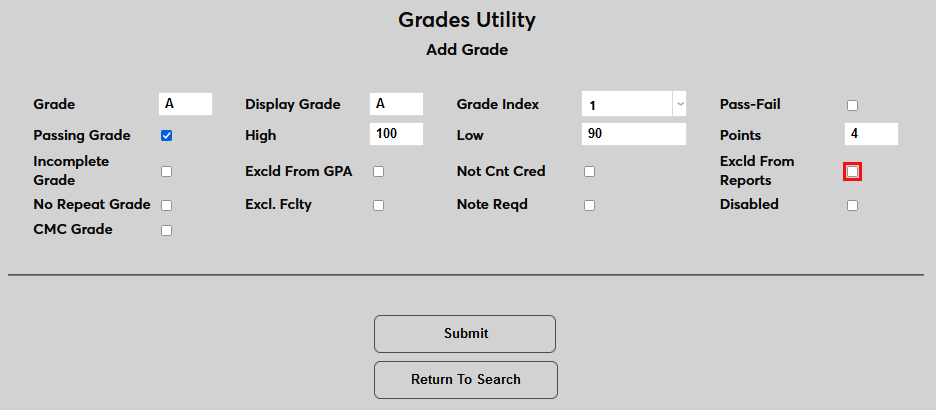
The Exclude From Reports checkbox can be used to exclude the grade from custom reports, but does not affect standard system reports.
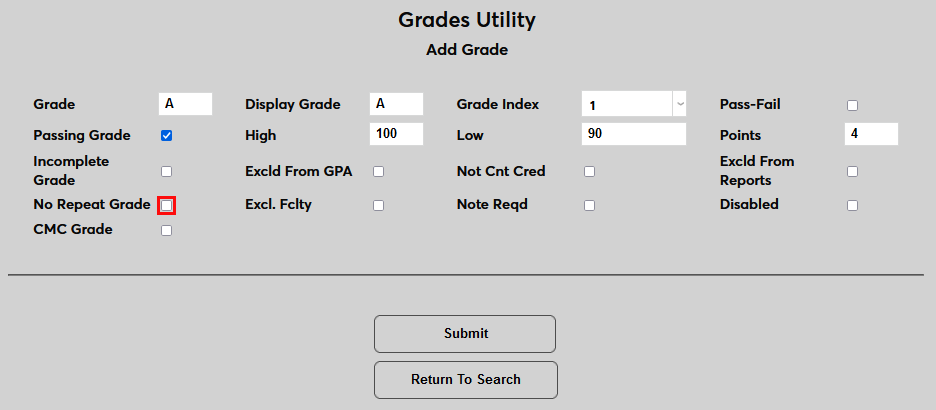
If the No Repeat Grade box is checked, the student cannot replace the grade and each repetition of the course will be graded separately.
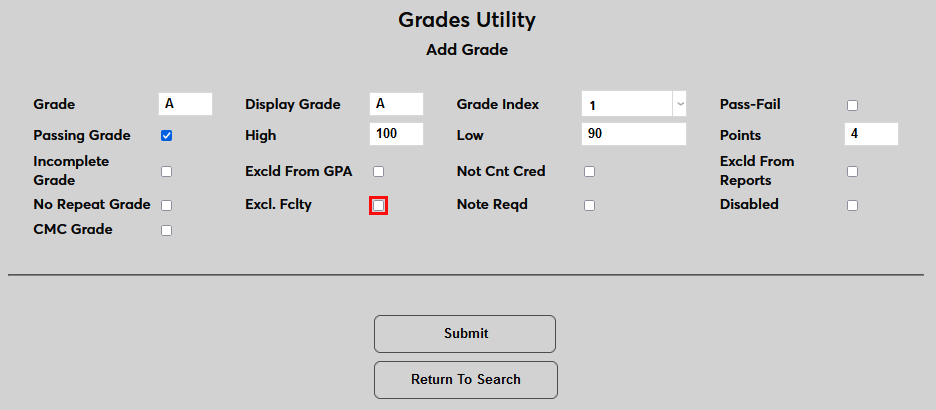
The Exclude Faculty box prevents faculty from having access to assign the grade. Grades with this option activated can only be assigned by administrators.
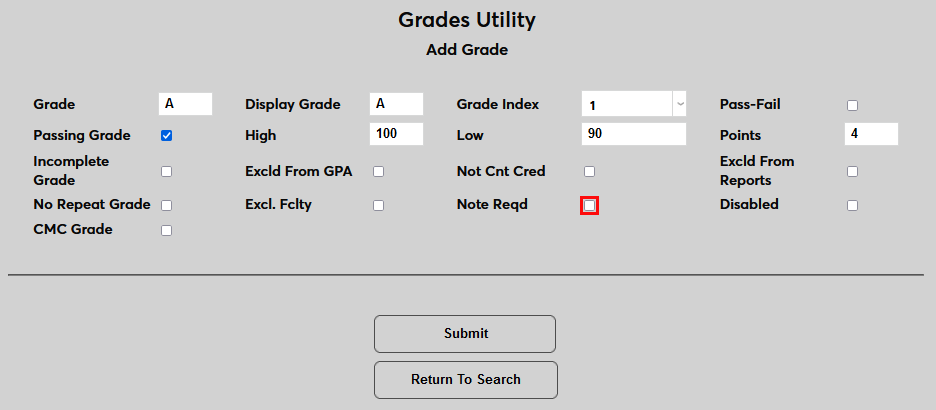
Grades marked Note Required can only be entered with an attached note explaining the grade assignment. When a faculty member selects a grade with the Note Required option active, a memo box appears for the accompanying note. The grade cannot be submitted if this field is blank. Note that this requirement does not apply to administrators.

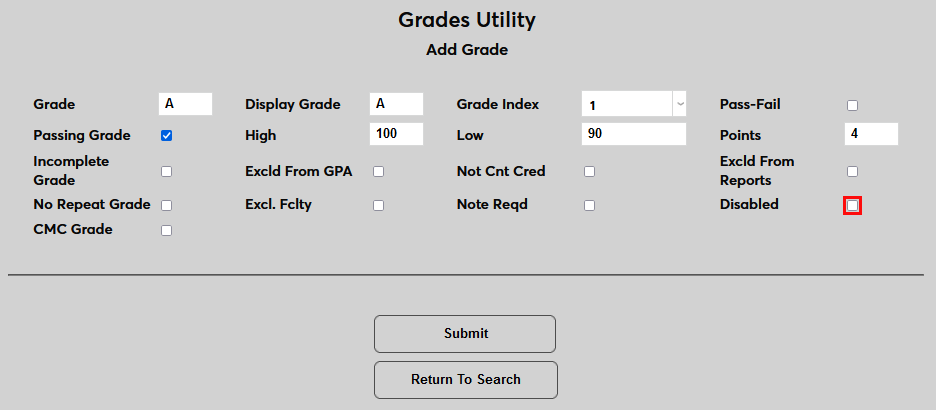
If the Disabled option is activated, the grade cannot be assigned and will not appear as an option.
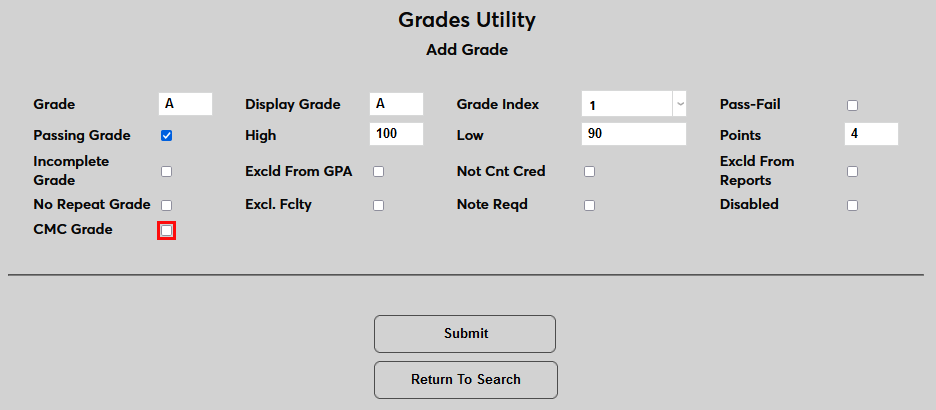
Check the CMC Grade box if the grade can be used to fulfill CMC requirements.
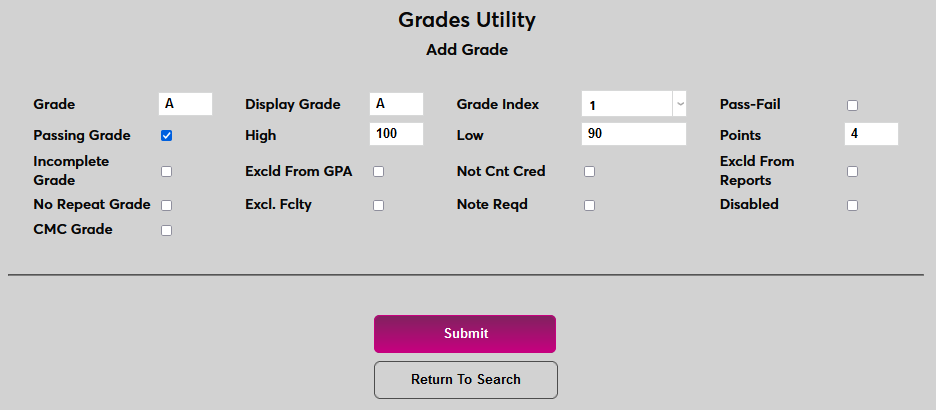
Click Submit to save the changes and create the grade.
Graded Transfer Courses
If transfer courses that have been accepted for credit are graded AND should count towards a student's progress from one level to another (for example, Freshman to Sophomore), a grade unique to transfer courses should be created with a passing status. In this example, a grade of TR has been created as a passing grade.

Editing Grades
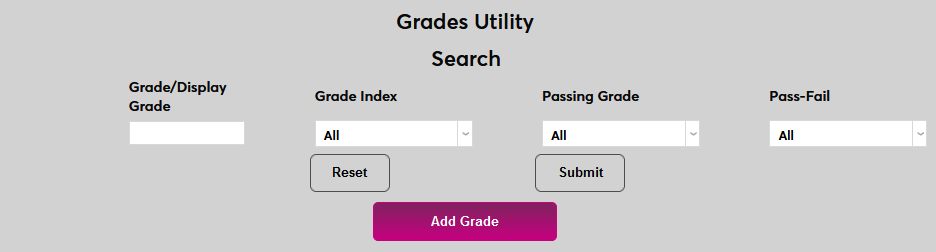
To edit an existing grade, first use the search features to locate the grade. Type a grade in the Grade/Display Grade field to search for a specific grade.
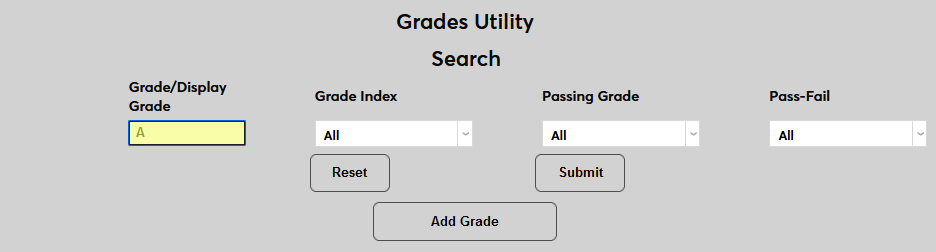
The Grade Index menu can be used to search for a grade based on the index its part of.

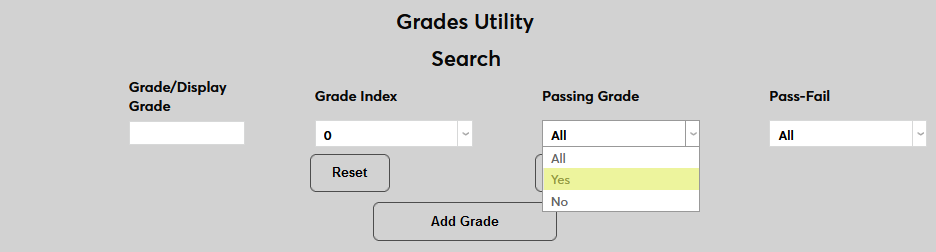
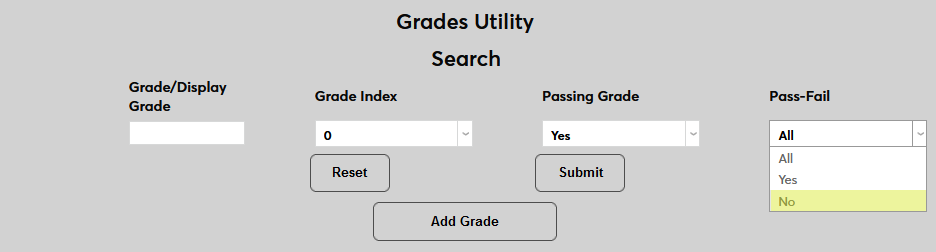
The search can also be limited by whether the grade is a Passing Grade or not and whether it's a Pass-Fail grade of a traditional letter grade.
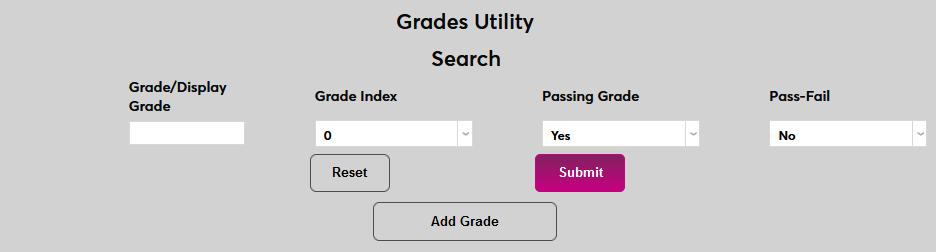
Once the search limiters are in place, click Submit to perform the search.
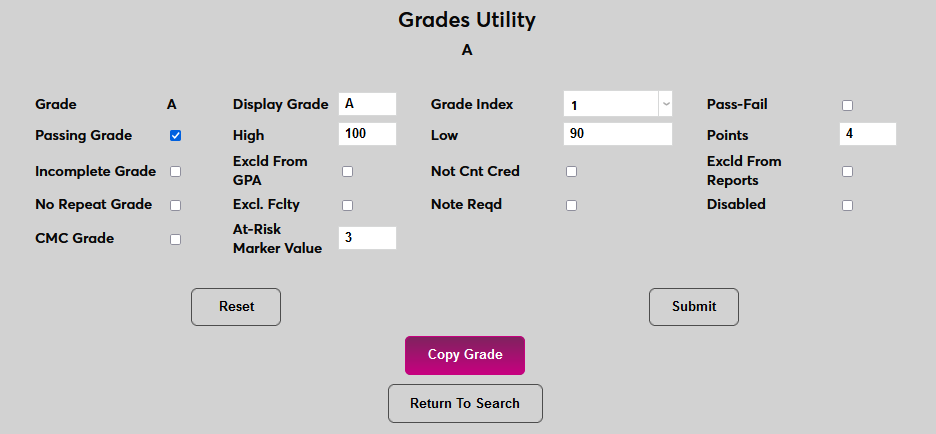
On the following page, click on a Grade to make changes.

When editing a grade, the grade itself cannot be altered as this value is used behind the scenes throughout the system. The other values entered when creating the grade can all be changed. Additionally, an At-Risk Value can be added. This value is used to calculate At-Risk scores for student retention. For more on this process, visit the At-Risk Alerts page.
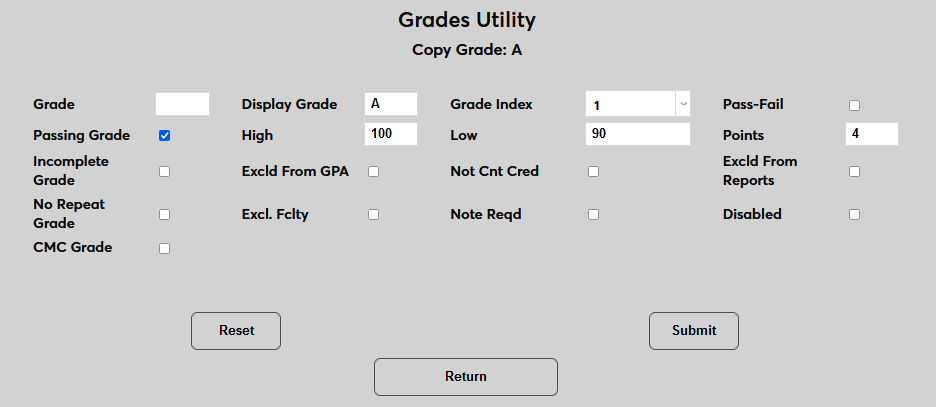
Copying Grades
Administrators can also click the Copy Grade button to use this data as a starting point for a new grade.