Admissions Categories
Overview
Categories are used during the Jenzabar SONIS admissions process. Each prospect should be assigned a category as part of their Prospect Inquiry Details record. The category should be based on on factors like their program of interest, how the school got their information, their history with the school, etc. The prospect's category is used to determine the school's Recruiting Plan for that student, a list of Activities that should be followed to encourage the student to apply for admission and, if accepted, attend the institution. Categories are assigned to students from the Prospect Inquiry Details page.
Creating Categories
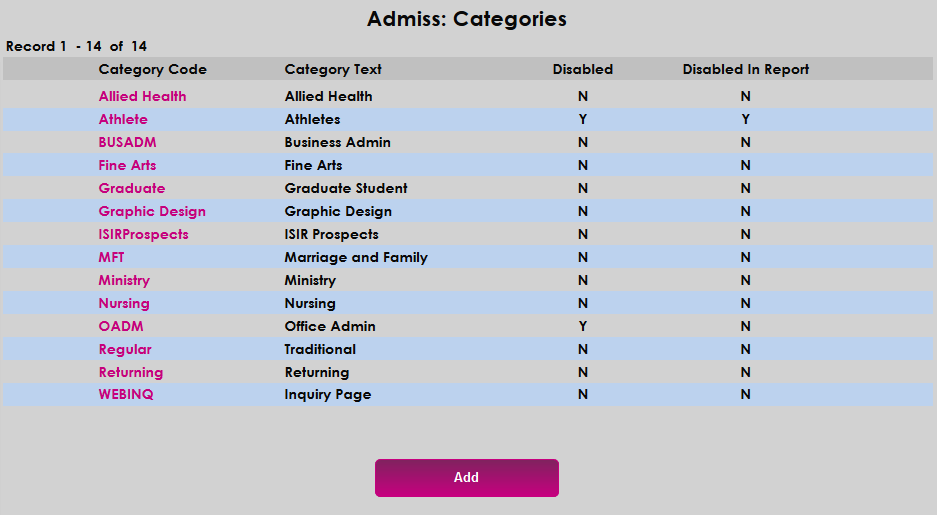
Navigate to Admissions: Categories under the Systems menu and click Add to create a new category.
On the following page, name the category in the Category Text field. The field has a 20 character limit.
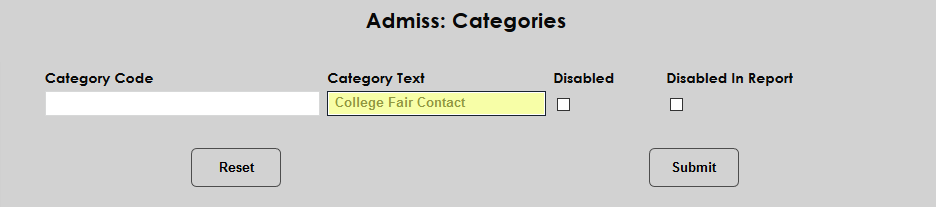
Next, create an abbreviated version of the category name that will be used in system tables in the Category Code field. The field has a 15 character limit.
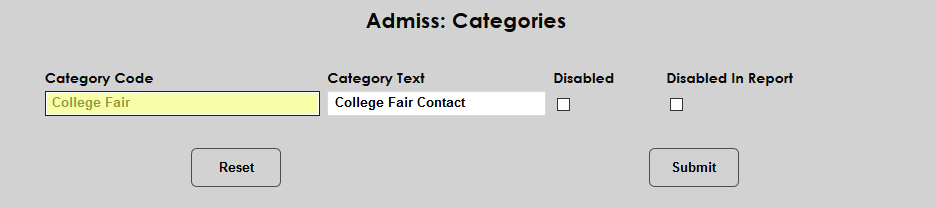
Click Submit to save the page and create the code.

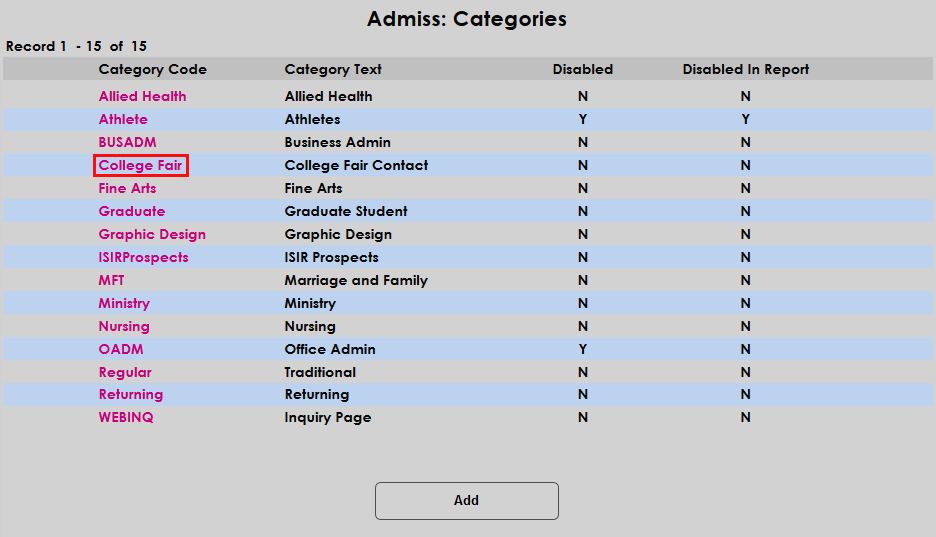
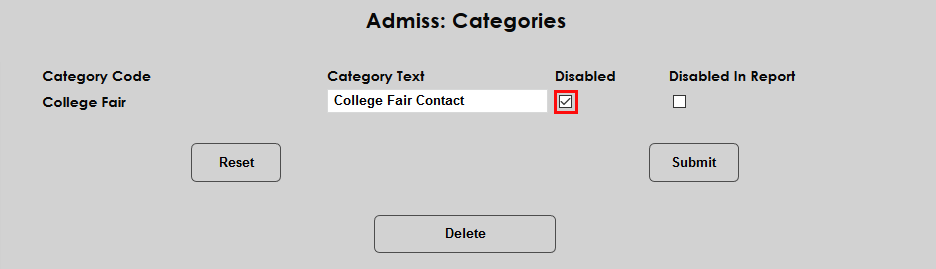
Once a category has been created, click on the Category Code to edit it.
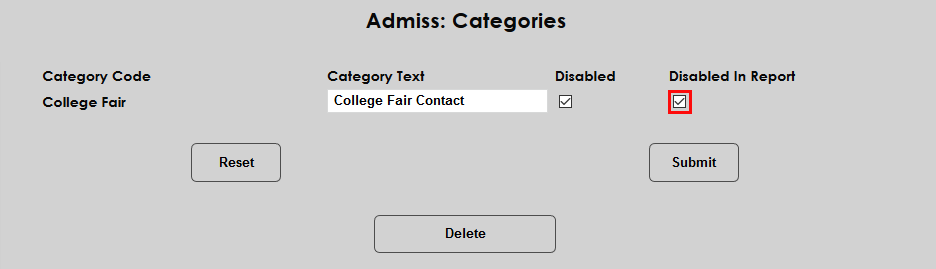
The Category Text can be edited, but the Category Code cannot be changed. Check the Disabled box to prevent the category from being used and/or the Disabled in Report box to prevent the category from appearing in reports.
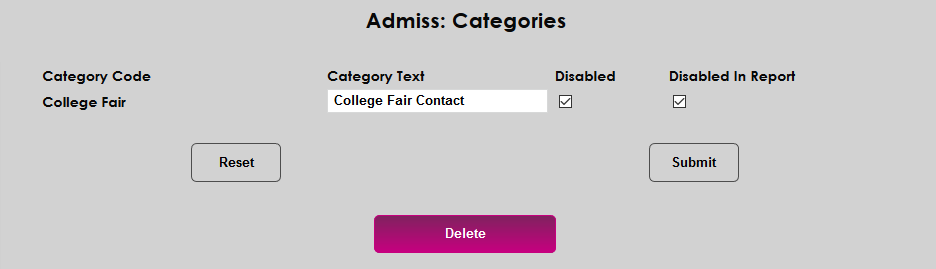
Click the Delete button to remove the code altogether. Click Confirm Delete to complete the process.

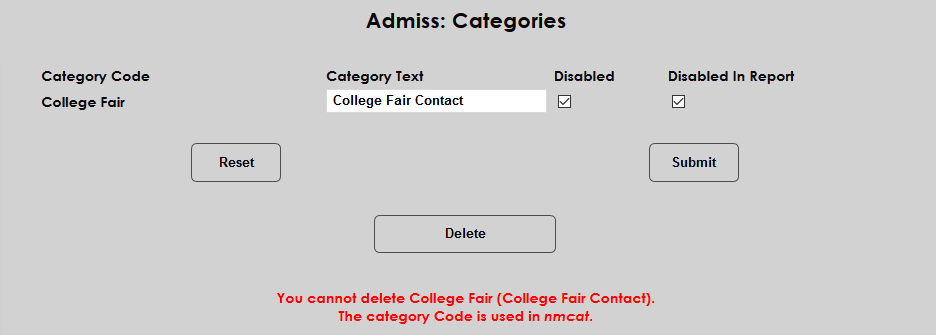
If the category is in use, it cannot be deleted.
Assigning Categories
Prospect Inquiry Details
To assign a category to a single student manually, navigate to that student's Prospect Inquiry Details record. Select the category in the Category Code field.
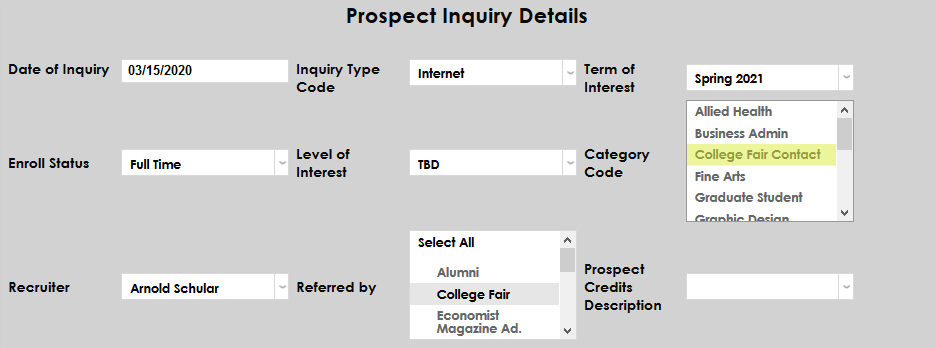
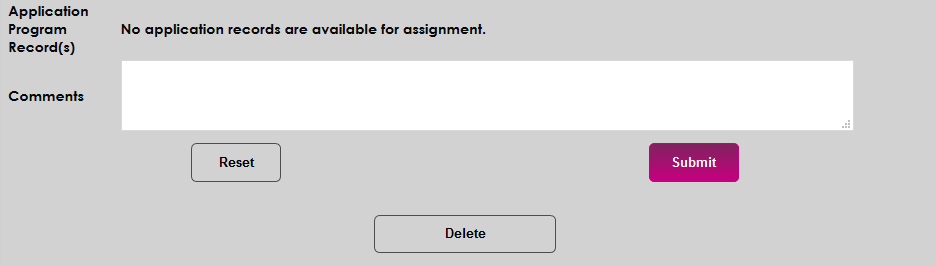
Click Submit to save the change.
Admissions Category Filter
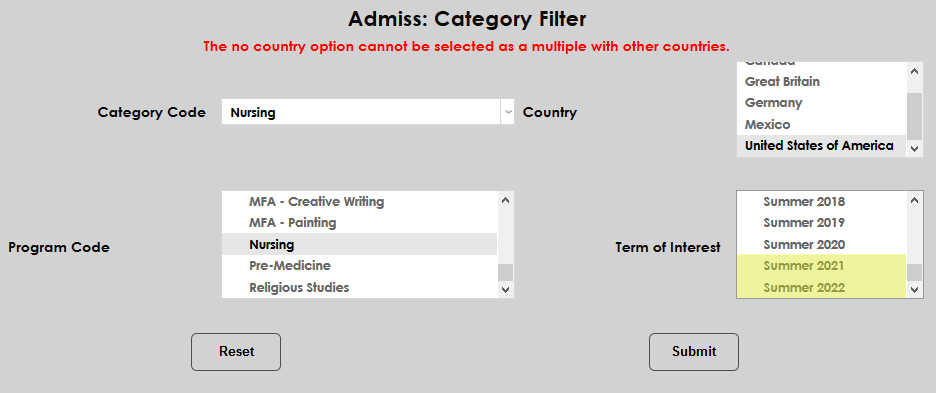
The Admissions Category Filter is a tool SONIS offers to assign categories to prospects automatically based on their program of interest. To begin, navigate to Admissions Category Filter under the Systems menu and click Add Category.

On the following page, begin by selected a Category Code to be assigned.
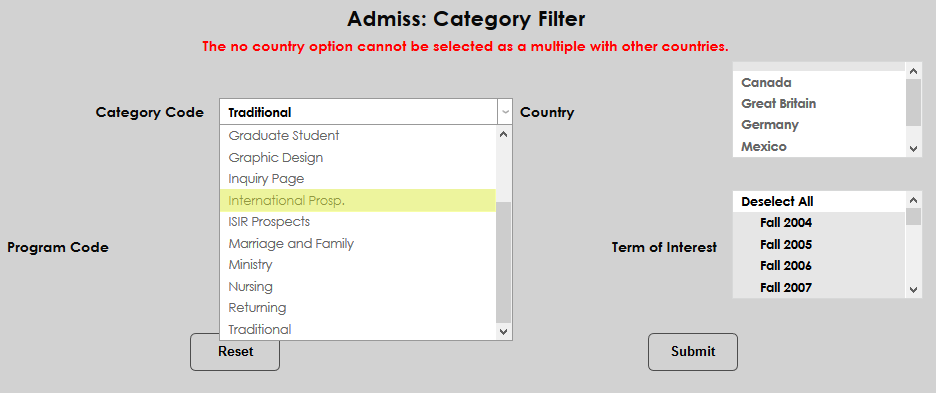
Next, select a Program Code to assign the category based on the prospect's program of interest. A program must be selected for the filter to save.

Select a Country to narrow down the category filter based on the country where the prospect lives. Or leave the blank option selected to not include country in the filter and assign the category to prospects regardless of their home country.
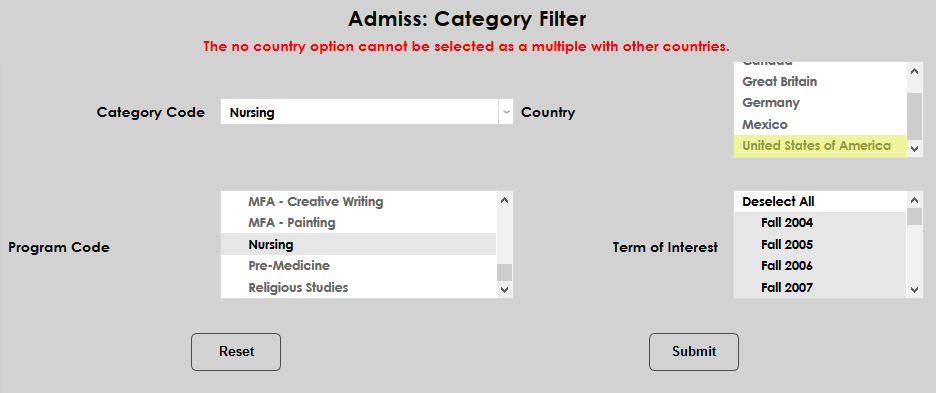
Finally, select a Term of Interest for the filter. This can be important because many institutions may wish to change their Recruiting Plan based on how far into the future the prospect wishes to attend the school. Like the Program Code, a Term of Interest must be selected.
Multiple terms can be selected if the recruiting plans for those terms will be the same, but since each term of interest selected will create a separate filter, it's best not to select terms that have already passed because the list gets unwieldy.
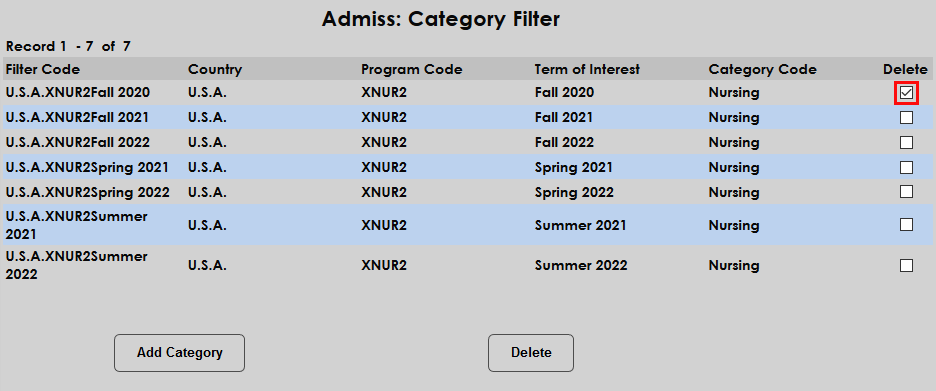
Once filters have been created, they are listed on the launch page. To remove a filter, check the box in the Delete column and click Delete.
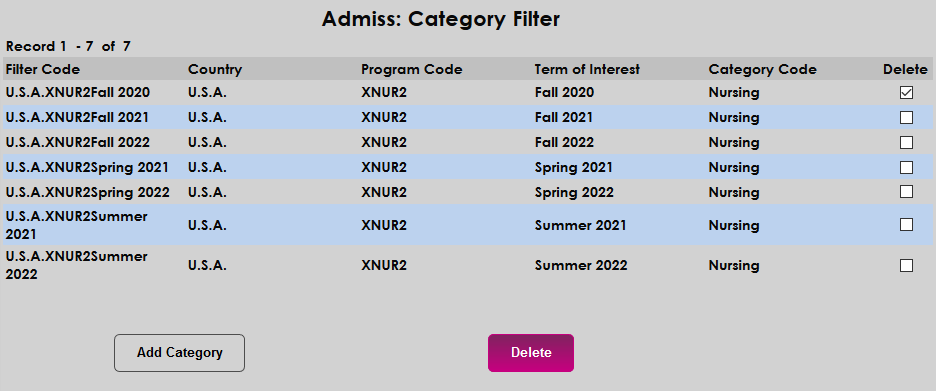
On the following page, click Yes to finish deleting the filter.

Admissions Category Change
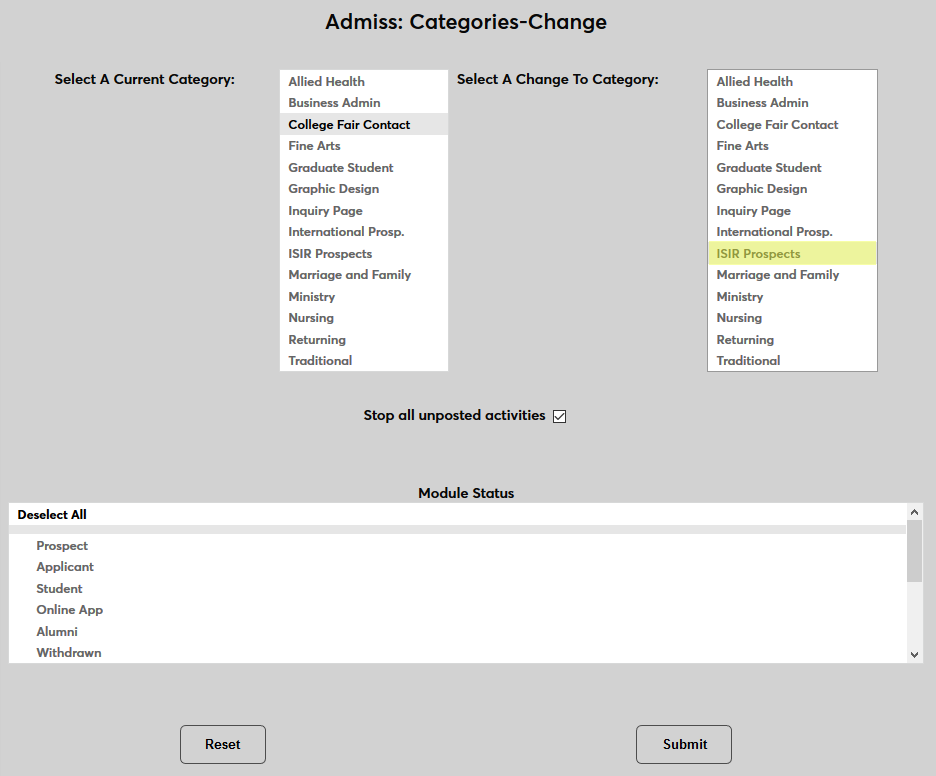
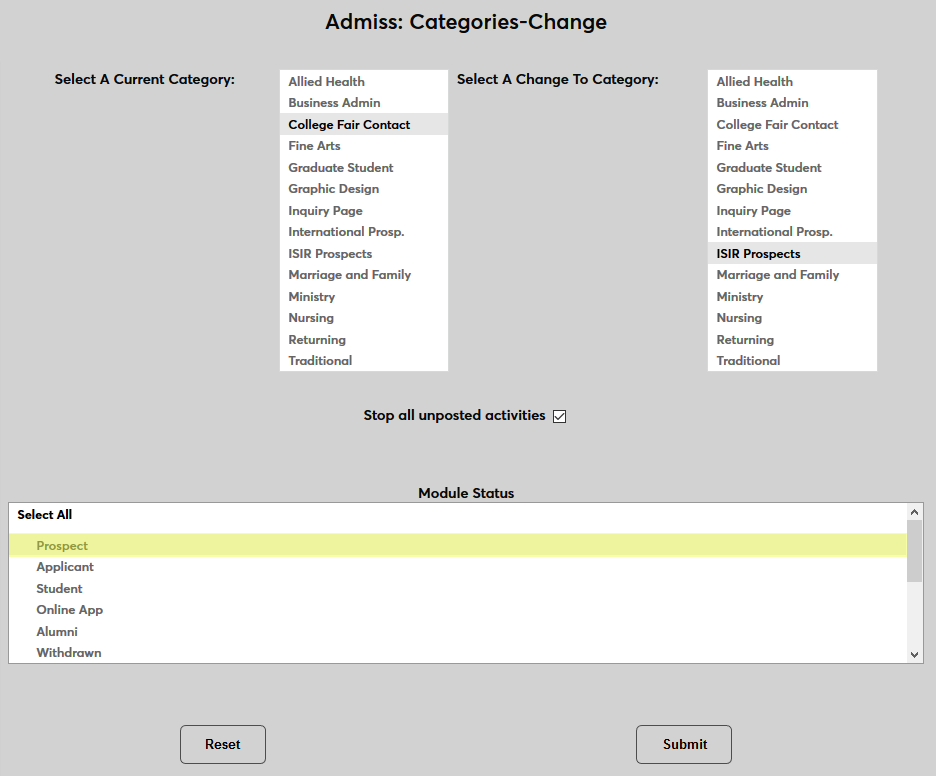
The Category Change utility allows administrators to make bulk changes to assigned admissions categories. Select a Current Category to move users from and a Change-To category to move them to.
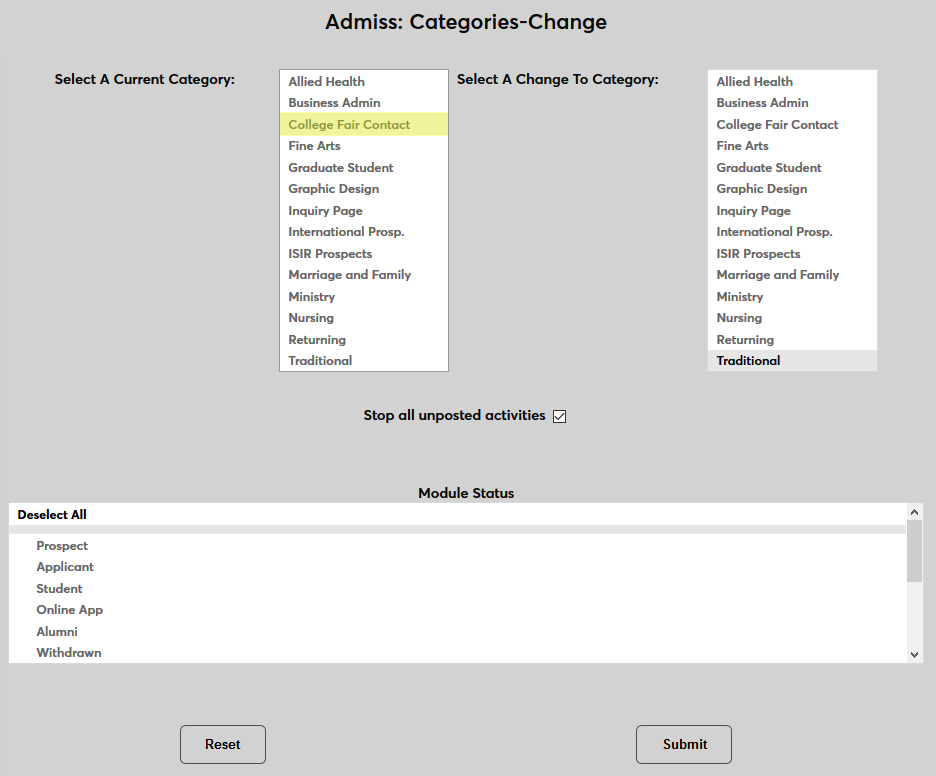
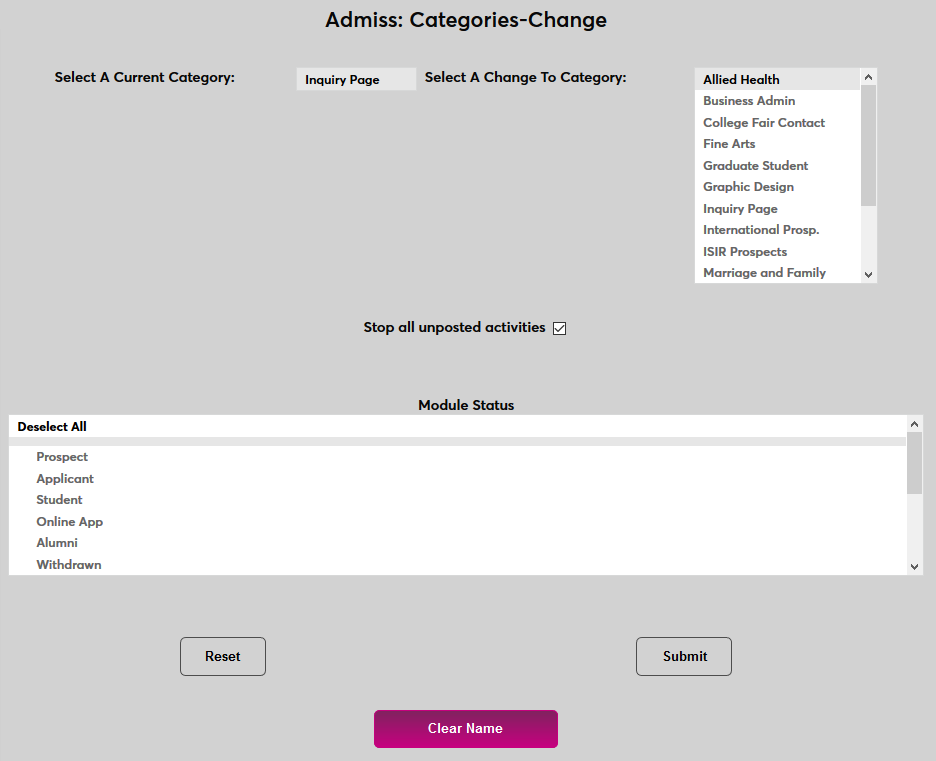
If a user has already been selected through Name Search, only the category assigned to that user will be available to select in the Current Category field. Click Clear Name to remove the current prospect and select another category.
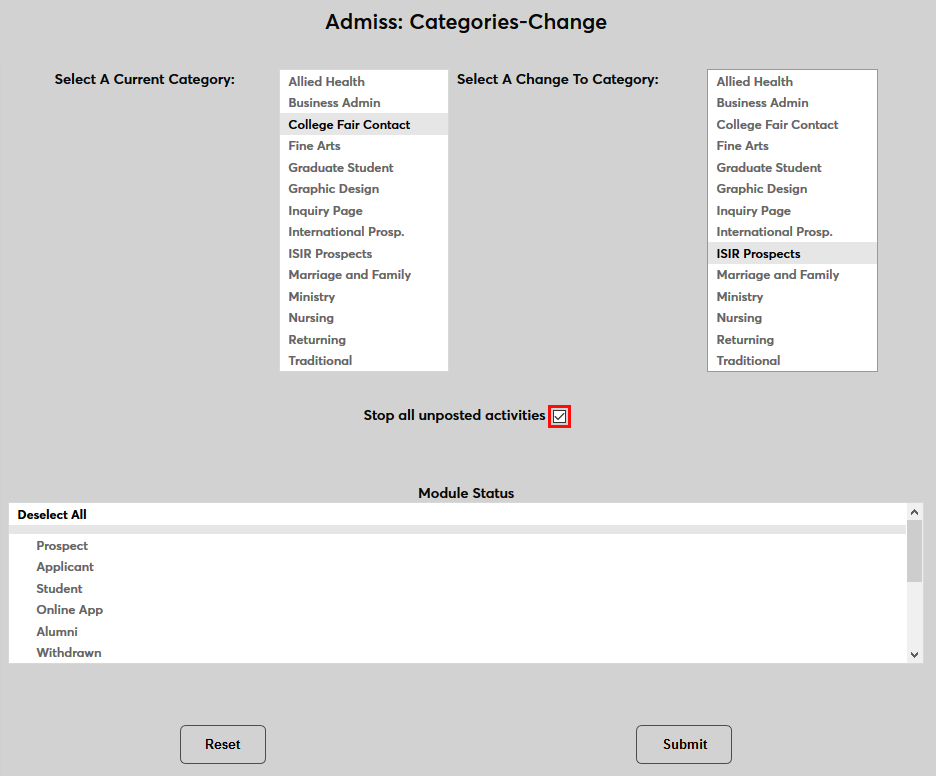
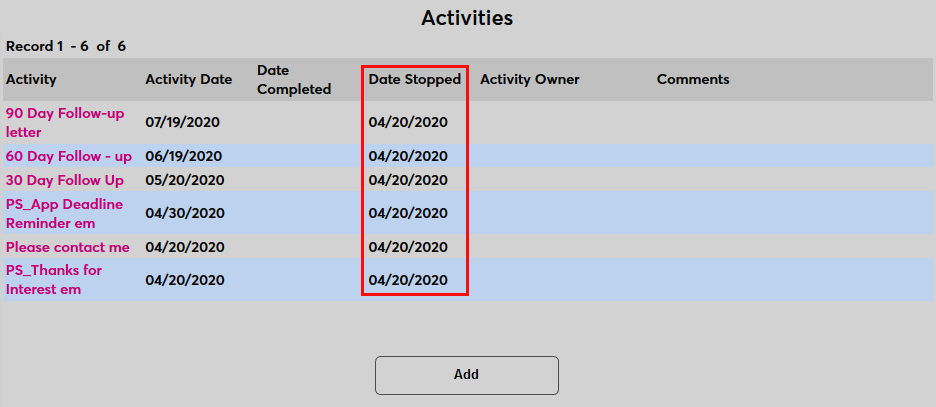
With the Stop all unposted activities checked, any activities in the user's records associated with their previous Recruiting Plan that have not been posted will have their status changed to Stopped with the current date appended. Uncheck this box to leave those activities active.
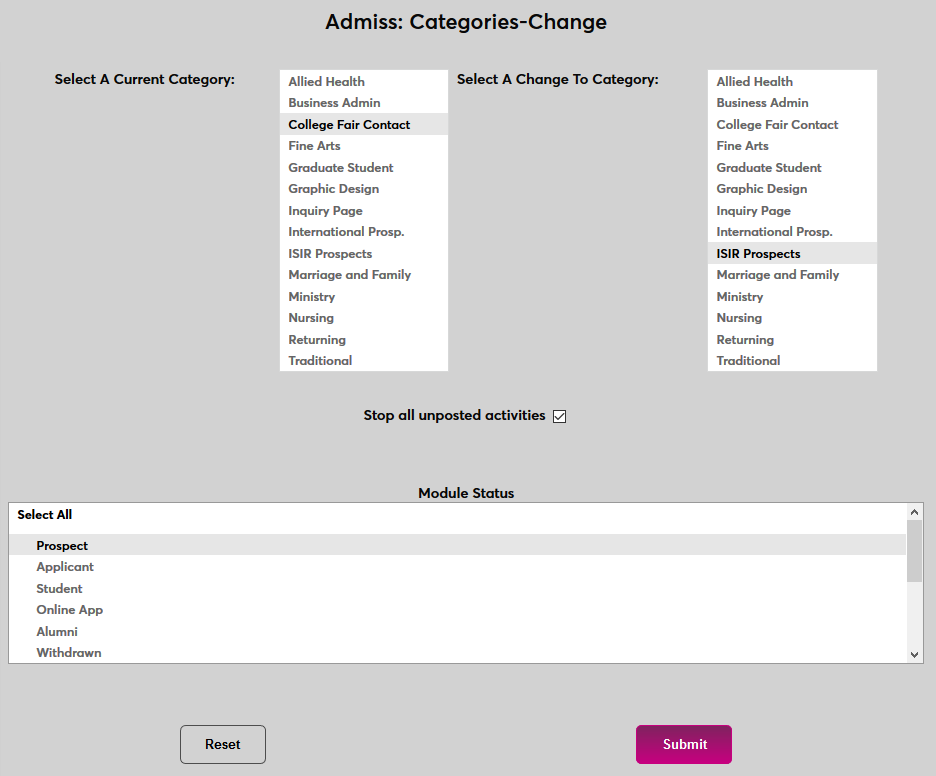
Select a Module Status to change. Only records under the selected module status will be altered. Select all to change all records for that admissions category regardless of status.
Click Submit to make the change.
A results page displays the changes, including the number of records that have been updated.