CMC Grouping
Overview
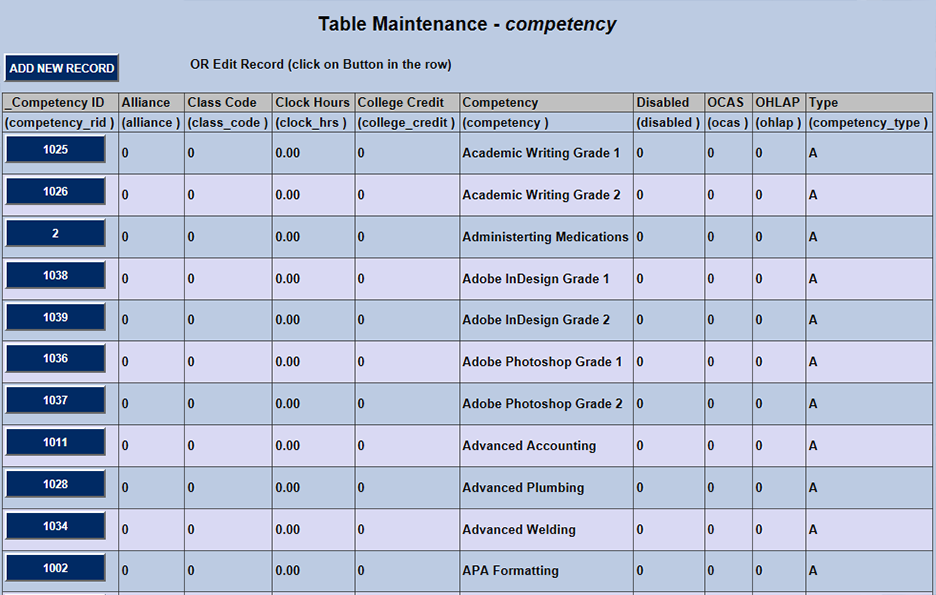
The CMC Grouping feature allows Jenzabar SONIS administrators to group competencies and assign them to students in bulk or individually. Competencies are created with the Table Maintenance utility in the Systems hub.
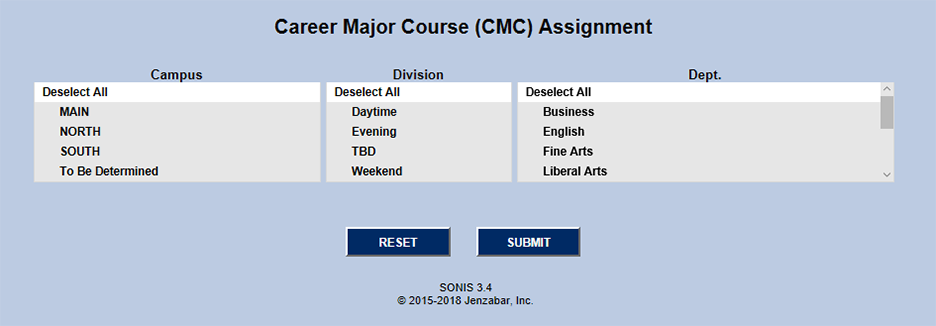
Once competencies have been created, they must be assigned to courses through the Career Major Course Assignment utility.
Creating Groups
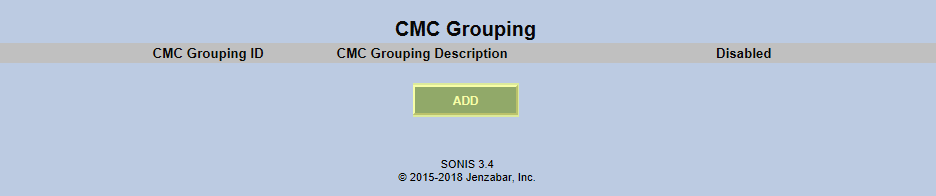
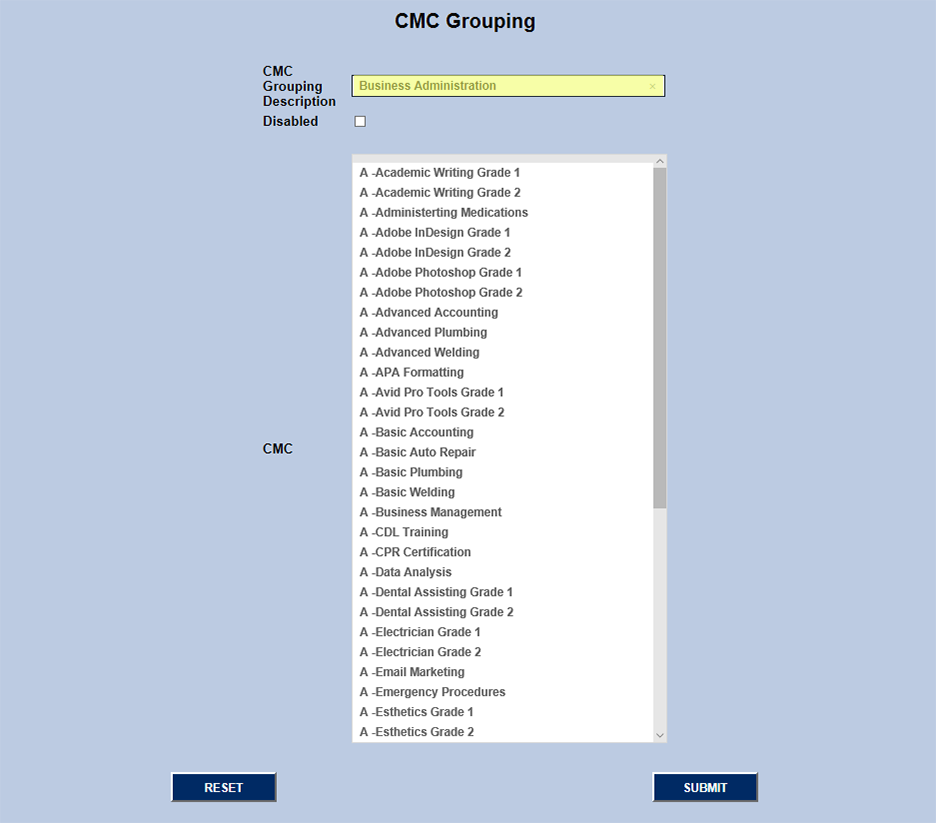
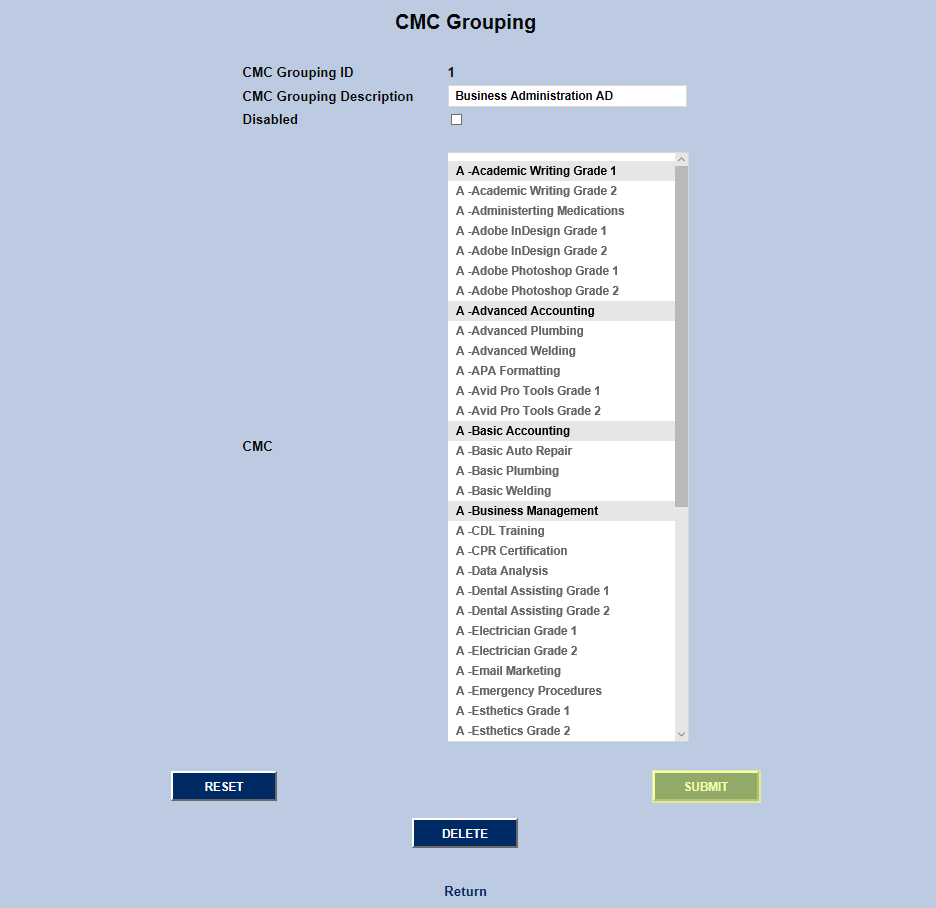
To begin, navigate to the CMC Grouping utility. Click Add to create a new Group. On the next page, SONIS will display a list of all the CMCs that have been created.
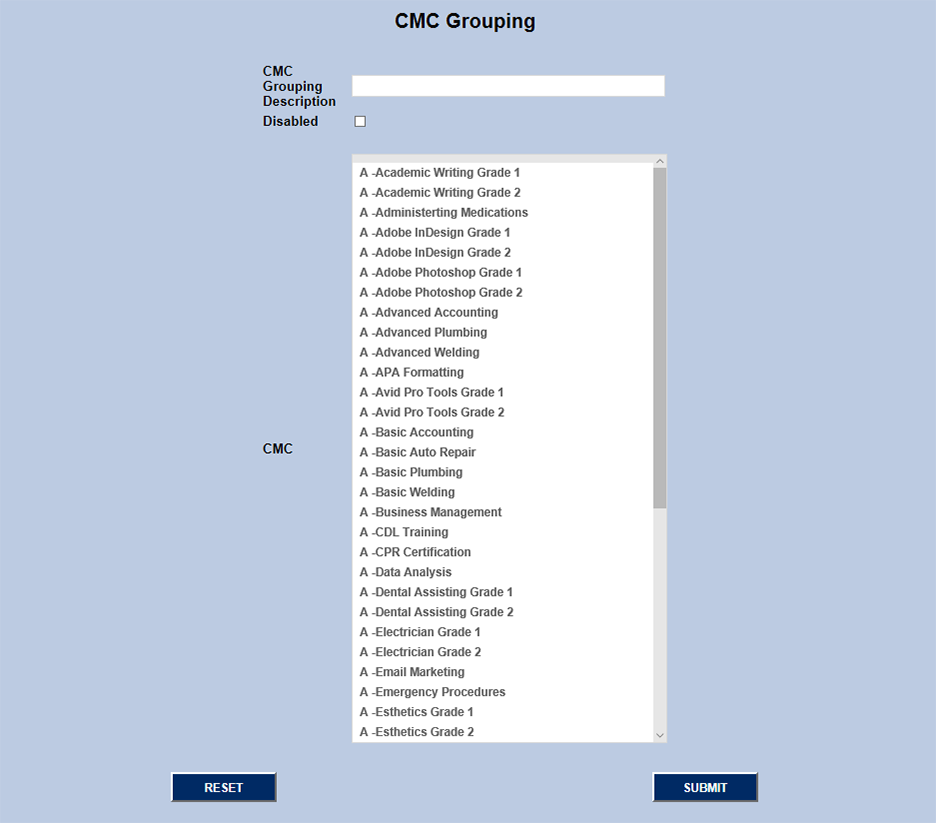
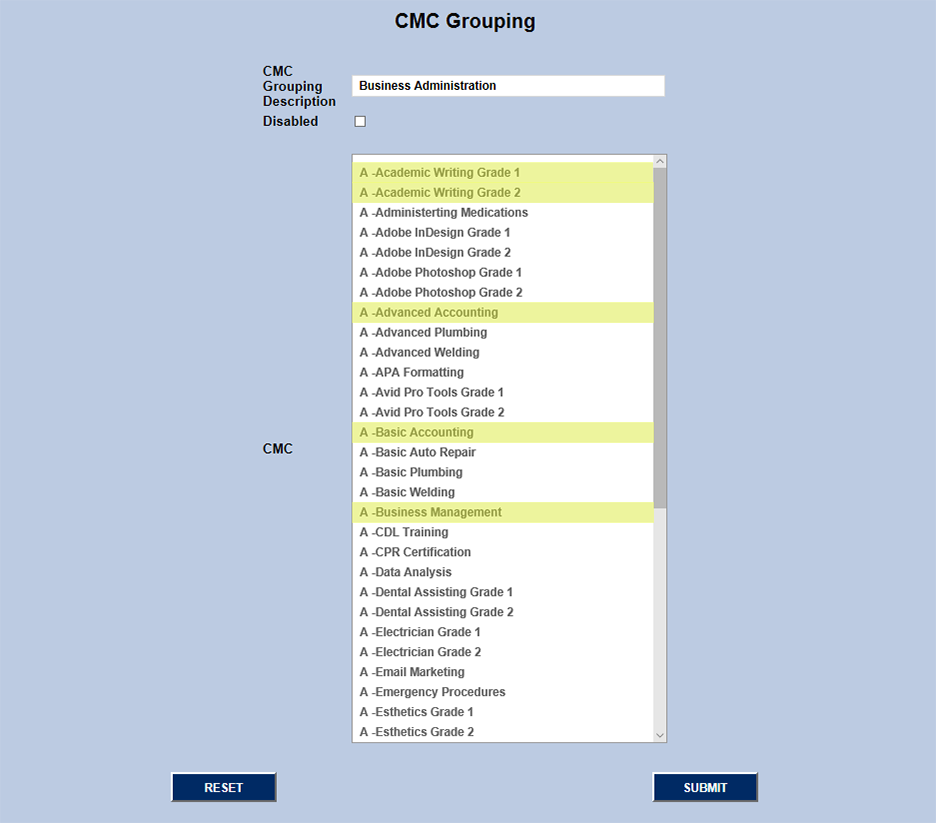
Create a name for the group in the CMC Grouping Description field and select the CMCs that should be included. Click the Submit button to save changes and continue.
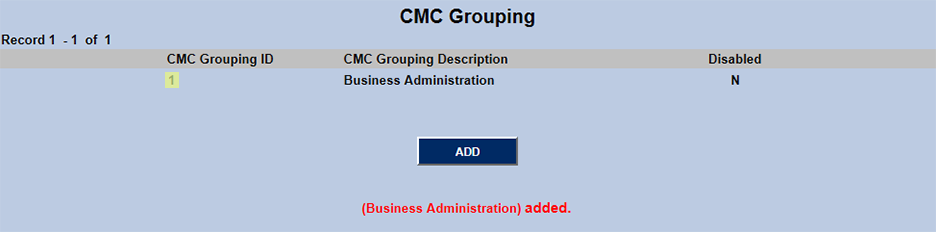
The following page will list all the CMC groups that have been created with a note in red that the newly created CMC group has been added. Additional CMC groups can be edited by clicking the Add button and following the same steps.

Editing Groups
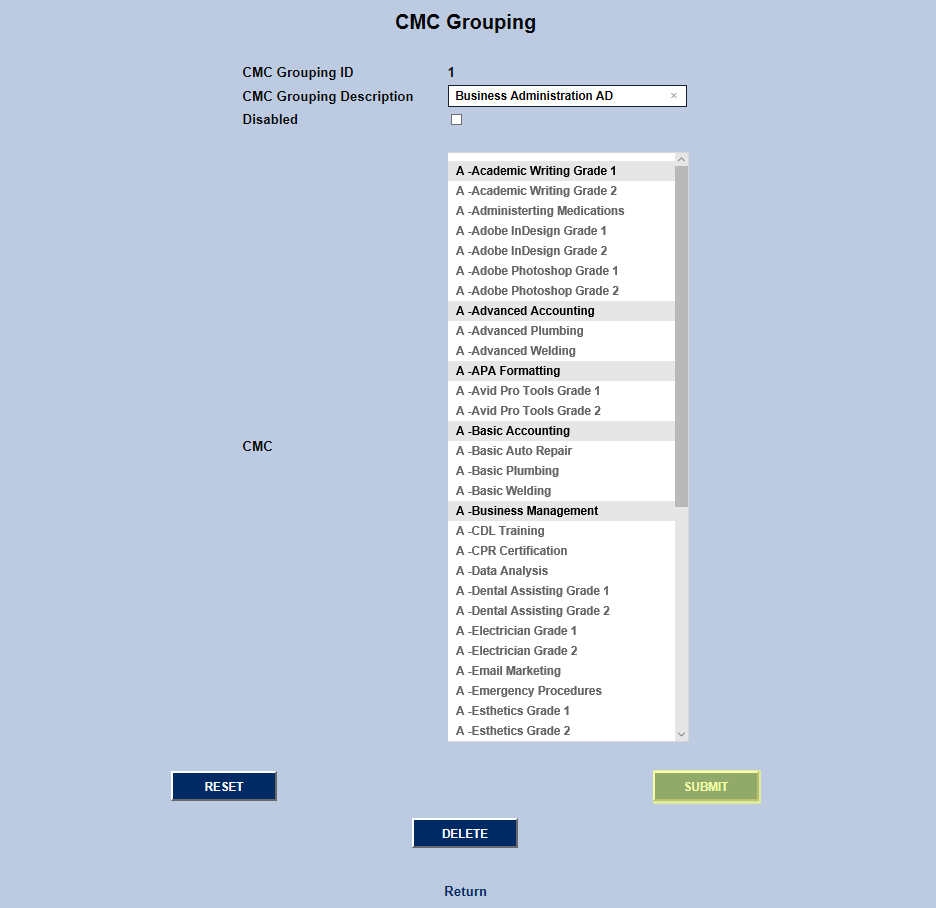
To edit a preexisting CMC group, click the CMC Grouping ID number to begin. If no changes need to be made, click the text at the bottom of the page that says Return to navigate back to the previous page.

From this page, administrators can edit the name of the group by simply typing a new name in the CMC Grouping Description field and clicking the Submit button.
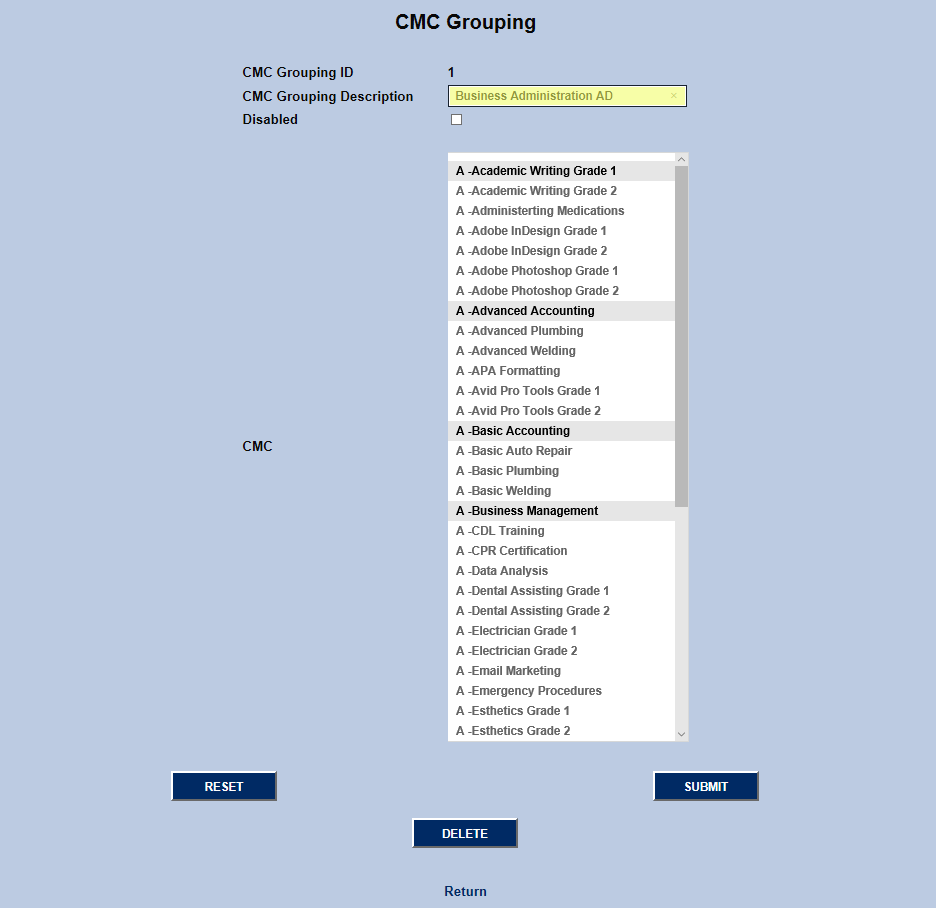
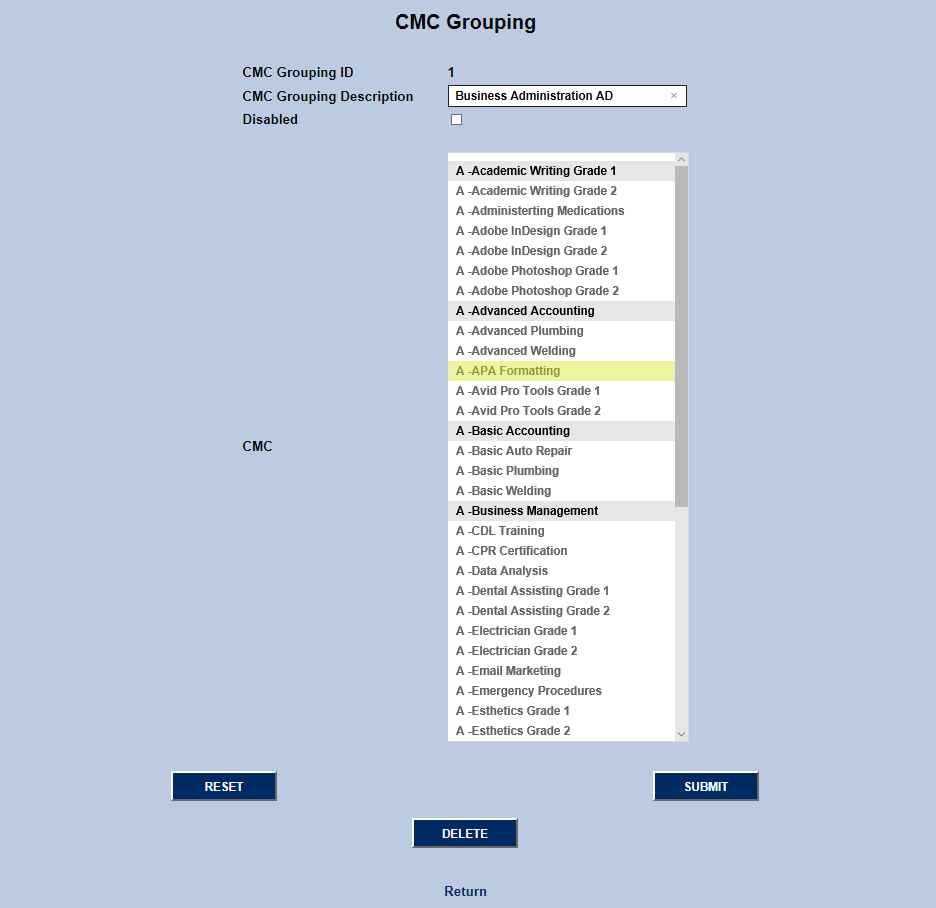
To change which competencies are part of the group, hold CTRL and click on the listed items that need to be added or removed from the group. Click Submit when the proper changes have been made.
Assigning Groups
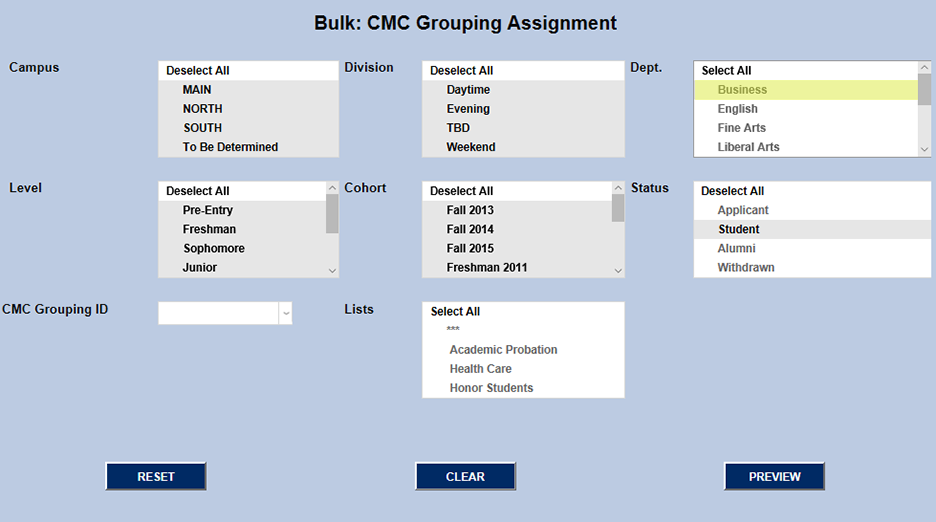
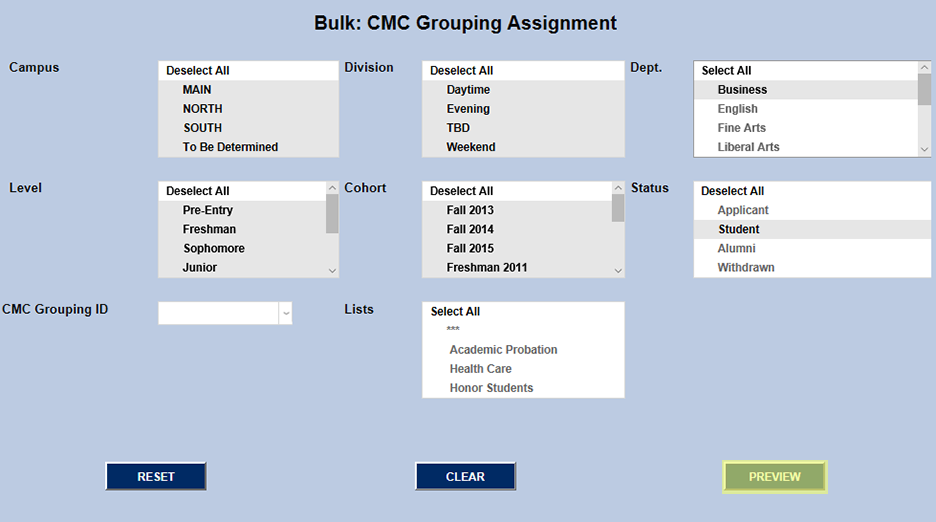
To assign CMC requirements to students, navigate to the Bulk: CMC Grouping Assignment utility. Create the appropriate group of students using the Campus, Division, Dept., Level, Cohort, Status, and Lists menus. If students have already been assigned to a CMC group, the system will present the option to sort by this existing group as well on the dropdown menu on the left. Click the Preview button to save changes and continue.
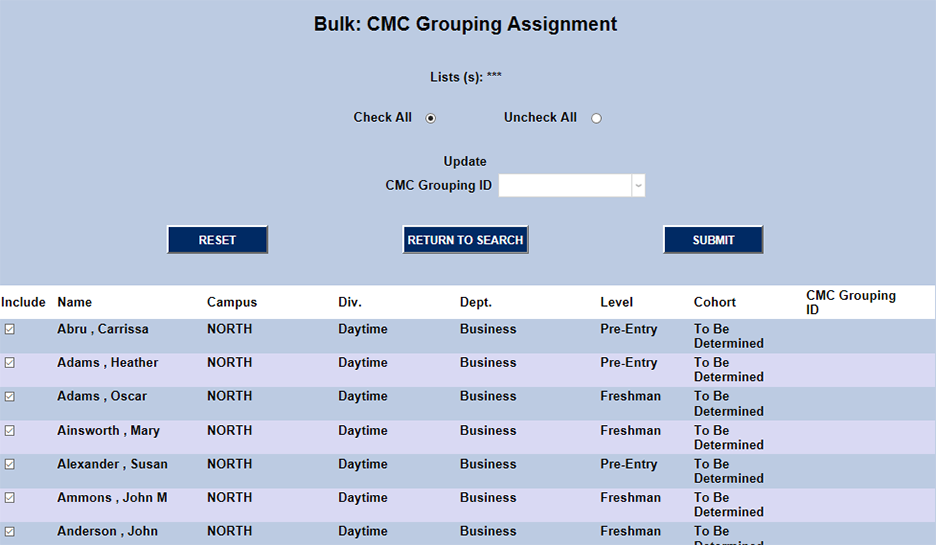
The following page lists the specified students with checkboxes next to each students name that can be toggled on and off to include or not include the student in the group. The page also provides the option to Check All or Uncheck All to save time.
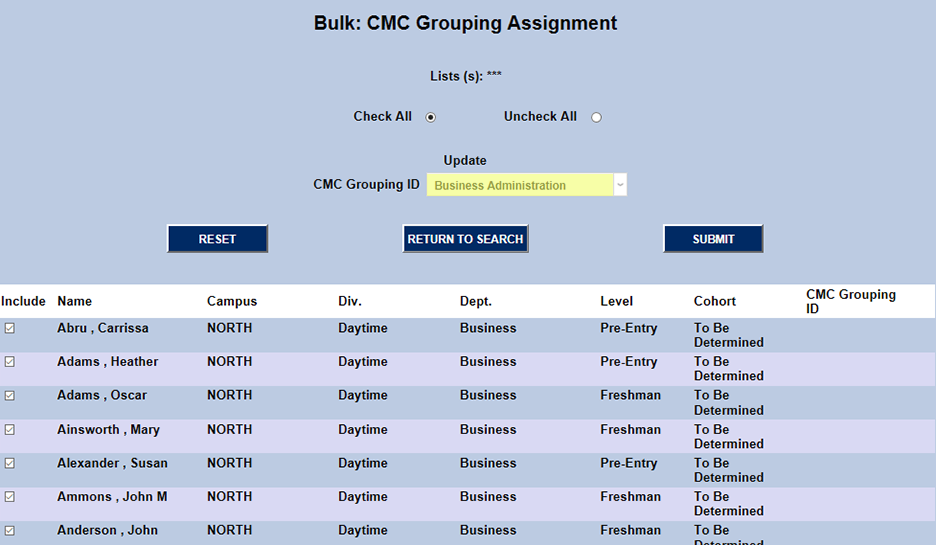
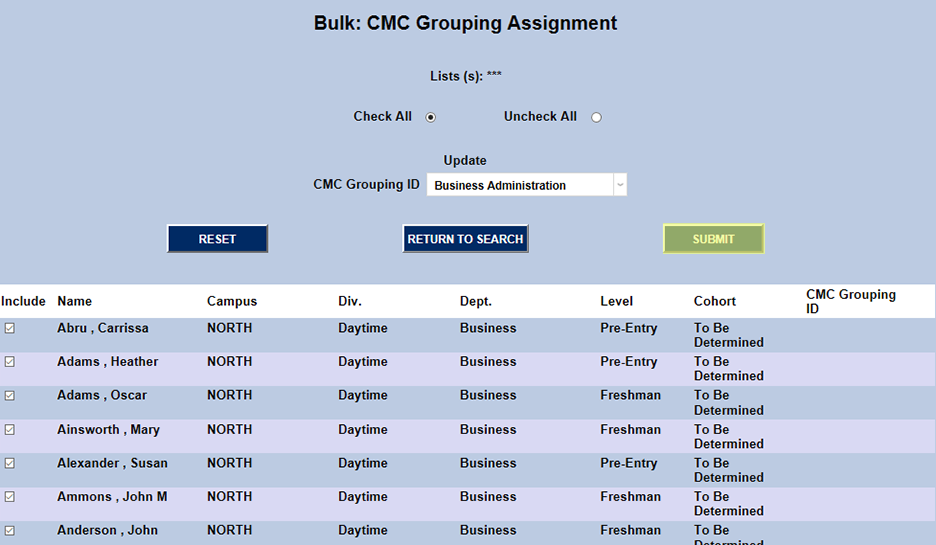
Ensure that the proper students are selected in the Include column, choose a CMC Grouping ID from the dropdown menu at the top of the page, and click the Submit at either the top or the bottom of the page to save the changes.
Viewing Group Assignments
Summary Pages
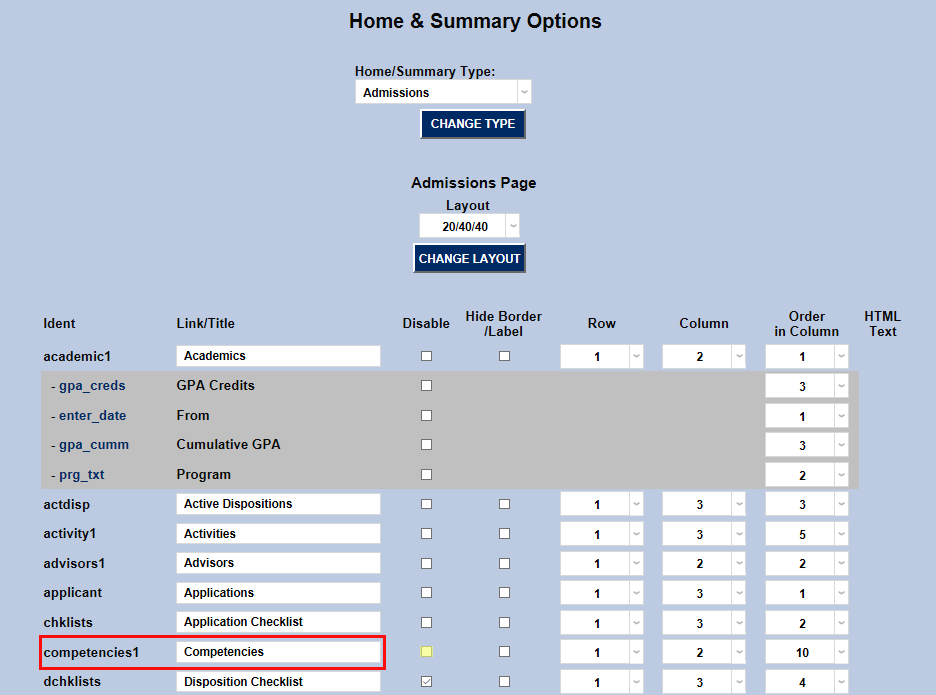
To view CMC Groupings on summary pages, that option must be turned on in the Home & Summary Options utility in the Systems hub. To add the CMC Groupings information to the student's Admissions Summary page, select Admissions from the dropdown menu and click the Select Home/Summary Type button.

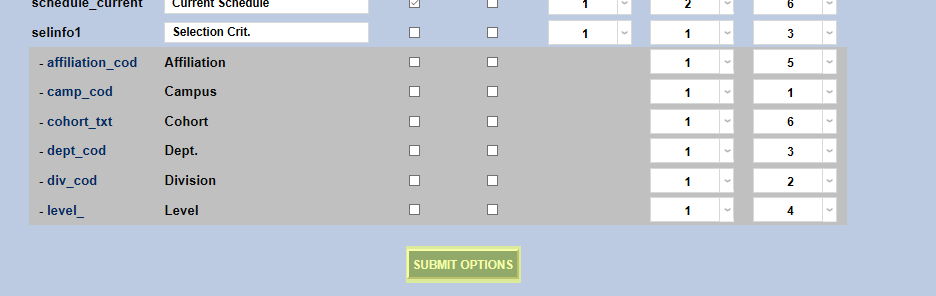
Find competencies 1 in the Identity list to the left of the page. Ensure that the disabled box is unchecked. The name that will be displayed and the order in which it appears can also be modified from this screen. Click Submit Options when finished making changes.
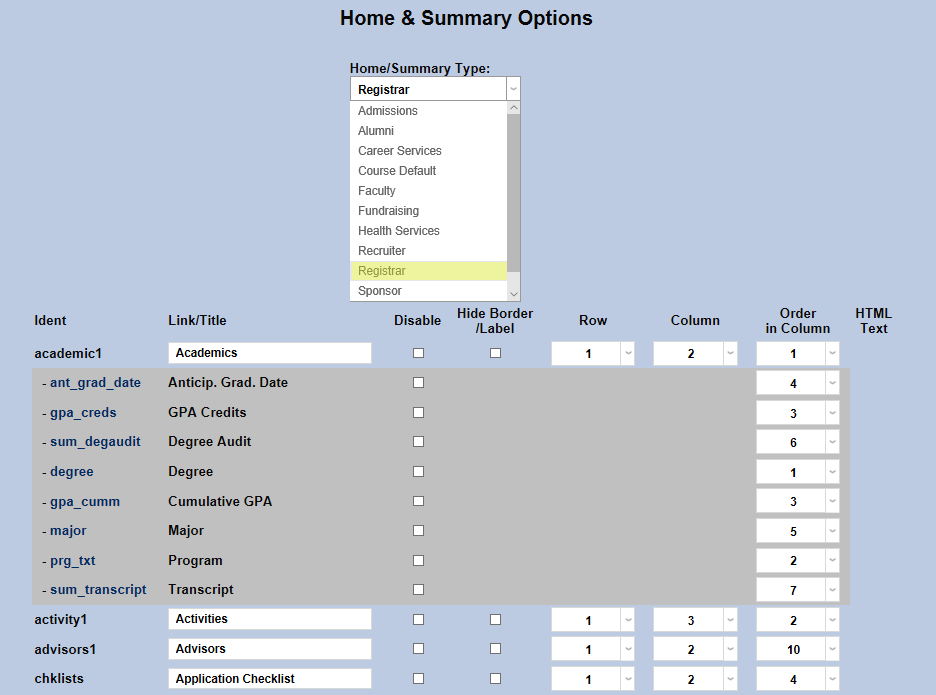
To allow viewing of CMC Groupings on the Registrar Summary page as well, select Registrar from the dropdown menu at the top of the page and repeat the process.
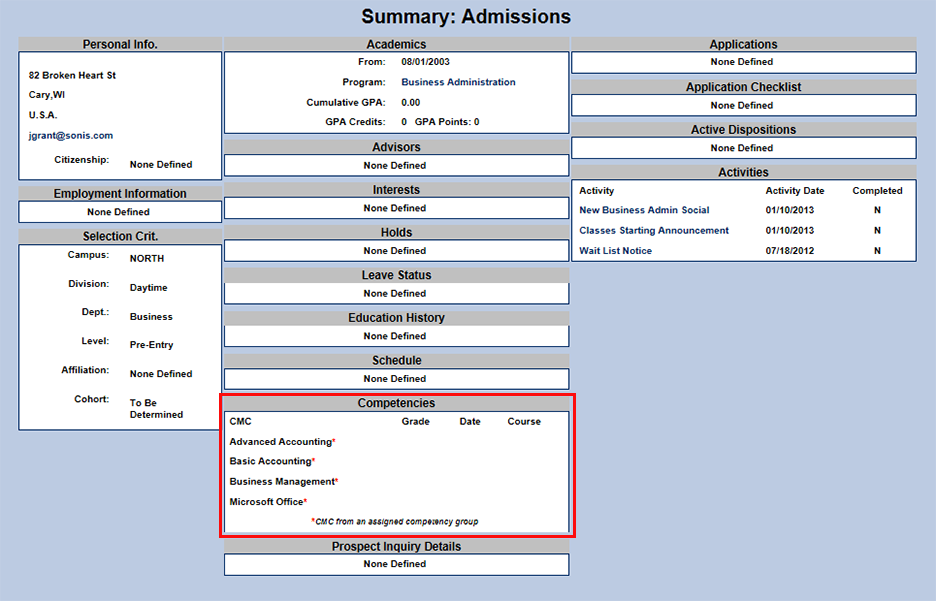
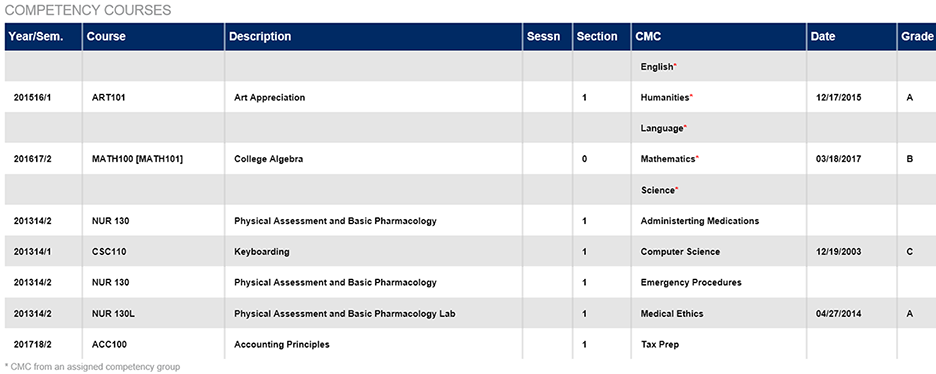
Visit the Summary: Admissions and Summary: Registrar pages after selecting a student with the Names function to view the competencies. Group competencies are marked with a red asterisk to set them apart. As students fulfill required competencies, the course used to meet the CMC and the school term in which the course was completed will be displayed. If a student completes multiple courses that satisfy a CMC, only a single course will be displayed indicating completion of the requirement.
Student & Faculty Portals
CMC Groupings are also visible in the Student and Faculty portals. Students can view their competency groups from their Bio or Grades pages. Faculty can view the competency groups for their advisees on those students' grade pages.
Degree Audit
Each student's CMC Grouping information has been incorporated into their Degree Audit page as well. In order for it to display, administrators must first turn the option on in the Web Options utility. Find Display CMC in Degree Audit in the list of options and check the box next to it. Click Submit to save changes.

The Degree Audit can be accessed through the student portal or through the administrator portal by visiting the DA: Report utility under Systems. The student's CMC Requirements and courses taken to fulfill those requirements will be listed at the bottom.
