Prebill Delete
Overview
Prebilling is a way to provide students and other users with a list of anticipated charges prior to those charges becoming official. You can assign prebilling charges automatically during the Registration process with the right settings. You can also post them to student accounts using the Post to Prebilling utility. Students who have anticipated charges are able to view those charges through their Billing & Financial Aid portal page.
Anticipated charges should always be converted to actual charges during the Post to Billing process or removed altogether if the user cancels the activity that was leading to the charge (for example, dropping a course). However, these charges may occasionally remain on a student's record due to user or system error. The Prebill Delete utility solves this problem by allowing administrators to delete errant prebill charges.
User Security
Before an administrator can delete prebill charges, they must be granted the privilege to do so through User Security. Edit the user's account and, when prompted to add additional privileges and overrides, select Delete Anticipated Charges. Click Submit to save the page.

Deleting Charges
Navigate to Prebill Delete under the Financials hub. There are three options to filter down the list of charges. You must select at least one filter. They can be used together or separately.
The first option is to filter the results by school year. To do so select a School Year from the drop-down menu.
Note
If you do not select a semester in conjunction with a school year, you will see charges associated with all semesters in the selected school year.

The second option is to filter the results by semester. Select a semester from the Semester drop-down menu to add this filter.
Note
If you do not select a school year in conjunction with a semester, you will see charges in all school years that include a semester with the name you selected. For example, if you select Fall without a school year, you'll see all anticipated charges associated with a previous or upcoming Fall semester.

The final option is to search by the SONIS ID number of any user. To filter this way, enter a user's SONIS ID in the ID field.

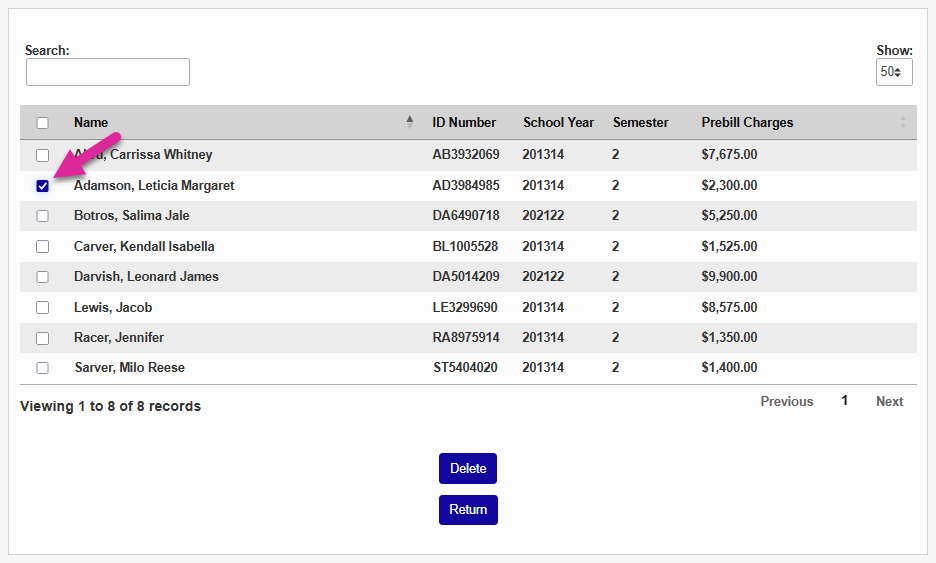
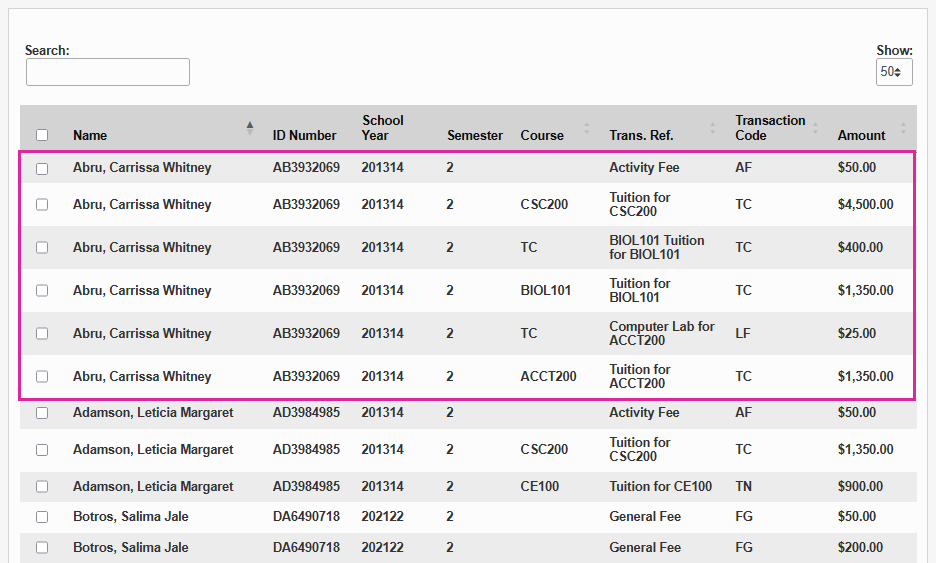
There are two display options. Check the View Line Items box to view each charge separately or leave it unchecked to summarize charges by individual user.

Click Submit to run the search. If you selected View Line Item, you'll see each charge listed separately. If you left it unchecked, you'll see a total for each user.
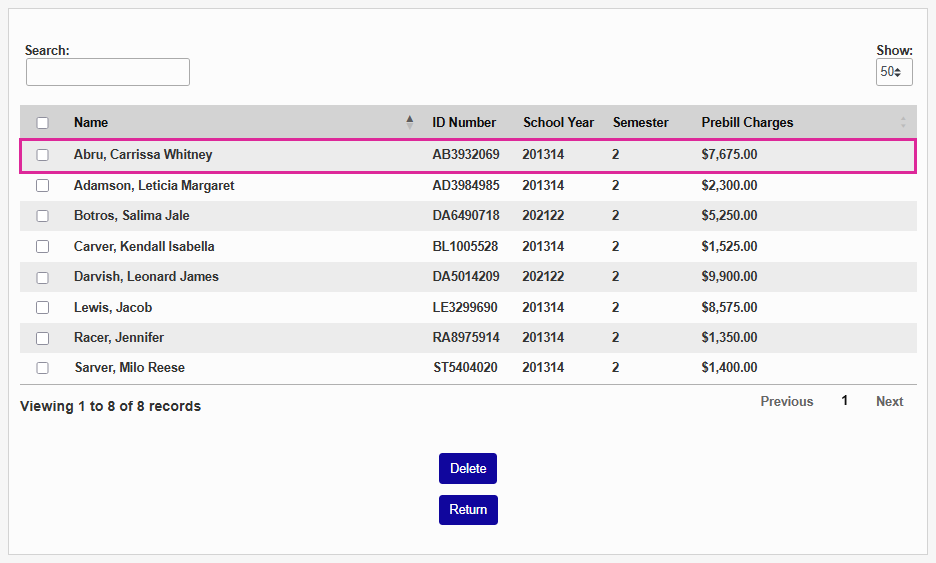
You can use the Search menu at the top left to further narrow down the results and the Show menu in the upper right-hand corner to control how many charges display at one time. Use the Previous and Next buttons to see additional pages if your list is long.
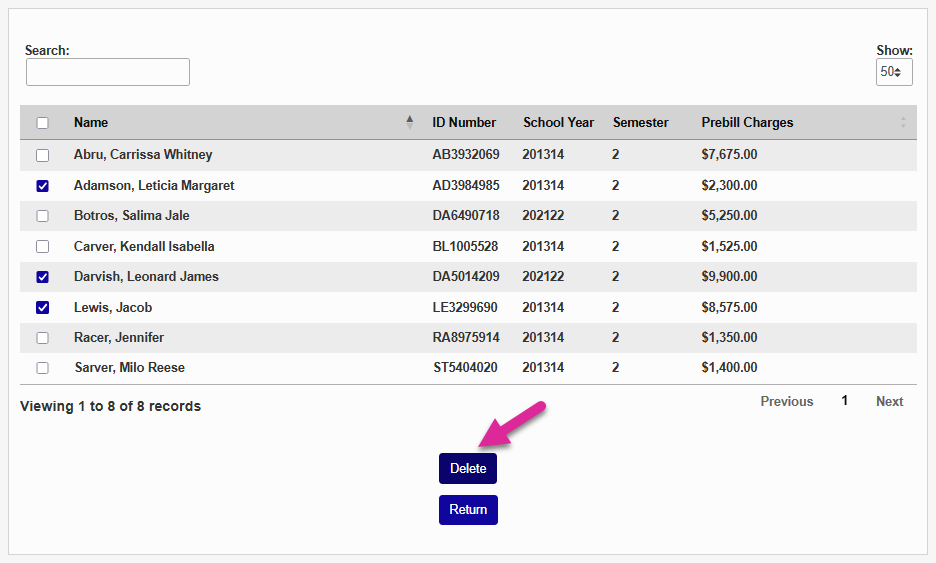
To complete the process, simply select the charges that you want to delete and click Delete.
Warning
There is no way to restore an errantly deleted prebill charge. If you delete a charge that shouldn't be deleted, you'll have to recreate the charge.